Getting Started with Office 365 and PowerShell
Summary: Microsoft Scripting Guy, Ed Wilson, talks about getting started with Office 365 and Windows PowerShell.
Microsoft Scripting Guy, Ed Wilson, is here. This morning I am sipping a nice cup of First Flush Charleston Tea. I added bits of spearmint, peppermint, cinnamon stick, lemon, and local honey to the mixture. It is very good, and it helps me focus in the morning. I am sitting on the lanai and checking my email on my Surface 2 Pro. The morning weather is really damp. If I close my eyes, I can hear seagulls, and perhaps enjoy the sweet fragrance of hibiscus flowers, and hear the rustle of palm trees. But of course, all we have around here are magnolia trees, pine trees, and big black crows.
I have wanted to play around with Office 365 for some time now, but my issue has always been that I could not afford to buy an enterprise Office 365 plan to experiment with. And with the Office 365 plan that I have for the Scripting Wife…well, I cannot administer it because it I am not a tenant admin.
This is your chance to learn about administering Office 365. Right now, there is a free 30-day trial that is available for IT pros to begin learning about this cool and exciting technology. Simply head over to the Office website and sign up for the free trial.
After you start the trial, you will receive a link that contains sign-in information. Sign in, and then check the status of the installation. On my computer, it took two days—literally 48 hours—to create the space. But when I tried to set up my installation, there was actually an announcement (via the announcements tab shown in the following image) that said the servers were being slammed because they were building out massive demo sites for a major industry trade show.
Your mileage may vary, but even so, this is a great project to begin on a Friday afternoon before you leave for the weekend. By the time you return to the office on Monday, the site will be ready. (My experience was a bit on the extreme side.)
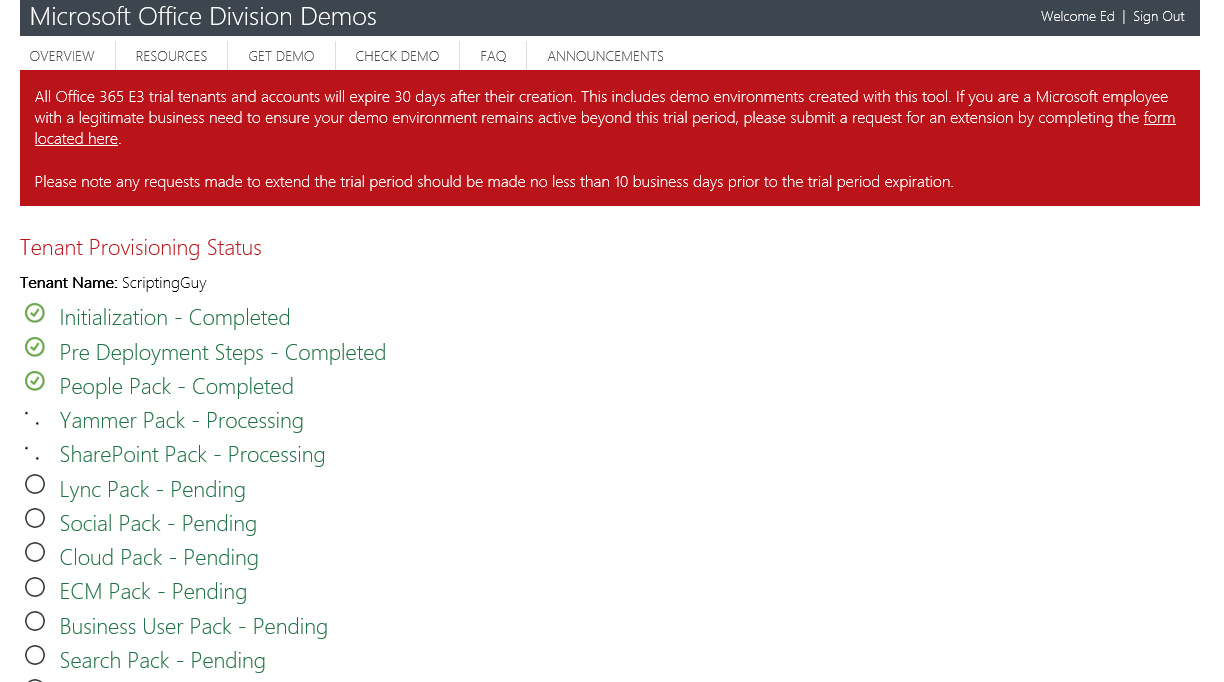
Here is what the progress screen looks like as it is building, and building, and building. Notice all the stuff that the demo is building out. It is creating users and installing all the cool stuff from Yammer and SharePoint to Lync and Exchange. Yep. This is like a geek’s wildest dream, and it is all set up and ready for the most insane experiments that I can imagine.
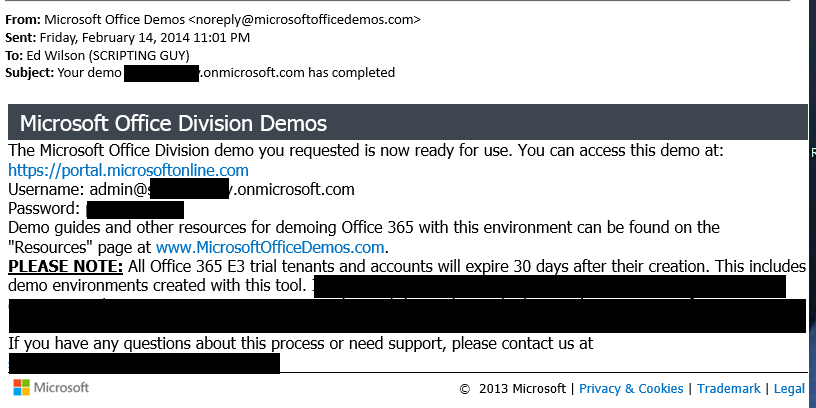
After the demo environment successfully created, another email arrived in my inbox. It included the user account credentials and the location of my demo environment. The email is shown here:
Install required software
There are a number of software requirements that must be installed. They are listed here, in order:
- Ensure you are running Windows 8.1, Windows 8, or Windows 7.
- Make sure you have the .NET Framework 3.51 feature.
- Make sure you have the latest updates. It is important to run this after you install .NET Framework 3.51, so you get updates for that in addition to updates for your operating system.
- Install the Microsoft Online Services Sign-In assistant.
- Install the Windows Azure Active Directory (Azure AD) module for the appropriate version of your operating system.
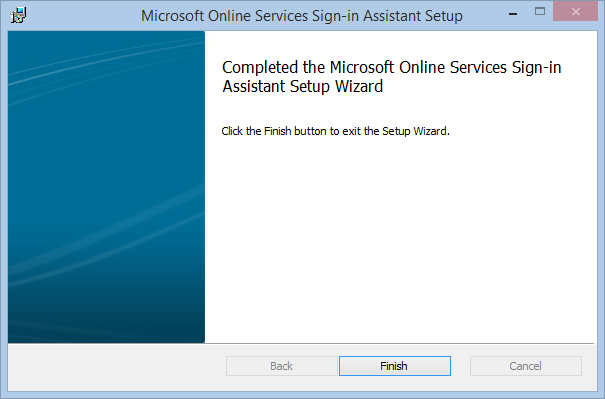
The first thing I needed to install was the Microsoft Online Services Sign-In Assistant for IT Professionals. This package comes in the 32-bit and 64-bit versions, and it is designed to help with signing-in to multiple aspects of the Office 365 environment, such as Outlook and Lync. The installation is very light, and is a click…wait…boom it is done sort of thing. It does, of course, require admin rights because it creates a service (msoidsvc) that will start automatically. When the installation is complete, the following screen appears.
The application does not require a reboot, and the service starts up following the completion of the wizard.
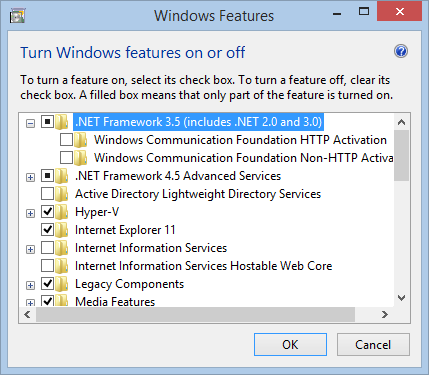
Next up is .NET Framework 3.51. When I built my Windows 8.1 laptop, I was really hoping I could avoid this piece of software in a desperate move to try to reduce my footprint, but I long since gave up on that one. Of course, I was also hoping to avoid Silverlight, QuickTime, Flash, Java, and all the other pieces of software that seem to collect on my laptop like barnacles that grow on the bottom of a rapidly slowing freighter. But alas, those have also joined my growing list of installed software. At any rate, I already have .NET Framework 3.51 installed on my laptop, as you can see in the following image.
Of course, I also ran the update my computer, so I have already installed all of the updates. It seems like I am doing that on a daily basis lately. So, I am always good to go with the latest updates.
Now, for the biggie: the Azure AD module. Yep, they changed the name. It used to be the Office 365 module, which sort of made sense—after all, we are managing Office 365. Oh well, I know this sounds confusing, but at least they did not change the cmdlet names.
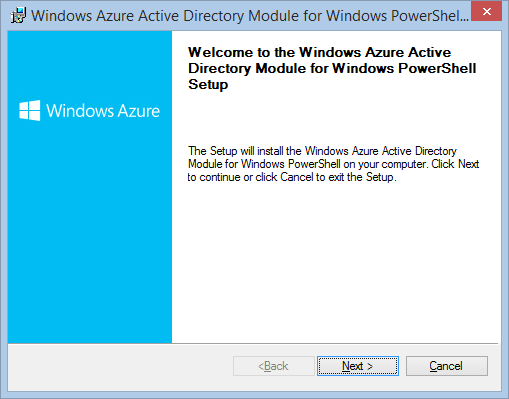
When you click the link for the Azure AD module, it launches an MSI installer, as shown here:
The strange thing is that the module wants to install in the C:\Program Files\Windows Azure Active Directory\Powershell\ path on my computer. Hmmmmm…of all the Windows PowerShell module locations I know of, that one is not on the list. I decided that I would redirect it to C:\Program Files\WindowsPowerShell\Modules\ on my computer running Windows 8.1. That is the new path for Windows PowerShell modules.
I completed my installation, and I navigated to the C:\Program Files\WindowsPowerShell\Modules\ location. At first, I thought that it did not install. In fact, there was no new module folder, and the only thing I saw was a EULA.doc file. I opened it, scanned it, and promptly deleted it. I then went to where I thought it would have installed in the first place:
C:\Windows\System32\WindowsPowerShell\v1.0\Modules\
But once again, I do not see any Azure AD module stuff. What I do see, however, appears in the image that follows:
It appears, that the Azure AD module installed in the default directory—even though it asked for an additional location. In addition, the name of the module is not really Azure AD module, but MSOnline. I have no idea what the MSOnlineExtended module is, and the module manifest does not tell me. But when I compare the MSOnlineExtended module with the MSOnline module, I see that the two modules contain nearly the same cmdlets. This is shown here:
PS C:\> gcm -Module MSOnline, MSOnlineExtended | group name | sort count -Descending
Count Name Group
—– —- —–
2 Remove-MsolForeignGrou… {Remove-MsolForeignGroupFromRole, Remove-MsolForeignGr…
2 Remove-MsolGroup {Remove-MsolGroup, Remove-MsolGroup}
2 Remove-MsolContact {Remove-MsolContact, Remove-MsolContact}
2 Remove-MsolDomain {Remove-MsolDomain, Remove-MsolDomain}
<output truncated>
1 Update-MsolFederatedDo… {Update-MsolFederatedDomain}
1 New-MsolFederatedDomain {New-MsolFederatedDomain}
1 Get-MsolFederationProp… {Get-MsolFederationProperty}
1 Convert-MsolDomainToSt… {Convert-MsolDomainToStandard}
1 Remove-MsolFederatedDo… {Remove-MsolFederatedDomain}
1 Set-MsolADFSContext {Set-MsolADFSContext}
1 Convert-MsolDomainToFe… {Convert-MsolDomainToFederated}
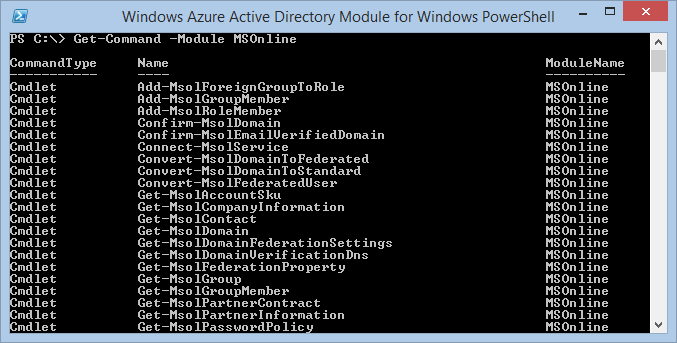
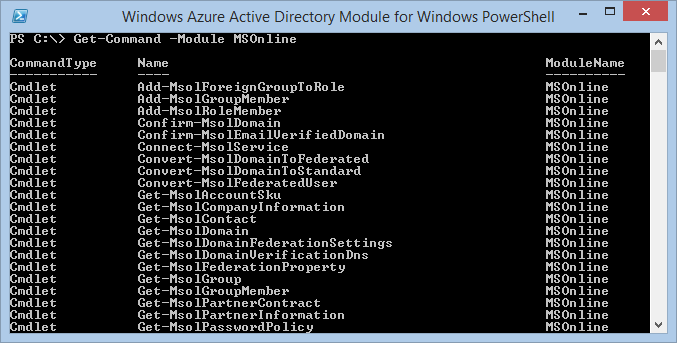
The installation will create a Windows Azure Active Directory Module for Windows PowerShell shortcut on your desktop. Personally, I do not think I want that because I like my own customized Windows PowerShell prompt better. I type Get-Command and select the MSOnline module in the Windows Azure Active Directory Module for Windows PowerShell prompt, and the following appears:
The following command tells me that there are 70 cmdlets:
PS C:\> Get-Command -Module MSOnline | measure
Count : 70
Average :
Sum :
Maximum :
Minimum :
Property :
Note I had to switch to my Windows PowerShell console to type this command because the Windows Azure Active Directory Module for Windows PowerShell prompt does not enable the QuickEdit mode that is required for copy and paste operations. Because the module is in located in the System32 directory, the module automatically loads in Windows PowerShell 4.0 or Windows PowerShell 3.0.
Kicking the tires
I have spent a couple of hours downloading, installing, and configuring my laptop. So what do I get? Well theoretically, I have a Windows PowerShell module that will permit me to interact with my Office 365 tenant installation.
The first thing to remember is that it is Windows PowerShell; and therefore, it should behave as all Windows PowerShell modules behave. I have already seen that I can find the cmdlets from the modules, and that I can count them.
I need to supply my credentials. So I use the Get-Credential cmdlet to retrieve a credential object. It is comprised of a user name and a password. I can type the user name in my script, but I want to supply my password via a secure dialog box.
Next I want to use the Connect-MsolService cmdlet to connect to my Office 365 installation. But I need to know if it will accept a credential object. I check with Windows PowerShell Help. Sure enough, it does. This is shown here:
PS C:\Users\ed> help Connect-MsolService
NAME
Connect-MsolService
SYNOPSIS
Initiates a connection with Windows Azure Active Directory.
SYNTAX
Connect-MsolService [-Credential <PSCredential>] [-CurrentCredentials <switch>]
[<CommonParameters>]
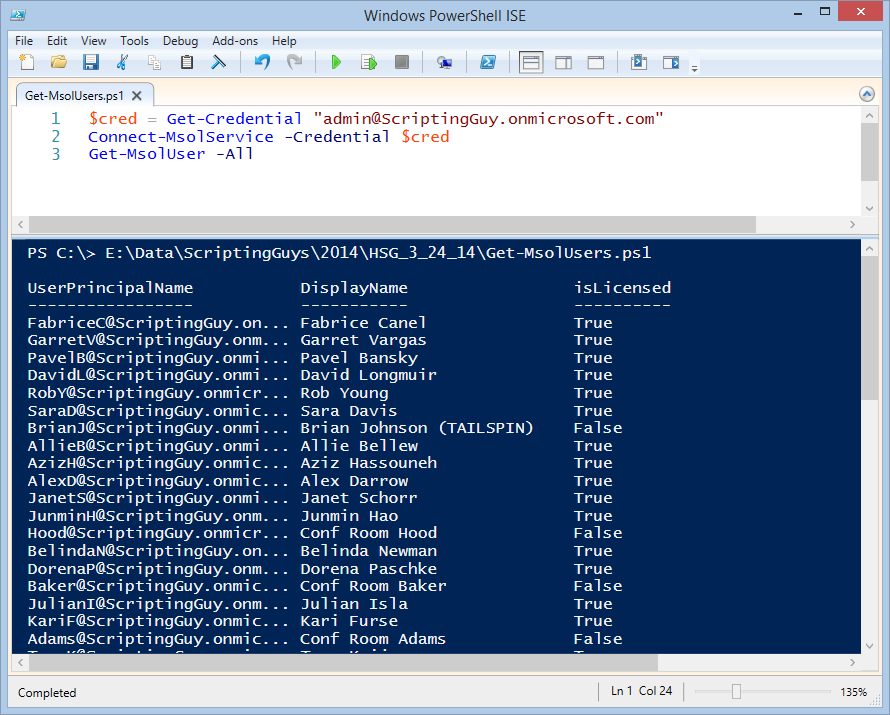
After I have connected, I should be able to run any number of cmdlets. I decide the easiest to use will be the Get-MsolUser cmdlet. The script is shown here:
$cred = Get-Credential "admin@ScriptingGuy.onmicrosoft.com"
Connect-MsolService -Credential $cred
Get-MsolUser -All
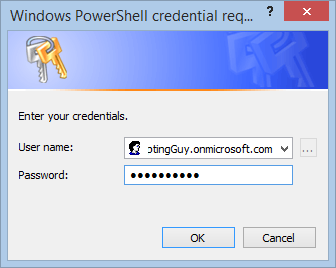
When I run it, the standard Windows PowerShell dialog box appears, and I enter my credentials:
After a few seconds, the output in my Windows PowerShell ISE window fills with user objects. Cool, it works.
That is all there is to getting started with Office 365. Office 365 Week will continue tomorrow when I will talk about exploring the cmdlets.
I invite you to follow me on Twitter and Facebook. If you have any questions, send email to me at scripter@microsoft.com, or post your questions on the Official Scripting Guys Forum. See you tomorrow. Until then, peace.
Ed Wilson, Microsoft Scripting Guy

 Light
Light Dark
Dark
0 comments