
App Dev Manager Wesam Darwish gives a walkthrough on how to get started with Azure Active Directory.
When it comes to identity management, whether you’re developing a single-page app (SPA), a Web, mobile or desktop app, you need a full-featured platform that empowers you as a developer to support authentication for a variety of modern app architectures. Microsoft Identity Platform allows you to authenticate users using a broad set of identities, such as Azure Active Directory (AAD) identities, Microsoft accounts, as well as third-party identities and social accounts using Azure AD B2C. The Microsoft Identity Platform documentation is very rich with extremely exciting quickstarts and step-by-step tutorials for various development platforms and client types.
In this blog, we’ll walk through very quick steps to help you start experimenting with authentication capabilities using Azure AD identities.
Here is what you need to follow through:
- Access to an Azure account. If you don’t have an account, start here for free
- Access to an Azure DevOps organization. Start here for free
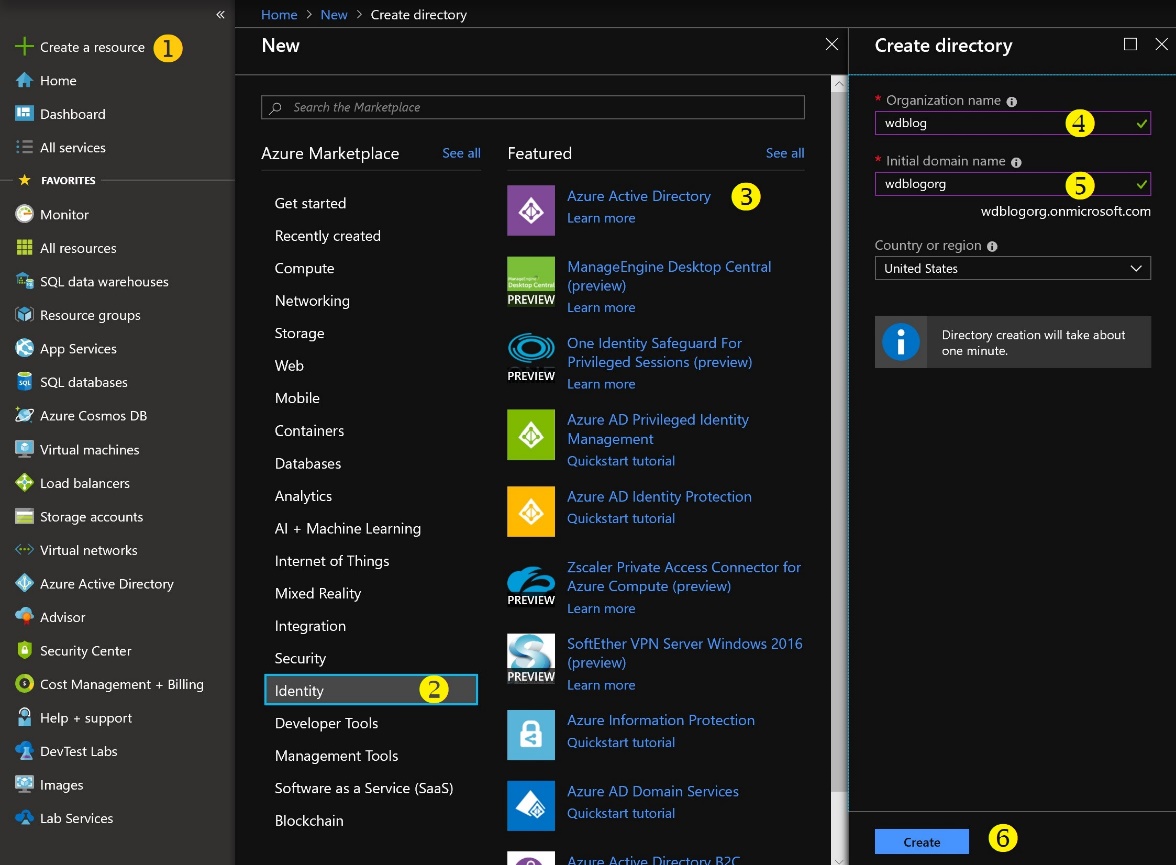
STEP 1: Create an Azure AD Tenant
- Login to https://portal.azure.com
- Follow clicks 1-6 depicted in the figure below. Choose an organization name that are unique to you.
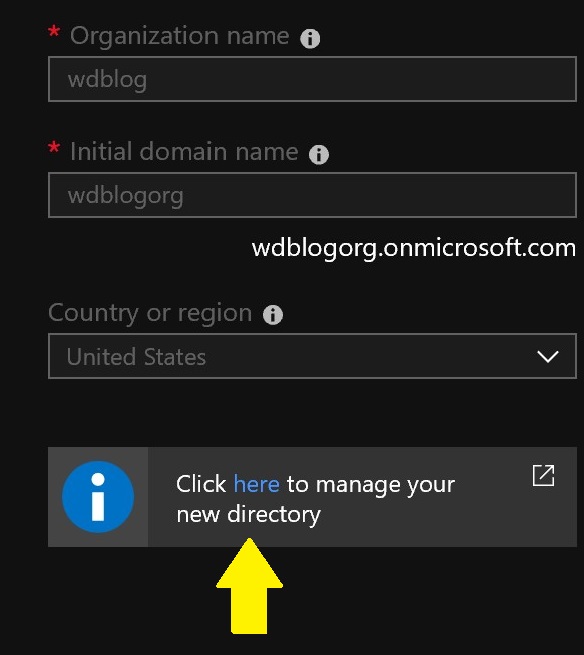
- When the creation process is complete, click the confirmation link to switch to the newly created AAD, or switch to it by clicking on your login name in the top right corner of the Portal, and choose “Switch directory”
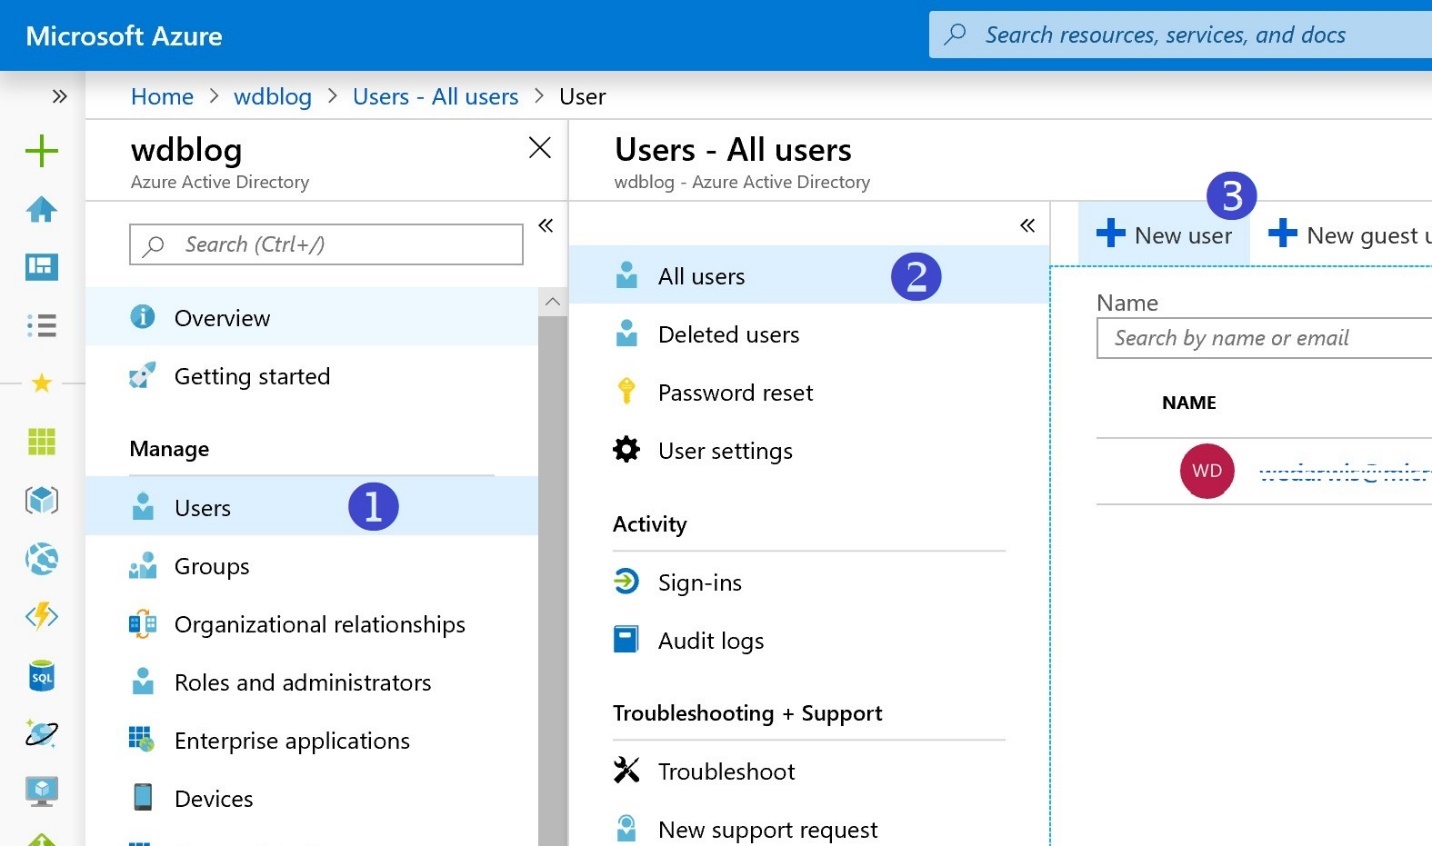
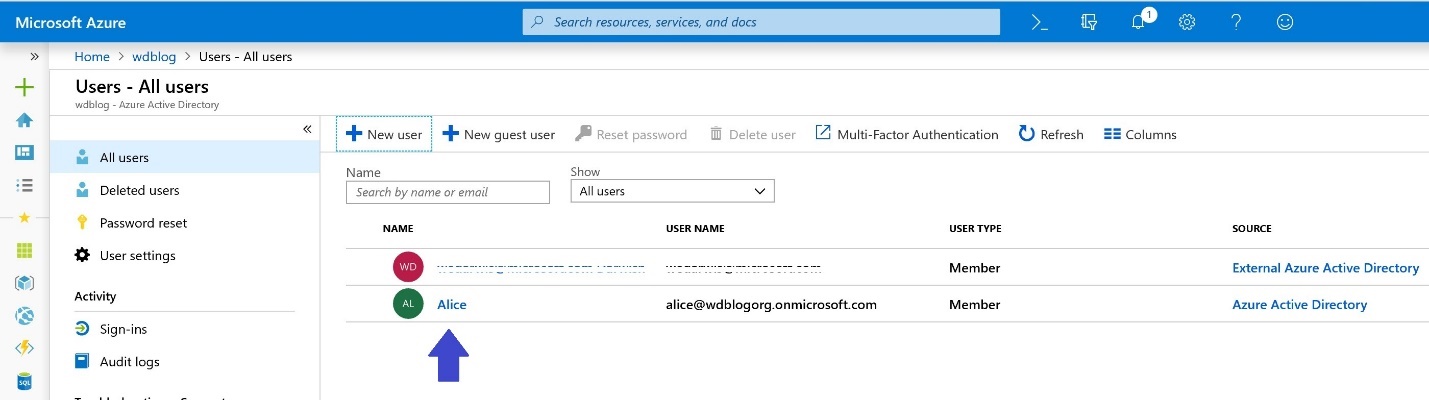
- In the newly created Azure AD directory, create one or more users for testing
- Provide the new user information. For (2), make sure the domain is of the format <myorg>.onmicrosoft.com, where <myorg> is the “Initial domain name” you chose in the earlier step above. For (6) and (7), you need to copy the password and use it the first time for Alice to login. Alice be asked to change the password then.
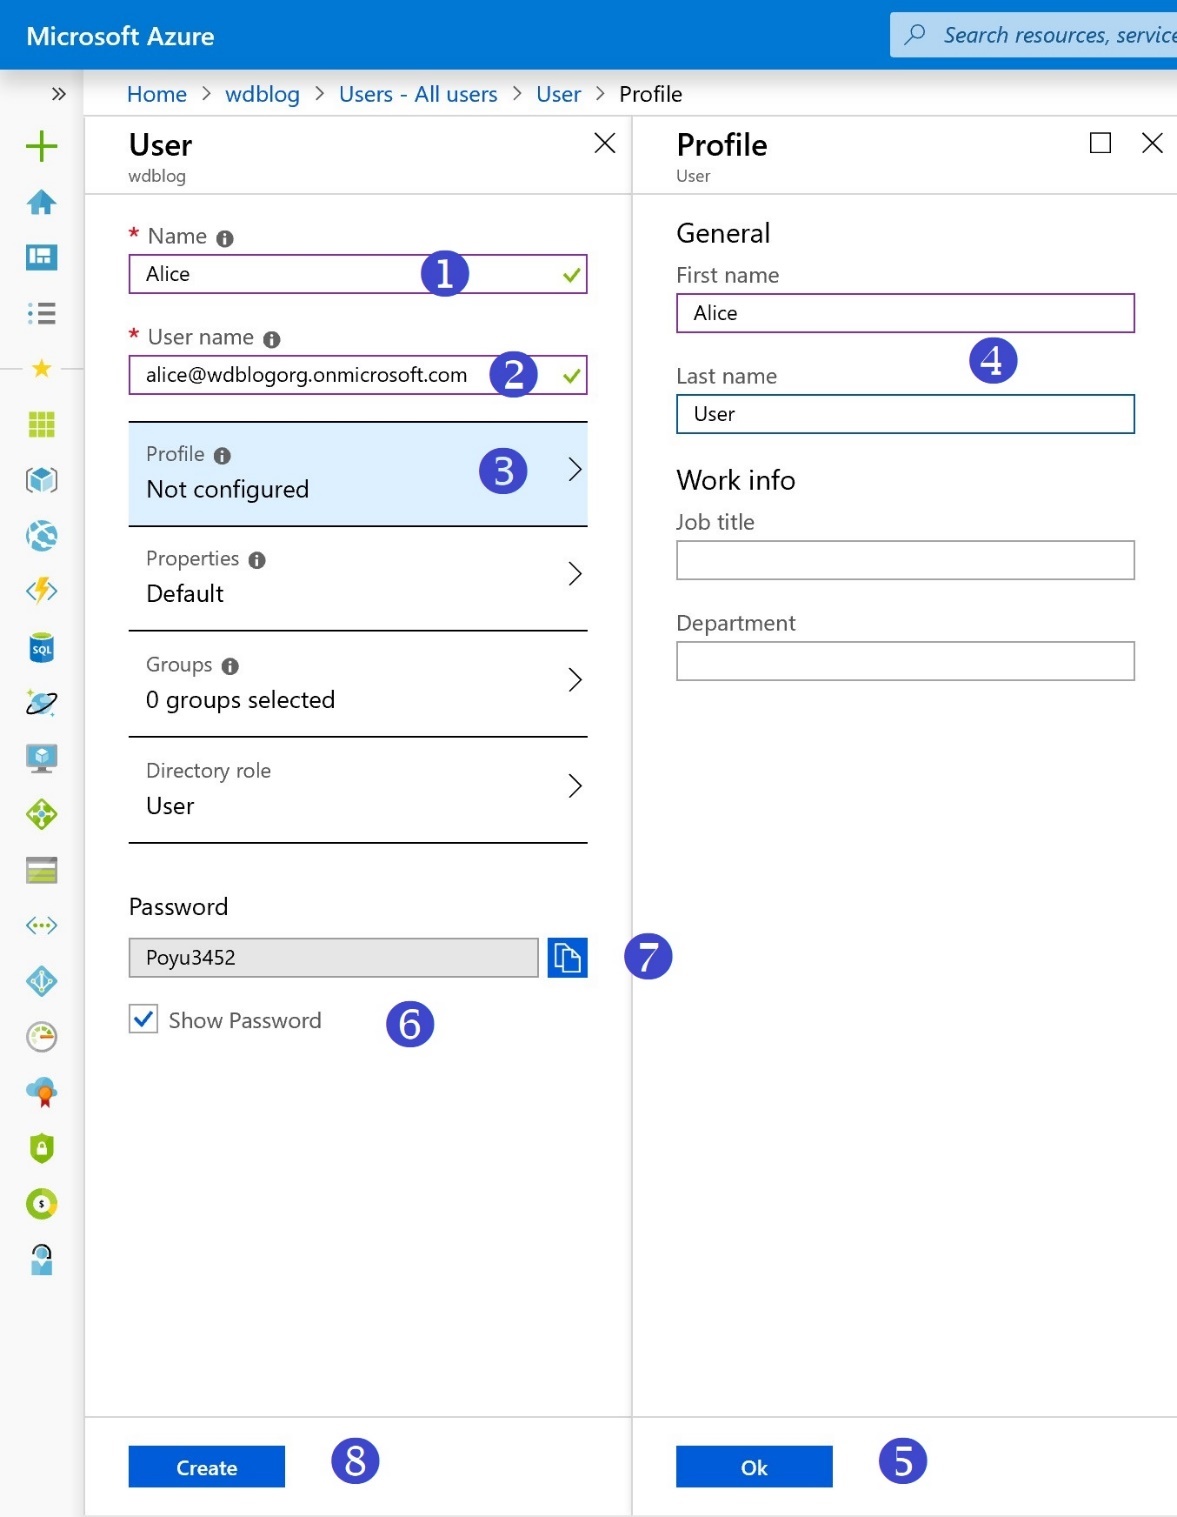
- Alice is now good to go
STEP 2: Create a Web App
For this step, we will be creating an Azure Web App to host our ASP.NET code. The Azure Quickstart Templates site is a gallery of more than 750 templates to help you provision applications with various components and topologies with a click of button. The code for these templates is all open source and hosted on GitHub. We will be using the basic Windows Web App template for this step: 101-webapp-basic-windows.
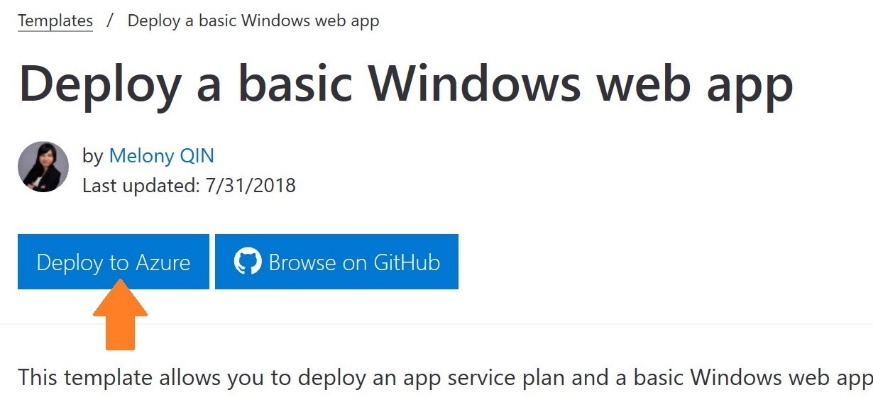
- Point your browser to: https://azure.microsoft.com/en-us/resources/templates/101-webapp-basic-windows/
- Click Deploy to Azure. This will take you to your Azure Portal to specify values for some parameters and deploy the Web App
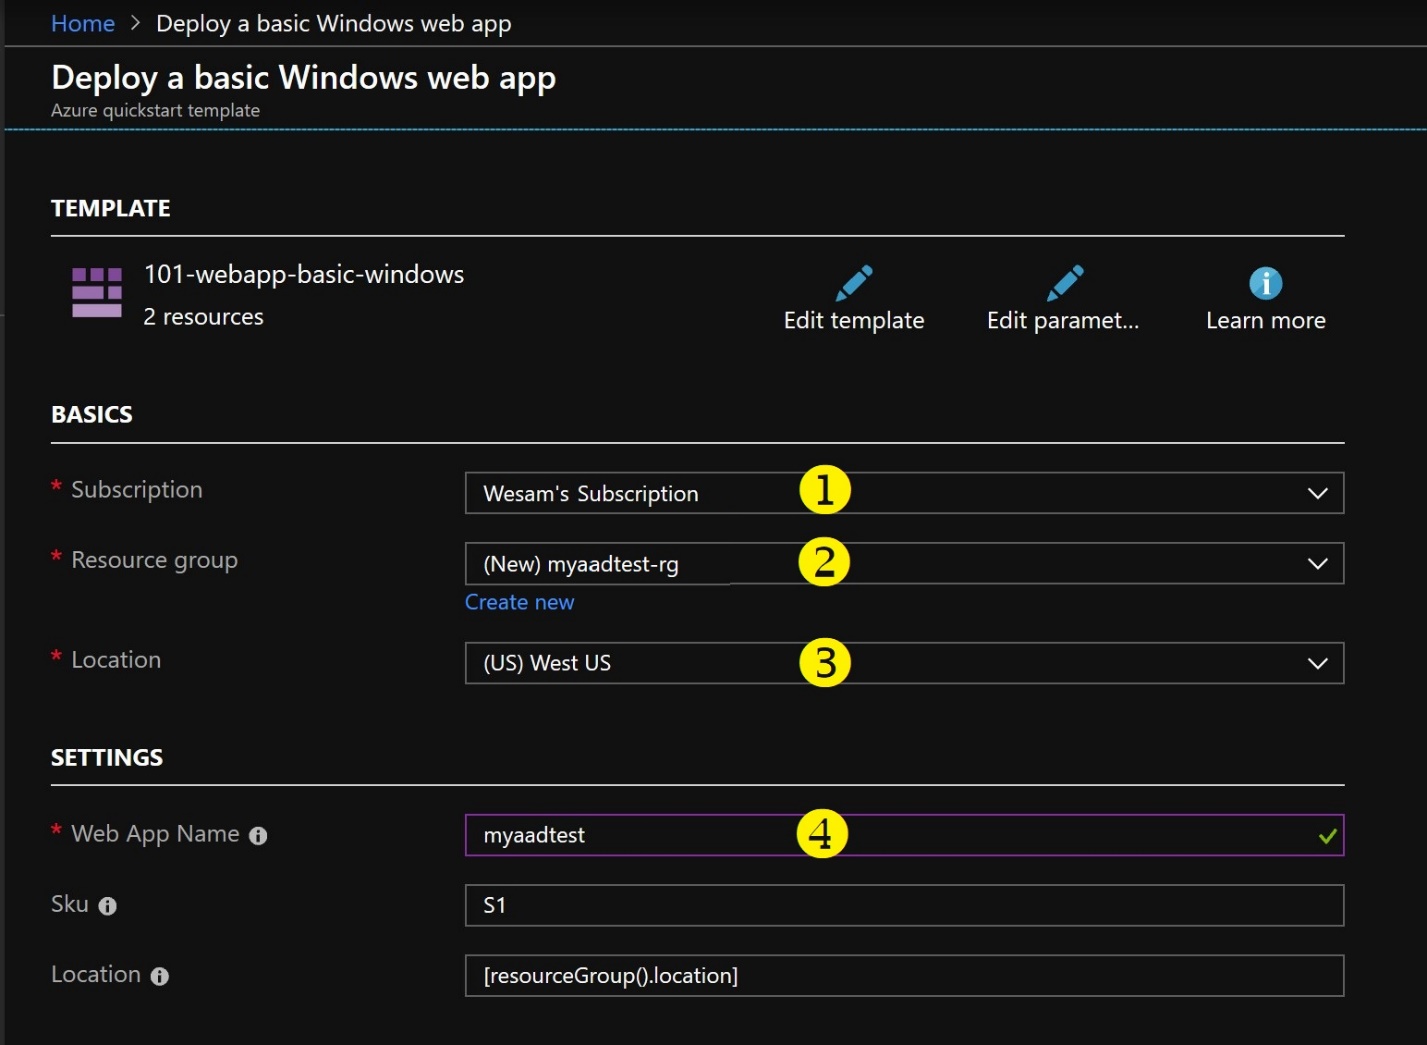
- Enter required values to get the Web App deployed. Choose your subscription, create or choose an existing Resource Group, choose a location that is close to you, and finally, choose a unique name for your Web App. Click “Purchase”.
- You can now quickly navigate to the resource group by typing the name in the search bar in the Azure Portal
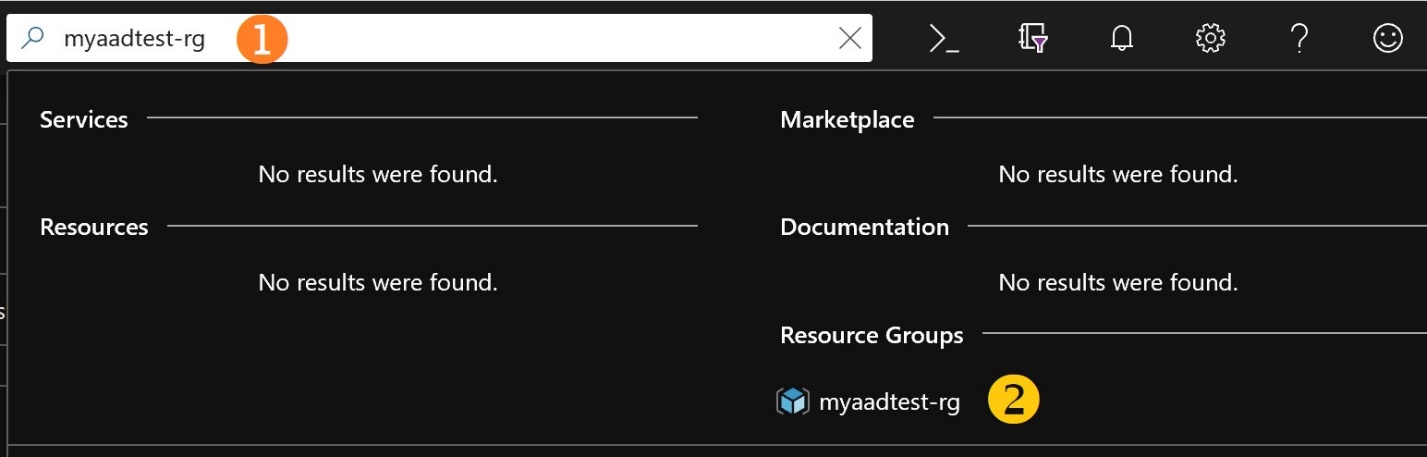
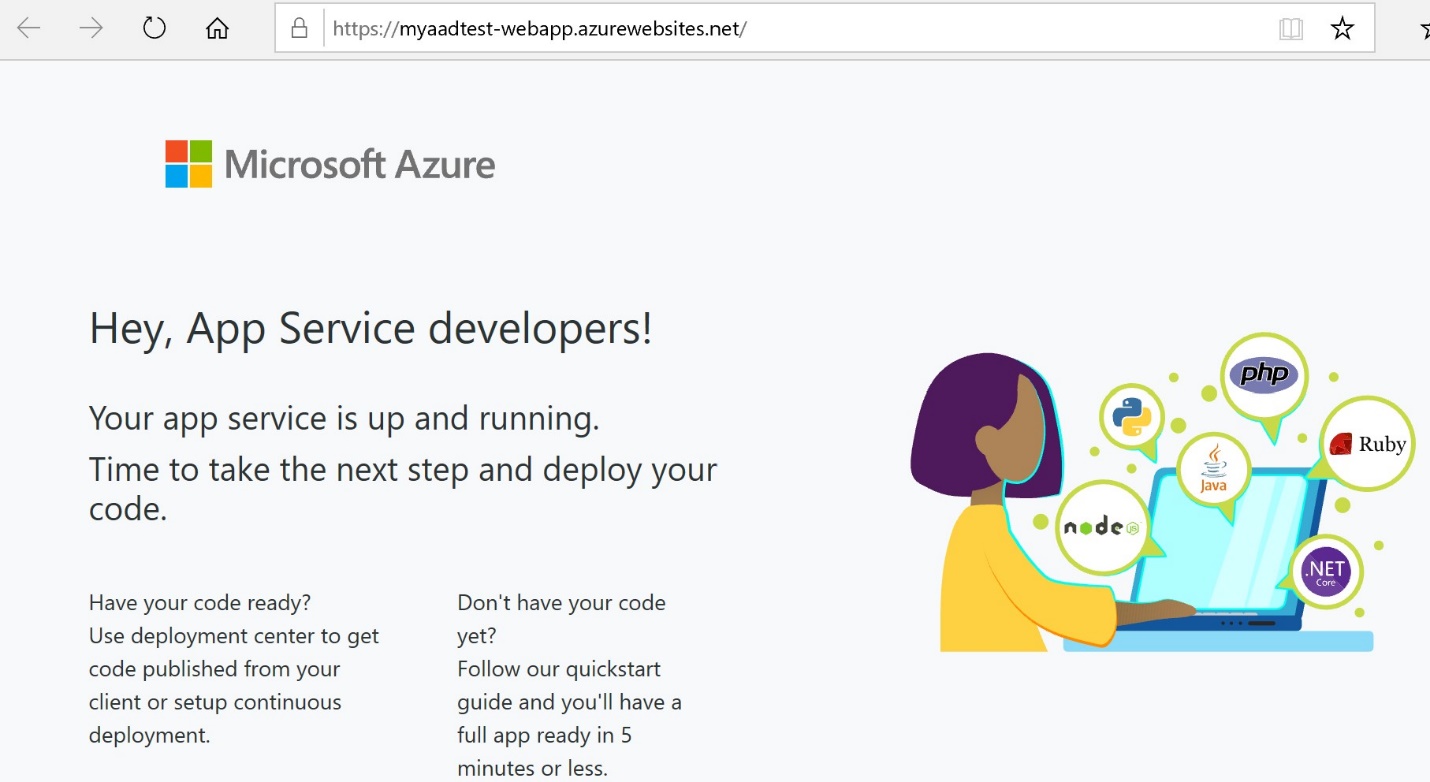
- In the resource group, you should be able to see the newly created App Service Plan and Web App. Click the Web App in the resource group to navigate to its properties. Then point your browser to App’s URL
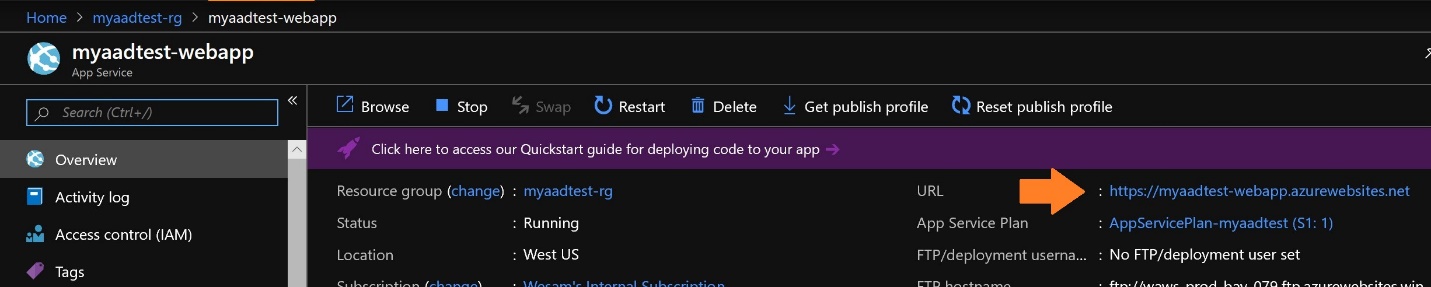
- At this point, the Web App is ready for us to deploy some code
STEP 3: Set up Your Azure DevOps Team Project
For this step, instead of building locally using Visual Studio and deploying to the Web App, we’ll be using Azure DevOps for a cleaner, more repeatable demo.
- Login to your Azure DevOps organization, and create a new Team Project
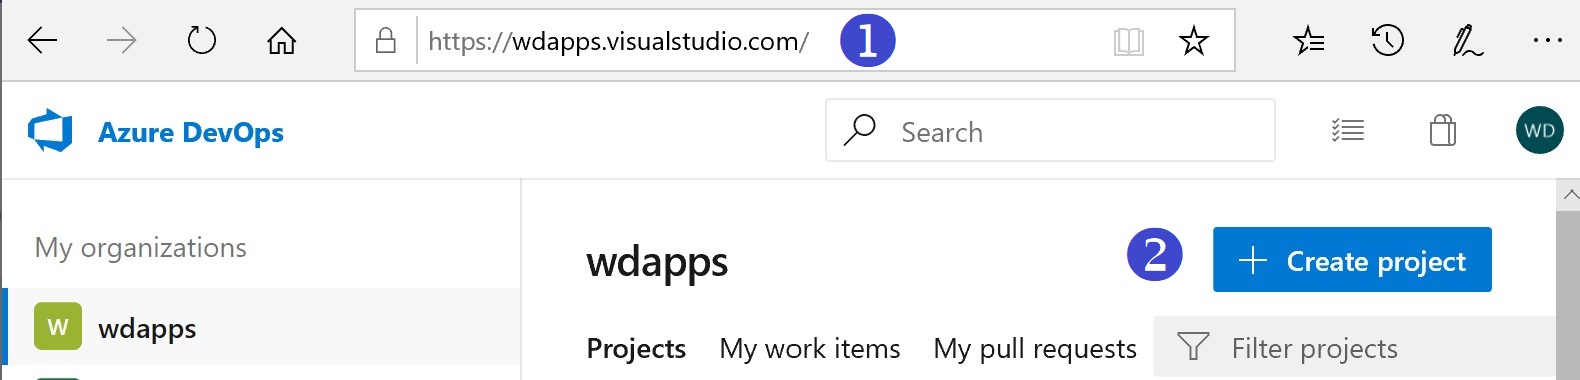
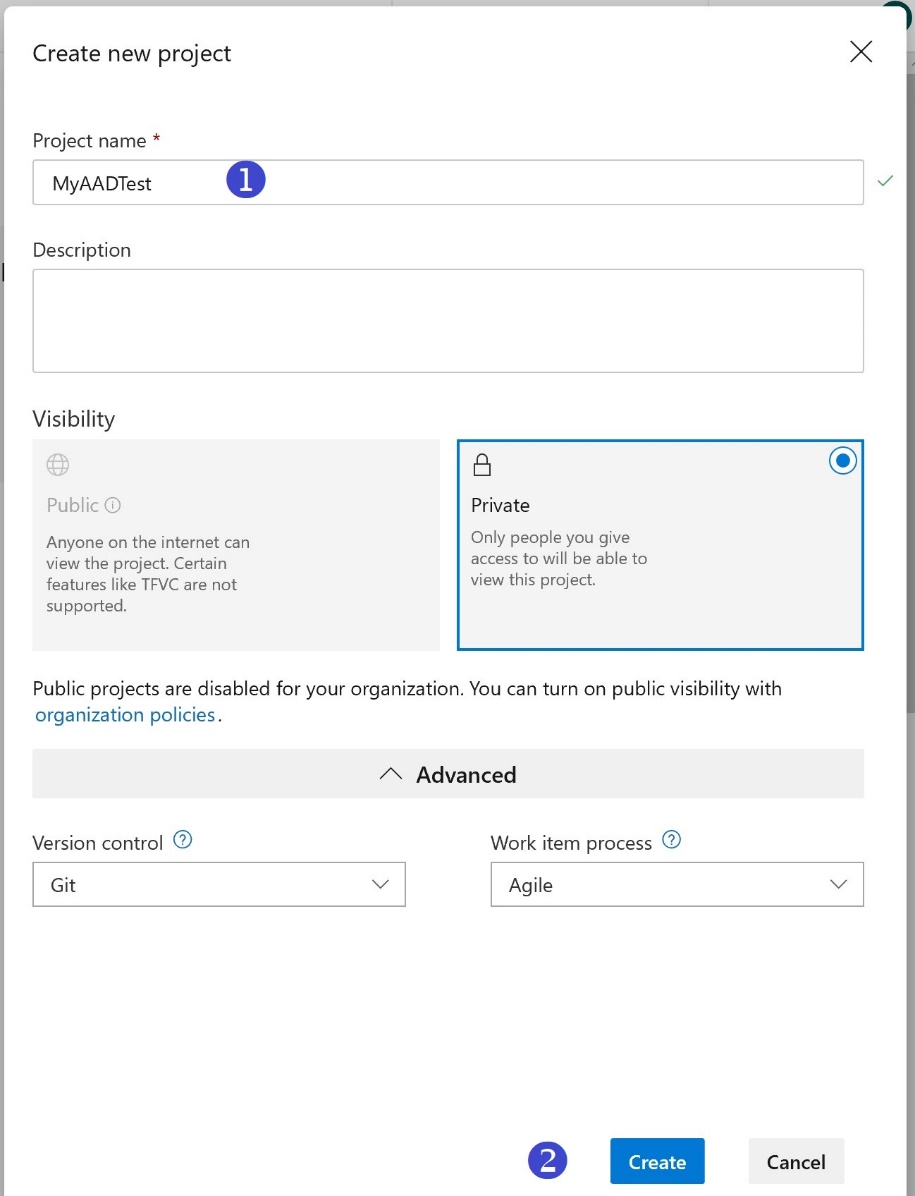
- Choose a name and click Create
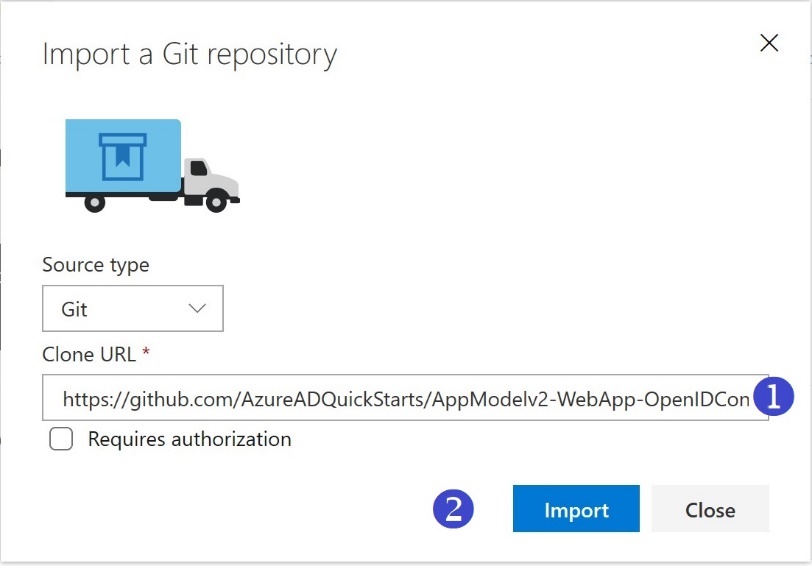
- We are now going to import a Git repository from an Azure AD Quick Start project. The Azure AD Quick Start GitHub repository contains lots of great samples to get you started using various technologies, including .NET, iOS, Node.js, and many more. For this step, we’ll be using the source for AppModelv2-WebApp-OpenIDConnect-DotNet. In your Azure DevOps Team Project, click Repos and then import a repository

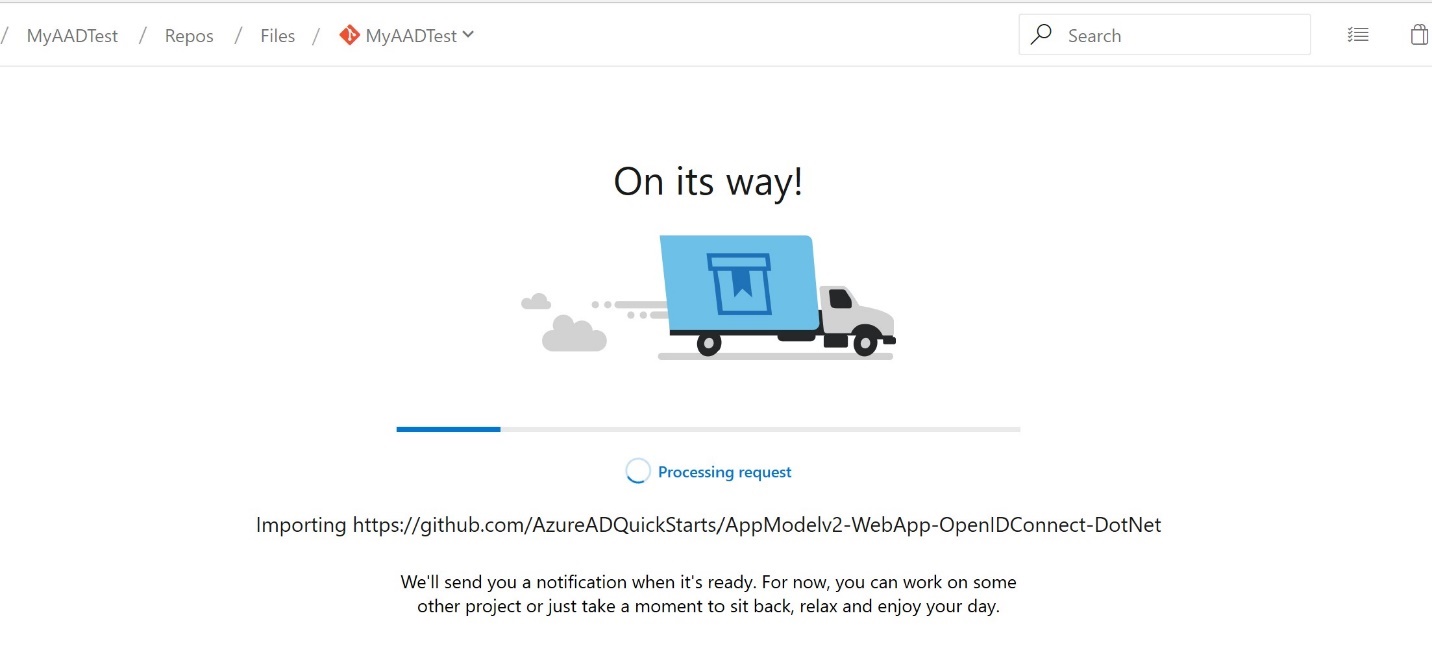
- Enter the Clone URL: https://github.com/AzureADQuickStarts/AppModelv2-WebApp-OpenIDConnect-DotNet and click Import. You should then get a notification indicating the code is on its way.
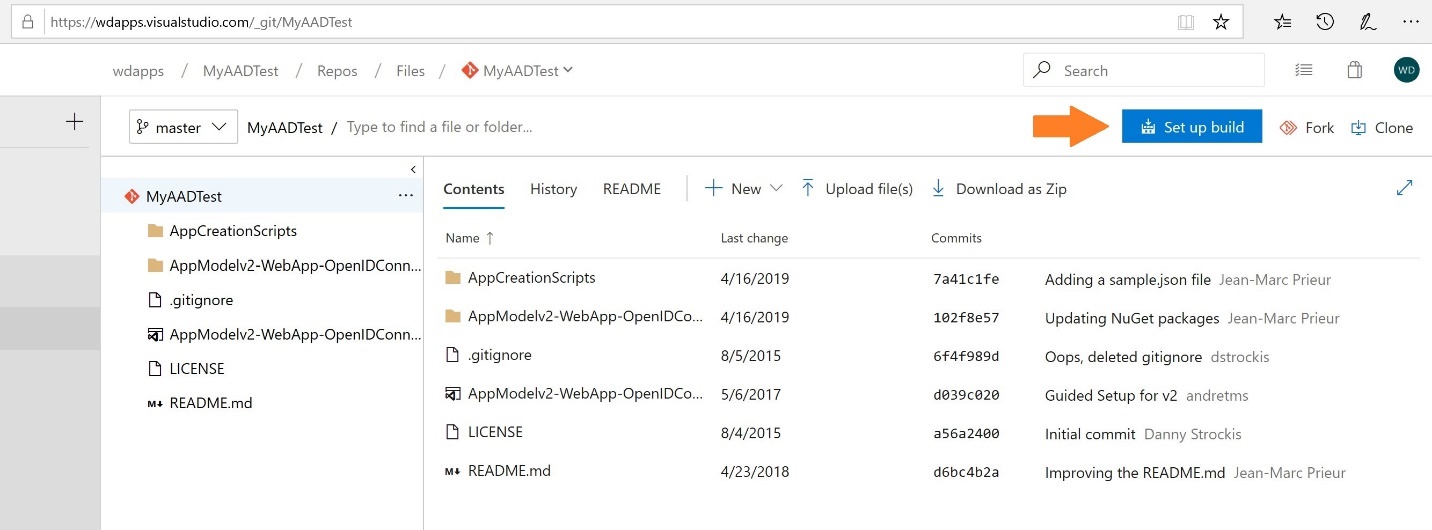
- Now we need to set up a build. After the import is complete, click the “Set up build” button
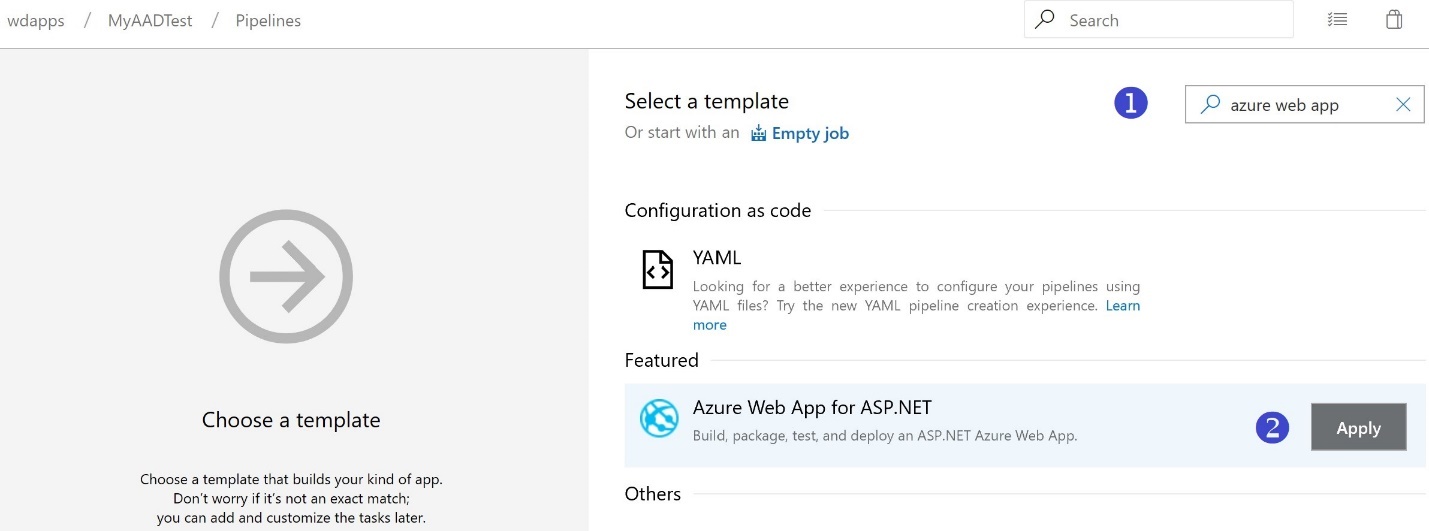
- Look for the Azure Web App template and click Apply
- From the Azure Subscription drop-down menu, choose your Azure subscription and click “Authorize”
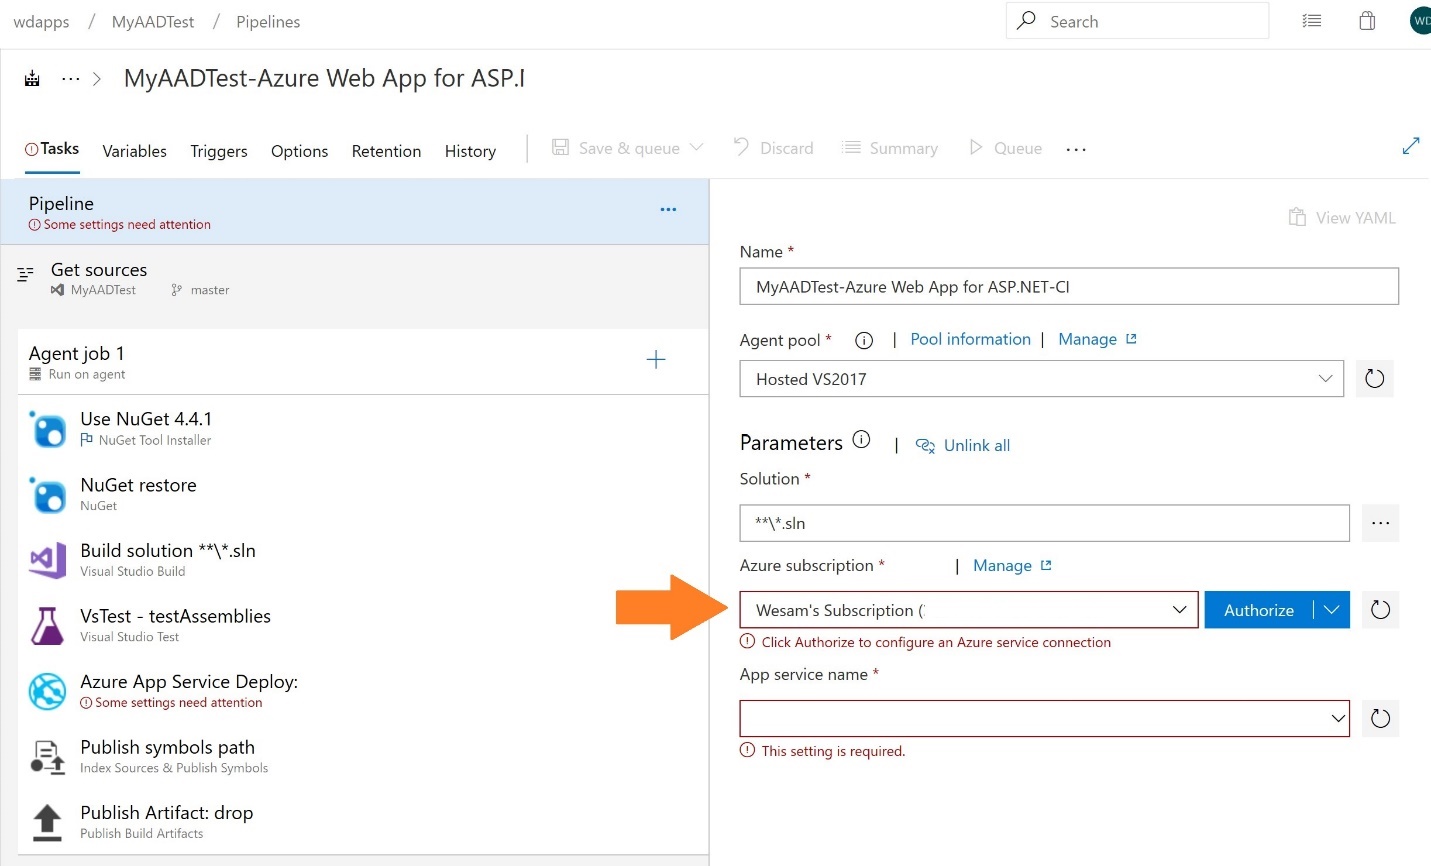
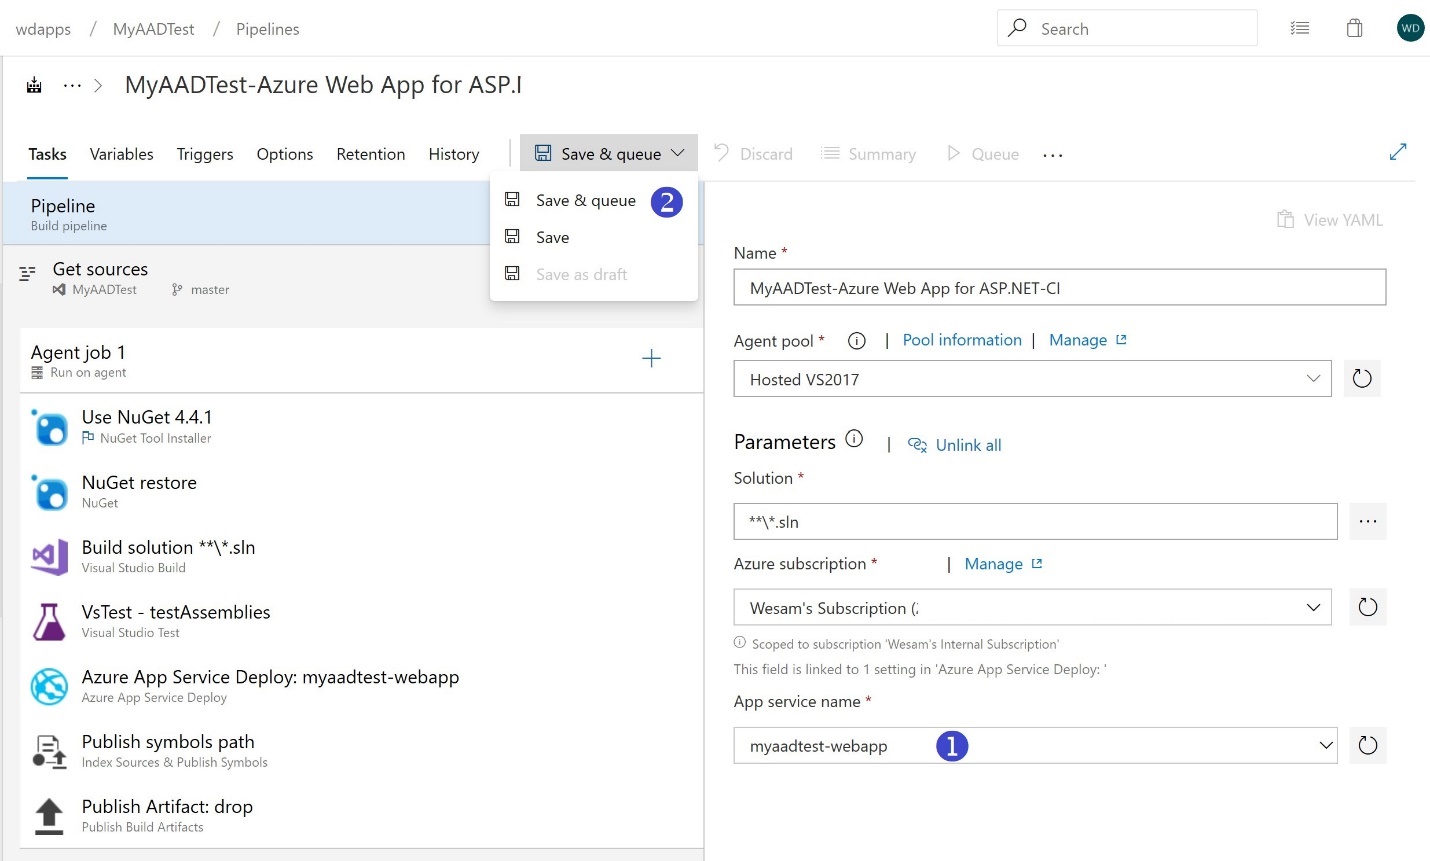
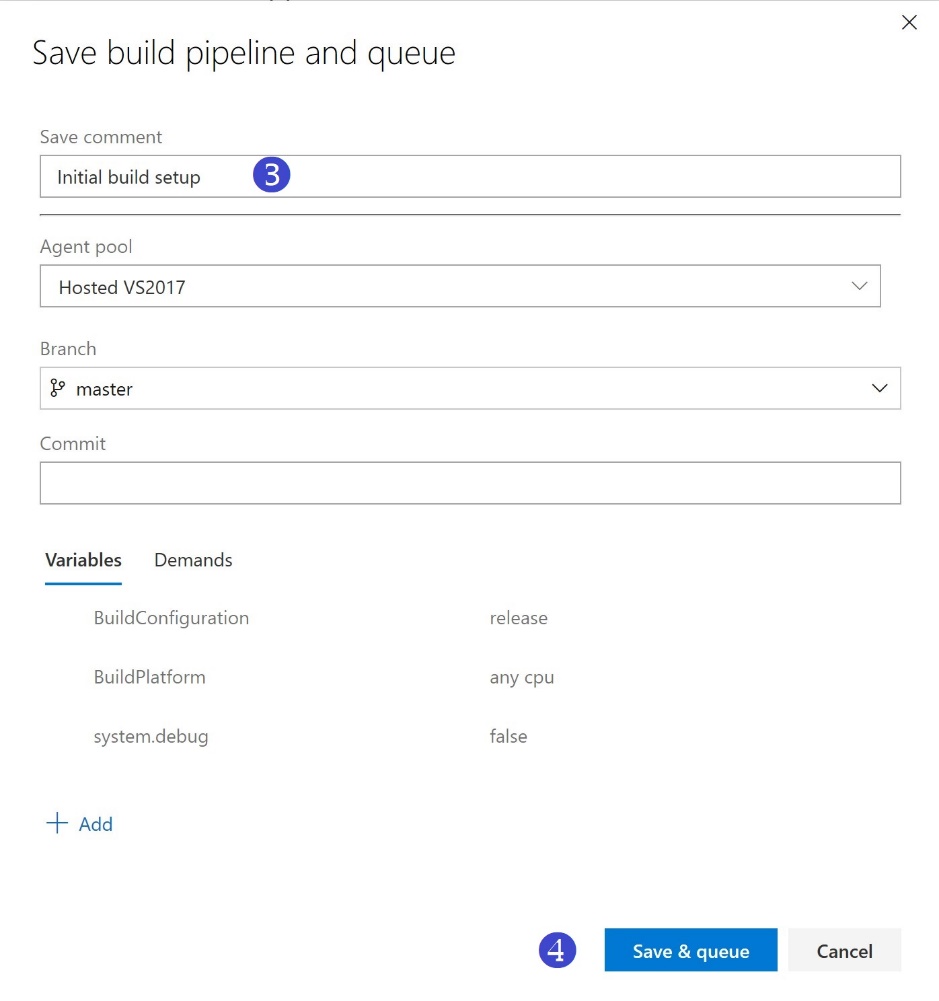
- From the App service name drop-down menu, choose the App Service we created earlier, then save and queue the build
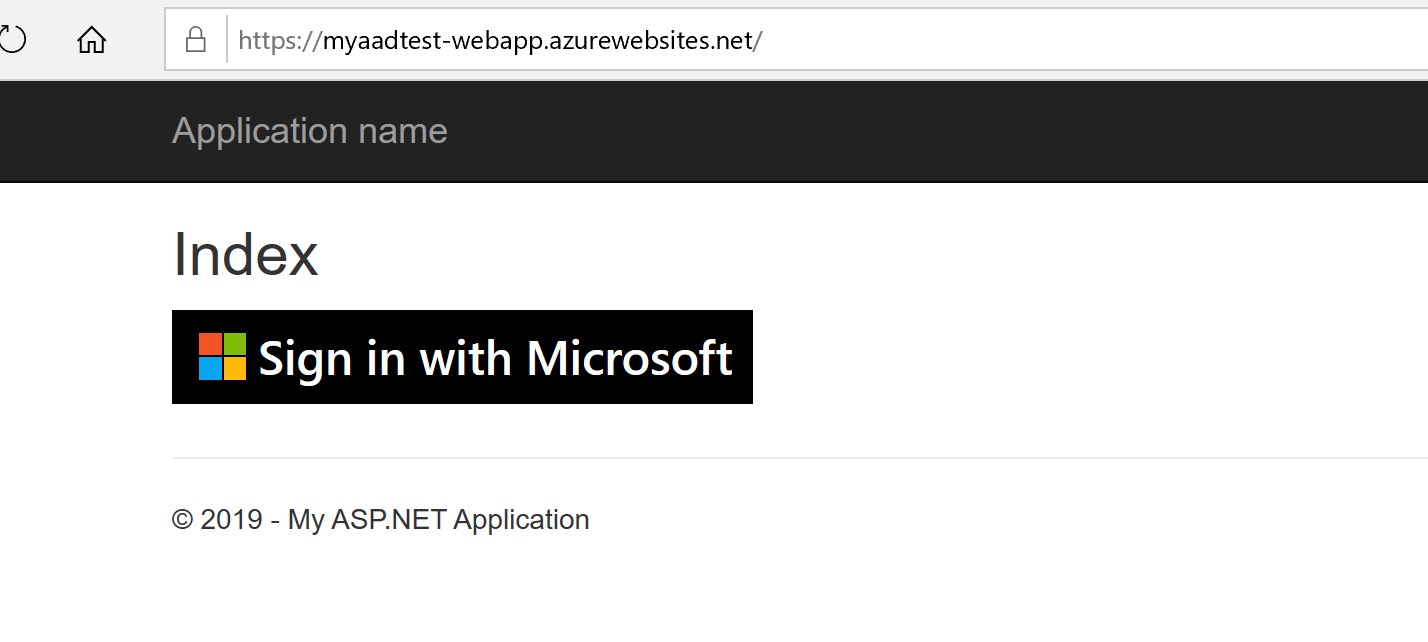
- When the build task completes, if you reload your Azure web app in your browser, you should now be able to see screen below. It’s exciting, I know, but do not click the “Sign in” button yet! To get this to work, we’ll need to register the app next with AAD.

STEP 4: Registering with Azure AD
For this step, we are going to register the application with AAD in order to get a client ID that we’ll use for the app to connect to AAD.
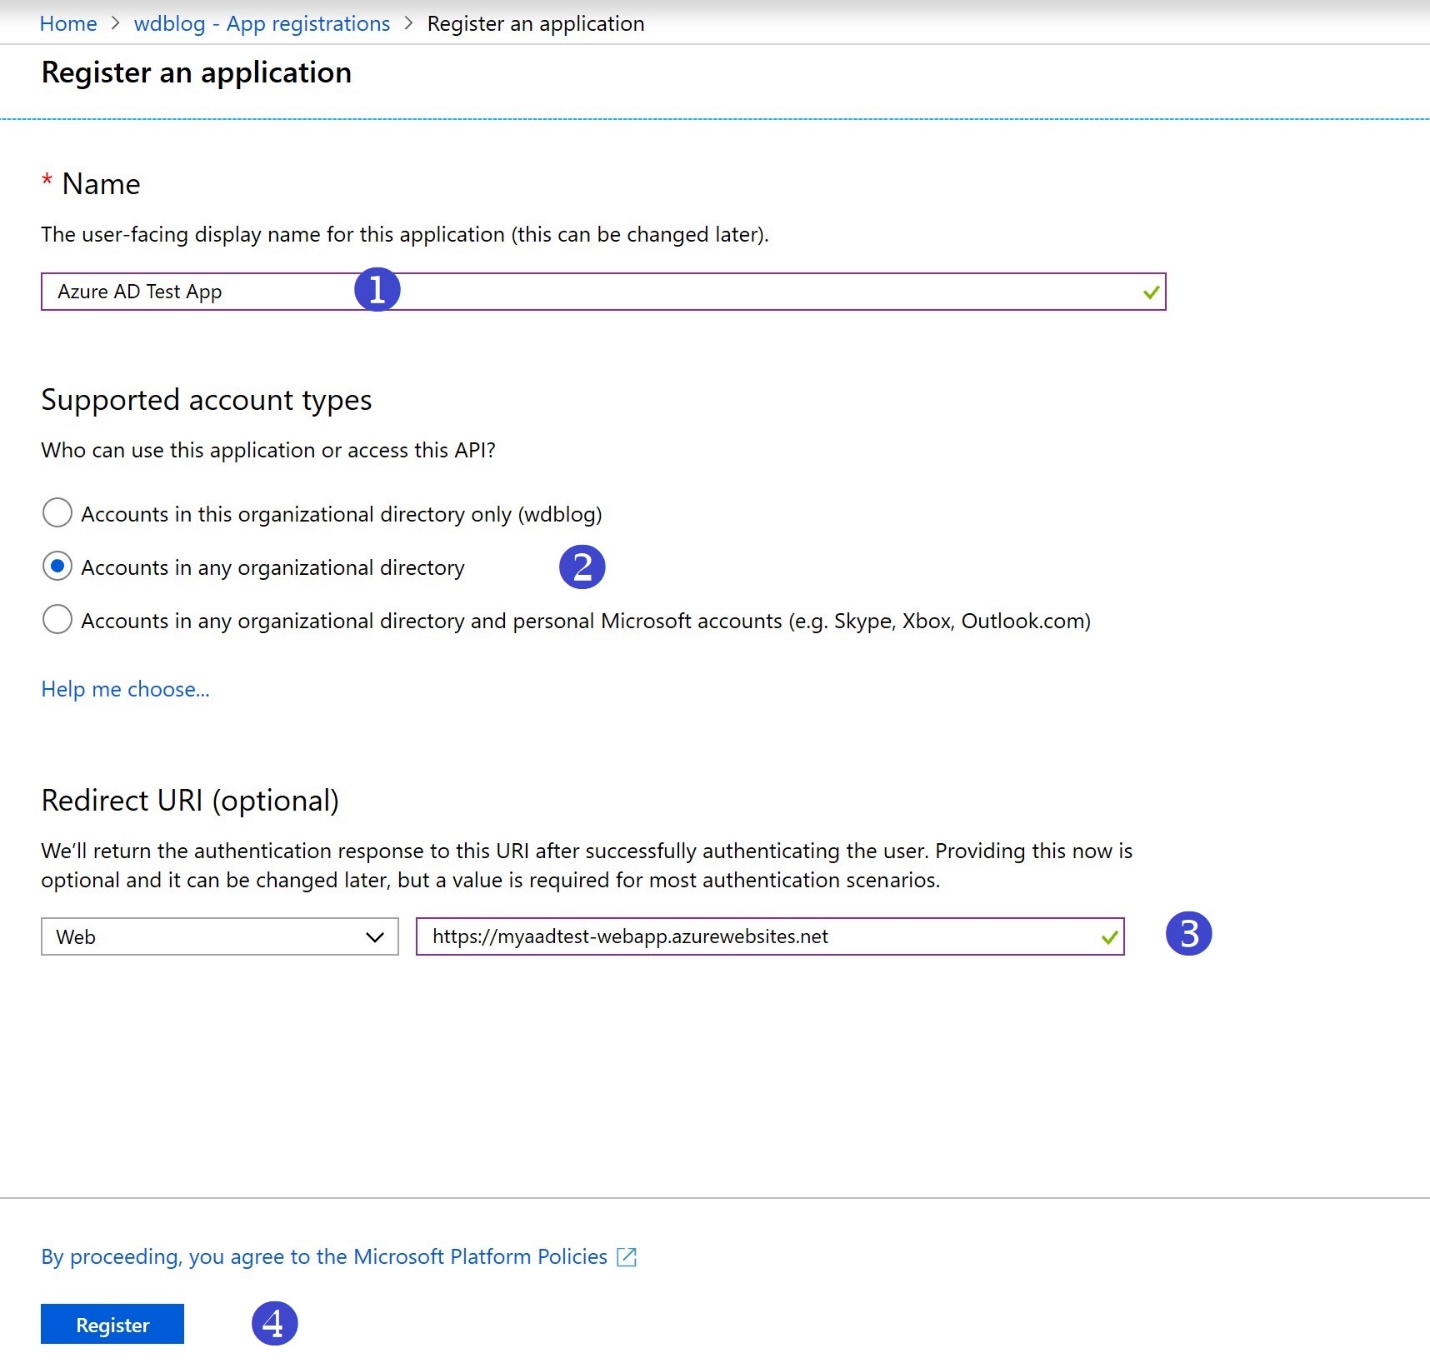
- In the Azure Portal, browse to the AAD directory we’re testing with, and click on “App registrations” followed by “Register an application”
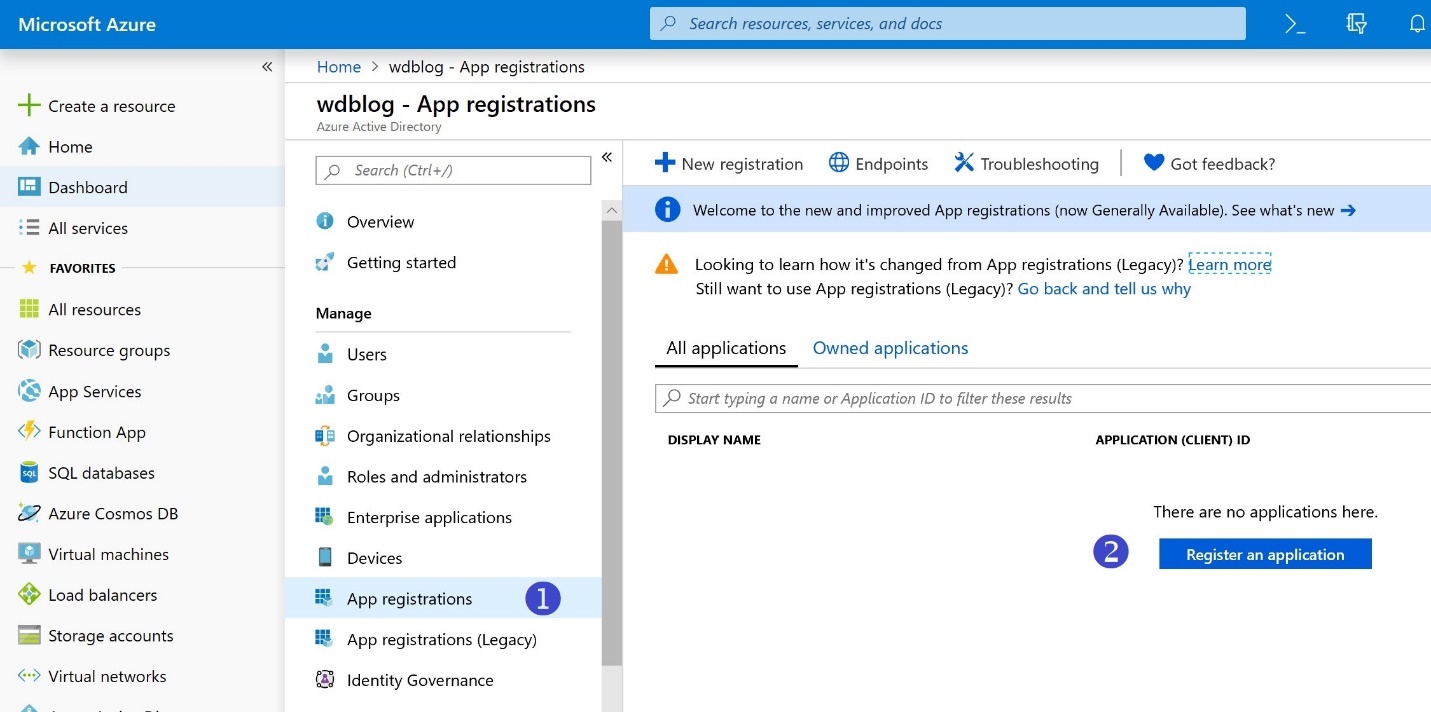
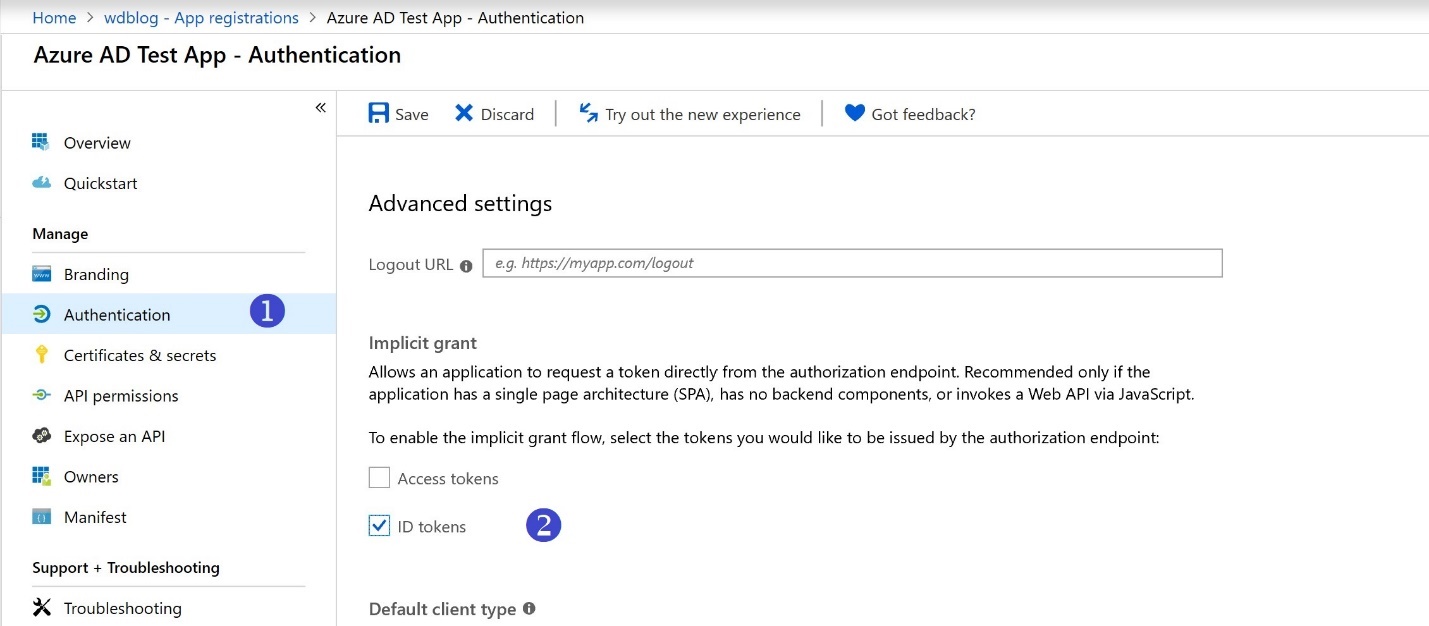
- Choose a name for your application, the supported account types, enter the URL for your application, and click Register, then browse to the newly created application and set some values
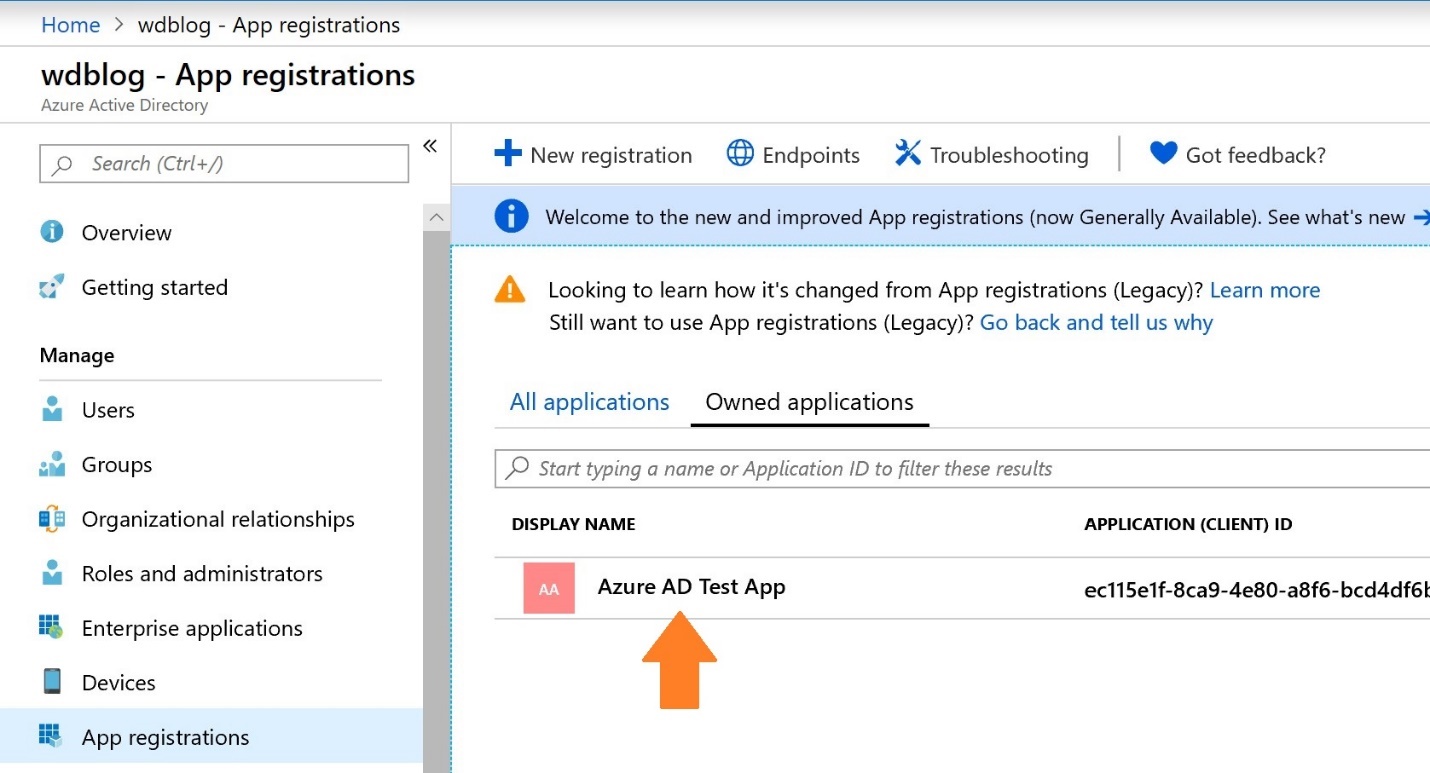
- After the application is registered, we can now copy the Application (client) ID and then update the Web.config file to get everything to work

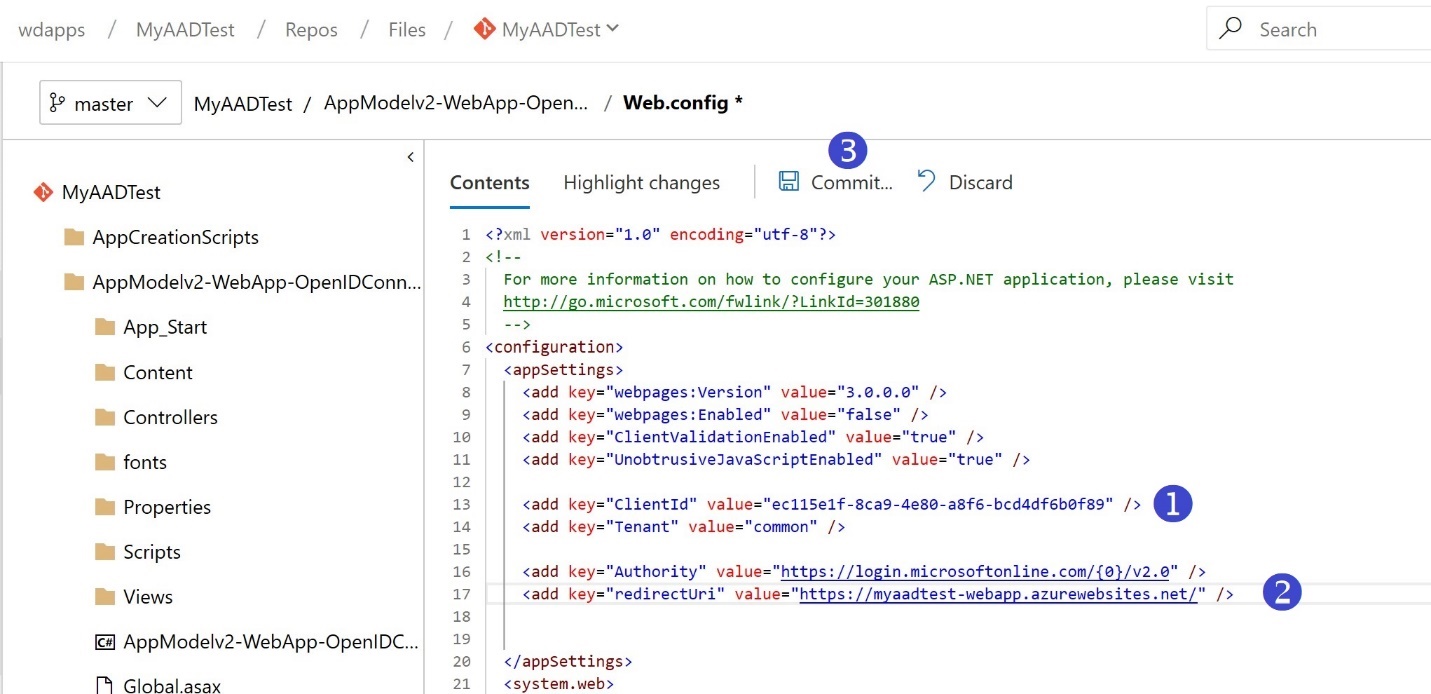
- In your Azure DevOps organization, navigate to the Web.config file, and edit it. Of course, you can connect using your IDE, but we’re taking a shortcut here.
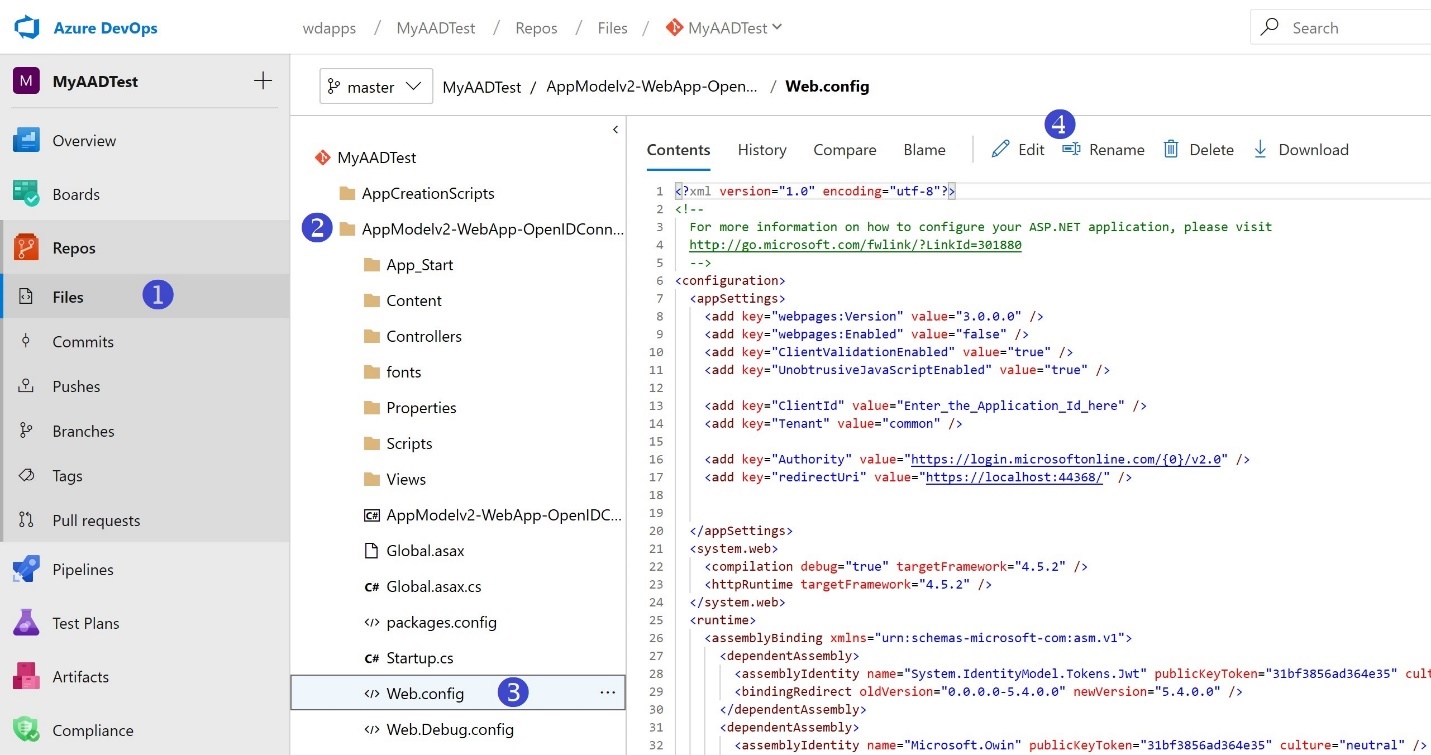
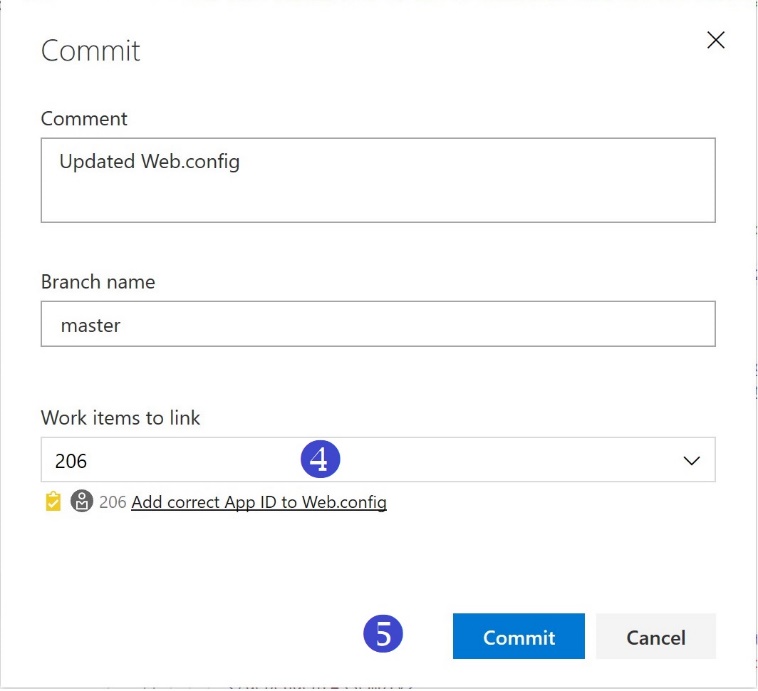
- For the ClientID key, paste in the Application (client) ID copied from the previous step. And for the redirectUri key, insert your Web App URL. Then Commit. When committing the file, a well-disciplined software engineer will associate the commit with a Work Item they’re working on; we’ve skipped the steps of creating a Work Item here.
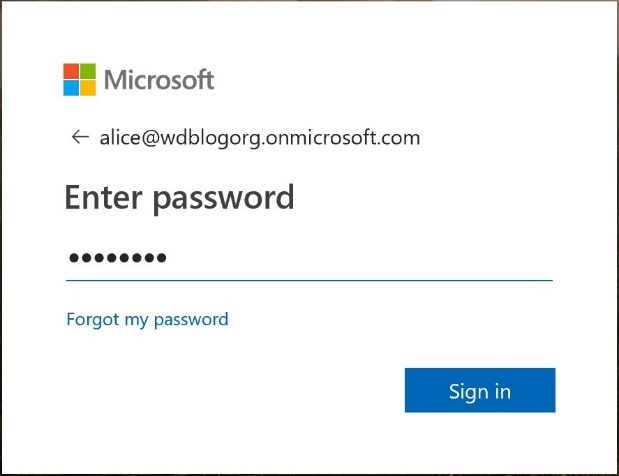
- The build task we set up has CI enabled by default. Committing the Web.config file will kick off a build automatically. When the build completes, we can now reload the Web App page. Make sure you open it in an In-Private/Incognito session, and now you can click the “Sign in” button
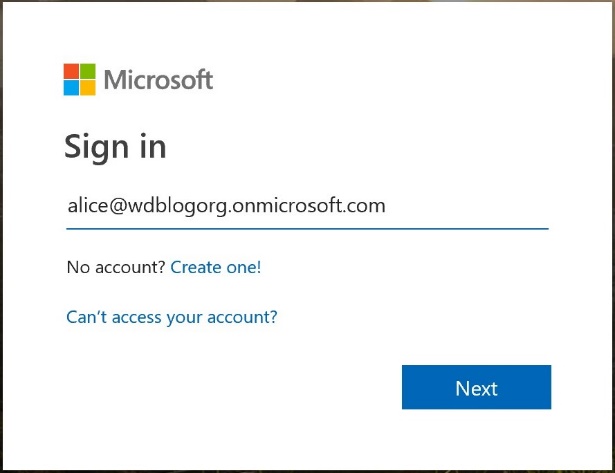
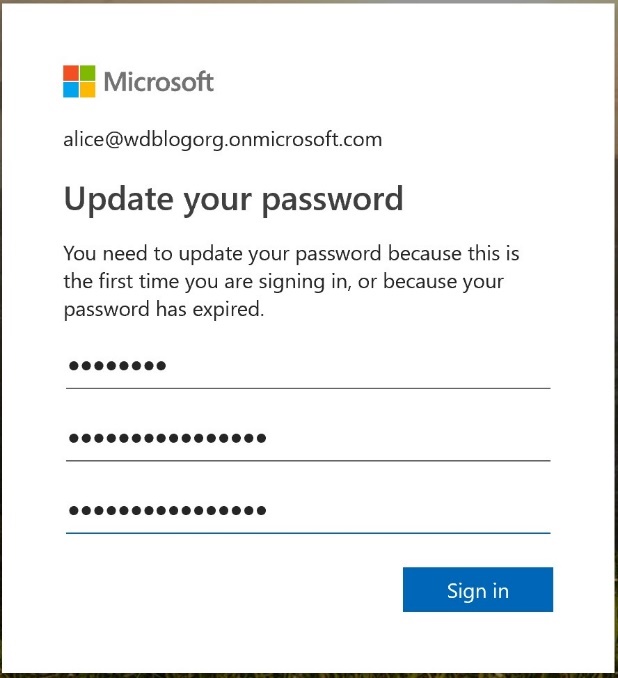
- Enter Alice’s credentials. Remember that the first time Alice logs in, she’ll need to change her password as mentioned previously.
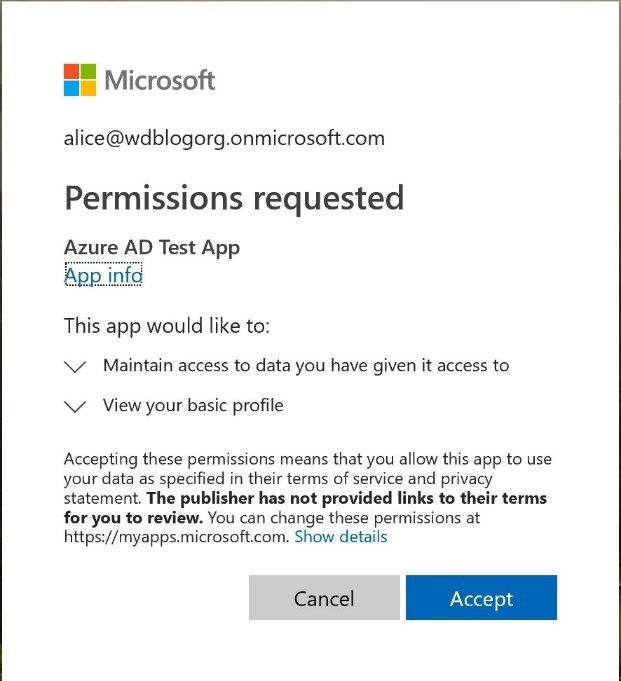
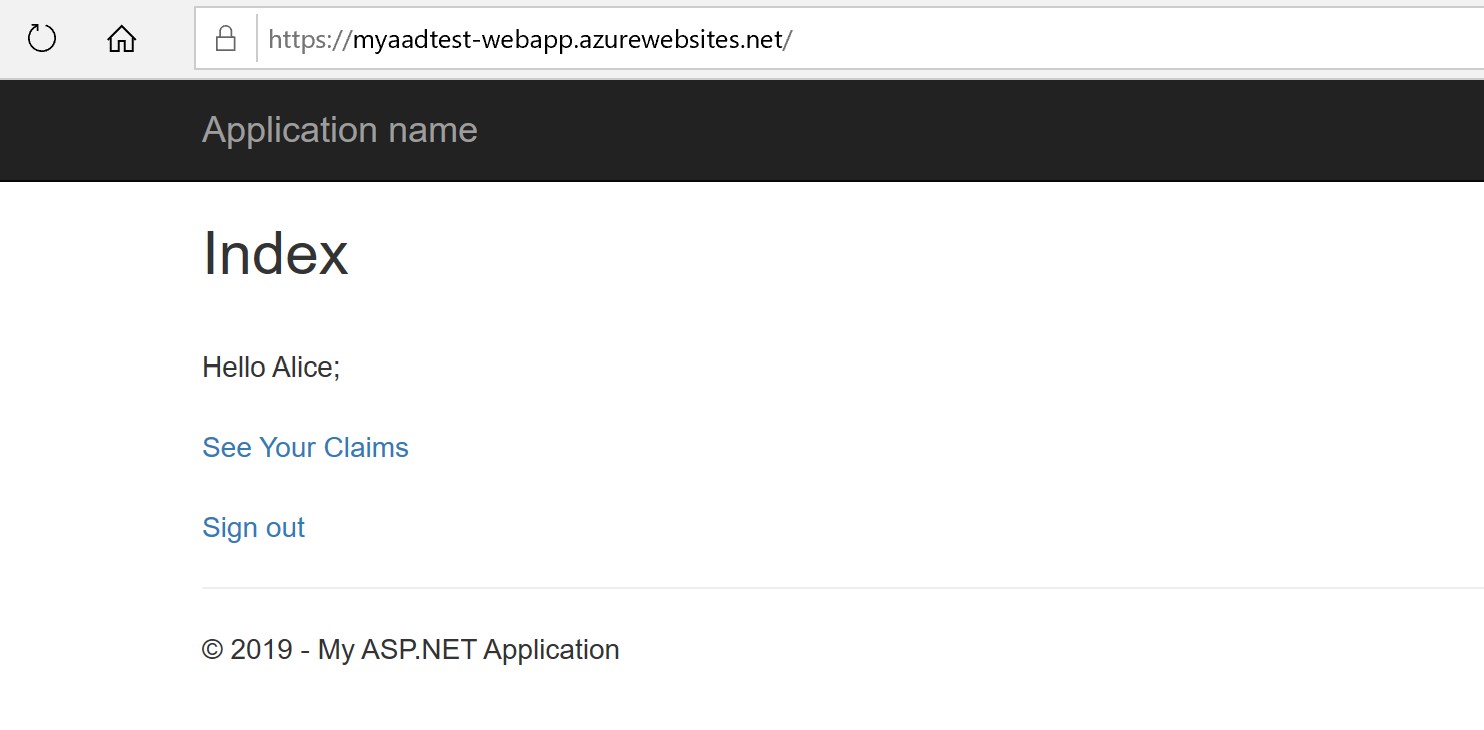
- After login is successful, you can now browse through your claims
Complete code walk through is available here. Make sure to explore various Azure AD customization options and features, including Multi-factor authentication.
0 comments