
Getting started with Docker for Windows
In part-one in this multi-part series, Sr. App Dev Managers Joseph Flanigen and Bill Bevan show us how to get up and running with Docker.
The intention of this two-part blog series is to provide a foundational understanding of Docker from Docker installation through Azure Web App deployment. After a brief overview of Docker itself, we’ll dive right in by getting Docker installed and configured. Next, we will show you how to get up and running with a simple sample app and expand from there.
A brief recap of the journey to Docker containers
Developing, testing, and deploying enterprise applications has become increasing complicated and costly over the years. Fifteen years ago, it was common to run enterprise applications exclusively on physical hardware. Ten years ago, physical machines started to be replaced by virtual machines, increasing scaling and reliability opportunities. Each of these milestones essentially targeted increased performance and decreased administration overhead. Five years ago, a company called Docker introduced standards to virtualize at the application layer, a.k.a. ‘Containerization’.
What Is Docker?
Docker is both a company and a technology that enables users to package their application software in a way that allows the application to run in a variety of environments or ‘containers’ with minimal configuration changes. A Docker container image is a lightweight, standalone, executable package of software that includes everything needed to run an application: code, runtime, system tools, system libraries and settings. Once the application and its underlying components are packaged into a Docker ‘image’, the application can run within a local container or a variety of virtual environments. This includes, but is not limited to Azure, AWS and other cloud providers supporting Kubernetes or Docker image orchestration services like Service Fabric. Read more about Docker here.
Get Docker
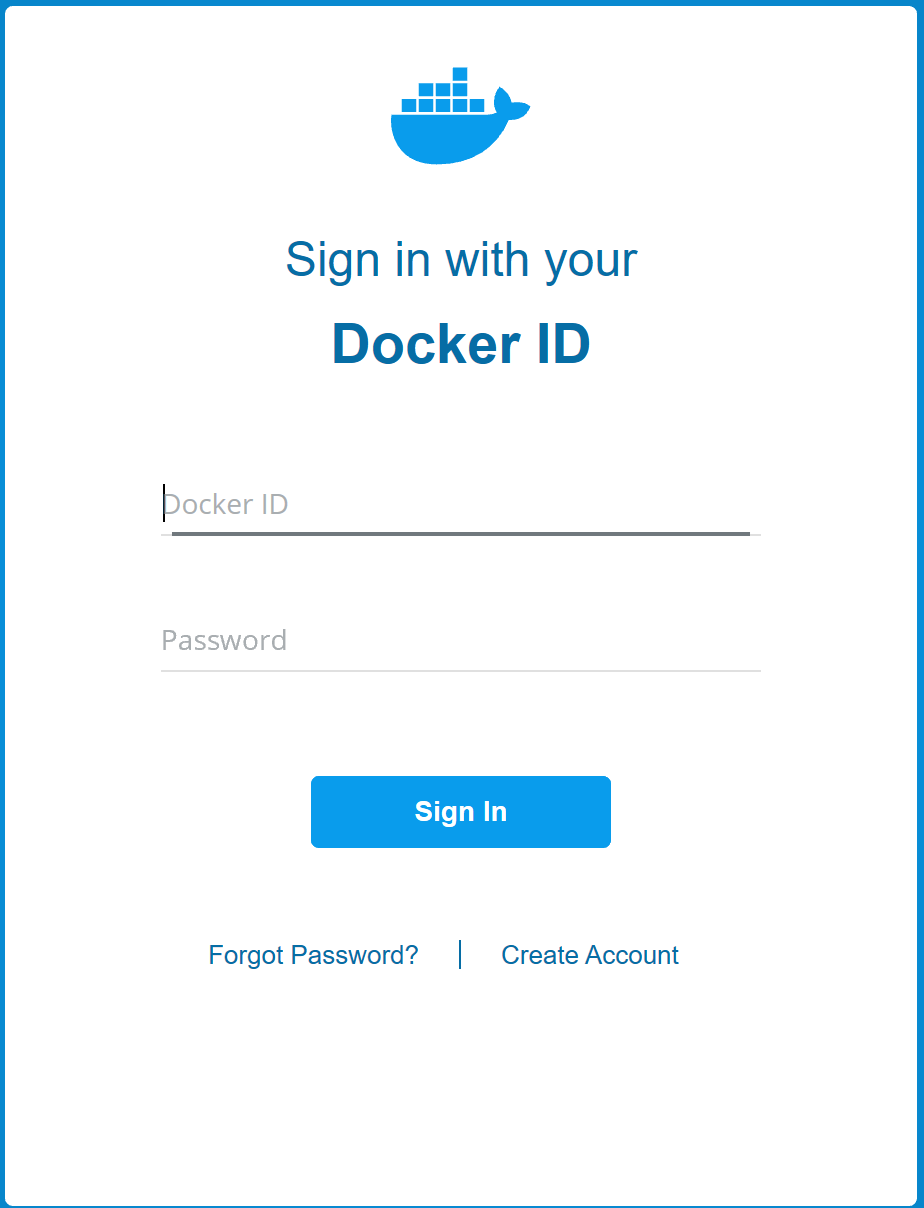
Begin by navigating to Docker Desktop for Windows to download the installer. Before being able to download, a Docker Account must be created and used to sign in at the Docker website and installation base images.
Download / Install Package
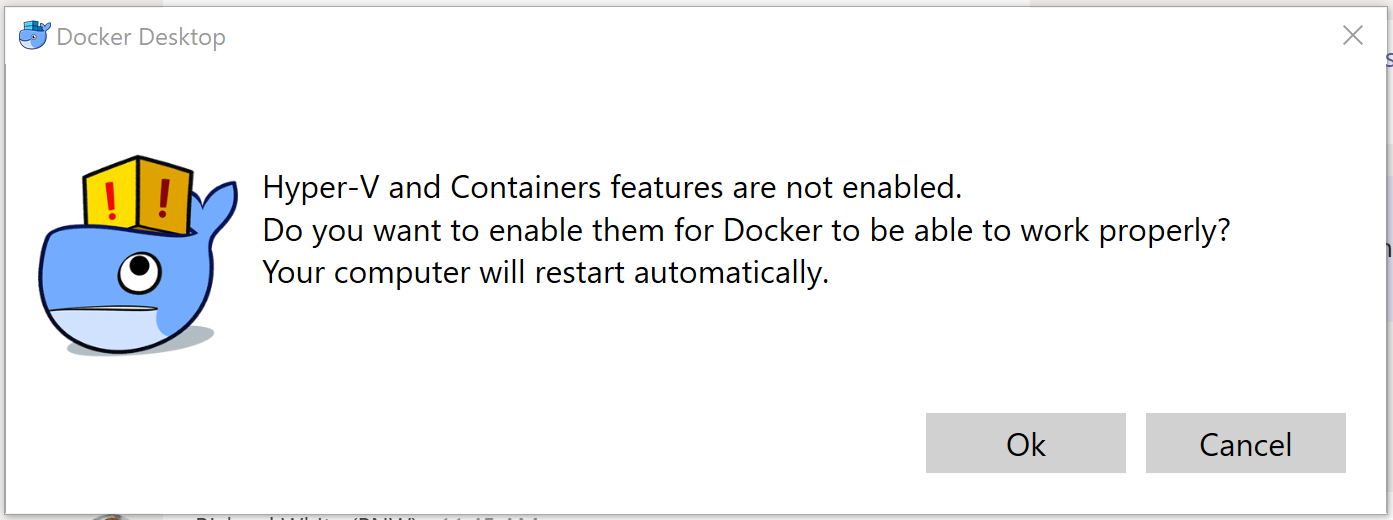
During the installation process, your machine most likely will proceed through some sign outs and reboots. Certainly, enable the Hyper-V and Containers features.
Ensure TPM configuration
During installation and setup of Docker, if you happen to be running into an issue with Hyper-V, please reference the following link for steps to enable Hyper-V in Windows 10.
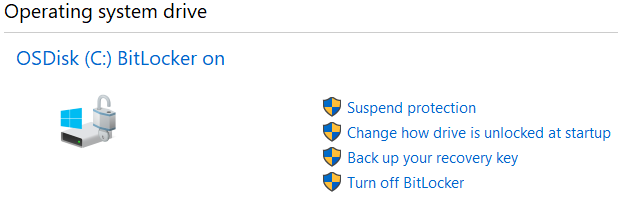
For some machines you might have to go into the BIOS to enable Virtualization as well. If this is a corporate asset with BitLocker enabled, remember to suspend BitLocker before making any needed BIOS changes.
In Windows Search, type manage BitLocker to bring up the configuration window as shown below. Click Suspend protection before making any changes to the BIOS.
(WARNING: Only if needed) In the BIOS of your machine go into Security / Virtualization to enable virtualization. In most cases you will not need to do the above steps in the BIOS.
Eventually your Docker Desktop installation is completed! 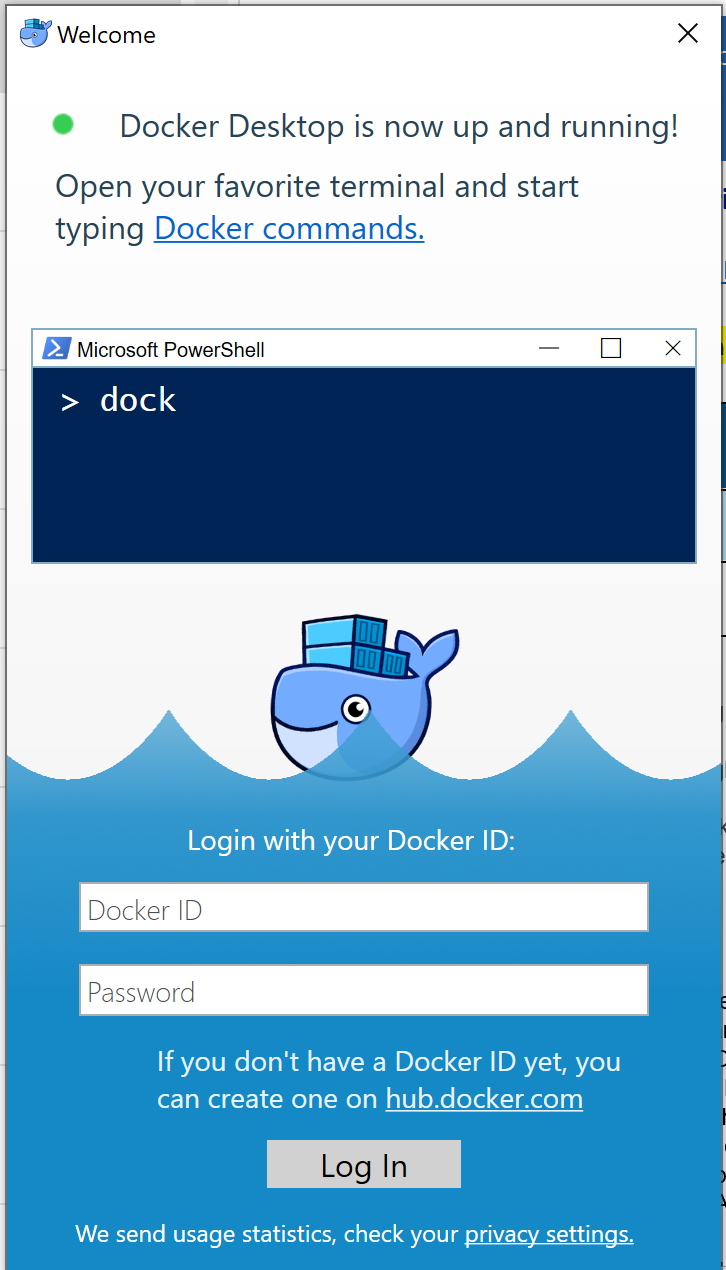
Build Static Website with IIS and run locally
The following walkthrough will enable you to build a Docker image that contains simple HTML page deployed to the Microsoft IIS base image container.
The below steps could easily be augmented to ‘lift-and-shift’ a simple website from a VM or dedicated Webserver to a Docker image ready for container deployment. You can simply cut and paste your web assets into the \site directory run a new Docker build.
Prepare your local Docker Environment
To create the image, we’ll need to create a subdirector and 2 files and a local subdirectory, specifically:
- Folder Structure
- Create a directory called ‘simpleWebImage’
- Within ‘simpleWebImage’, create a subdirectory called ‘site’
- Files
- simpleWebImage.dockerfile – This is the required configuration file that details the behavior of the container environment. This specific configuration requests Microsoft/IIS base image and then copies all contents of the ‘site’ subdirectory into the default wwwroot of the Microsoft IIS instance.
simpleWebImage.dockerfile
FROM microsoft/iis
COPY /site/ /inetpub/wwwroot
index.html
<!doctype html>
<html>
<body>This is a Hello World being served up by a Windows 2016 IIS Web Server running within a Docker container</body>
</html>
Build It / Run It
- Go to the subdirectory that contains your ‘simpleWebImage’dockerfile and ‘site’ subdirectory
- Open a PowerShell Window in Admin Mode
- To build the image, run the following command:
docker build -f simpleWebImage.dockerfile -t simplehello
The ‘-f’ flag allows you to override the ‘dockerfile’ default and point to a specific file of your choosing.
‘simplehello’ is the proper / friendly name of the resulting image we provided and will use to run or manage the image later.
- Once the above command runs, your image will be placed into the local repository. To verify, run the following command to get a list of local repository images:
docker image ls
- To execute the image in a local container, run the following command:
docker run -p 8000:80 simplehello
- To verify that the container image is responding as expected, validate through the following:
- Visually:
- Open your web browser
- Go to http://localhost:8000
- You should get back a basic hello world response
- Through command-line:
- type docker container ls
- Visually:
End the Process / Stop the Container
In Windows, you need to explicitly stop or ‘kill’ the container to stop the Docker image from running locally. To stop the container:
- At the command prompt, type the following:
docker container ls
Note the Container ID in the list, as you’ll use it in the next step
- Type in the following:
docker kill <Container ID>
Summary
With simple steps, we were up and running with Docker in no time. In part two, we’ll take this example to Azure and explore the all deployment and performance options Azure has to offer!
 Light
Light Dark
Dark
0 comments