[Tutorial & Sample] How to use OData Client Code Generator to generate client-side proxy class
Edited on July 09, 2014 by updating “Add OData Client Proxy File” for V2.0.0 and adding “Appendix” part. Please refer to “OData Client Code Generator 2.0.0 release” for V2.0.0 release notes
Edited on Apr 29, 2014 by adding “Upgrade the Project Dependencies to the Most Recent Version” part.
In this tutorial, you will generate an OData client proxy class for an OData V4 service by “OData Client Code Generator”.
Install OData Client Code Generator
Start Visual Studio, from the TOOLS menu, select Extensions and Updates
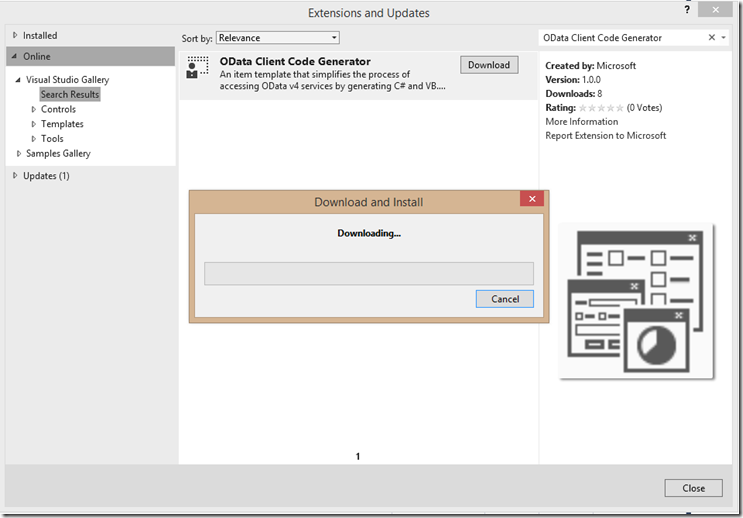
In the left panel, expand Online -> Visual Studio Gallery. Search “OData Client Code Generator” in search box and Download the VSIX.
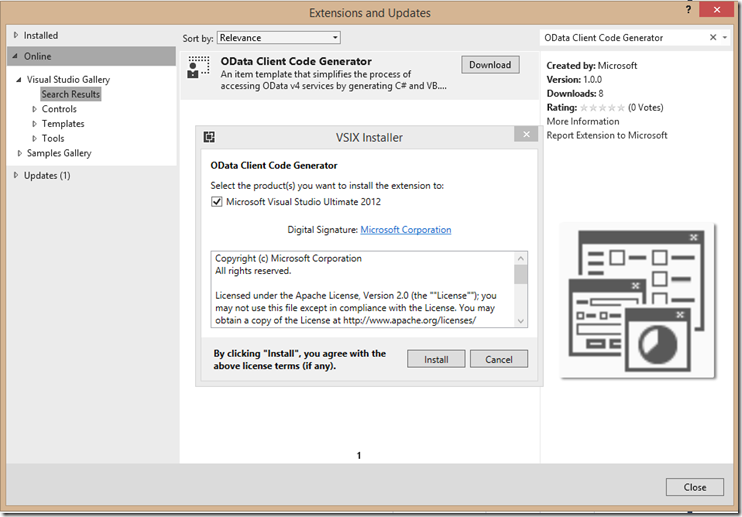
After the VSIX is downloaded, the installer page will show. Click Install.
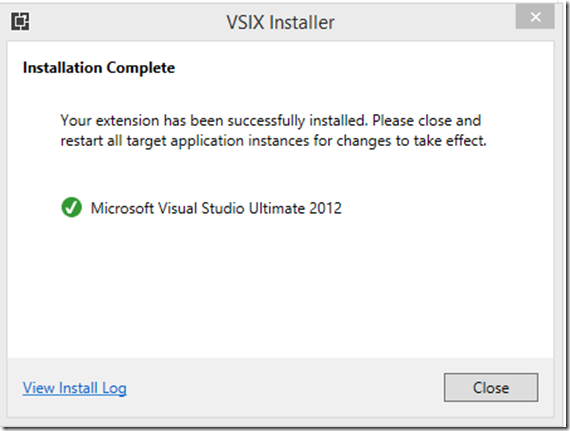
Following dialog will show when installation finish. Click Close.
You need to restart Visual studio in order for the changes to take effect.
Create Your Application
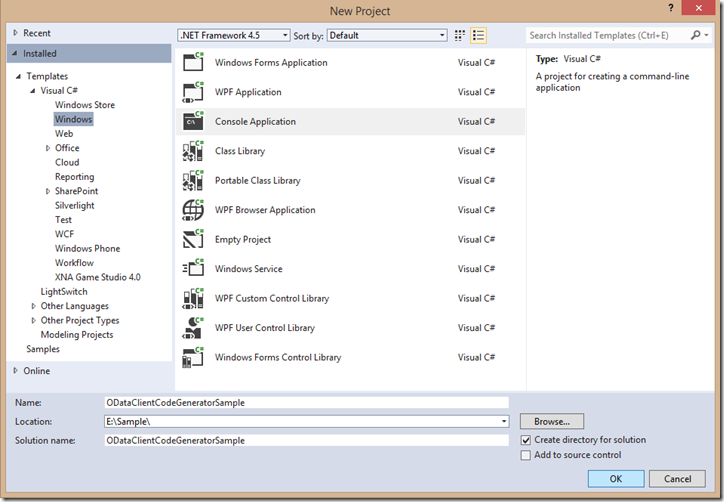
Create your project. OData Client Code Generator works with any projects, but here, we take “Console Application” project for example
Add OData Client Proxy File
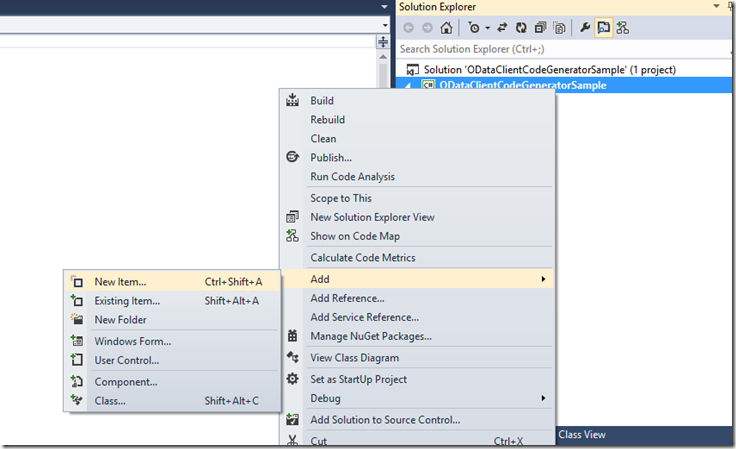
In Solution Explorer, right click you project name. Click Add->New Item.
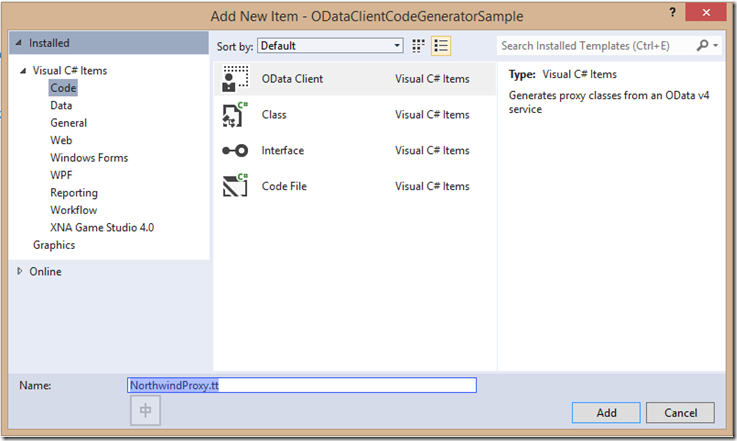
In the left panel, expand Installed->Visual C# Items->Code. Choose “OData Client”, and rename your client file, such as “NorthwindProxy.tt”, and Click Add.
This step will add two files to your project
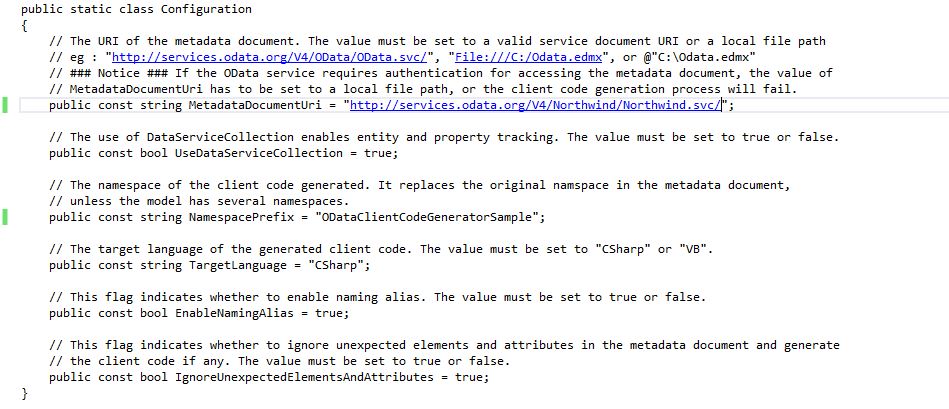
1. NorthwindProxy.tt contains all the configurations you need to set:
- MetadataDocumentUri
Service document URI or service metadata URI or a file path of metadata local copy.
- NamespacePrefix
-
- The value will be used as the namespace of your client proxy when metadata contains only one schema.
- The value will be added before namespaces of schemas when metadata contains several schemas.
- The namespace in metadata will be used if the value is empty string.
- EnableNamingAlias
This value will be used to enable naming alias. By default, it is to enable camel case on client side. But user can customize the naming alias logic.
2. NorthwindProxy.ttinclude is the T4 template for generating proxy file from metadata document.
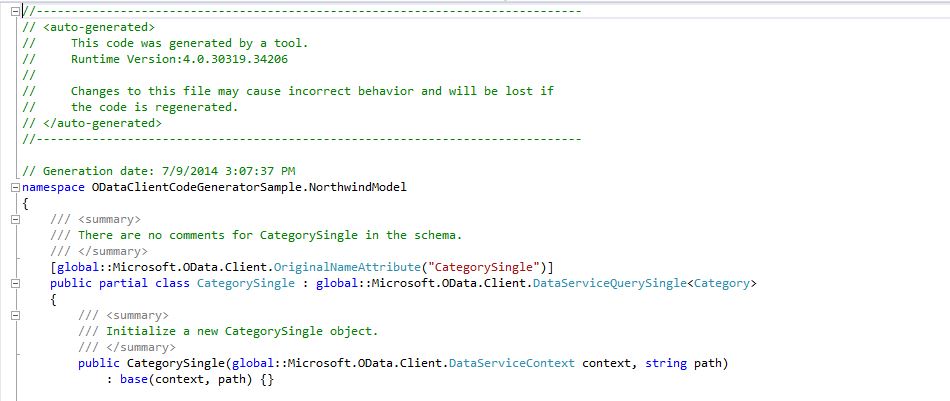
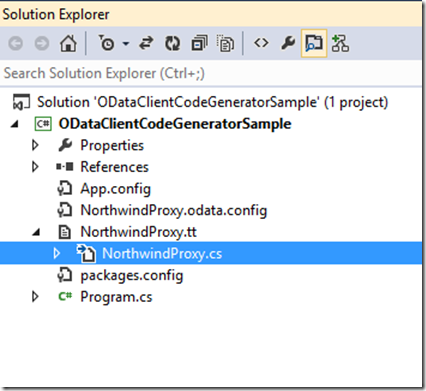
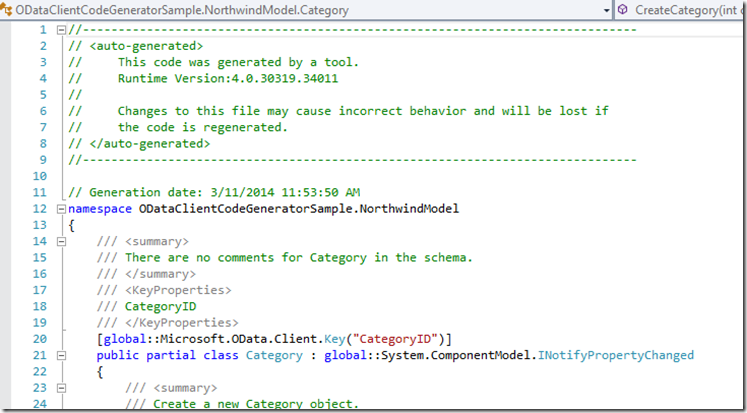
Save the tt file, The generated cs file will show in Solution Explorer under the tt file.
Consume the generated code
Now, we have generated the client proxy for the service file. You can refer to it in your client code. Example.
Upgrade the Project Dependencies to the Most Recent Version
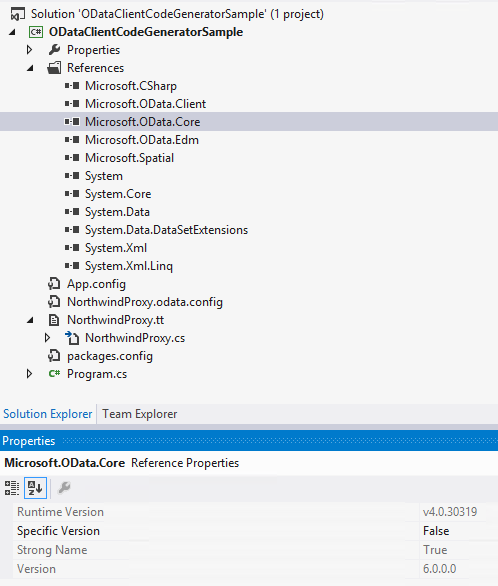
After all the steps above, you will find that the OData core and client libraries version 6.0.0 have been added into the references of this project.
If you want to upgrade the OData core and client libraries to the most recent version, you can use the NuGet Package Manager to do it.
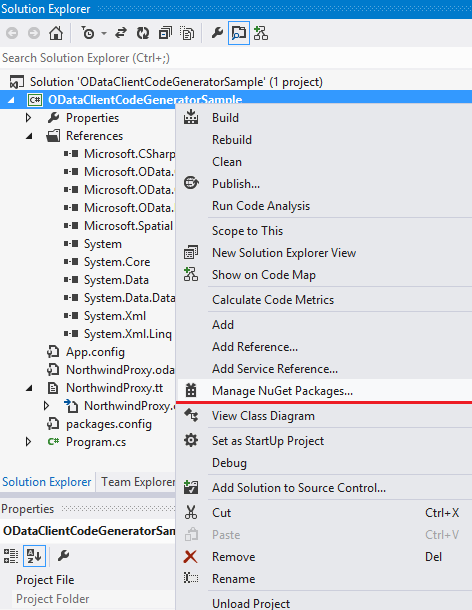
In the solution explorer, right click the project and click “Manage NuGet Packages”.
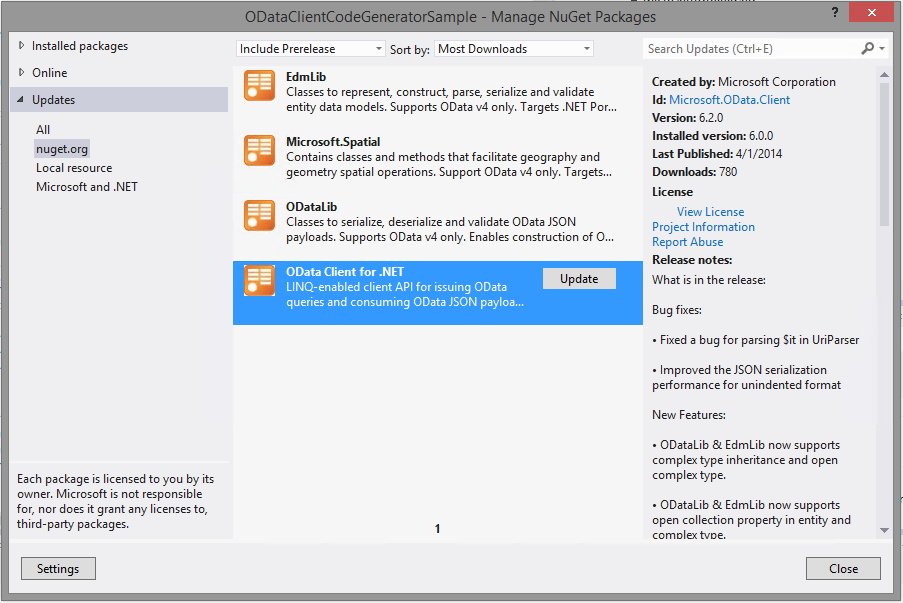
In the left panel, expand Update -> nuget.org. Select “OData Client for .NET” and click “Update”.
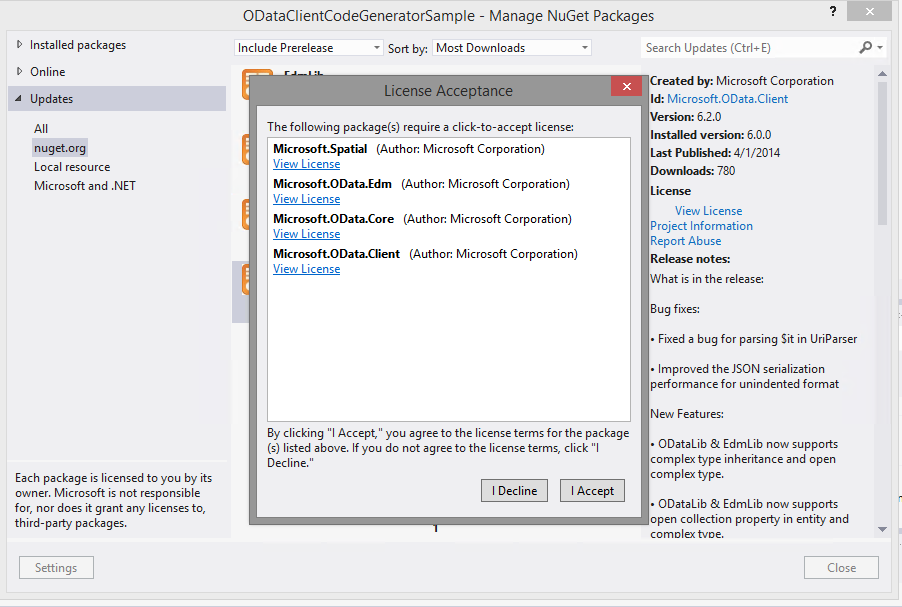
After a few seconds, the “License Acceptance” dialog shows up. On this dialog, click “I Accept”.
It will update these assemblies for this project. Then “Close” the dialog when it is done.
Check the OData core and client libraries assemblies, and it will show that you have upgraded them to the most recent version.
Appendix
The OData Code Generator V1.0.0 generates two files different from the V2.0.0 when adding new OData Client item template
1. NorthwindProxy.odata.config contains all the configurations you need to set:
- MetadataDocumentUri
Service document URI or service metadata URI or a file path of metadata local copy.
- NamespacePrefix
-
- The value will be used as the namespace of your client proxy when metadata contains only one schema.
- The value will be added before namespaces of schemas when metadata contains several schemas.
- The namespace in metadata will be used if the value is empty string.
2. NorthwindProxy.tt is the T4 template for generating proxy file from metadata document.
Save your configuration file.
Re-trigger the code generation by right click at NorthwindProxy.tt, and select “Run Custom Tool”. The generated cs file will show in Solution Explorer under the tt file.



 Light
Light Dark
Dark
1 comment
Nice tutorial. still works with vs2017 in 2019.