
Today we are pleased to announce a preview of Azure IoT Edge tools for Visual Studio 2017. Azure IoT Edge is a fully managed service that delivers cloud intelligence locally by deploying and running artificial intelligence (AI), Azure services, and custom logic directly on cross-platform IoT devices. This preview offers the ability to create Azure IoT Edge project in Visual Studio, add C# custom modules, build and push them to IoT Edge devices. You can debug single C# module or multiple modules at the same time in Visual Studio locally.
In this post, we’ll walk you through how to use Visual Studio 2017 to create, build, debug and deploy your first IoT Edge solution.
Pre-requisites
Before we get started, we need to do some preparations.
- Install .Net Core 2.1 SDK.
- Install Docker CE for Windows. And make sure it’s running in your desired container mode (Windows or Linux).
- Install Python and Pip. These are required to install Azure IoT Edge Hub Dev tool.
- Install Azure IoT Edge Hub Dev tool (iotedgehubdev) by running below command in your terminal
pip install -U iotedgehubdev
- Install Azure IoT Edge tool for Visual Studio from Visual Studio marketplace.
- Update Cloud Explorer for your Visual Studio. Tools -> Extensions… -> Find Cloud Explorer and click Update button (version number)
Create Your first IoT Edge Solution in Visual Studio
For our sample Azure IoT Edge project, we’ll start with a C# module which pipes the message directly from a simulated temperature sensor to Azure IoT Hub.
- In Visual Studio, navigate to File -> New -> Project
- Select the “Cloud” node under the “Visual C#” section and choose the “Azure IoT Edge” project type. You can specify the Solution Name and Solution Location if you want. Then click OK.

- In the Module Configuration window, you need to provide C# module Project Name and your Docker Image Repository. If you want to host images on Azure Container Registry, replace localhost:5000 with the login server value that you copied from ACR. The final string looks like <registry name>.azurecr.io/iotedgemodule1. Then Click OK.

Now Visual Studio gives you a Azure IoT Edge solution, there are two projects in it.
- AzureIoTEdgeApp1 is the Azure IoT Edge project It contains a Azure IoT Edge deployment manifest template, which describes the module images for your solution and the routes between modules.
- IoTEdgeModule1 is your first C# module project, which is a .Net Core console application.
Build and Debug Single C# Module
Typically, we want to test/debug each module before we make it running within an entire solution with multiple modules.
- After project is created successfully, select IoTEdgeModule1 as the default project in the context menu.

- Press F5 or click the button below to run the module, it may take 10~20 seconds for the first first time.
 [Note] If you see any conflicts error, you might need to stop your running containers with the same name with Docker CLI and press F5 again.
 - You should see a .Net Core console app started if the module has been initialized successfully.

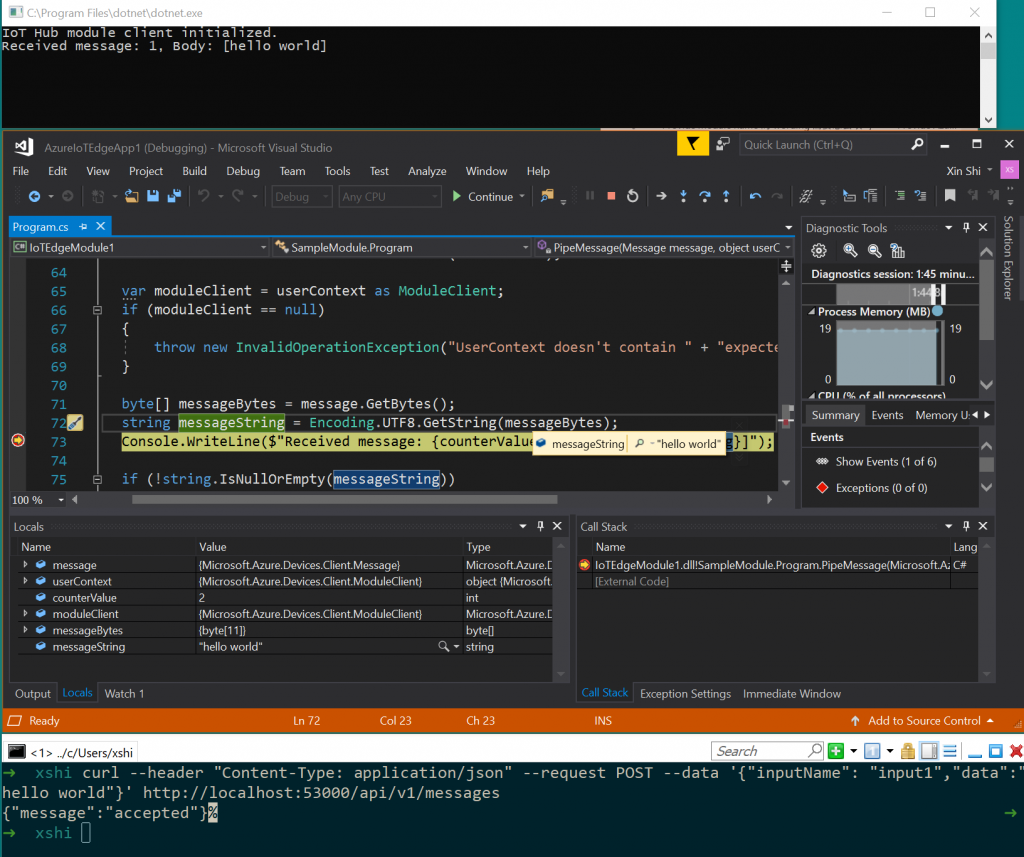
- Now you can set a breakpoint in PipeMessage in Program.cs, then sending message by running the following command in your Git Bash or WSL Bash (do not run it in CMD or Powershell) (you can also find this command in the Output window):
curl --header "Content-Type: application/json" --request POST --data '{"inputName": "input1","data":"hello world"}' http://localhost:53000/api/v1/messages - The breakpoint should be triggered. You can watch variables in Visual Studio Locals window.


 [Note] If you see any conflicts error, you might need to stop your running containers with the same name with Docker CLI and press F5 again.
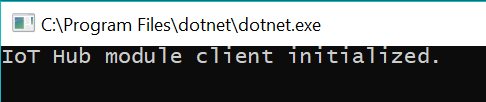
Build and Debug IoT Edge Solution with Multiple Modules
After finish developing single module, next, we want to run and debug the entire solution with multiple modules.
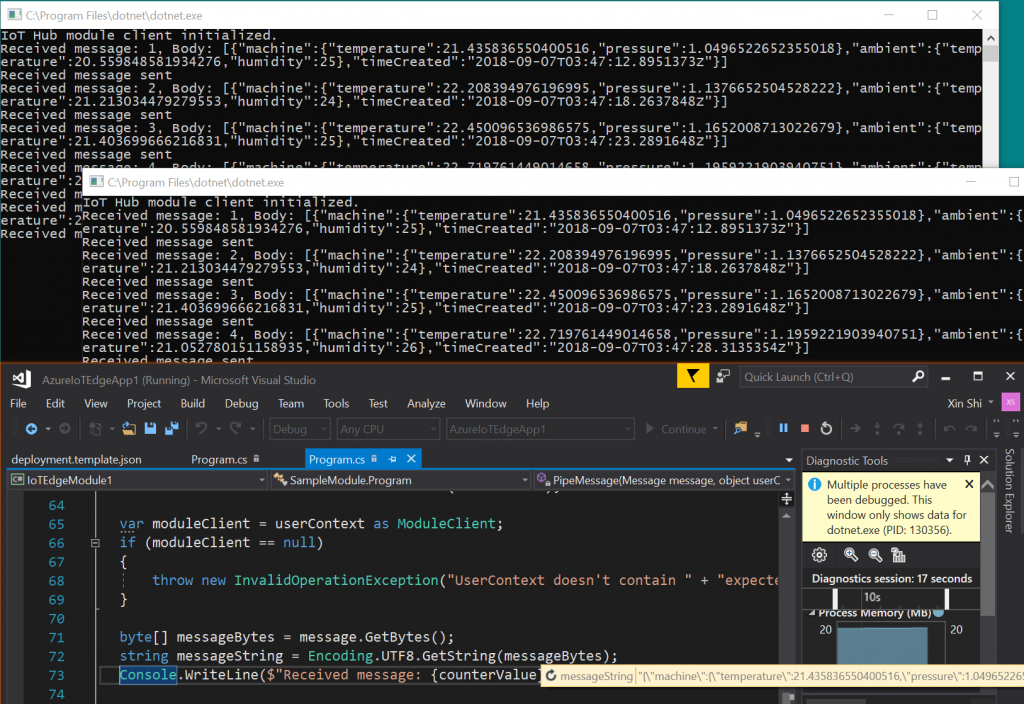
- Add your 2nd C# module into the solution. Right click AzureIoTEdgeApp1 and select Add -> New IoT Edge Module. It will add IoTEdgeModule2 to the project, also update the deployment.template.json in AzureIoTEdgeApp1 project. The 2nd module is still a pipe module, it receives messages from simulated temperature sensor, and pipes the messages to IoT Hub.
- Set AzureIoTEdgeApp1 project as StartUp project.
- Press F5, then you could run and debug multiple modules simultaneously. You should see multiple .Net Core console app windows, each window indicates your C# module. If you want to update the module topology, update the routes section in AzureIoTEdgeApp1 -> deployment.template.json.

Build and Push Images to Azure Container Registry
Next, we will containerize all C# module into Docker images and push to the ACR.
- Make sure you are on AzureIoTEdgeApp1. Select Debug or Release configuration for your module images to build.
- Run Docker log in with the following command in your terminal
docker login -u [ACR username] -p [ACR password] [ACR login server]
- Update deployment.template.json with the following content. Remember to replace the placeholder with your actual admin username and password.
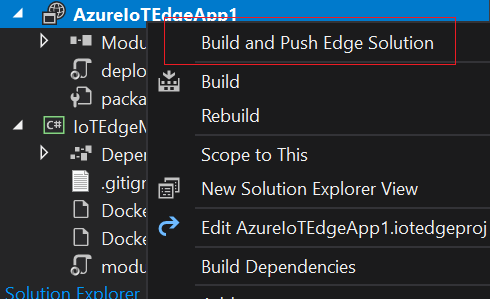
- Right click AzureIoTEdgeApp1 and choose context menu item “Build and Push Edge Solution”, it will build and push docker images for each module

Create IoT Edge deployment in Visual Studio Cloud Explorer
Now all the images are ready to be deployed in the ACR.
- Open Cloud Explorer by clicking View -> Cloud Explorer
- Right click on IoT Edge device to create deployment for it, you need to choose the deployment manifest file under the $AzureIoTEdgeApp1\config\Debug|Release\deployment.json.
[Note] You need to setup IoT Edge daemon on a Windows or Linux device by yourself.
View generated data
To monitor the D2C message for a specific device, right-click the device in the list, and select Start Monitoring D2C Messages.
Known Limitations
Since this is the first preview of IoT Edge tools in Visual Studio, we have several known limitations with them. They are as follow:
- IntelliSense for deployment manifest file: Besides Json validation, we don’t have IntelliSense for deployment.template.json and deployment.json.
- Only support C# custom module: We plan to add other languages for custom module and Functions support soon.
- Only support Amd64 Linux and Windows dockerfiles: We are working on the cross-compilation experience for arm-Linux modules.
Conclusion
With this new tools in Visual Studio 2017, now you are able to easily create, debug and deploy solutions using Azure IoT Edge. Please download and try it from Azure IoT Edge for Visual Studio (preview). Additionally, please report any issues you encounter, any feature request you have or other questions to vsciet@microsoft.com.
Hi there!
Why I’m having error when starting Azure IoT Edge project as desriped above?
Program says “Could not find a part of the path ‘ProjectTemplates uri’ “
I isntalled extensions from the Marketplave as descriped. I’m running VS 2017 Enterprise.
How can I fix the error?
Thanks!