

Visual Studio’s WSL 2 toolset supports both CMake and MSBuild-based Linux projects. However, CMake is our recommendation for all C++ cross-platform development with Visual Studio because it allows you to build and debug the same project on Windows, WSL, and remote systems.
How does the WSL 2 toolset work?
Our C++ cross-platform support in Visual Studio assumes that all source files originate in the Windows file system. When targeting a WSL 2 distro, Visual Studio will execute a local rsync copy to copy files from the Windows file system to the WSL file system. This local rsync copy will occur automatically when Visual Studio detects that you are using a WSL 2 distro and will require no user intervention. See Comparing WSL 1 and WSL 2 to learn more about the differences between WSL 1 and WSL 2.
Continue reading for a step-by-step guide on getting started with CMake and WSL 2 and an overview of our MSBuild-based WSL 2 support.
Cross-platform CMake development with a WSL 2 distro
The WSL 2 toolset is supported by our CMake Presets integration in Visual Studio. You can learn more about CMake Presets in our announcement blog post and documentation. Follow the instructions below to build and debug a CMake project on a WSL 2 distro.
1. Install WSL and a WSL 2 distro with the Windows Subsystem for Linux Installation Guide for Windows 10.
2. Install the required build tools on your WSL 2 distro. You will need a C++ compiler, gdb, CMake, an underlying build system generator, rsync, and zip. You can install these dependencies on distros that use apt with the following commands:
sudo apt update
sudo apt install g++ gdb make ninja-build rsync zip
In this tutorial I’ll use GCC and Ninja on Ubuntu. I will install a recent version of CMake using Visual Studio’s CMake binary deployment in step 9.
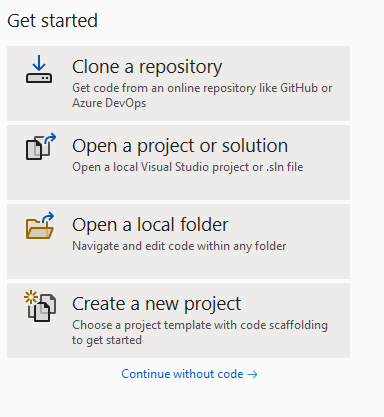
3. Open a CMake project in Visual Studio 2022 version 17.0 Preview 2 or later. Visual Studio defines a CMake project as a folder with a CMakeLists.txt file at the project root. You can either clone a CMake repository (like bullet3), open a local CMake project, or create a new CMake project with the CMake Project template. In this tutorial I’m going to create a new CMake project with the CMake Project template.
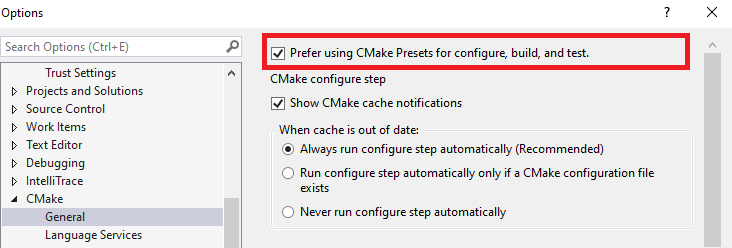
 4. Enable Visual Studio’s CMake Presets integration. You can add a CMakePresets.json file to the root of the project or enable the integration globally in Tools > Options > CMake > General. You must close and reopen the folder in Visual Studio to activate the integration. See Enable CMake Presets integration for more information.
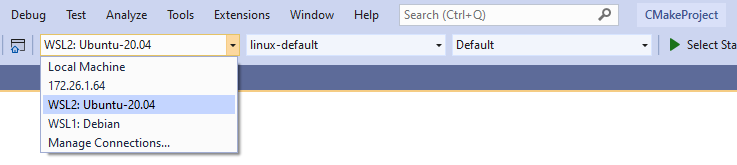
5. You should now see three dropdowns across the menu bar. Use the dropdown on the left to select your active Target System. This is the system where CMake will be invoked to configure and build the project. Visual Studio queries for WSL installations with wsl -l -v. In the example below, my Target System is WSL2: Ubuntu-20.04.
Note: If Visual Studio starts to configure your project automatically, read step 9 to manage CMake binary deployment and then return to step 6. See Modify automatic configuration and cache notifications to customize this behavior.
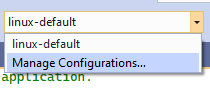
6. Use the dropdown in the middle to select your active Configure Preset. Configure Presets tell Visual Studio how to invoke CMake and generate the underlying build system. In the example in Step 5 (above), my active Configure Preset is the linux-default Preset created by Visual Studio. If you want to create a custom Configure Preset, select Manage Configurations…. See Select a Configure Preset and Edit Presets for more information.
7. Use the dropdown on the right to select your active Build Preset. Build Presets tell Visual Studio how to invoke build. In the example in Step 5 (above), my active Build Preset is the Default Preset created by Visual Studio. See Select a Build Preset for more information.
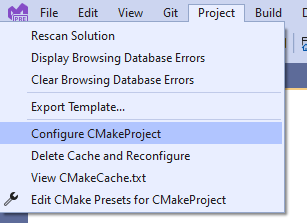
8. Configure the project on WSL 2. If project generation does not start automatically, then you can manually invoke configure with Project > Configure <project-name>.
9. If you do not have a supported version of CMake installed on your WSL 2 distro, then Visual Studio will prompt you to deploy a recent version of CMake. Select “Yes” to deploy CMake binaries to your WSL 2 distro.

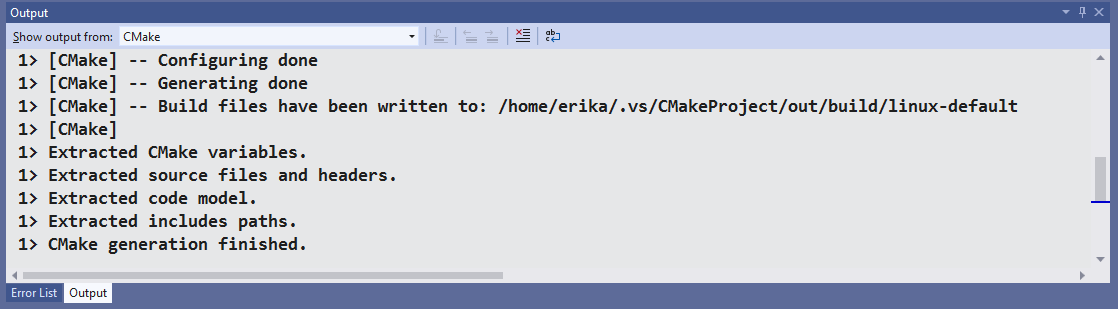
10. Confirm that the configure step has completed and that you can see the CMake generation finished message in the CMake pane of the Output Window. Note that build files are written to a directory in the WSL 2 distro’s file system.
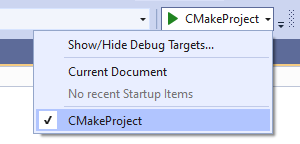
11. Select the active debug target. The debug dropdown menu lists all the CMake targets available to the project.
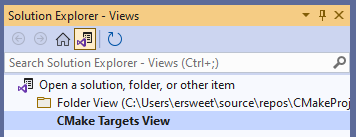
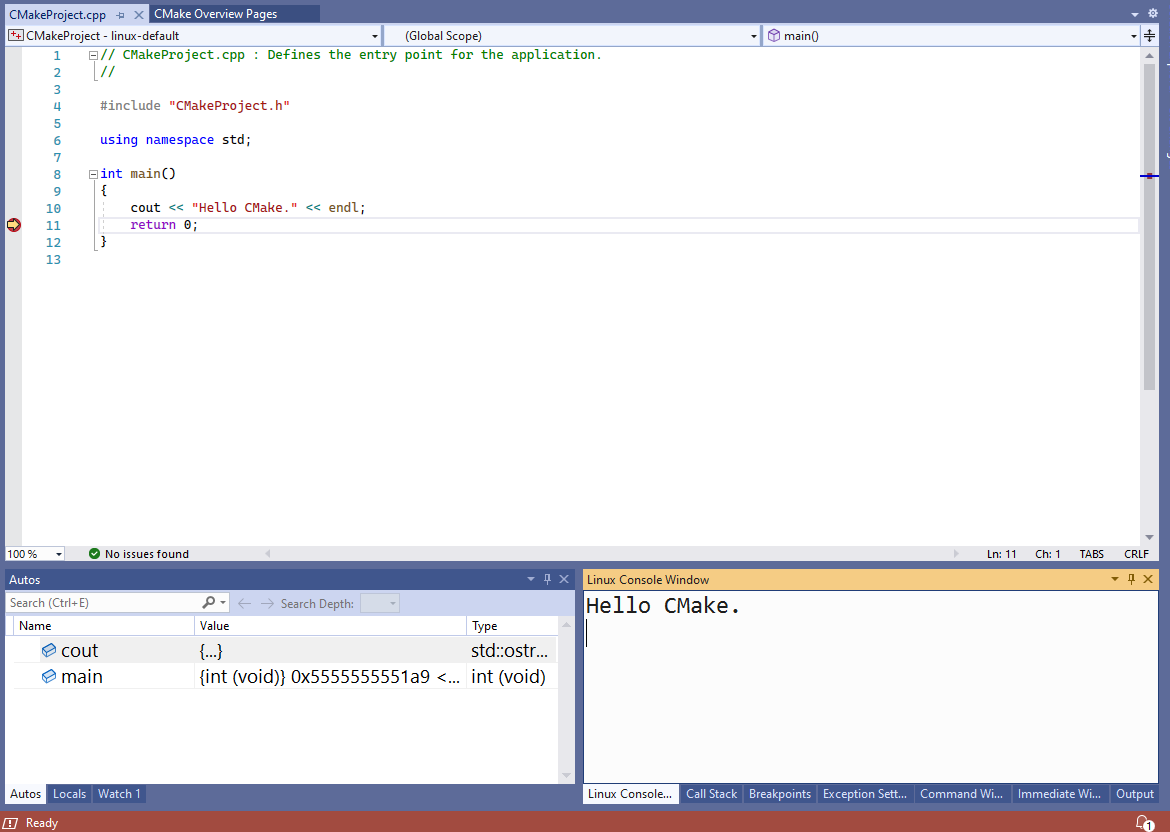
12. Set a breakpoint. Expand the project subfolder in the Solution Explorer and in the .cpp file set a breakpoint in main(). You can also navigate to CMake Targets View by selecting the View Picker button in the Solution Explorer.
13. Now click “Start” (Debug > Start) or press F5. Your project will build, the executable will launch on your WSL 2 distro, and you will hit your breakpoint. You can see the output of your program (in this case, “Hello CMake.”) in the Linux Console Window.
MSBuild-based Linux development with a WSL 2 distro
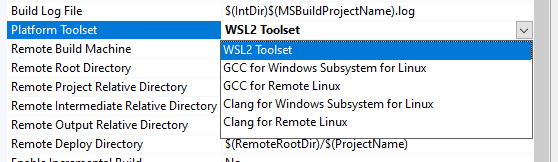
CMake is our recommendation for all C++ cross-platform development with Visual Studio because it allows you to build and debug the same project on Windows, WSL, and remote systems. If you are already using a MSBuild-based Linux project, then you can upgrade to the WSL 2 toolset in Property Pages > General > Platform Toolset.
Talk to us!
Our native WSL 2 toolset and CMake Presets integration are still in preview. We’ll continue to address your feedback in future releases of Visual Studio. The best way to file a bug or suggest a feature is with the Send Feedback button in the upper right-hand corner of the IDE. See Visual Studio feedback options for more information.
We’d love to learn how your team is adopting our support for WSL 2. If you have feedback or a success story to share, you can contact us at vcpplinux-support@microsoft.com. You can also reach us on Twitter (@VisualC).
0 comments