

Summary: The editing features of Visual Studio Code come in handy as you develop your PowerShell scripts.
Note: This post includes animated gifs. For best results, view the post in Internet Explorer or Microsoft Edge.
In the previous blog post, we explained how to get started with PowerShell development in Visual Studio Code. If you don’t have Visual Studio Code configured with the PowerShell extension, read that blog post first to get caught up. Since that blog post, there have been two important updates. First, Visual Studio Code has been updated to 1.8. One significant new feature in Visual Studio Code 1.8 is Hot Exit, which remembers unsaved changes to files when you exit. And second, the PowerShell extension has been updated to 0.8.0. If you haven’t updated yet, take a few minutes and update.
In this blog post, we will examine some editing features of Visual Studio Code that will come in handy as you develop your PowerShell scripts. When you want to edit PowerShell scripts, you can open individual files. However, the real power of Visual Studio Code is unleashed when you open a folder that contains your PowerShell scripts. Features like debugging, Git version control, and search/replace across multiple files are only available when you open a folder for editing.
Open a folder
To open a folder, select Open Folder… from the File menu, and then select a folder to open. If Explorer is not visible, you can open it by pressing Ctrl + Shift + E. In the following examples, I have opened the Plaster project’s folder. If you want to follow along, you can get the Plaster source from GitHub. After the folder is open, the Explorer view shows all the files in the folder:
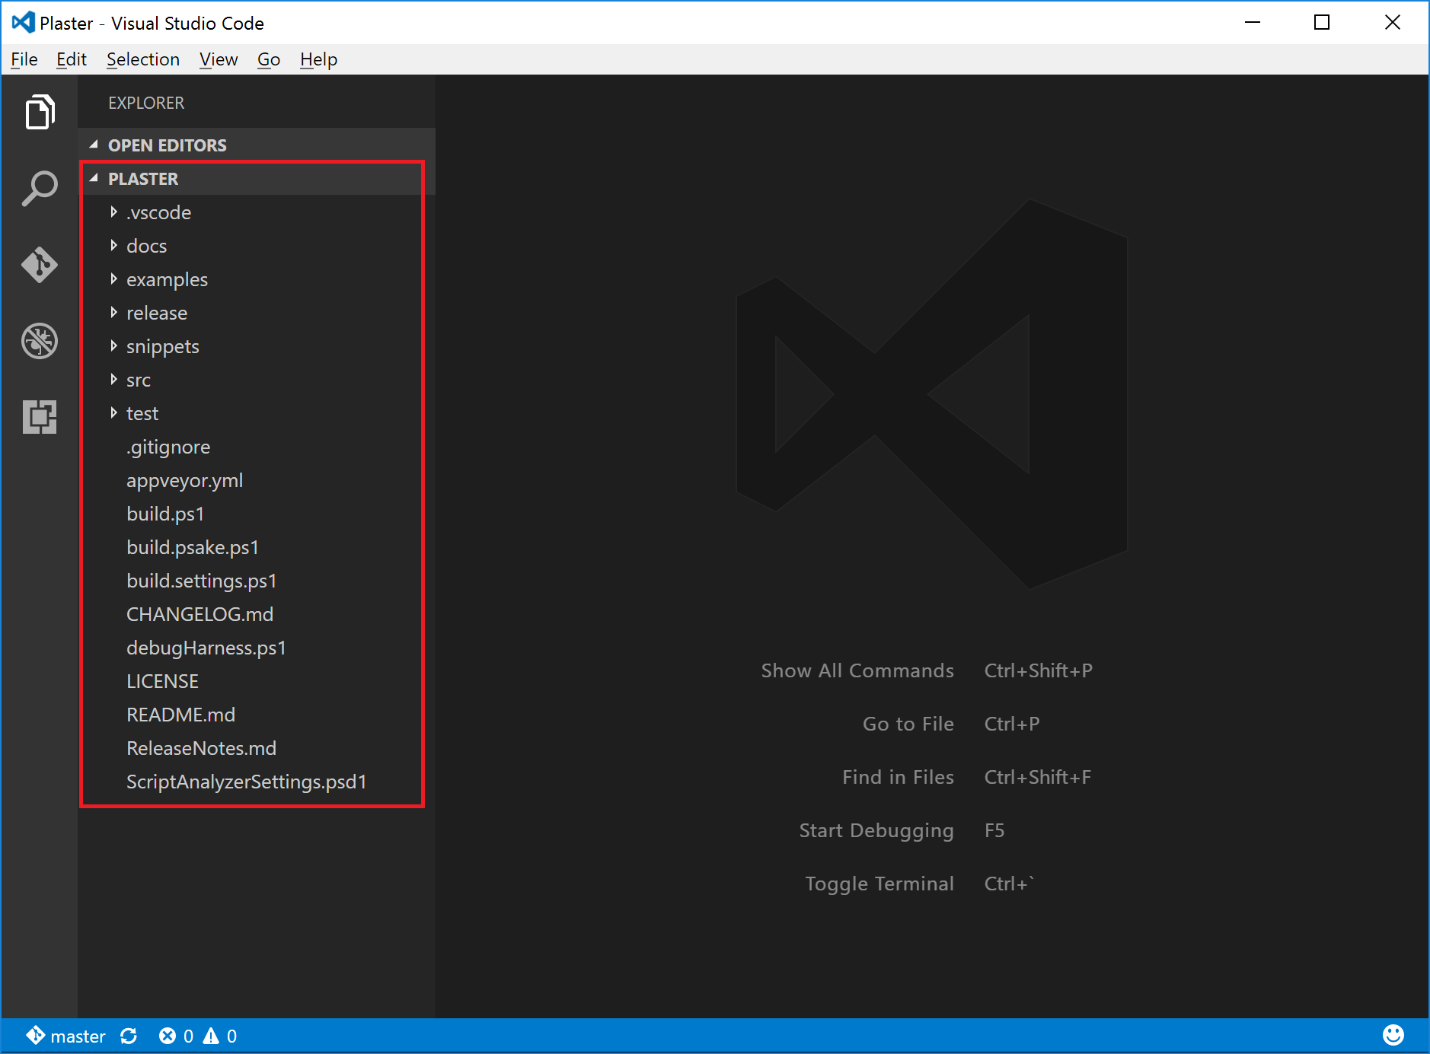
If Explorer is not visible, you can open it by pressing Ctrl + Shift + E (Cmd + Shift + E on Mac).
Quick Open and Preview tab
From the Explorer view, you can click a file to open it for editing. But, when there are a lot of files or a folder hierarchy, it is often easier to use Go to File… from the Go menu. This feature is also referred to as Quick Open and is more commonly invoked by pressing Ctrl + P (Cmd + P on Mac).
The Quick Open UI lets you type part of a file name to find it quickly from anywhere under the folder you opened. Quick Open also supports fuzzy matching as shown in the following screenshot:
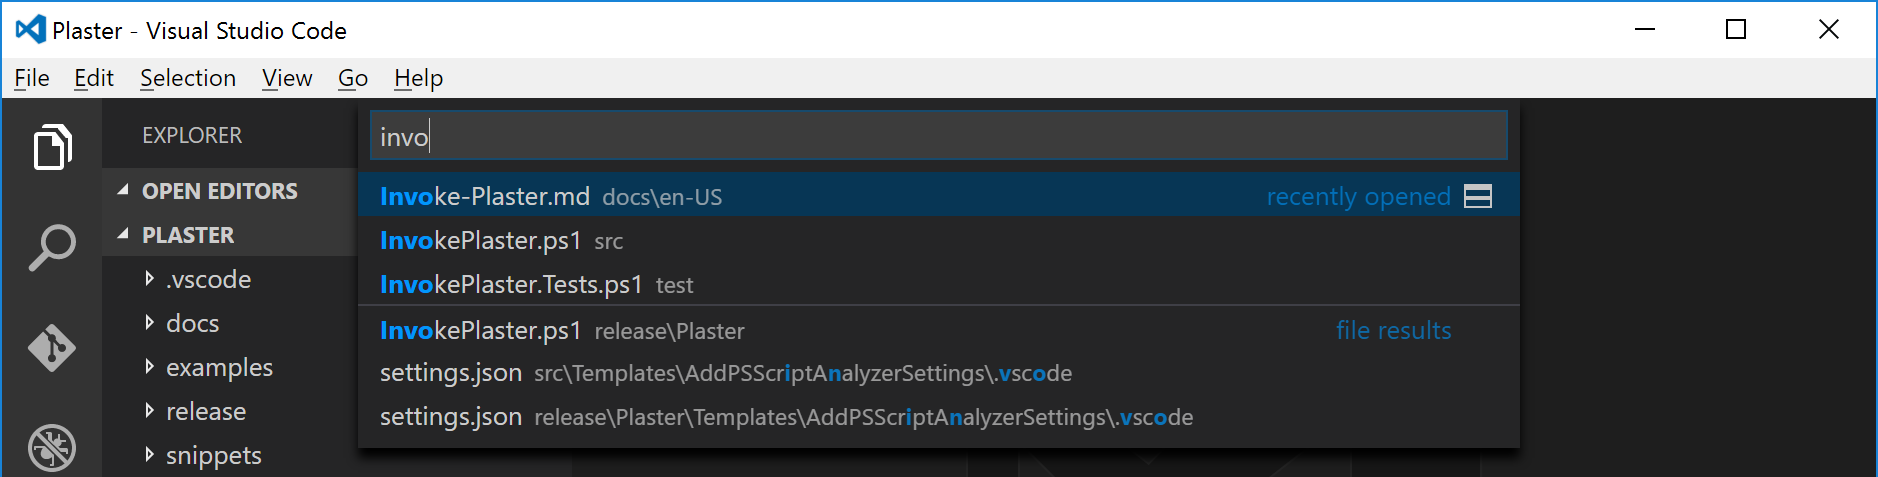
By default, Quick Open doesn’t search the .git folder or any files or folders that you might have configured in the “files.exclude” setting.
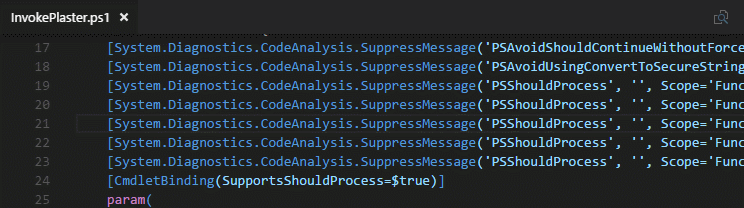
Let’s select a file and press Enter to open it. This will open the file as shown in the following screenshot:

Note that the file name in the editor tab is italicized. This indicates that the file has been opened in Preview mode. Preview mode lets you to browse files without opening a bunch of tabs that you will need to close later. The tab used by Preview mode is called “preview tab”.
A file is opened in the preview tab when you click it in the Explorer folder hierarchy. If you double-click the file, it will open in a new, “normal” tab. Each file that’s opened this way will get its own tab.
If you edit a file in the preview tab, the tab will switch from preview mode to a normal tab. You can also double-click the editor tab to switch from a preview tab to a normal tab.
File and Window navigation
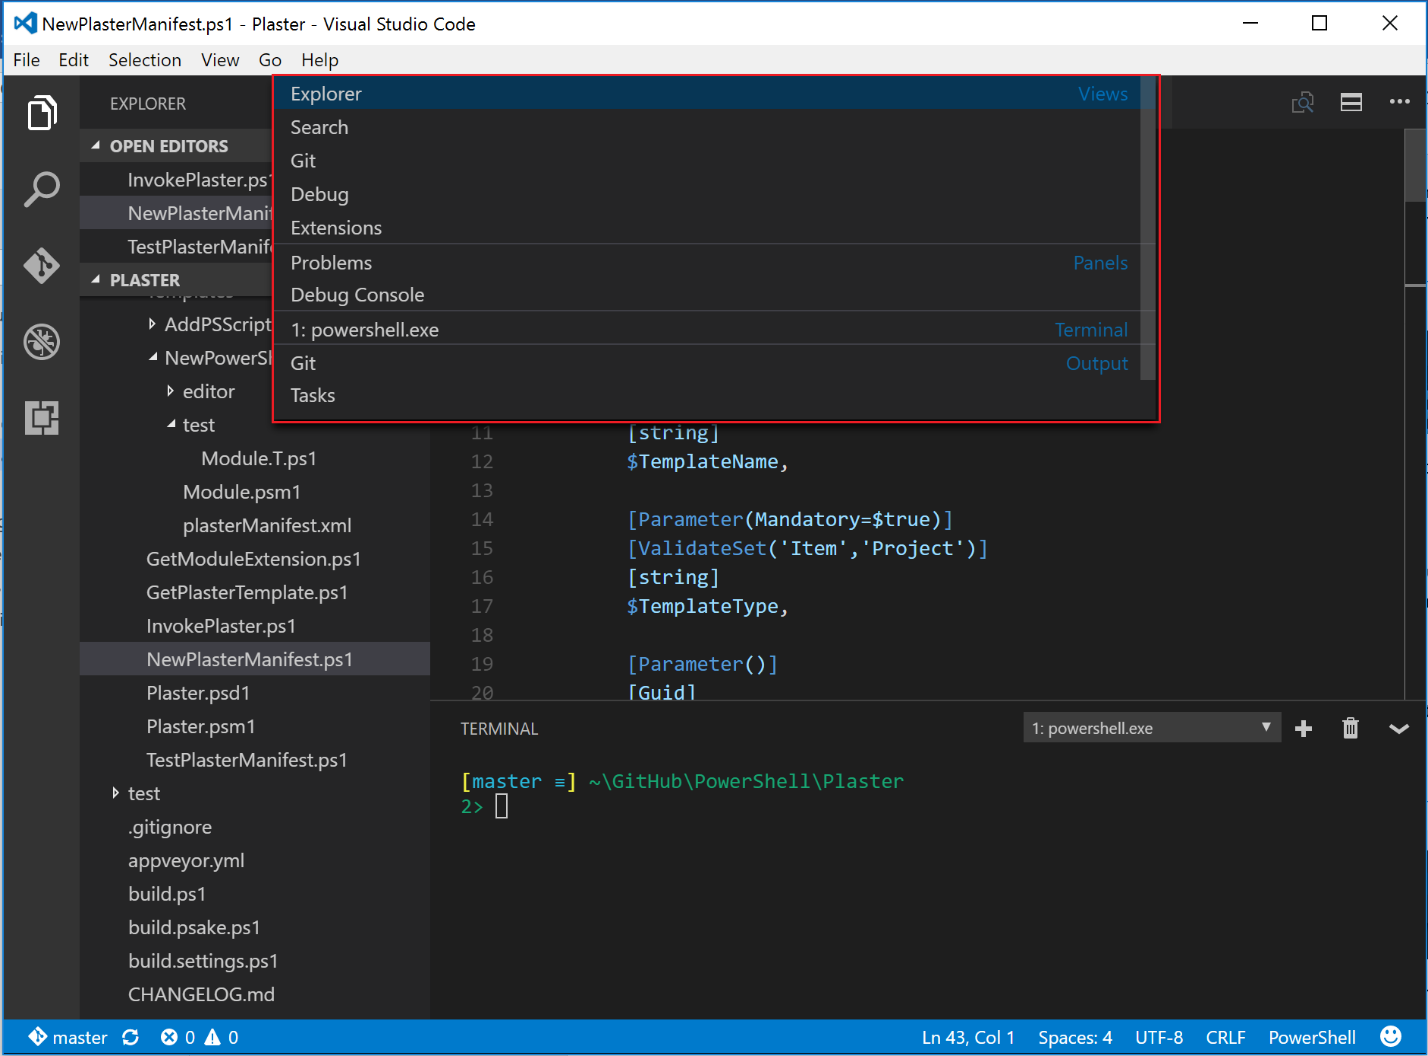
If you have multiple editor windows open, you will want a quick way to switch between them. Although you can use the mouse to select an editor window from the Explorer’s OPEN EDITORS list, it is quicker to use Ctrl + Tab to show the open file list as shown in the following screenshot. This will display a list of open files. Keep pressing Ctrl + Tab to cycle through the list. When you release the Ctrl key, the currently selected file’s editor window will get focus. You can cycle through the list backwards by pressing Ctrl + Shift + Tab.

At other times you will want to switch focus between one of the many views and panels, such as the Explorer, Git, Problems, Debug console, Output and Terminal, instead of between editor windows. This can be done by pressing Ctrl + Q, which opens the Quick Open View as shown in the following screenshot. Keep pressing Ctrl + Q to cycle through the list. When you release the Ctrl key, the selected view will get focus. You can press Ctrl + Shift + Q to cycle backwards through the list.
Search and replace
In an open file, you can use Ctrl + F to find text or Ctrl + H to replace text in that file.
One benefit of opening a folder is that you can also search and replace across all your files. To start, click the Search icon in the View bar, or press Ctrl + Shift + F (Cmd + Shift + F on Mac). The following example shows a search of mandatory parameters, as highlighted in the following screenshot, across all files in the Plaster repository:
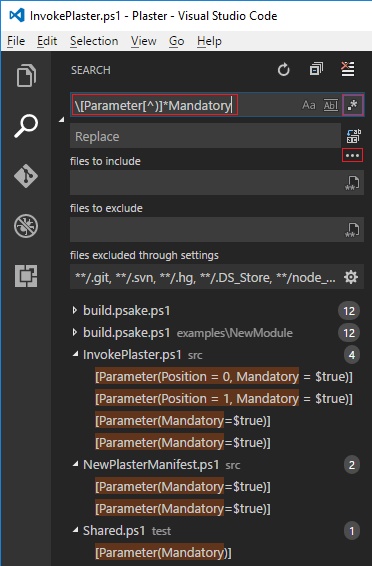
The ellipsis “…” above has been expanded to show all the search options that are available to let you target only the files you want.
Multi-cursor editing
A really slick feature of Visual Studio Code, and indeed of many modern editors, is the ability to edit multiple lines at once. In the following animated GIF, I position the cursor where I want to start editing on the first line, and then I use Ctrl + Alt + DownArrow to create additional cursors below that line. When I start to type, every line where I have placed a cursor will be edited:
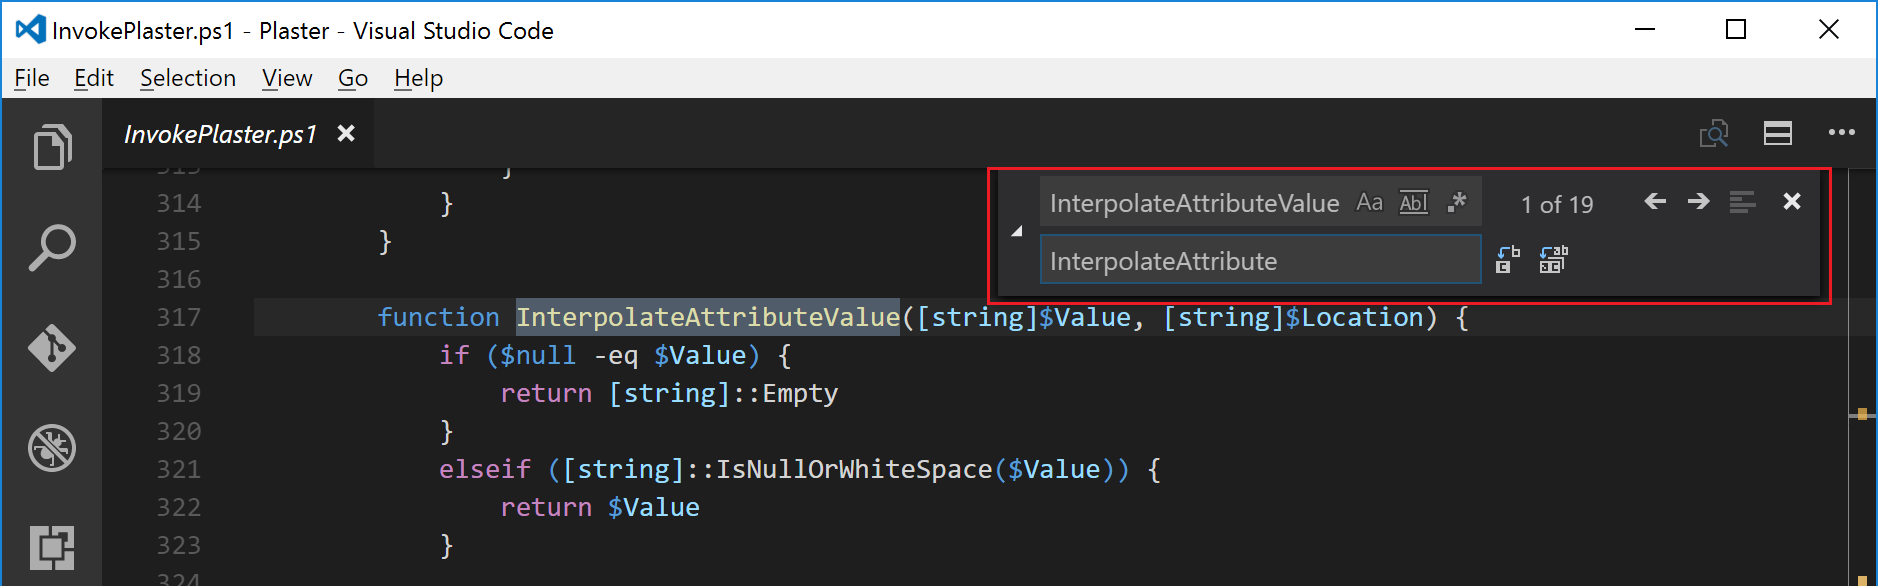
Multi-cursor editing doesn’t apply only to text that lines up in the same column on consecutive lines. The next example shows editing the same word in multiple, disjointed places within a function. Here, I select the first instance of the word, Value, and then continue to press Ctrl + D until all instances of “Value” are selected. Then, I type some new text, and all selected instances get edited at the same time.

Expand/shrink selection
You can expand the text selection around the current cursor location by pressing Shift + Alt + RightArrow. As you continue to press Shift + Alt + RightArrow, the selection grows. You can shrink the selection by pressing the Shift + Alt + LeftArrow. This is shown in the following example:
In this blog post, we looked at some of the native editing features in Visual Studio Code that apply to any file. Come back tomorrow for Part 2 when we look at the language service features of the PowerShell extension.
I invite you to follow the Scripting Guys on Twitter and Facebook. If you have any questions, send email to them at scripter@microsoft.com, or post your questions on the Official Scripting Guys Forum.
Keith Hill Software Engineer PowerShell MVP
0 comments