Tips for your First Wear App
Android Wear was officially released at Google I/O 2014, giving developers a unique opportunity to create Android apps for a new class of devices.
With our recently announced preliminary support in Xamarin.Android you are not only able to extend your current application with enhanced notifications, but also develop an app that runs directly on the wearable and can sync data between your handheld app and wearable app.
In this article, we will cover the basics of Android Wear. For more information, I also invite you to bookmark Chris Hardy’s “C# is in my ears and my eyes” Evolve 2014 session, where he will cover Android Wear among other emerging devices goodness.

Add Wearable Features to Notifications
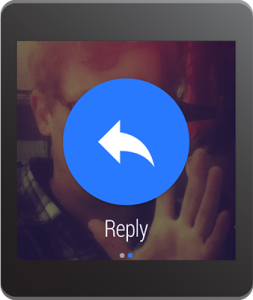
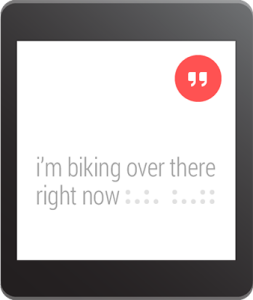
The simplest way to support the new Wear platform is to take advantage of the shared nature of notifications between the phone and the wearable. By using the support v4 notification API and the WearableExtender class available with our NuGet package, you can also tap into the native features of the platform, like inbox style cards or voice input by spicing up your existing Notifications.
Companion Applications
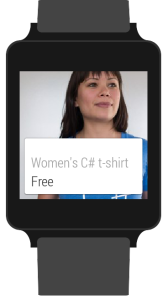 Another strategy is to create a complete companion application that runs natively on the wearable. This is easier than you might think because, in essence, developing for Android Wear is just like developing for your Android phone, since it’s running the same Android platform.
As an example (among all the other fantastic ones), I added a simple Wear companion to our Xamarin Store app, allowing you to browse the catalog from your wrist and add/remove items from your order
Below you’ll find some tips to get you started on your own Wear applications.
Getting Started
As part of the last release of Xamarin Studio, we have added a new template to easily create a new Android Wear application:
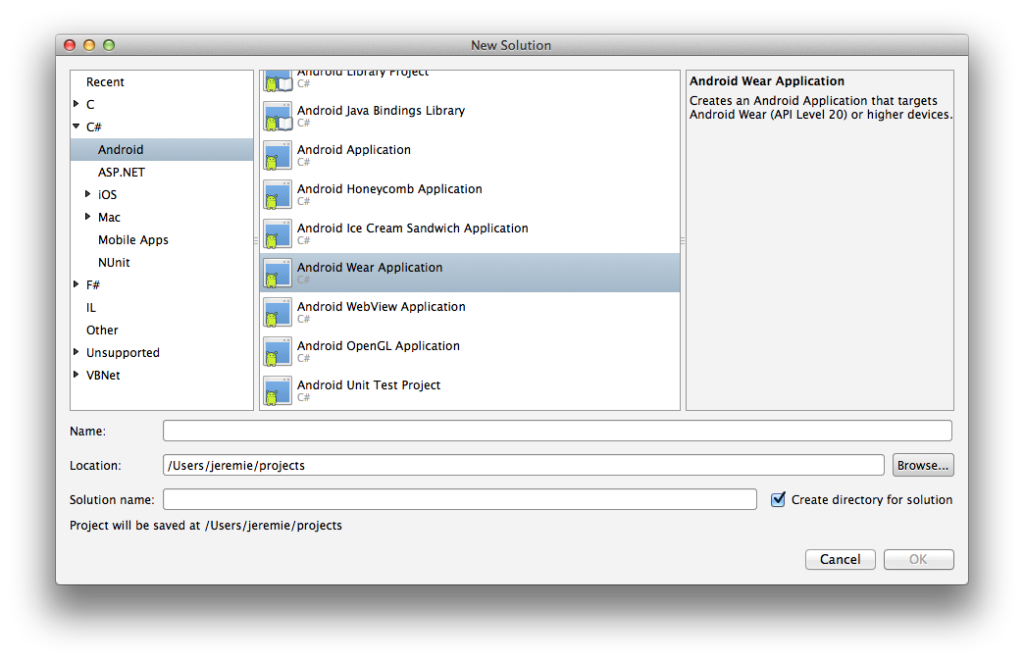
The template automatically created references our Wearable NuGet, giving you access to the wear UI toolkit and communication API.
User Interface
The primary navigation pattern for Wear is a series of cards arranged vertically. Each of these cards can have associated actions that are layered out on the same row. The pattern is more generally called 2D Picker.
The GridViewPager class part of the Wearable NuGet allows you to just do that. Adhering to the same adapter concept as ListView and friends, you generally associate it with a FragmentGridPagerAdapter that lets you represent each row and column cells as a Fragment.
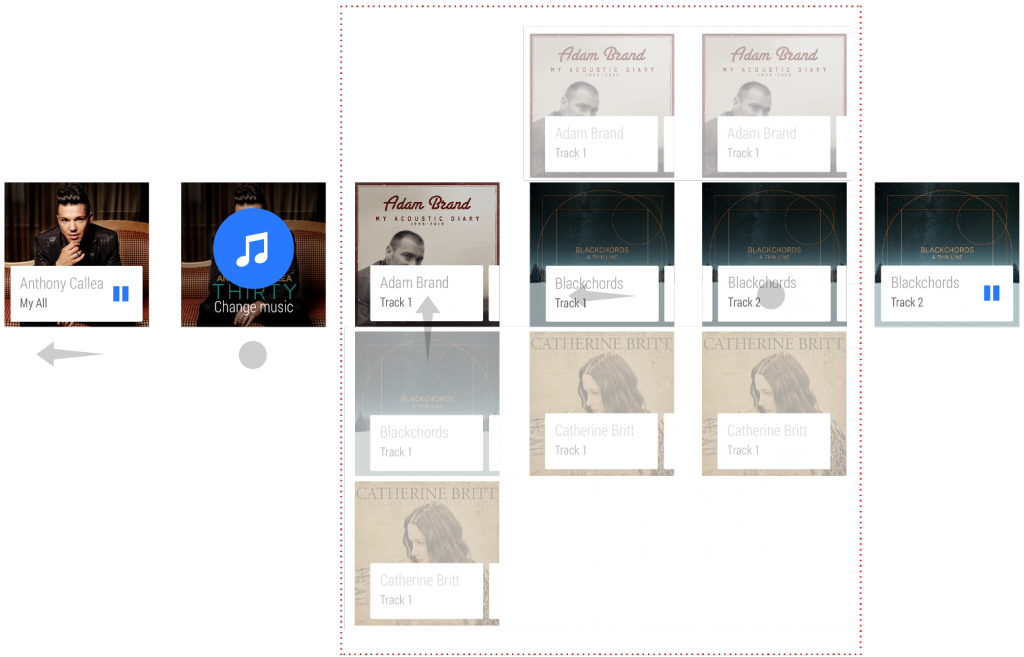
There is also a Wear specific design for action buttons, consisting of a big colored circle and a small description text underneath. Although there is currently no built-in widget to do this in the library, it’s very easy to do it yourself by using a simple custom layout and a state-list drawable file.
Communication
Being companion to a phone application, wearable apps need to be able to communicate with their host. Android Wear gives you access to two different communication APIs to do this.
First is the Data API, which is akin to a synchronized datastore between the wearable and the phone. The platform will take care of propagating changes to the other side when it’s optimal to do so. It’s also able to smartly detect when the wearable is out of range and queue up the synchronization for later.
Second is the Message API, which allows you to use a lower level, small payload, fire-and-forget type of communication. With this API you can craft small message to which you associate a URL path and a byte array content that you can send directly to a node in the Wear network.
The Xamarin Store wear app uses both APIs for different purposes. The Data API is used to transfer the available products and their associated image assets whereas the Message API allows the wearable to send order to the phone like refresh the store information or add/remove item from the cart.
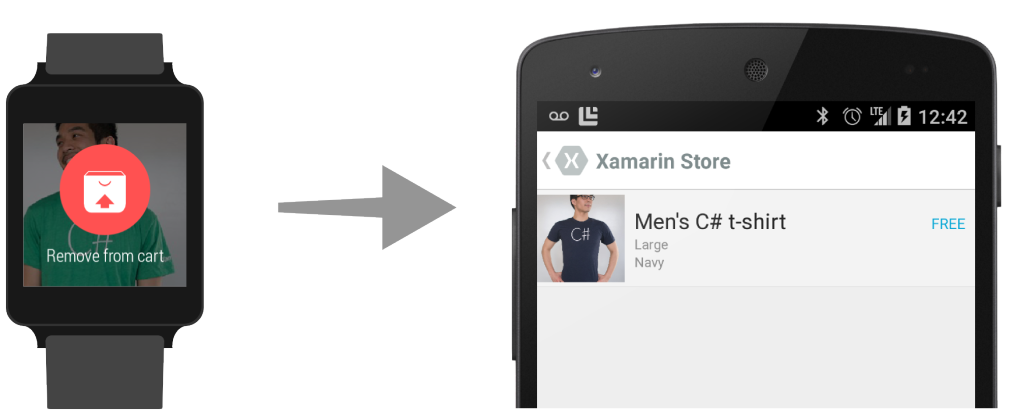
These APIs are available as part of our Wearable NuGet on the wearable and via our Google Play Services preview NuGet on the phone (version 19). You can register the API through the now-uniform Google Play Services connection service.
The main entry points for the two APIs are respectively WearableClass.DataApi and WearableClass.MessageApi. You can choose to register callbacks for receiving those messages via each of the API listener interfaces or alternatively implement a service in your app deriving from WearableListenerService that will automatically be instantiated by the Wear Android subsystem.
Deployment
Wearable applications are deployed as their own APK file embedded inside the main application APK. Since this is a preview release, we haven’t yet ironed out the perfect way to automate this process, but for now it’s still possible and easy to manually package your Wear application.
Note that if your wearable application wants to communicate with your phone application, you will need to properly install the phone app APK containing the Wear child APK at least once on your phone device so that the initial binding is done. Afterwards, you can directly deploy and debug your Wear app from the wearable.

 Light
Light Dark
Dark
0 comments