Summary: Microsoft Scripting Guy, Ed Wilson, talks about using Windows PowerShell objects to combine output from multiple WMI classes.
Microsoft Scripting Guy, Ed Wilson, is here. I registered for Windows PowerShell Saturday #007, which will be held in Charlotte, NC. I am going to be presenting one or two talks (now I am scheduled for two talks, but we may end up with a special guest, and if we do, I will give him one of my slots). The lineup of speakers is absolutely stellar. I know that the Scripting Wife is busy working on a blog post that will describe the speakers and their sessions. This event is going to be the most awesome event outside of the Windows PowerShell Summit.
Note Last week I wrote a three-part series that talked about Windows PowerShell objects:
- In A PowerShell Object Lesson: Part 1, I talked about the advantage of using Windows PowerShell objects, and how they are helpful to the scripter.
- In A PowerShell Object Lesson: Part 2, I talked about pipelining objects.
- In A PowerShell Object Lesson: Part 3, I talked about various ways to create objects.
Use objects to facilitate access to WMI data
There are thousands of WMI classes available in modern versions of Windows. The classes seem to vary in terms of usefulness, but they do represent a broad spectrum of classes. For some good articles about working with Windows PowerShell and WMI, see this collection of Hey, Scipting Guy! Blog posts.
One of the problems with WMI is that the classes are narrowly defined. I mean, one class covers the computer hardware, and another class covers the computer operating system. I generally want to know about both. For example, if I have a version of Windows that is running in 32-bit mode, I generally want to know if the hardware will support 64-bit, because I may want to reinstall the operating system to take advantage of greater amounts of memory.
An easy way to do this is to return a single object that contains the information I need.
Note In this script, I am using the Get-CimInstance cmdlet, which is available in Windows PowerShell 4.0 and Windows PowerShell 3.0. If you are still using Windows PowerShell 2.0, substitute Get-WmiObject in the two places where I use Get-CimInstance.
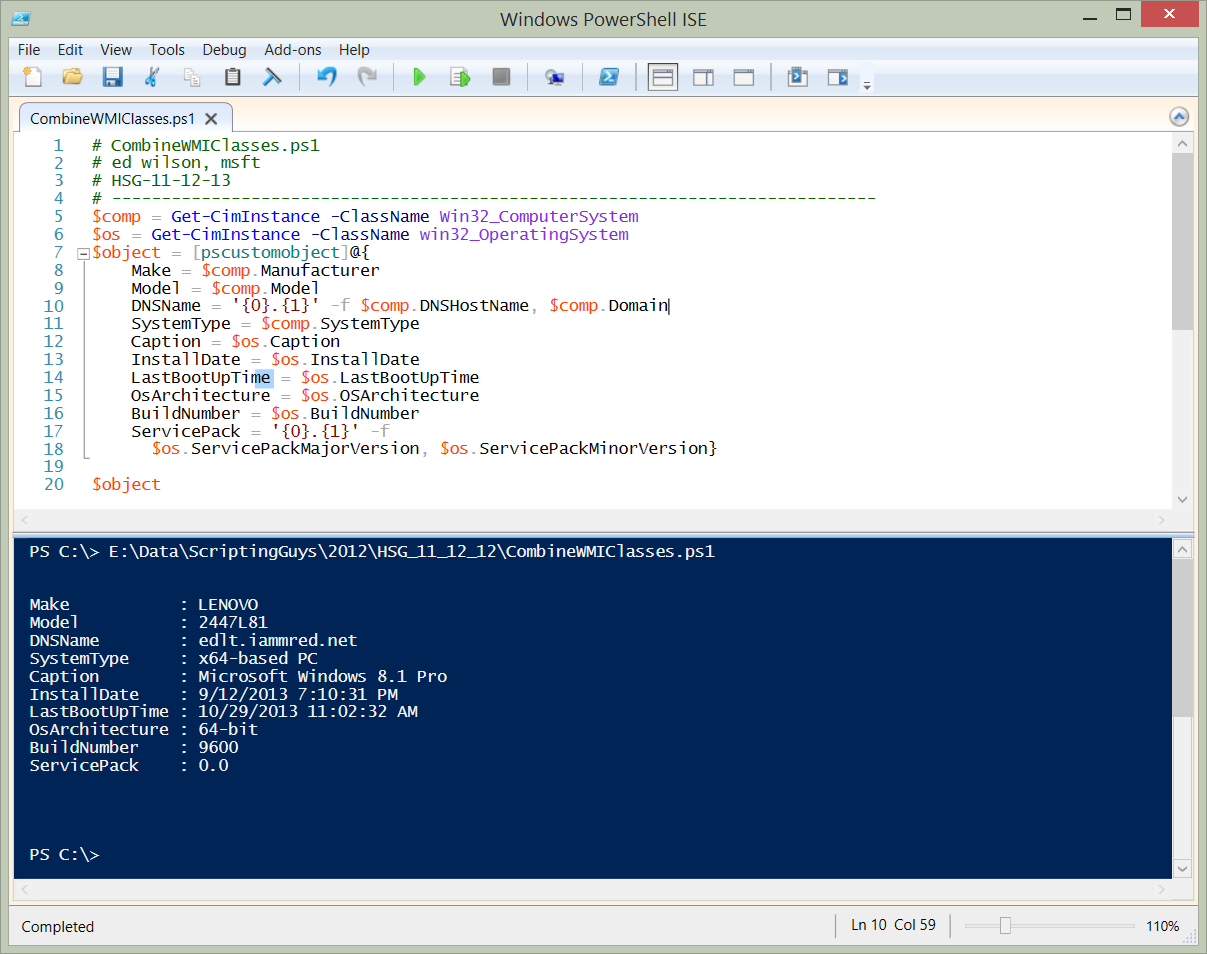
The complete CombineWMIClasses.ps1 script is shown here:
# CombineWMIClasses.ps1
# ed wilson, msft
# HSG-11-12-13
# —————————————————————————–
$comp = Get-CimInstance -ClassName Win32_ComputerSystem
$os = Get-CimInstance -ClassName win32_OperatingSystem
$object = [pscustomobject]@{
Make = $comp.Manufacturer
Model = $comp.Model
DNSName = ‘{0}.{1}’ -f $comp.DNSHostName, $comp.Domain
SystemType = $comp.SystemType
Caption = $os.Caption
InstallDate = $os.InstallDate
LastBootUpTime = $os.LastBootUpTime
OsArchitecture = $os.OSArchitecture
BuildNumber = $os.BuildNumber
ServicePack = ‘{0}.{1}’ -f
$os.ServicePackMajorVersion, $os.ServicePackMinorVersion}
$object
Gather the data
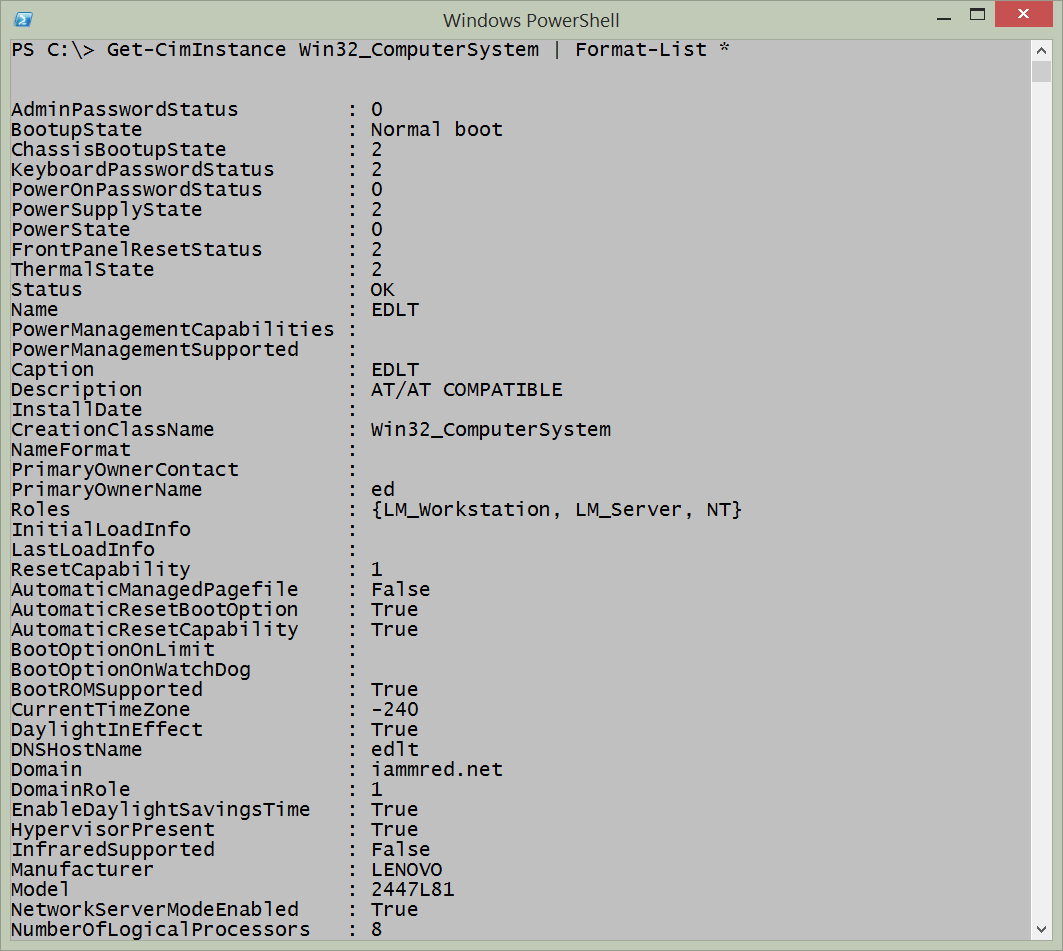
The first step is to gather the data. I decided to query two WMI classes and combine the output into a custom object that I need. The first command queries the Win32_ComputerSystem WMI class. I opened the Windows PowerShell console, and piped the results to the Format-List cmdlet to examine the information that is available from the class. The command is shown here:
Get-CimInstance Win32_ComputerSystem | Format-List *
Note One of the advantages of using the Get-CimInstance cmdlet is that tab expansion works for the WMI classes, so I do not have to type the entire class name. On my laptop, I type Win32_Computer<tab> and it picks up the class on the second Tab press.
The output from the previous command is shown here:
I have the Windows PowerShell console pushed off of my main screen to my secondary monitor, so it is easy to refer to the output while I decide which properties I need to access.
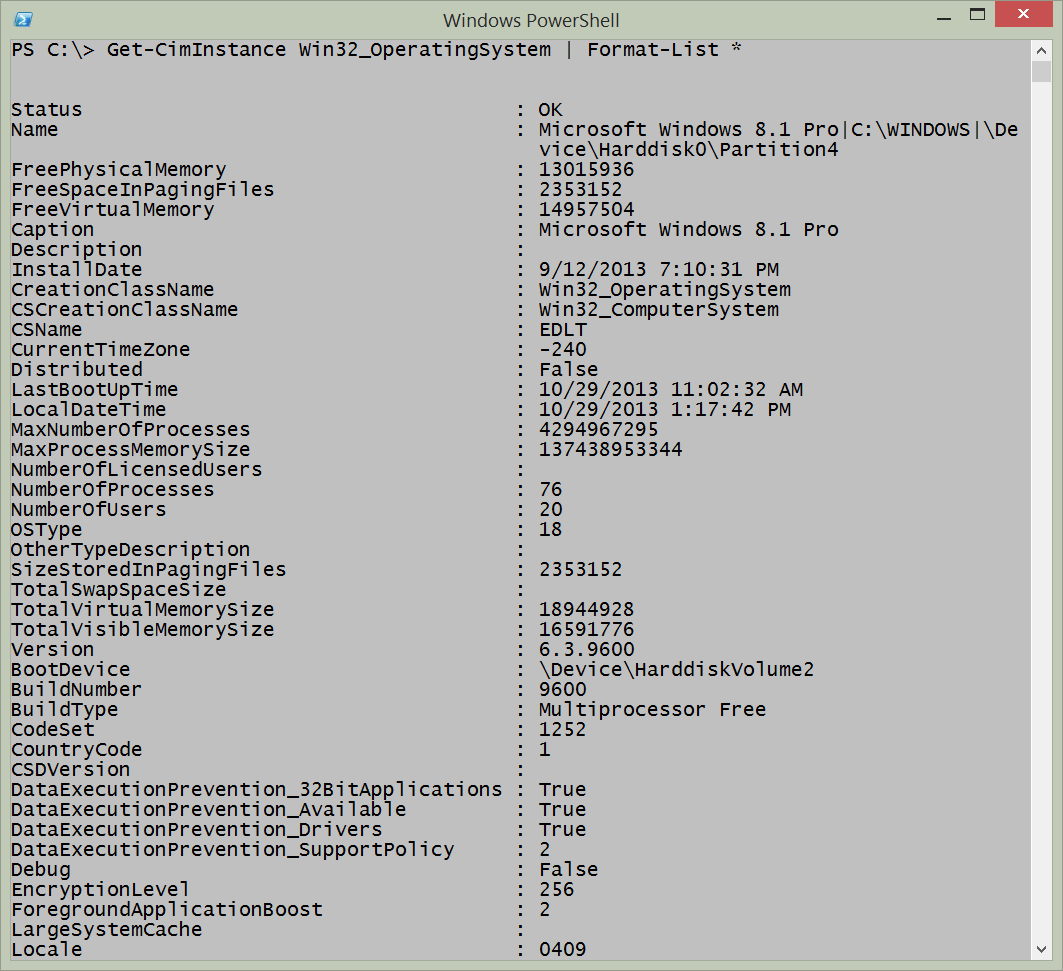
I then do the same thing with the Win32_OperatingSystem WMI class as shown here:
Get-CimInstance Win32_OperatingSystem | Format-List *
The command and output appear in the following image:
Now, I decide to create the custom object. To do this, I use the [pscustomobject] type accelerator, and I pass a hash table to it with the properties I need. Here are the first three lines, where I gather the WMI data and I create the custom object:
$comp = Get-CimInstance -ClassName Win32_ComputerSystem
$os = Get-CimInstance -ClassName win32_OperatingSystem
$object = [pscustomobject]@{
From the Win32_ComputerSystem WMI class, I need the make, model, system type, and DNS name of the computer. I decide to combine the host name and the domain name to create the fully qualified domain name of my system. Here is that portion of the script:
Make = $comp.Manufacturer
Model = $comp.Model
DNSName = ‘{0}.{1}’ -f $comp.DNSHostName, $comp.Domain
SystemType = $comp.SystemType
From the Win32_OperatingSystem WMI class, I want the caption of the Windows system, the install date, the last boot up, operating system architecture, build number, and service pack version. I decide to combine the major and minor service pack version information. Here is that portion of the script:
Caption = $os.Caption
InstallDate = $os.InstallDate
LastBootUpTime = $os.LastBootUpTime
OsArchitecture = $os.OSArchitecture
BuildNumber = $os.BuildNumber
ServicePack = ‘{0}.{1}’ -f
$os.ServicePackMajorVersion, $os.ServicePackMinorVersion}
When I run the script, it returns a nice object. I could then do anything I want to do with this new object.
That is all there is to using Windows PowerShell to create objects from multiple WMI classes. Join me tomorrow when I will talk about more cool Windows PowerShell stuff.
I invite you to follow me on Twitter and Facebook. If you have any questions, send email to me at scripter@microsoft.com, or post your questions on the Official Scripting Guys Forum. See you tomorrow. Until then, peace.
Ed Wilson, Microsoft Scripting Guy


0 comments