
Application Development Manager Tom Ordille explains how to assign read-only and other user rights to a single repository in Azure DevOps.
As your organization grows, you will start to have many repositories inside of your Azure DevOps projects. Most organizations allow developers to browse and contribute to any repository, and put policies on pull requests for specific branches to protect them. There are times when you want only specific people to access one or more repositories with read-only privileges. Follow the steps below to lock down all repositories except a given few to certain individual people or groups.
Please make sure that you test all security settings before use.
Add Users to your Organization
First, add users at the Organization level. Go to Organization Settings > Users > Add users button. Type in the user’s email address, choose an Access level, project, and DevOps group. In this area, you can also add a group vs. an individual user. To add a group click on Group rules > Add a group rule. Add either an existing Azure DevOps or Azure Active Directory group, or you can create your own group. Additional information can be found here.
If you have external users, make sure that the “External guest access” setting is turned on. Information on setting this up can be found here.
Create a Group for Repository Access
In this example, I want to set up a repository for read-only access. Instead of working with individual user access, it is best to define a group. Under the project settings, go to Permissions > New Group. Enter the Group Name and add the members. Note: if members do not display in the drop-down list, you must first add them to your organization. Next, enter a group description and then click on “Create”. If you go back into the group you created, you will notice that the group got added to the group “Project, Valid Users”. All groups will be added to this group automatically.
Locking down the Repositories
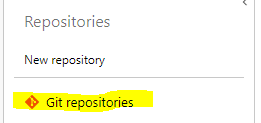
Under Project Settings > Repositories, click on Git repositories
The security settings of the parent will be inherited in all child repositories. Under the Azure DevOps Groups, select the group you created earlier. In my example I named it “My Test Read Only” and under the Read permission I set it to “Deny“:
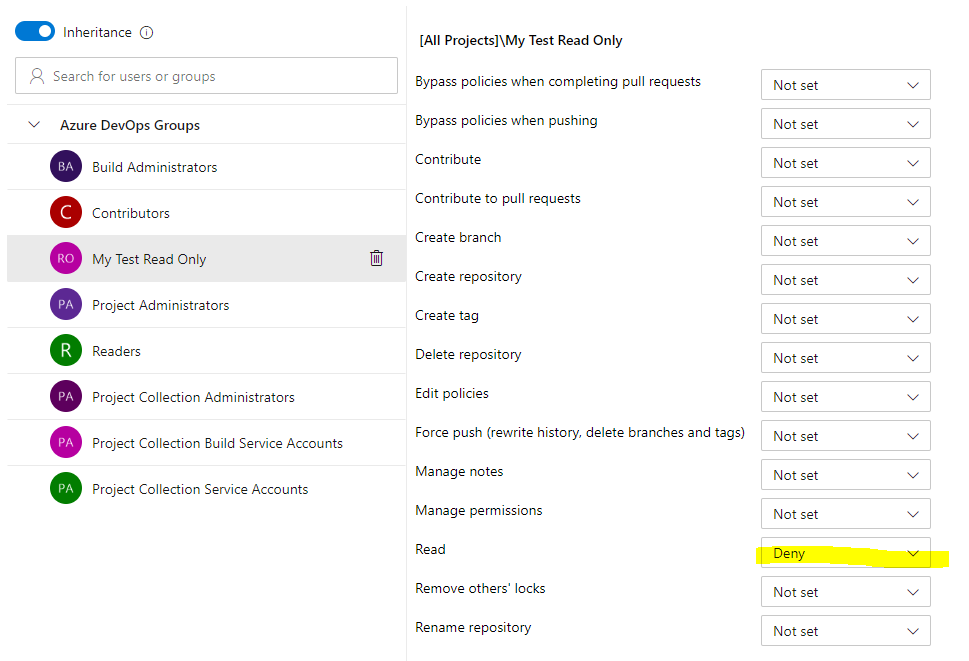
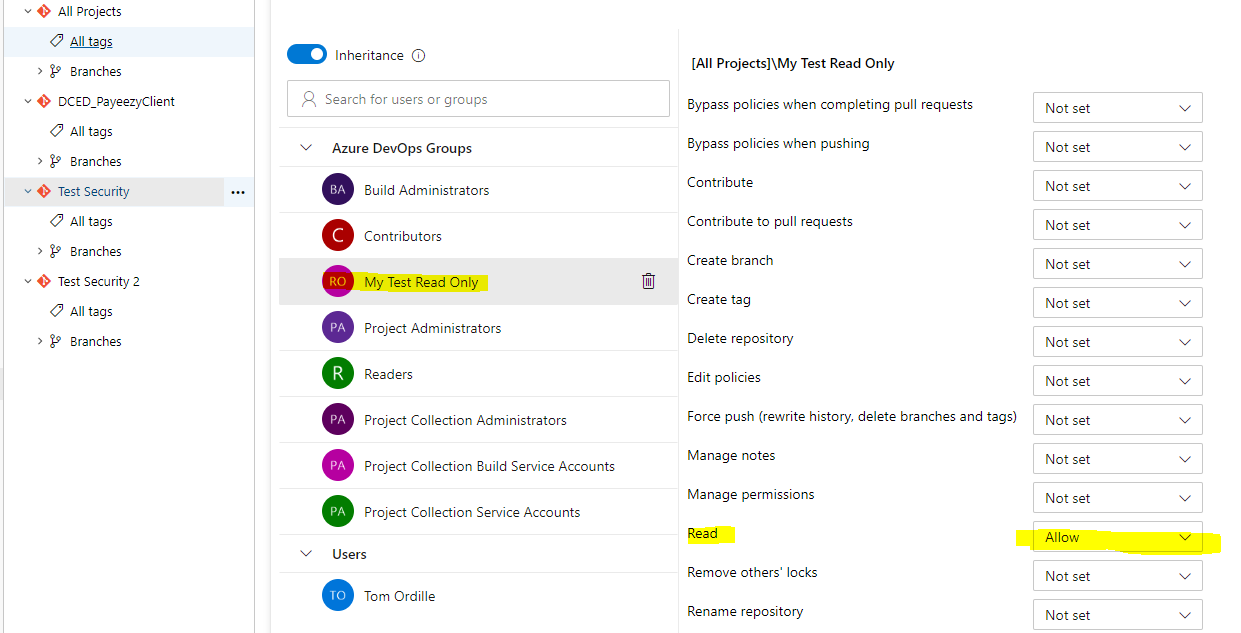
This will deny access to the members of the “My Test Read Only” group to all repositories. To give different rights to members of this group on other repositories, click on the repository name and then the group and change the individual security areas.
I hope this simplifies the setup of security of your repositories. To learn more about permissions, users, and groups in Azure DevOps click here.
0 comments