Today at the Build Conference, we showed a preview of the new Azure Portal, and that includes a preview of deep integration with Visual Studio Online. As with any preview, it has some rough edges and limitations. One of the limitations is that you have to create a new Visual Studio Online account through the new Azure Portal Preview. Your existing account will not work right now. All new accounts created through the new portal will be backed by Azure Active Directory. In the near future we will provide an experience to convert your existing Visual Studio Online account.
This also means that adding a user is different. I’ll walk you through the current process to get you off and running.
First, go to http://portal.azure.com to get started.
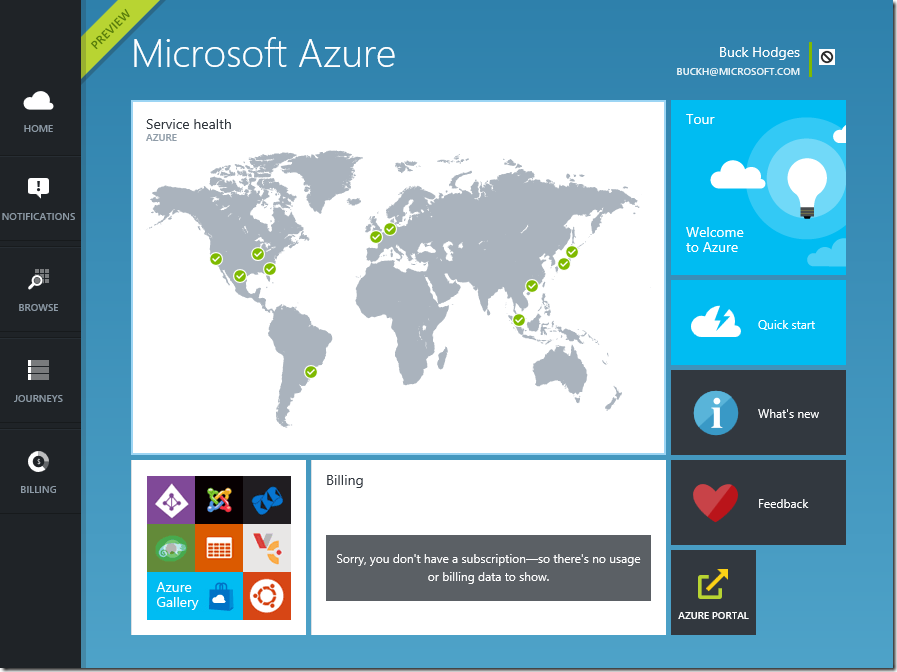
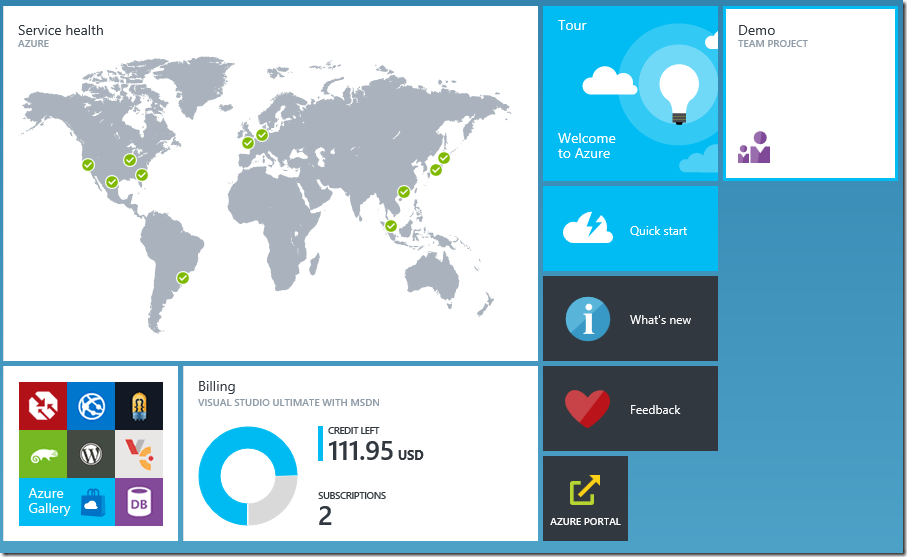
Once you sign in, you will see the dashboard.
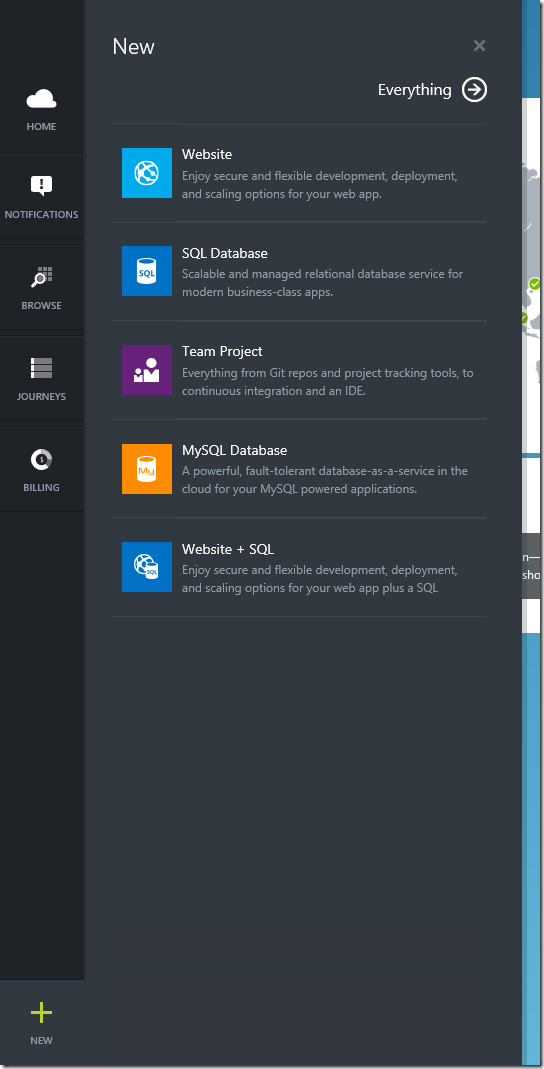
In the lower left corner, click New and then click on Team Project.
Next you will need an Azure subscription.
Clicking Sign up will take you through the standard Azure subscription sign up process. If you have an MSDN subscription associated with the identity you signed in with, you will be able to choose that.
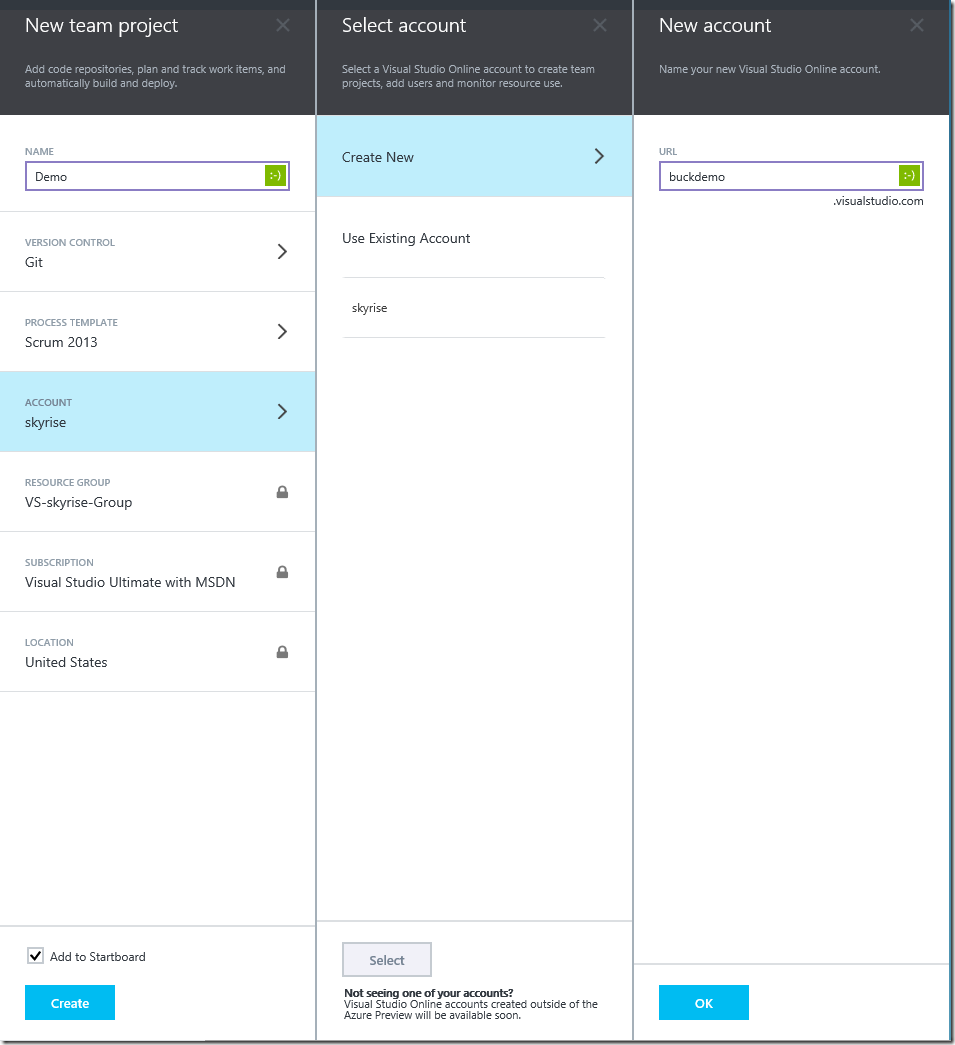
Once you have your subscription set up, click on New, Team Project, and fill out the name of the Team Project. Then click on Account, Create New, and enter the name you want to use for your new Visual Studio Online account (ignore skyrise in the screenshot – I created that one earlier). Click OK and then the Create button.
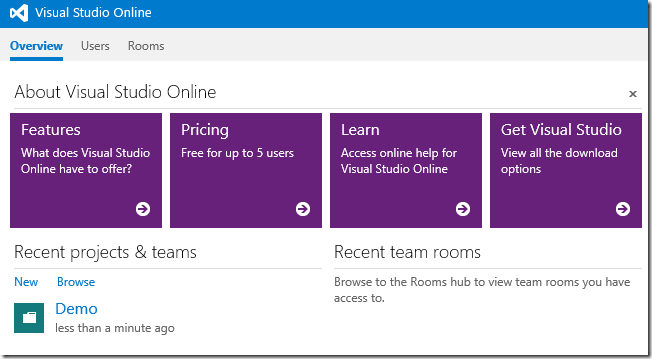
After a bit, you will have your new team project. At this point, you can start using it.
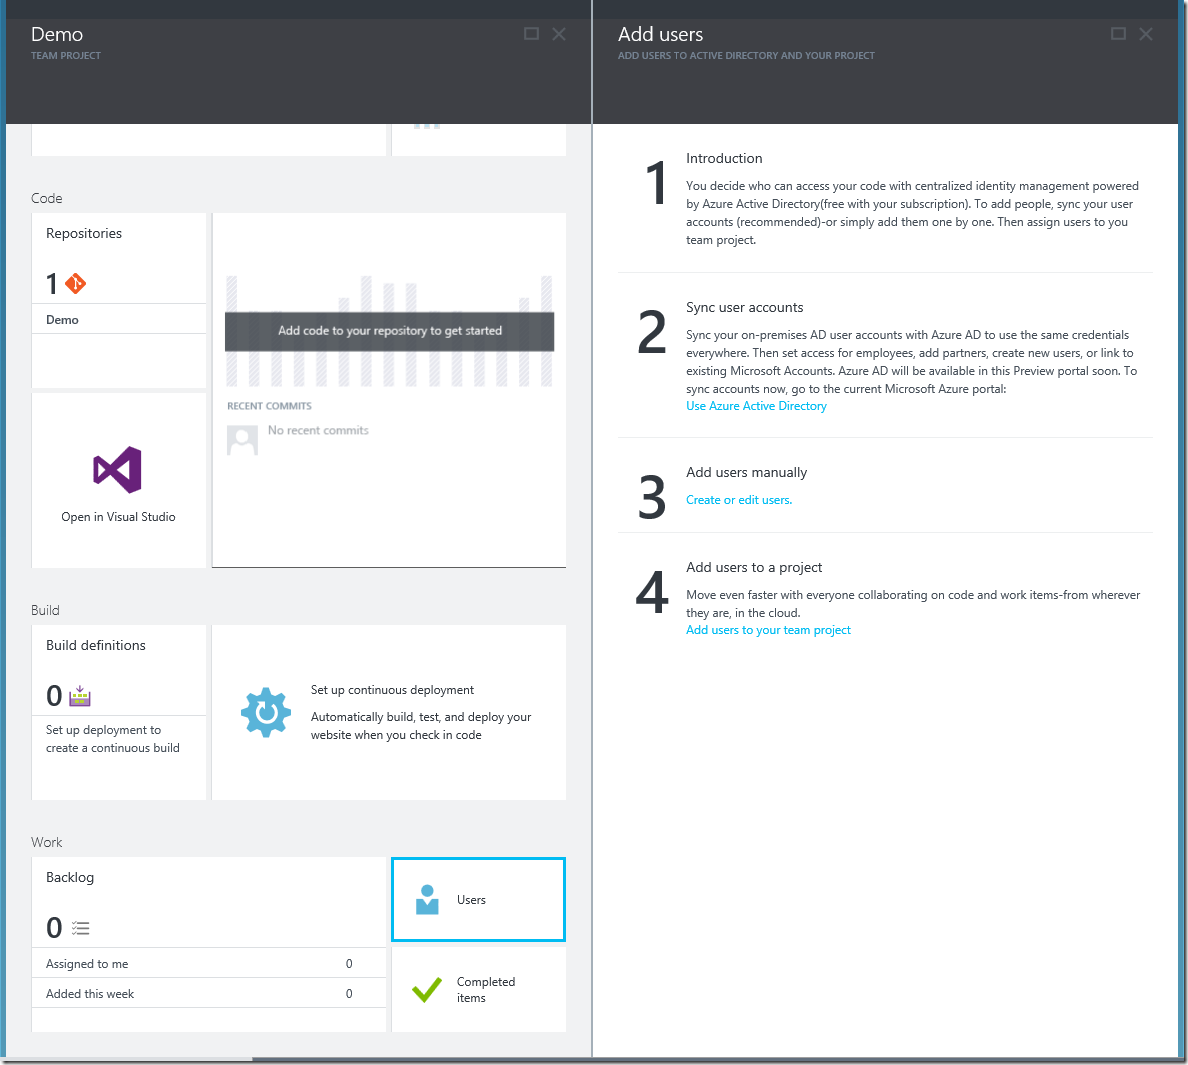
Let’s say you want to add another user. Click on your team project’s tile, scroll down, and click on Users.
Remember how I said that all new Visual Studio Accounts created through the new portal are backed by Azure Active Directory (AAD)? Now we need to set up AAD, as everyone added to your account needs to be in your directory. Click on the Use Active Directory shown under 2 in the screenshot above.
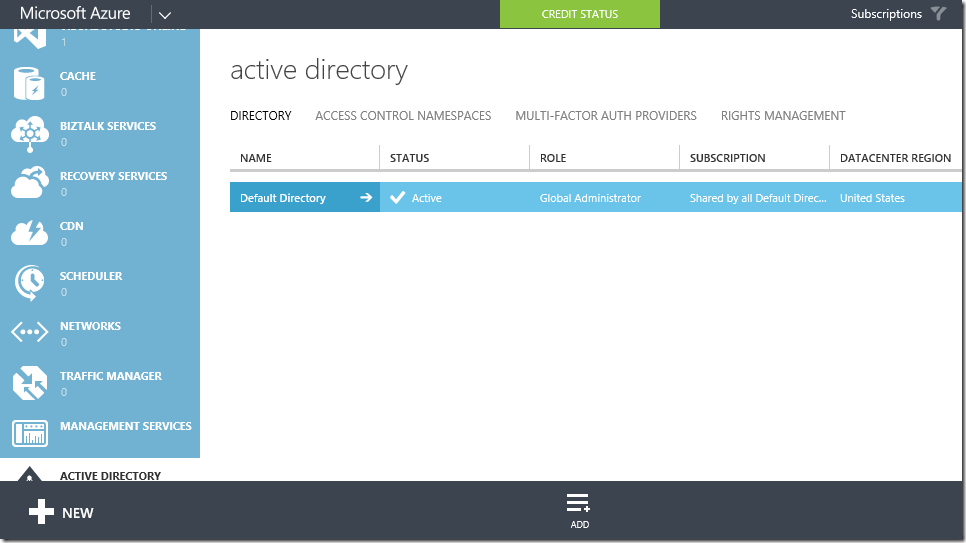
You can just create a default directory.
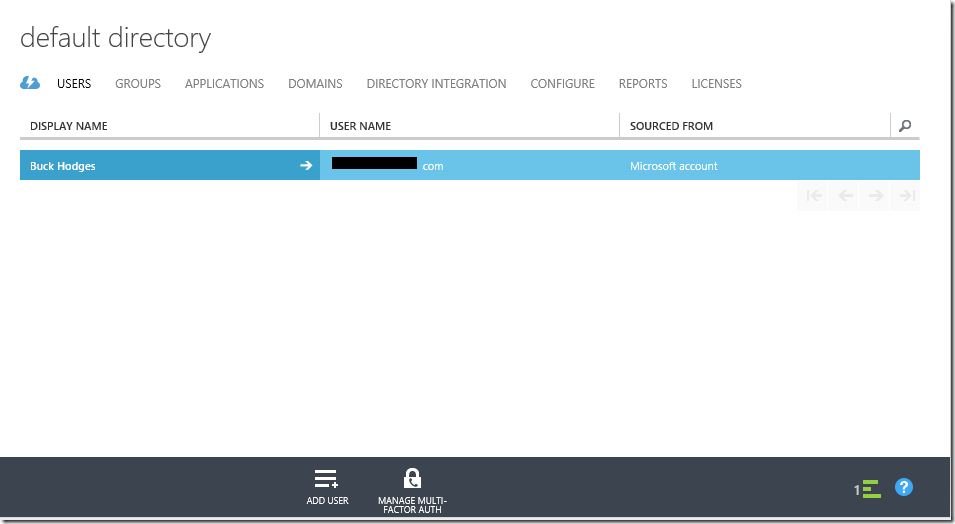
Click on Default Directory. Then click on the Users tab.
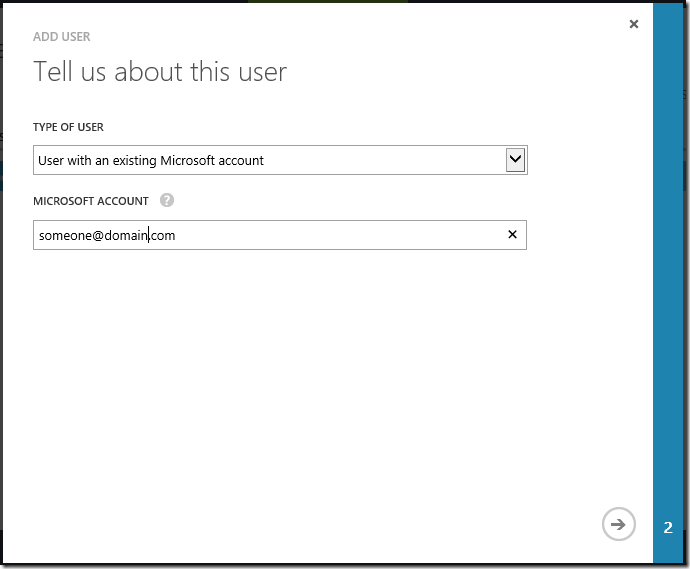
I chose to add someone with a Microsoft Account (MSA, formerly known as a Windows Live ID).
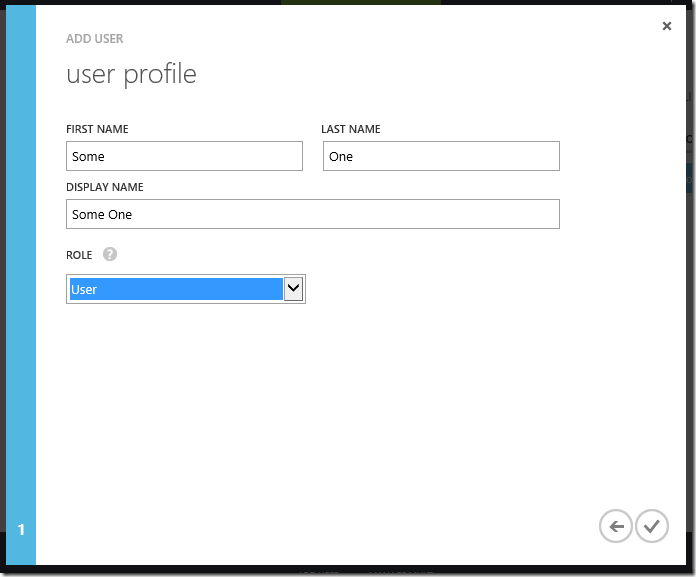
I chose to add the person as a User (not an admin).
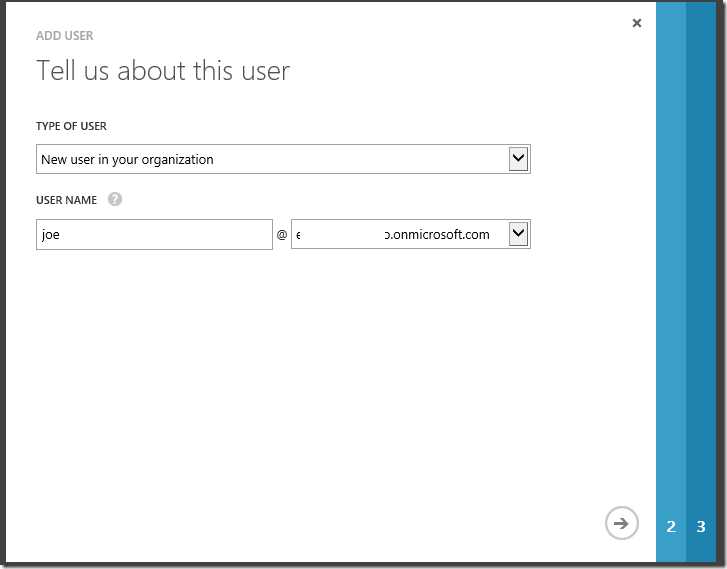
This MSA identity is now added to my Azure Active Directory. You can now add this identity as you would before. Let’s try it out creating a new identity that exists only in my Azure AD tenant – an Organizational Identity.
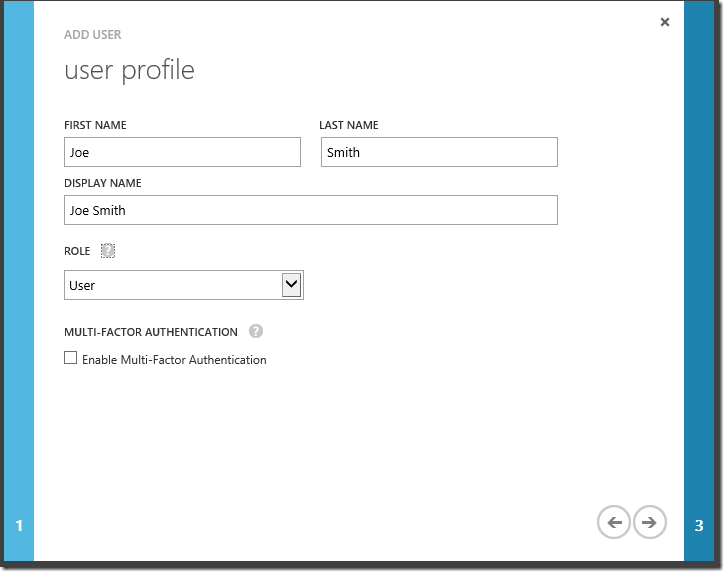
This is where it gets interesting. I don’t need to have this person have or use their personal Microsoft Account. I can create their identity and control the lifetime of that identity. I as an admin can choose to delete that identity – just like I could with Windows Active Directory. Let’s do that.
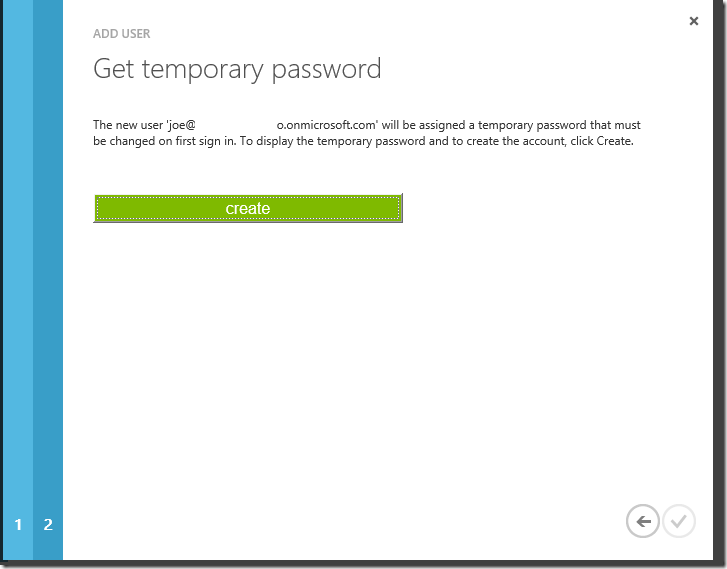
I chose to create the temporary password. Remember that – you will need it.
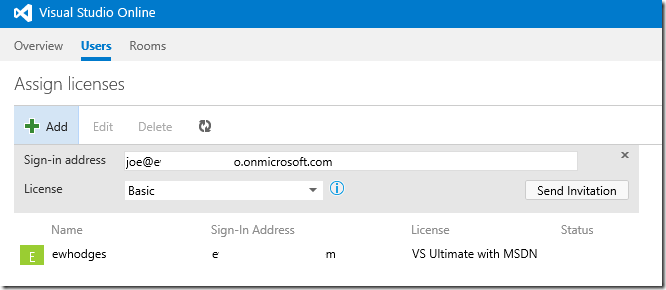
Now that I have created a new user in my directory, I need to go to my new Visual Studio Account and add the person there. Once you go to <youraccount>.visualstudio.com, click on Users.
I enter the identity that I created and click “Send Invitation.” Of course, sending an invitation doesn’t make much sense yet for this type of identity, but we’ll get that limitation addressed soon.
Finally, I need to add my new user to the contributors group for my “Demo” team project. That follows the standard flow to add a team member.
Now you are ready for that user to log in.
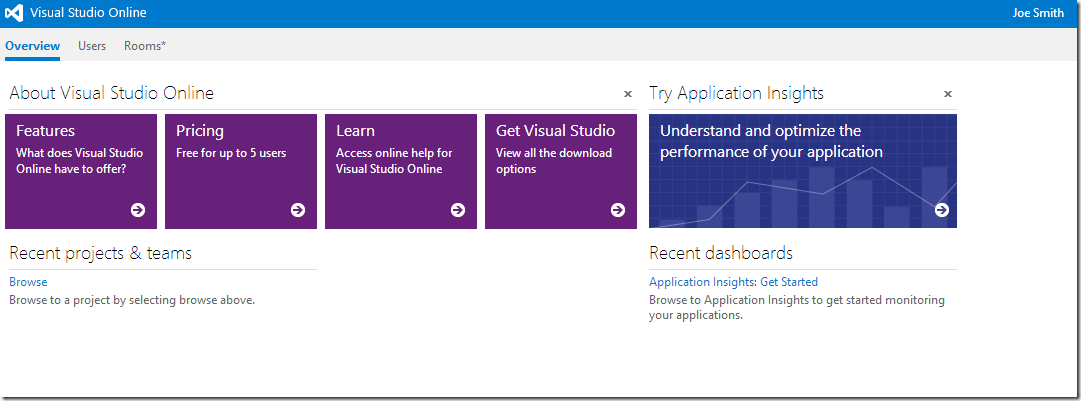
Now I’m asked to add a real password – follow the standard Azure Active Directory flow for a newly created identity. Once I’m done with that, I have to create a profile on Visual Studio Online (same as all new identities), and then I’m logged in with my newly created identity that exists only in Azure Active Directory.
This process is more difficult than it should be, and we are working to smooth it out.
At this point, you now know how to add a user to your new Visual Studio Online account that is using Azure Active Directory.
Follow me on Twitter at twitter.com/tfsbuck



0 comments
Be the first to start the discussion.