
Before I developed my first Xamarin.iOS app, my C# experience was limited to Windows.Forms and WPF. I had never developed a native app for a mobile device, but within 48 hours of being introduced to Xamarin, I put together a proof of concept for iOS that was 100% native and reused an existing C# library that I had already developed.
In this blog, I’m going to share a few of my initial experiences with you so you can see just how easy it is for Windows developers to develop iOS user interfaces with Xamarin.

Building Your Interface
When you open the iOS designer in Visual Studio, you’re going to find a lot of things that are familiar to you: a property grid, a control toolbox, and a solution explorer populated with .cs files. Just like the WinForms of WPF designer, you’ll see controls within the toolbox that you’ve been using for years, including import controls such as buttons, sliders, text views, and tableviews. In fact, every control available to an Objective-C or Swift developer is available to you, plus you can create your own custom controls, which are available from the toolbox as well.
Much like in WPF or Windows.Forms, when you add a control from the toolbox onto your view, you’re going to need to give the control a unique name to be able to program against it. Once you’ve named the control, you’re able to program against it just like you would for a Windows app. Although iOS APIs are often a little different from those found on Windows, you’ll find IntelliSense makes learning them incredibly easy.
One of the first controls you’ll see large API differences in is UIButton. UIButtons don’t have a click event like you’d expect of a button found on Windows; instead, UIButtons respond to gestures and taps. If you select a UIButton and look at the event pad in Visual Studio, you see an event called ‘TouchUpInside’, which is the iOS equivalent of click. Although iOS is lacking the click event, this doesn’t stop us from double clicking the control within the view in Visual Studio and having it generate the boiler-plate code for TouchUpInside (click) events for us.
Control Layouts
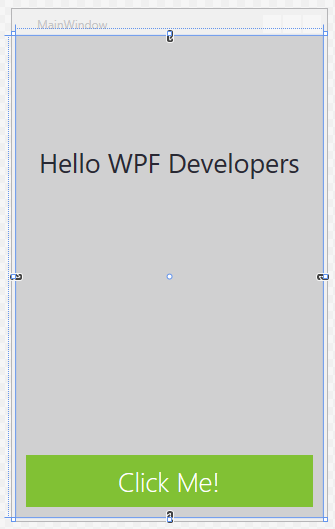
In WPF, you’ve probably been anchoring controls using a mixture of margins and alignment options. You can see below that I’ve recreated my iOS “Hello World” sample as a WPF application and anchored the button to the bottom of the view. This means that when I resize the main window, the button will always remain at the bottom of the screen with a constant margin.
For iOS Views, you’ve got two layout options. You can use Autolayouts or Autoresizing. Autolayouts are more powerful for defining dynamic user interface and, unlike Autoresizing, Autolayouts allow you to specify complex relationships between different controls within your view. On the other hand, Autoresizing offers a fairly simple approach which relies on springs and structs. You can see both Autolayouts and Autoresizing layout options for a control below. In this example, I want to ensure that the button remains at the bottom of the view no matter the view size.
It’s worth noting that if backwards compatibility is important to you, then you’ll want to use Autoresizing rather than Autolayouts. This is because Autolayouts is only supported in iOS 6 or later. This shouldn’t prove to be a huge problem for most developers, as iOS users tend to be very quick to update to the latest iOS release.


Styling Your Controls
Unlike WPF, which creates custom vector-based UI elements, iOS developers tend to opt for creating images for most of their custom controls. Obviously, UIKit controls have APIs for tweaking appearances, but these are far more limited than the APIs available to WPF developers.
If you’re looking to create beautiful custom controls for iOS, then you might want to read my previous blog post on a tool called PaintCode. This is a vector drawing package that generates Xamarin.iOS drawing code. Alternatively, I would recommend embracing using images for your UI, as this is the standard approach to iOS development used by both Objective-C and Swift developers.
Wrap Up
If you’re interested in learning more about iOS, our videos from last year’s Xamarin Evolve conference are a great place to get started. In particular, you’ll find the dynamic layouts talk by Adrian Stevens very helpful.
Additionally, you may also find Xamarin.Forms, which allow you to write iOS, Android, and Windows Phone apps in XAML another helpful option.