
Even Easier iOS App Provisioning in Visual Studio for Mac
iOS provisioning is a notoriously hard concept to grasp; even the best developers can be stumped by a signing identity. As a content developer at Xamarin, I’ve created thorough documentation on the topic, which you can read in the Xamarin Developer Center. Having these resources is great, but as a developer making something awesome, you shouldn’t have to understand how Apple’s signing process works; you should just be able to make a selection, hit run, and have your app deploy to your device. It should be that simple.
In June, we introduced improvements that make it easy to deploy your iOS app to a device. We have improved this process once again with our latest release, and now you can automatically provision your app in less than a minute with a single checkbox selection! In this post, you’ll learn how to turn on automatic signing and allow Visual Studio for Mac to take care of generating and using the required signing artifacts.
Getting Started
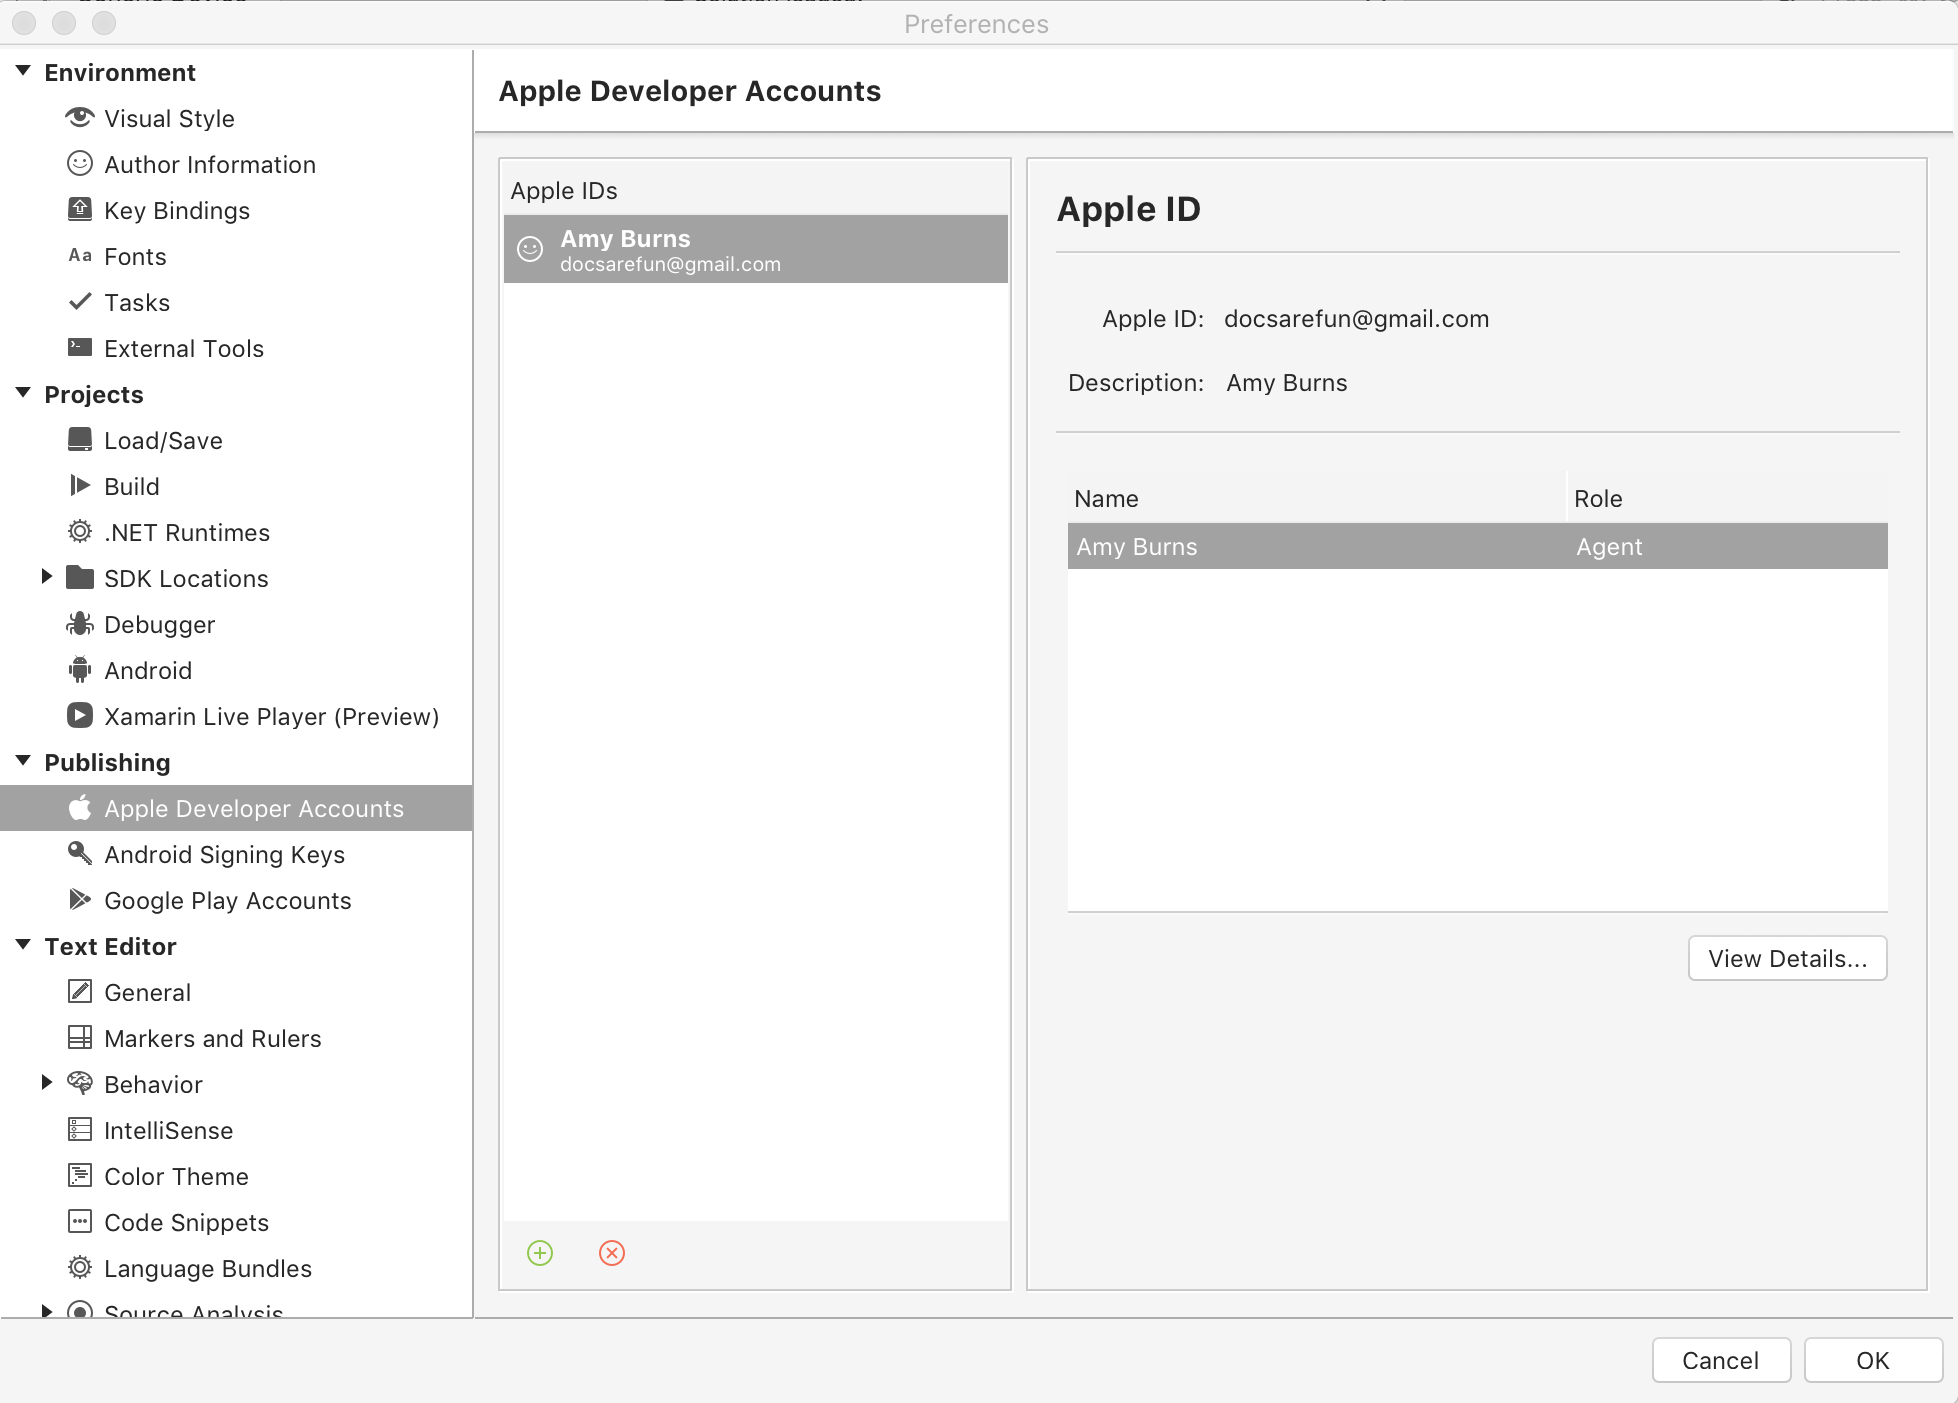
Before you begin, you’ll want to make sure that you’ve signed in to Visual Studio for Mac with an Apple ID via the Apple Account Management window. To open the account management window, go to Visual Studio -> Preferences -> Apple Developer Account. Click the + button to enter your Apple ID and password. Your credentials are saved in the secure Keychain on your machine, and fastlane is used to handle your credentials securely while passing them to Apple’s developer portal.
Enabling Automatic Signing
Once you’ve ensured you have an Apple ID connected to Visual Studio for Mac, you’re ready to enable Automatic Signing.
In your iOS project, open the Info.plist file. In the Signing section, select your team from the Team dropdown:

Then, select the Automatically manage signing checkbox:
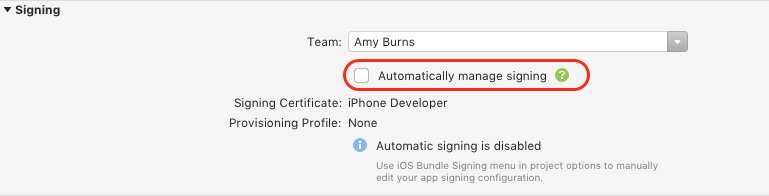
This starts the automatic signing process. Visual Studio for Mac will then attempt to generate an App ID, provisioning profile, and a signing identity to use these artifacts for signing.
When automatic signing has been enabled, Visual Studio for Mac updates the provisioning artifacts, if necessary, when any of the following things happen:
- An iOS device is plugged into your Mac.
- Visual Studio for Mac checks to see if the device is registered on the Apple Developer Portal. If it is not, then the device is added and a new provisioning profile is generated.
- The bundle ID of your app is changed.
- Visual Studio for Mac updates the app ID to match the bundle ID. A new provisioning profile containing this app ID is generated.
- A supported capability is enabled in the
Entitlements.plistfile.- This capability is added to the app ID and a new provisioning profile with the updated app ID is generated.
- Not all capabilities are currently supported. For more information on the ones that are supported, check out the Working with Capabilities guide.
In Action
For a full breakdown of automatic signing and a walkthrough of a live demo, check out this episode of the Xamarin Show with James and Oleg!
Wrapping Up
This blog post introduced the new automatic signing capabilities in Visual Studio for Mac 7.3 and demonstrated just how quickly you can now deploy your iOS, tvOS, and watchOS apps to a device.
For more information on Device Provisioning, refer to our documentation on Setting up a device for development.
Discuss this post in the Xamarin Forums!
 Light
Light Dark
Dark
0 comments