
Visual Studio for Mac is retired
Visual Studio for Mac was retired on August 31, 2024 in accordance with Microsoft's Modern Lifecycle Policy. While you can continue to work with Visual Studio for Mac, there are several other options for developers on Mac such as the preview version of the new C# Dev Kit extension for VS Code.
A Progressive Web Application (PWA) is a Single Page Application (SPA) that uses modern browser APIs and capabilities to behave like a desktop app. Blazor WebAssembly (now in preview) includes support for Progressive Web Applications. Today, I want to show you how to build your first Blazor PWA. I am using the latest preview of Visual Studio for Mac, you can also create them using the latest Visual Studio 2019 Preview on Windows.
Creating a new Blazor PWA
In this post, we’ll walk through creating a simple “To Do” application; in a future post we’ll add some more advanced PWA features.
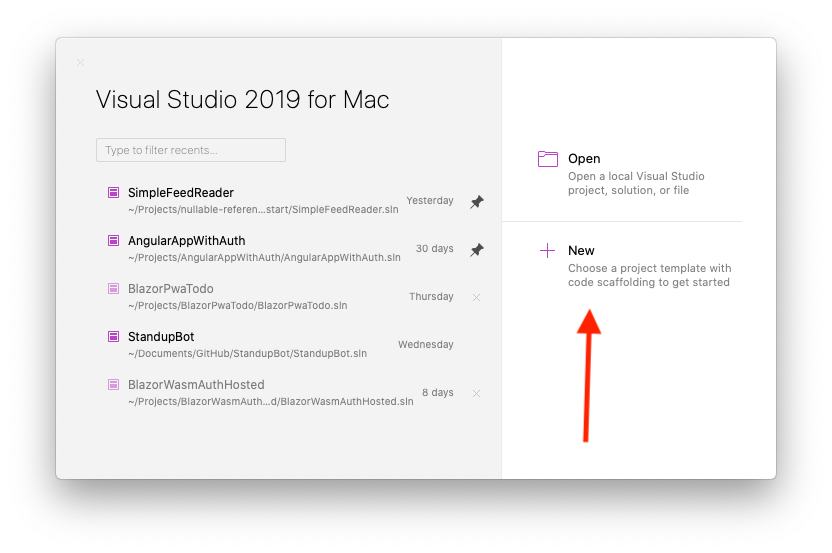
Creating a new Blazor PWA is especially easy now in Visual Studio for Mac using the latest Blazor project template. You’ll need to have version 8.6 Preview 5 and later, and until the full release you’ll need to ensure you have the latest .NET Core SDK installed and to install the latest Blazor templates manually to see them show up in the Visual Studio for Mac new project dialog. After launching Visual Studio for Mac you’ll see the dialog below, click New to begin creating the project. If you already have Visual Studio open, you could also use the ⇧⌘N shortcut to open the new project dialog.
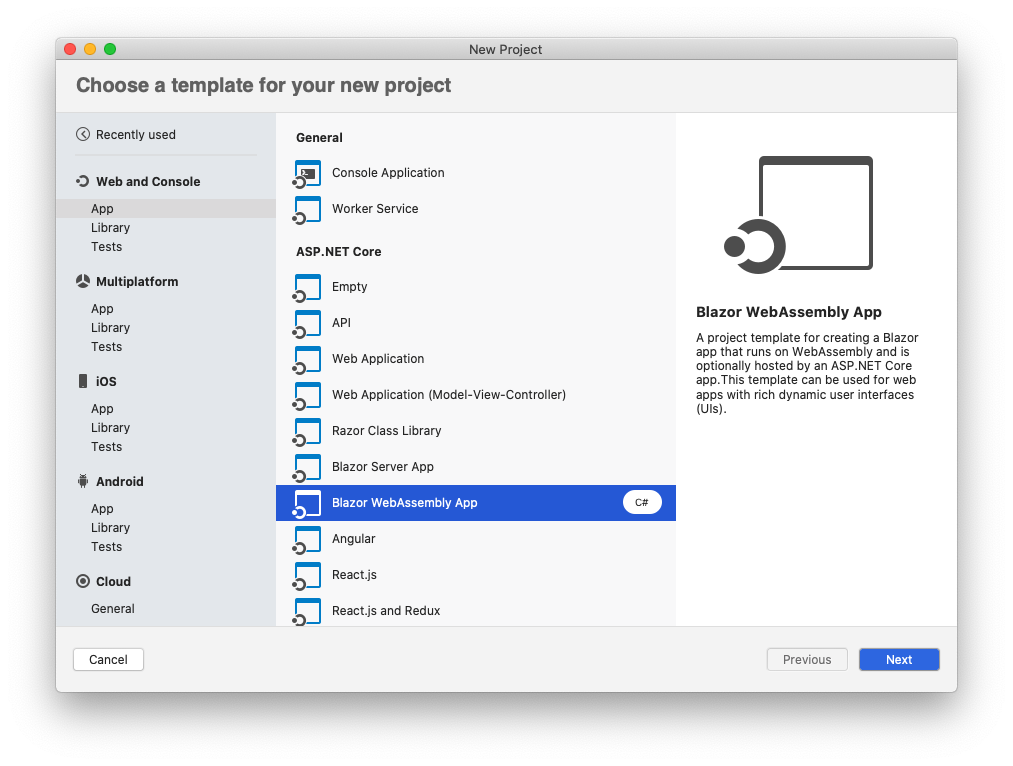
From here we will create a .NET Core Console project by selecting Web and Console > App > Blazor WebAssembly App.
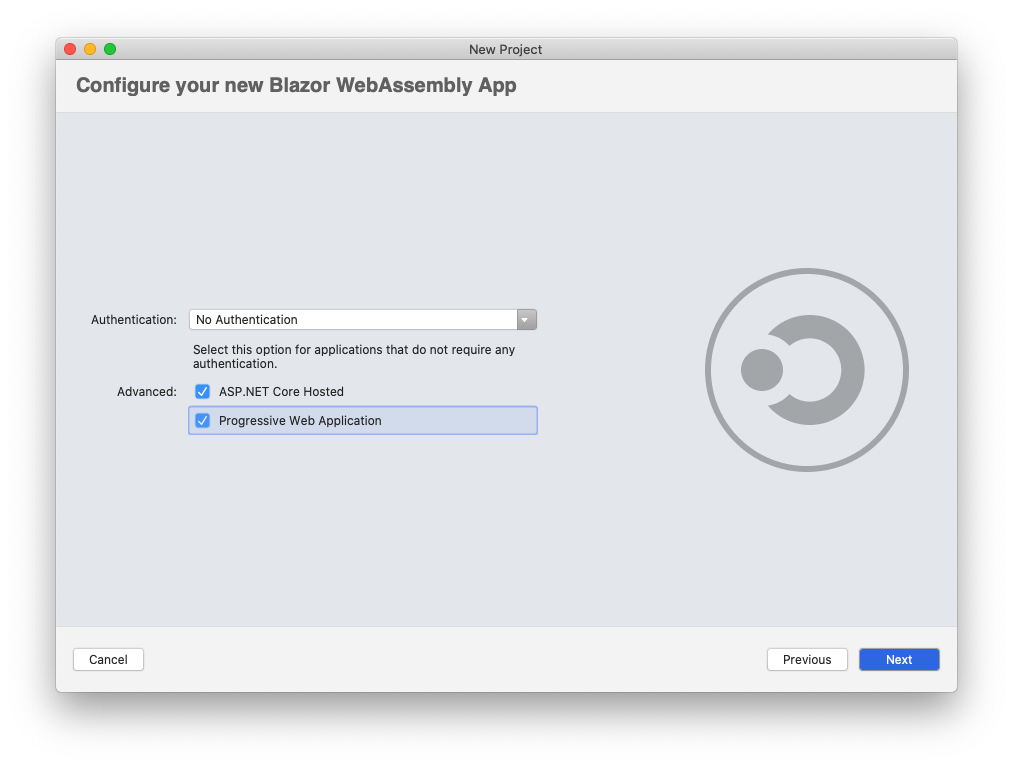
Next, you’ll need to configure the new Blazor WebAssembly (often abbreviated as WASM) application. We’ll name our application “BlazorPwaTodo”. Select “No Authentication”, and check both the “ASP.NET Core Hosted” and “Progressive Web Application” options as shown below.
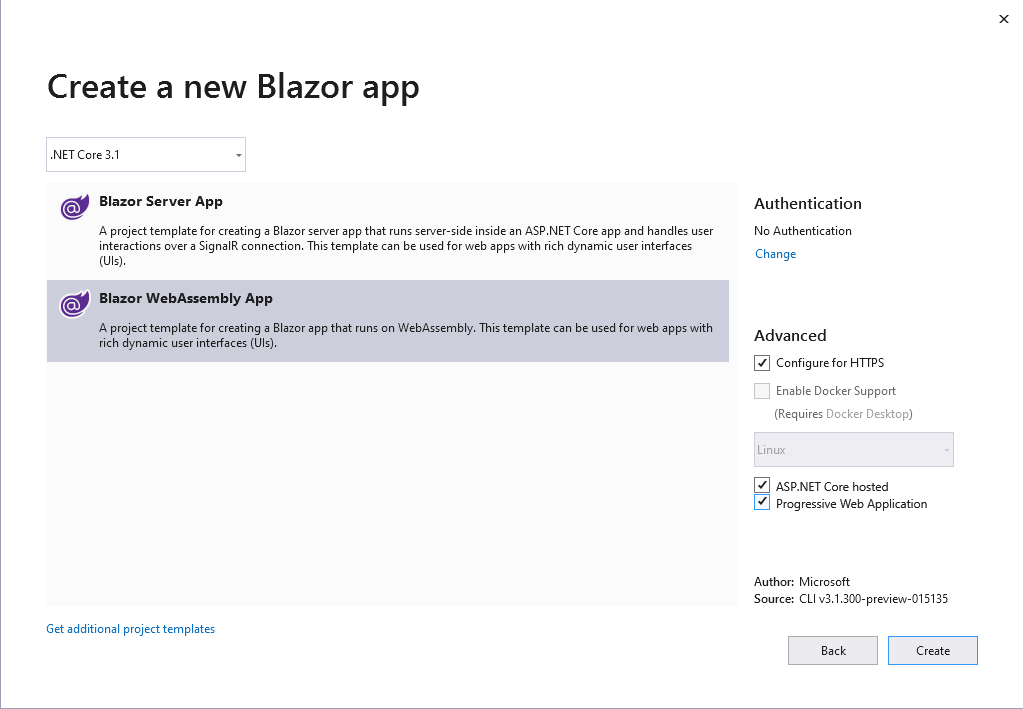
If you’re using Visual Studio 2019 on Windows, the new project dialog is pretty similar:
If you’re using Visual Studio Code, you can create a Blazor PWA from the command line using the –pwa switch.
dotnet new blazorwasm -o BlazorPwaTodo --pwa --hosted
Note: We’re selecting the “ASP.NET Core Hosted” option for two reasons. First, because we plan to integrate some backend services in the future. Second, using an ASP.NET Core Hosted site makes it easier to run a published version of the app in your local developer environment.
Adding a Todo Razor Component
We’re going to build a simple To Do application, so we’ll start by creating a new page to view our list. Right-click the Pages folder and select Add > New Item > Razor Component. Name the component’s file Todo.razor.
Use the following initial markup for the Todo component:
@page "/todo"

<h3>Todo</h3>
The first line of this template defines a route template, so browsing to “/todo” will resolve to this Todo component.
Next, we’ll add the Todo component to the navigation bar. Open Shared/NavMenu.razor and add a new list item with a NavLink element for the Todo component as shown below:
<li class="nav-item px-3">
    <NavLink class="nav-link" href="todo">
        <span class="oi oi-plus" aria-hidden="true"></span> Todo
    </NavLink>
</li>
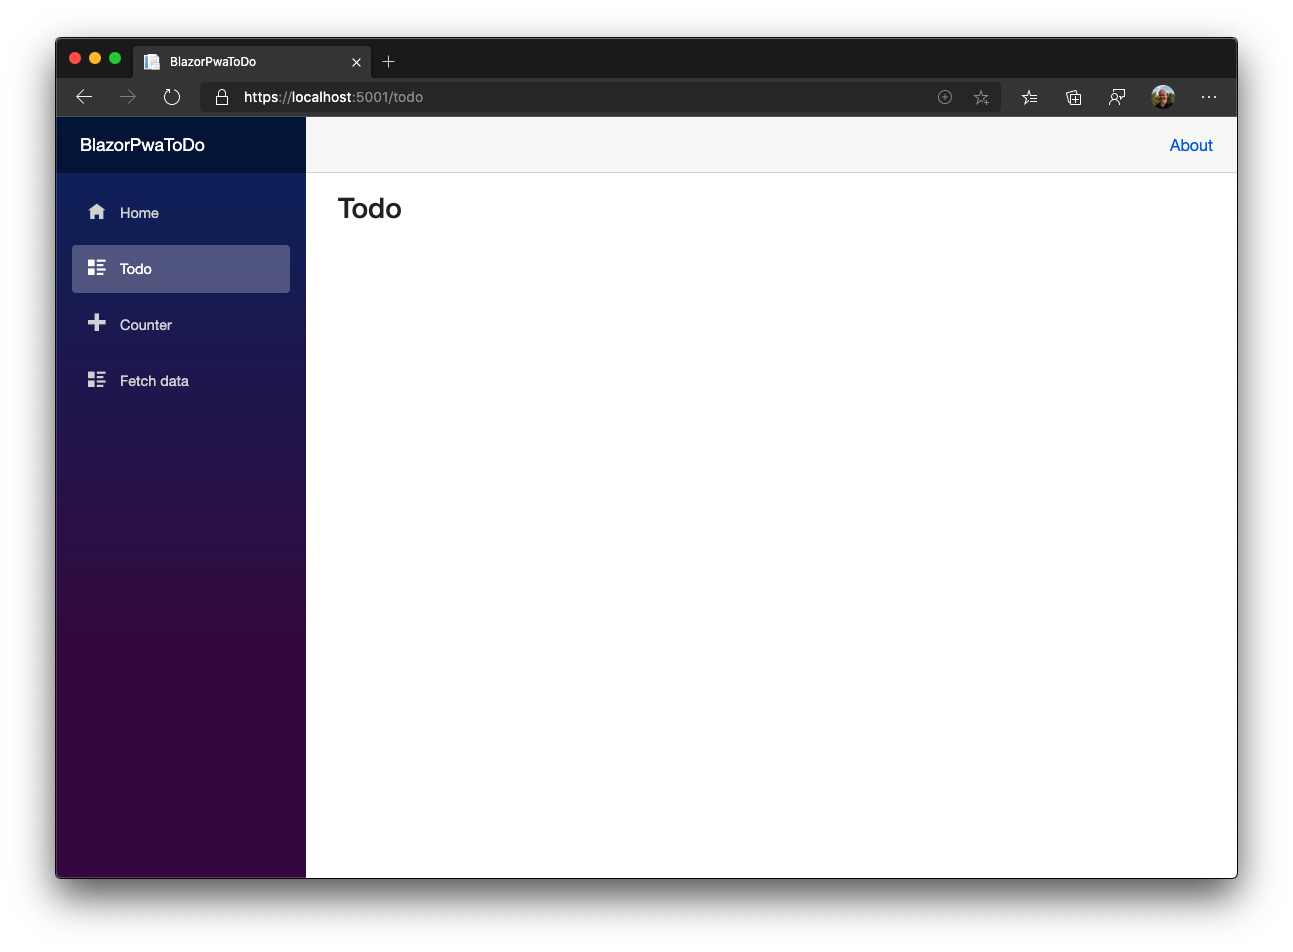
Now run the application by selecting Run > Start Without Debugging from the menu. Clicking the Todo link in the navigation shows our new page with the Todo heading, ready for us to start adding some code.
Coding basic Todo functionality
Let’s create a simple class to represent a todo item. Since we’re using an ASP.NET Core hosted template and will probably include some back-end APIs later, we’ll put that class in Shared project to make it available for use in our server application as well. Right-click the Blazor.PwaTodo.Shared project and select Add > New Class. Name the new class file TodoItem.cs and enter the following code:
public class TodoItem
{
    public string Title { get; set; }
    public bool IsDone { get; set; }
}
Return to the Todo.razor component and add the following code:
@page "/todo"

<h3>Todo</h3>

<ul>
    @foreach (var todo in todos)
    {
        <li>@todo.Title</li>
    }
</ul>

<input placeholder="Something todo" @bind="newTodo" />
<button @onclick="AddTodo">Add todo</button>

@code {
    private IList<TodoItem> todos = new List<TodoItem>();
    private string newTodo;

    private void AddTodo()
    {
        if (!string.IsNullOrWhiteSpace(newTodo))
        {
            todos.Add(new TodoItem { Title = newTodo });
            newTodo = string.Empty;
        }
    }
}
Let’s take a look at what this code is doing:
- In the code block at the bottom, we’d declared a list to hold our TodoItem objects, named todo.
- We’re iterating over the list of items using a foreach loop inside the ul element.
- We have an input element that is bound to a string property named newTodo.
- The input element has a a corresponding button to allow adding new items to the list.
- We’re using the button’s @onclick attribute to call the AddTodo method.
- The AddTodo method checks to make sure that text has been entered, then adds a new item to the list and clears the input to allow adding another item.
Note: This explanation is condensed for brevity. If you’d like a more thorough explanation, there’s an in-depth walkthrough of this Todo example in the Blazor documentation.
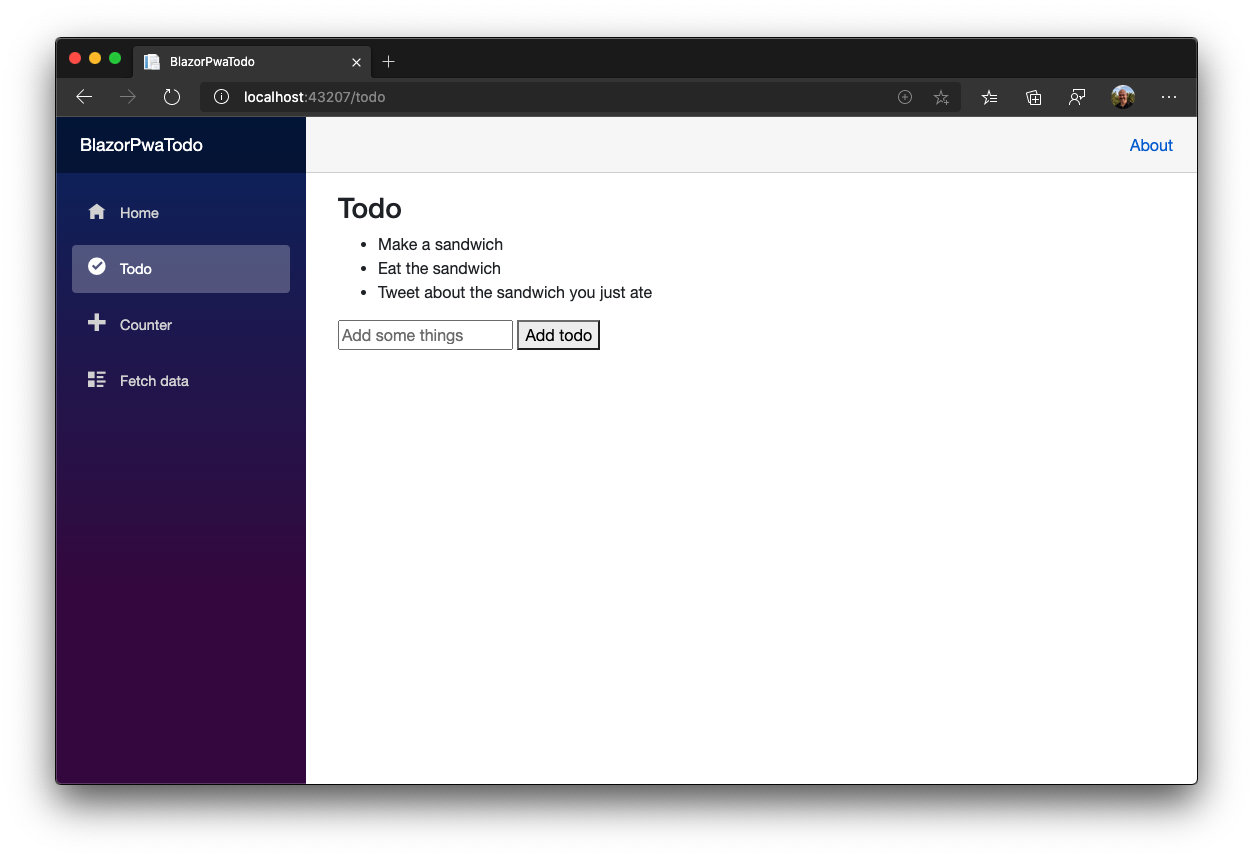
Run the application (again, by using the Run > Start Without Debugging command in the menu) and verify that you can add new items to the list.
Marking Todo items complete
So far, our Todo application only allows adding new items to the list with no support for marking them complete. Let’s fix that by adding a checkbox for each item that’s bound to the IsDone property.
Update the list to include a checkbox input element as shown below.
<ul>
    @foreach (var todo in todos)
    {
        <li>
            <input type="checkbox" @bind="todo.IsDone" />
            <input @bind="todo.Title" />
        </li>
    }
</ul>
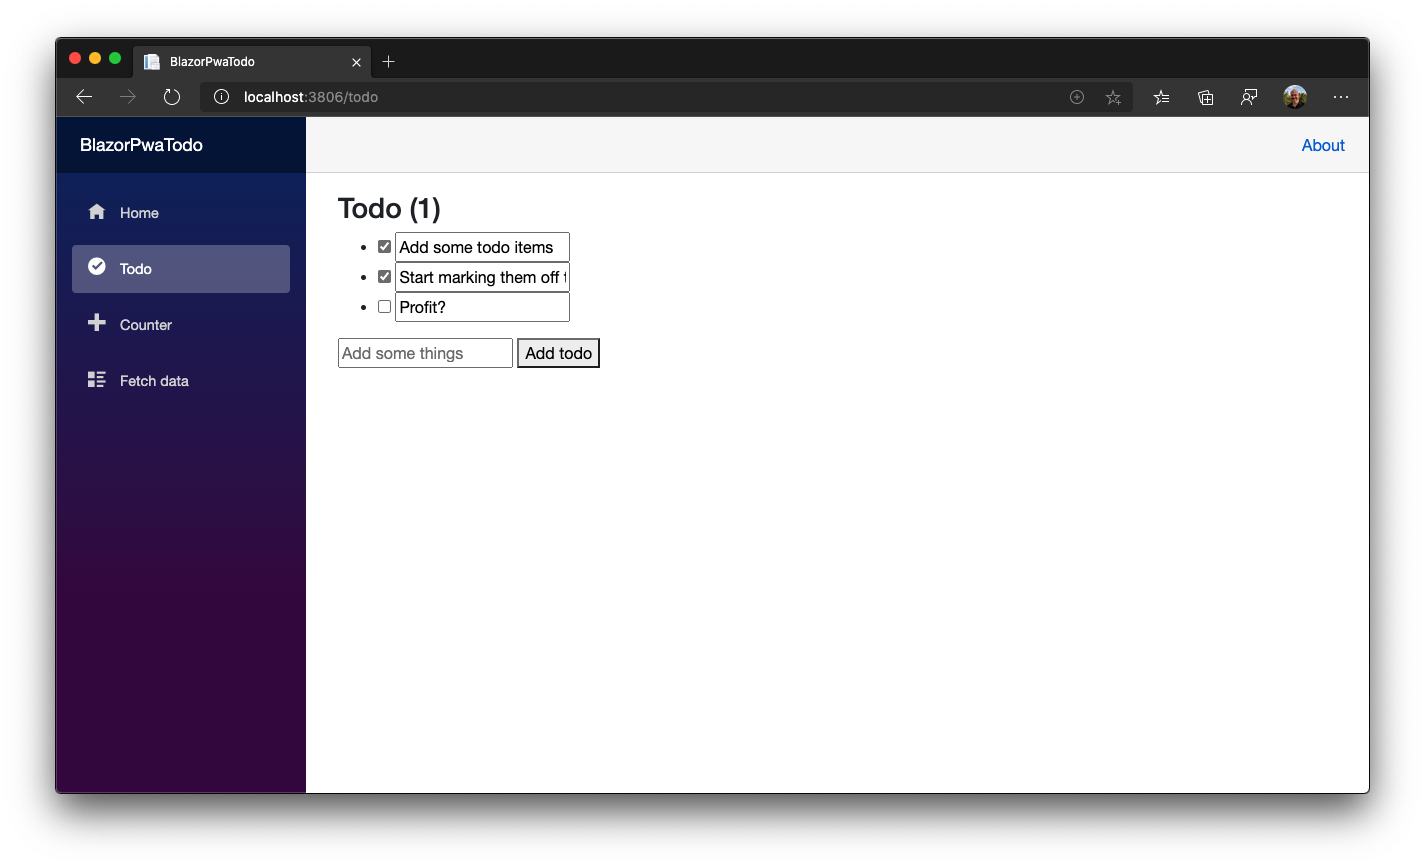
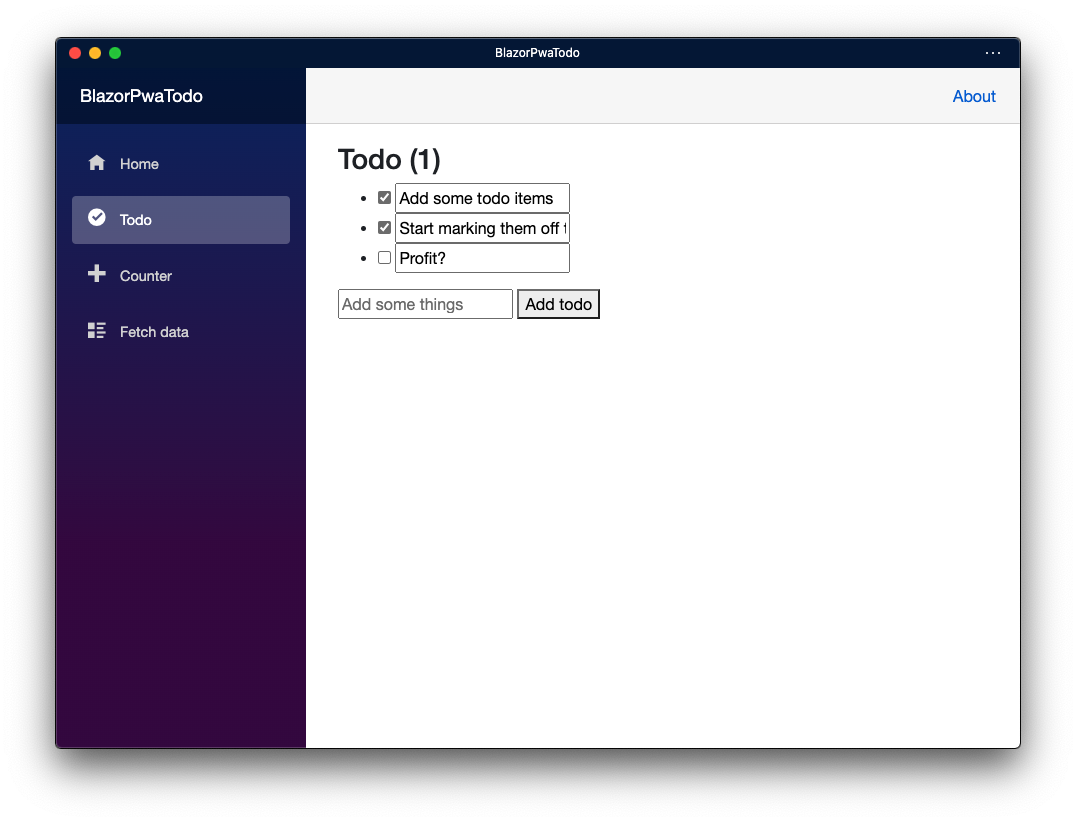
And finally, to verify that these values are bound, we’ll update the page header to show the number of items that are not yet complete. Update the h3 element with this code:
<h3>Todo (@todos.Count(todo => !todo.IsDone))</h3>
Run the application to see it in action. Leave the application running when you’re done testing, as we’ll be using the running application in the next section.
Installing the PWA
Now that we’ve built a basic application, we can start taking advantage of the PWA features. Every time you’ve been running this application, it’s actually been running with PWA support due to using the PWA template.
A Progressive Web Application (PWA) is a Single Page Application (SPA) that uses modern browser APIs and capabilities to behave like a desktop app. Blazor WebAssembly is a standards-based client-side web app platform, so it can use any browser API, including PWA APIs required for the following capabilities:
- Working offline and loading instantly, independent of network speed.
- Running in its own app window, not just a browser window.
- Being launched from the host’s operating system start menu, dock, or home screen.
- Receiving push notifications from a backend server, even while the user isn’t using the app.
- Automatically updating in the background.
We’ll look at two of these features in this post, then dig into some more advanced features in a future post.
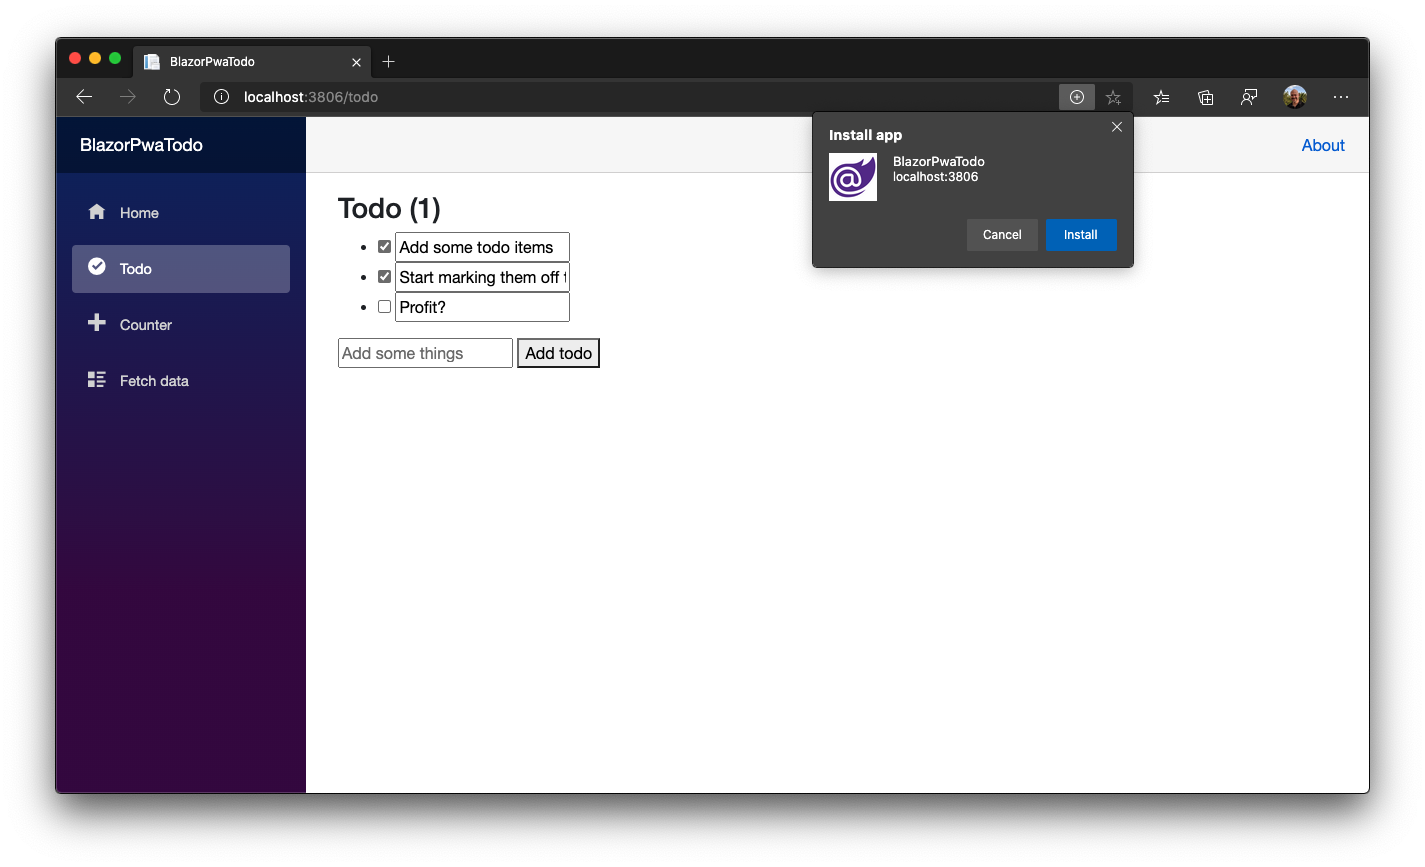
First, let’s look at installation. When your application is running, you’ll see an installation prompt in the browser. Here’s how that looks using Edge on macOS:
Installing the application relaunches the application in its own window without an address bar.
Additionally, the application is shown with its own icon in the taskbar.

The window title, color scheme, icon, and other details are all customizable using the project’s manifest.json file. We’ll dig into that customization in the next post.
Testing mobile PWA installation and offline support
By default, apps created using the PWA template option have support for running offline. A user must first visit the app while they’re online. The browser automatically downloads and caches all the resources required to operate offline.
However, offline support would interfere with local development since you might be viewing cached offline files when you make updates. For that reason, offline support is only available for published applications.
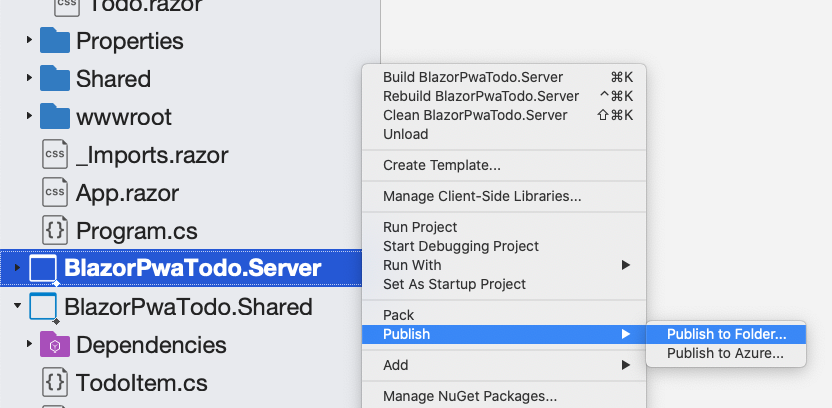
To test this out locally, we’ll need to publish the application. Right-click on the BlazorPwaTodo.Server application and select Publish > Publish to Folder. You can leave the default folder name but be sure to note it. The default should be bin/Release/netcoreapp3.1/publish.
Open a terminal and navigate to the publish directory – you can use Visual Studio for Mac’s integrated terminal if you’d like. Launch the server application using this command:
dotnet BlazorPwaTodo.Server.dll
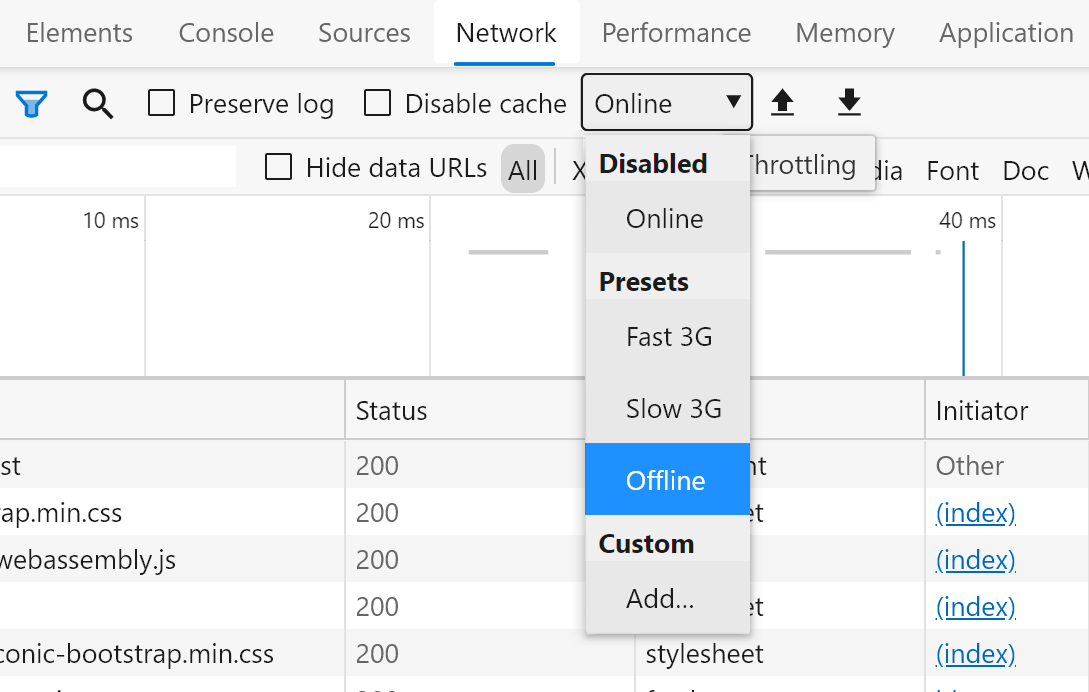
This launches the published application running on localhost port 5001. Now that you’re running the published application, we can test offline support. The easiest way to do this is by using the Network tab in browser tools to simulate offline mode, as shown below.
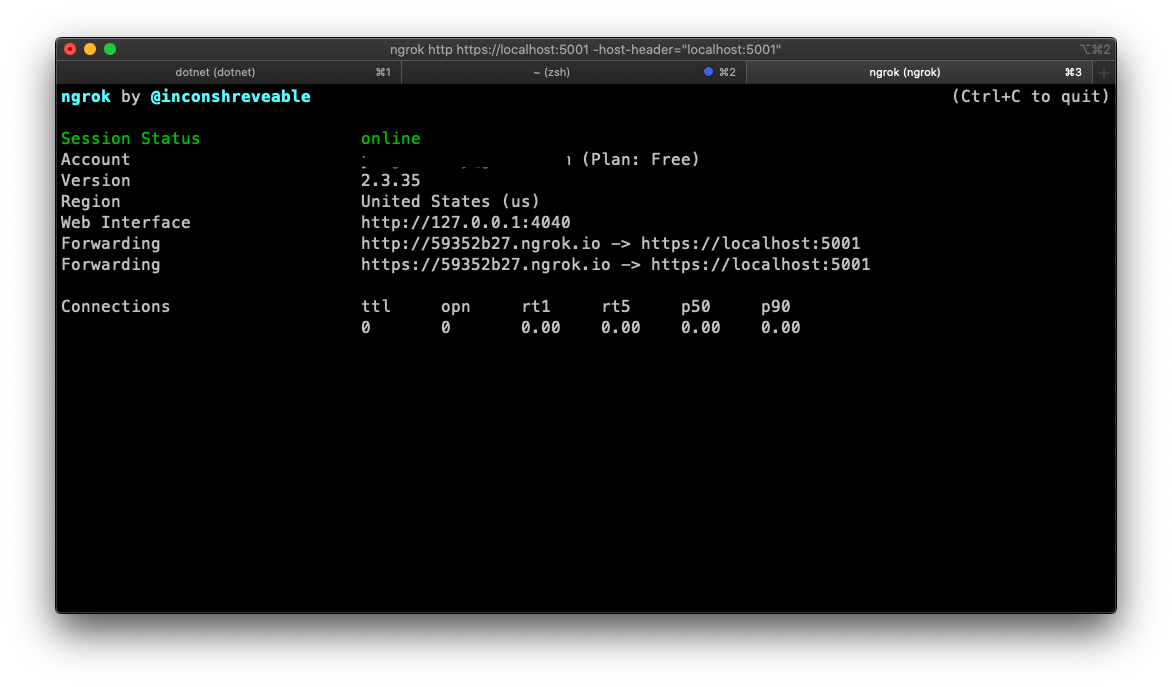
But let’s make this a bit more of a challenge, and test this out in the mobile emulator! In order to do that, we’ll need our mobile browser to be able to connect to our published site. My favorite way to handle that is by using the popular ngrok tool. After installing ngrok, launch it using the following command:
ngrok http https://localhost:5001 -host-header=”localhost:5001”
You should see ngrok spin up and provide a temporary public https endpoint we can use for testing. For more background on why we’re setting the host header, see this blog post by Jerrie Pelser.
Note: There are several different options for pointing a mobile emulator at your development website, but they all can carry some unexpected complications. The Android emulator does provide a local loopback on 10.0.0.2, but it doesn’t trust the ASP.NET Core HTTPS dev certs, which causes some additional setup. It’s also possible to deploy to Azure and use the wildcard certificate support in the free tier, but you’re no longer testing against localhost and need to publish each time you want to test an update. So, in my experience so far, ngrok is the quickest and simplest way to do a quick PWA / mobile test.
Now that we’ve got our site ready for testing on Using Visual Studio for Mac, we can launch an Android emulator using the Tools > Device Manager menu (assuming you’ve installed the Android workload). If you don’t already have an Android device configured, create one by clicking the New Device button. I’m using the Pixel 2 Pie 9.0 image.

Browse to the public HTTPS endpoint provided by ngrok. You should see the website, as well as a prompt to install the application locally. Install the application and close the browser, then test the PWA application by launching from the home screen.

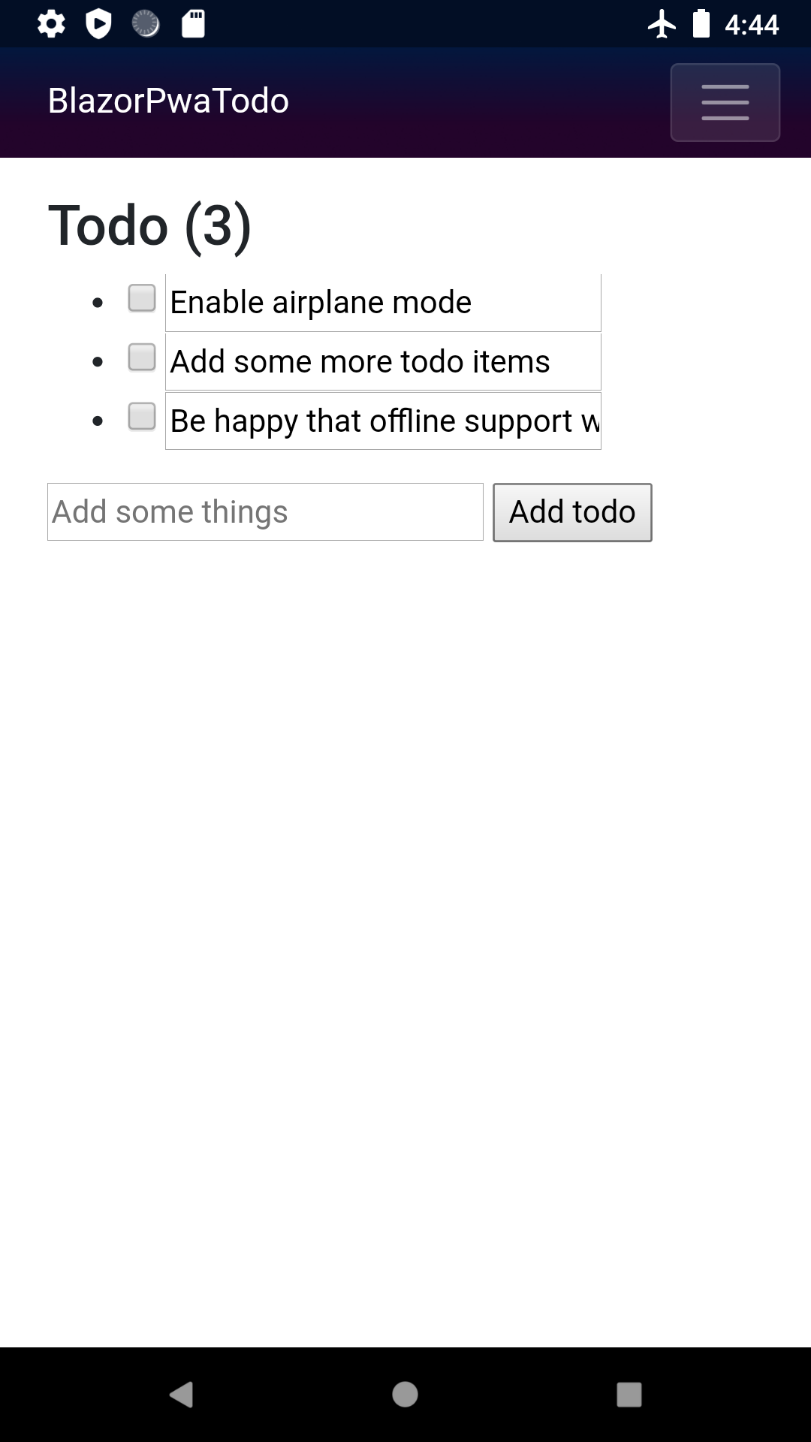
Finally, let’s test out offline support. Use the settings app and enable Airplane Mode, then launch the application. The application should continue to function with offline support.
Summary & Wrap Up
In this post, we’ve built a basic Todo application using the Blazor PWA template in Visual Studio for Mac. We then installed it locally on our Mac as well as on an Android emulator and tested basic offline support.
Blazor PWA’s offer a lot of advanced features, such as customizing the application appearance, adding push notifications, controlling caching and synchronization policies, leveraging the service worker for background work, and more. We’ll take a look at some of these features in a future blog post.
Documentation links:
- Build your first Blazor app (Todo sample)
- Build Progressive Web Applications with ASP.NET Core Blazor WebAssembly
Give it a try today!
The new Blazor WASM templates with PWA support are is now in Visual Studio 2019 for Mac 8.6 Preview. To start using them, make sure you’ve downloaded and installed Visual Studio 2019 for Mac, then switch to the Preview channel.
As always, if you have any feedback on this, or any, version of Visual Studio for Mac, we invite you to leave them in the comments below this post or to reach out to us on Twitter at @VisualStudioMac. If you run into issues while using Visual Studio for Mac, you can use Report a Problem to notify the team. In addition to product issues, we also welcome your feature suggestions on the Visual Studio Developer Community website.
We hope you enjoy using Visual Studio 2019 for Mac 8.6 as much as we enjoyed working on it!
Cool =)
Can we use native device features, like the camera in a Blazor PWA app?
Will Blazor PWA apps be supported on Xbox?
Very interesting this example but I had some issues:
1- The option in Visual Studio in Mac to create "Blazor WebAssembly App" never show up.
2- After created the project by the command line, the first time you try to run in VS you get the error:
Conflicting assets with the same path '/service-worker.js' for content root paths '/Users/usertest/Workspace/BlazorPwaTest/Client/obj/Debug/netstandard2.1/blazor/serviceworkers/wwwroot/service-worker.js' and '/Users/usertest/Workspace/BlazorPwaTest/Client/wwwroot/service-worker.js'.
The only way to solve this is to Close and Open VS again.
Everything else was working like a charm.
Combine Blazor PWA with https://github.com/RemiBou/BrowserInterop and have full control.
Blazor is very cool!