Hello Jetpack Compose developers!
This week, we’re excited to announce some big updates to TwoPaneLayout, our Jetpack Compose component for foldables and large screens.
We’ve just added a new TwoPaneLayout constructor with highly customizable navigation support, and the TwoPaneScope interface has been upgraded to provide more information while also protecting access to its fields and methods. These changes were substantial enough that we decided to bump to TwoPaneLayout version 1.0.1-xx, so now TwoPaneLayout 1.0.0 is the last version that still uses the old API.
To see examples of how to use and migrate to the newest TwoPaneLayout version, check out the documentation, library samples (TwoPaneLayout and TwoPaneLayoutNav), and the Surface Duo Compose samples.

New TwoPaneLayoutNav constructor
TwoPaneLayout now offers the TwoPaneLayoutNav constructor, which is meant to be used in scenarios with complex navigation. We originally started looking into this idea after receiving some feedback on GitHub, and we eventually decided that a new constructor would be the best solution:
@Composable
fun TwoPaneLayoutNav(
    modifier: Modifier = Modifier,
    navController: NavHostController,
    paneMode: TwoPaneMode = TwoPaneMode.TwoPane,
    destinations: Array<Destination>,
    singlePaneStartDestination: String,
    pane1StartDestination: String,
    pane2StartDestination: String
)
As opposed to the original TwoPaneLayout constructor, TwoPaneLayoutNav can be used for apps that require more than two screens of content. Instead of passing in fixed composables for panes 1 and 2, you can now pass in an array of multiple app destinations via the destinations parameter. To control which destination is shown in each pane, you can then use internal TwoPaneLayoutNav navigation methods.
If we look inside the implementation of TwoPaneLayoutNav, we can see that the code is very similar to TwoPaneLayout when only one pane is shown. We still use a NavHost in the SinglePaneContainer, but now it contains multiple destinations instead of only two.
@Composable
internal fun SinglePaneContainer(
    navController: NavHostController,
    pane1: @Composable TwoPaneScope.() -> Unit,
    pane2: @Composable TwoPaneScope.() -> Unit
) {
    ...
    NavHost(
        navController = navController,
        startDestination = currentSinglePane
    ) {
        composable(Screen.Pane1.route) {
          TwoPaneScopeInstance.pane1()
        }
        composable(Screen.Pane2.route) {
          TwoPaneScopeInstance.pane2()
        }
    }
}
@Composable
internal fun SinglePaneContainer(
    destinations: Array<Destination>,
    startDestination: String,
    navController: NavHostController,
) {
...
  NavHost(
        navController = navController,
        startDestination = startDestination
    ) {
        destinations.forEach { pane ->
          composable(pane.route) {
              TwoPaneNavScopeInstance.(pane.content)()
            }
      }
  }
}
The main difference in implementation is within the TwoPaneContainer, because now we have to keep track of the routes for the current pane 1 and 2 destinations. These routes are used to access the content that will be shown in each pane of the layout.
@Composable
internal fun TwoPaneContainer(
    windowState: WindowState,
    modifier: Modifier,
    pane1: @Composable TwoPaneScope.() -> Unit,
    pane2: @Composable TwoPaneScope.() -> Unit
) {
    ...
    Layout(
        content = {
          TwoPaneScopeInstance.pane1()
              TwoPaneScopeInstance.pane2()
          },
          measurePolicy = measurePolicy,
          modifier = modifier
    )
}
@Composable
internal fun TwoPaneContainer(
    windowState: WindowState,
    modifier: Modifier,
    destinations: Array<Destination>,
    pane1StartDestination: String,
    pane2StartDestination: String
) {
  ...
  var currentPane1 by rememberSaveable { mutableStateOf(pane1StartDestination) }
  var currentPane2 by rememberSaveable { mutableStateOf(pane2StartDestination) }
  // Find the destinations to display in each pane
  val pane1 = findDestination(currentPane1, destinations).content
  val pane2 = findDestination(currentPane2, destinations).content
  Layout(
        content = {
          TwoPaneNavScopeInstance.pane1()
          TwoPaneNavScopeInstance.pane2()
        },
        measurePolicy = measurePolicy,
        modifier = modifier
    )
}
To see an example of TwoPaneLayoutNav in action, you can check out our updated NavigationRail sample. If you read the blog post announcing the release of the sample, you may remember how complicated the original navigation hierarchy was; we had to use a combination of internal TwoPaneLayout navigation and our own NavHost/navController combo to achieve the desired app behavior. Now, after switching to TwoPaneLayoutNav, the navigation setup for the app is much simpler because we can achieve all of the same navigation patterns with just one shared NavHost/navController pair.
Updated scopes and testing support
The new TwoPaneLayout version also includes updates to TwoPaneScope and the addition of TwoPaneNavScope. In addition, we’ve added new test scope instances to help with handling the API changes in UI tests.
TwoPaneScope
Previously, TwoPaneScope was only used to provide access to the weight modifier attribute, while the navigateToPane1 and navigateToPane2 methods were accessible anywhere. Now, to ensure that certain methods and fields can only be accessed from within the proper scope, we’ve updated the TwoPaneScope interface to the following:
interface TwoPaneScope {
    fun Modifier.weight(weight: Float): Modifier
    fun navigateToPane1()
    fun navigateToPane2()
    val currentSinglePaneDestination: String
    val isSinglePane: Boolean
}
So for instance, let’s say your app code looked something like this:
@Composable
fun ExampleApp() {
    TwoPaneLayout(
        pane1 = { Pane1() },
        pane2 = { Pane2() }
  )
}
@Composable
fun Pane1() {
    Text(
        modifier = Modifier.clickable(
            onClick = { navigateToPane2() }
      ),
      text = "Pane 1!"
    )
}
With the new TwoPaneLayout version, navigateToPane1 and navigateToPane2 can now only be called within TwoPaneScope, so you would need to update your code to this:
@Composable
fun ExampleApp() {
    TwoPaneLayout(
        pane1 = { Pane1() },
        pane2 = { Pane2() }
    )
}
@Composable
fun TwoPaneScope.Pane1() {
    Text(
        modifier = Modifier.clickable(
            onClick = { navigateToPane2() }
        ),
        text = "Pane 1!"
    )
}
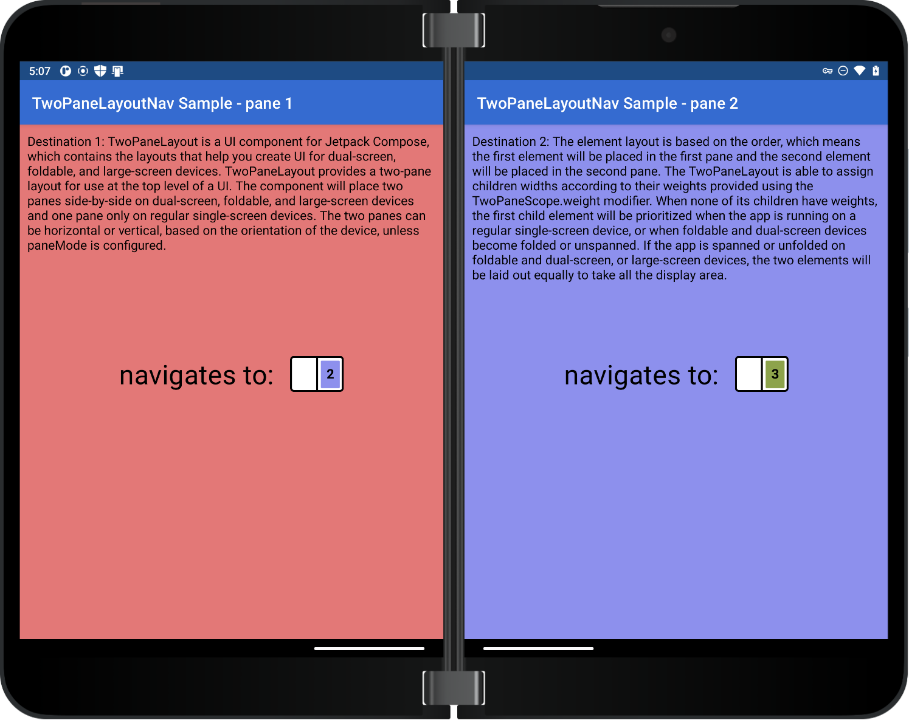
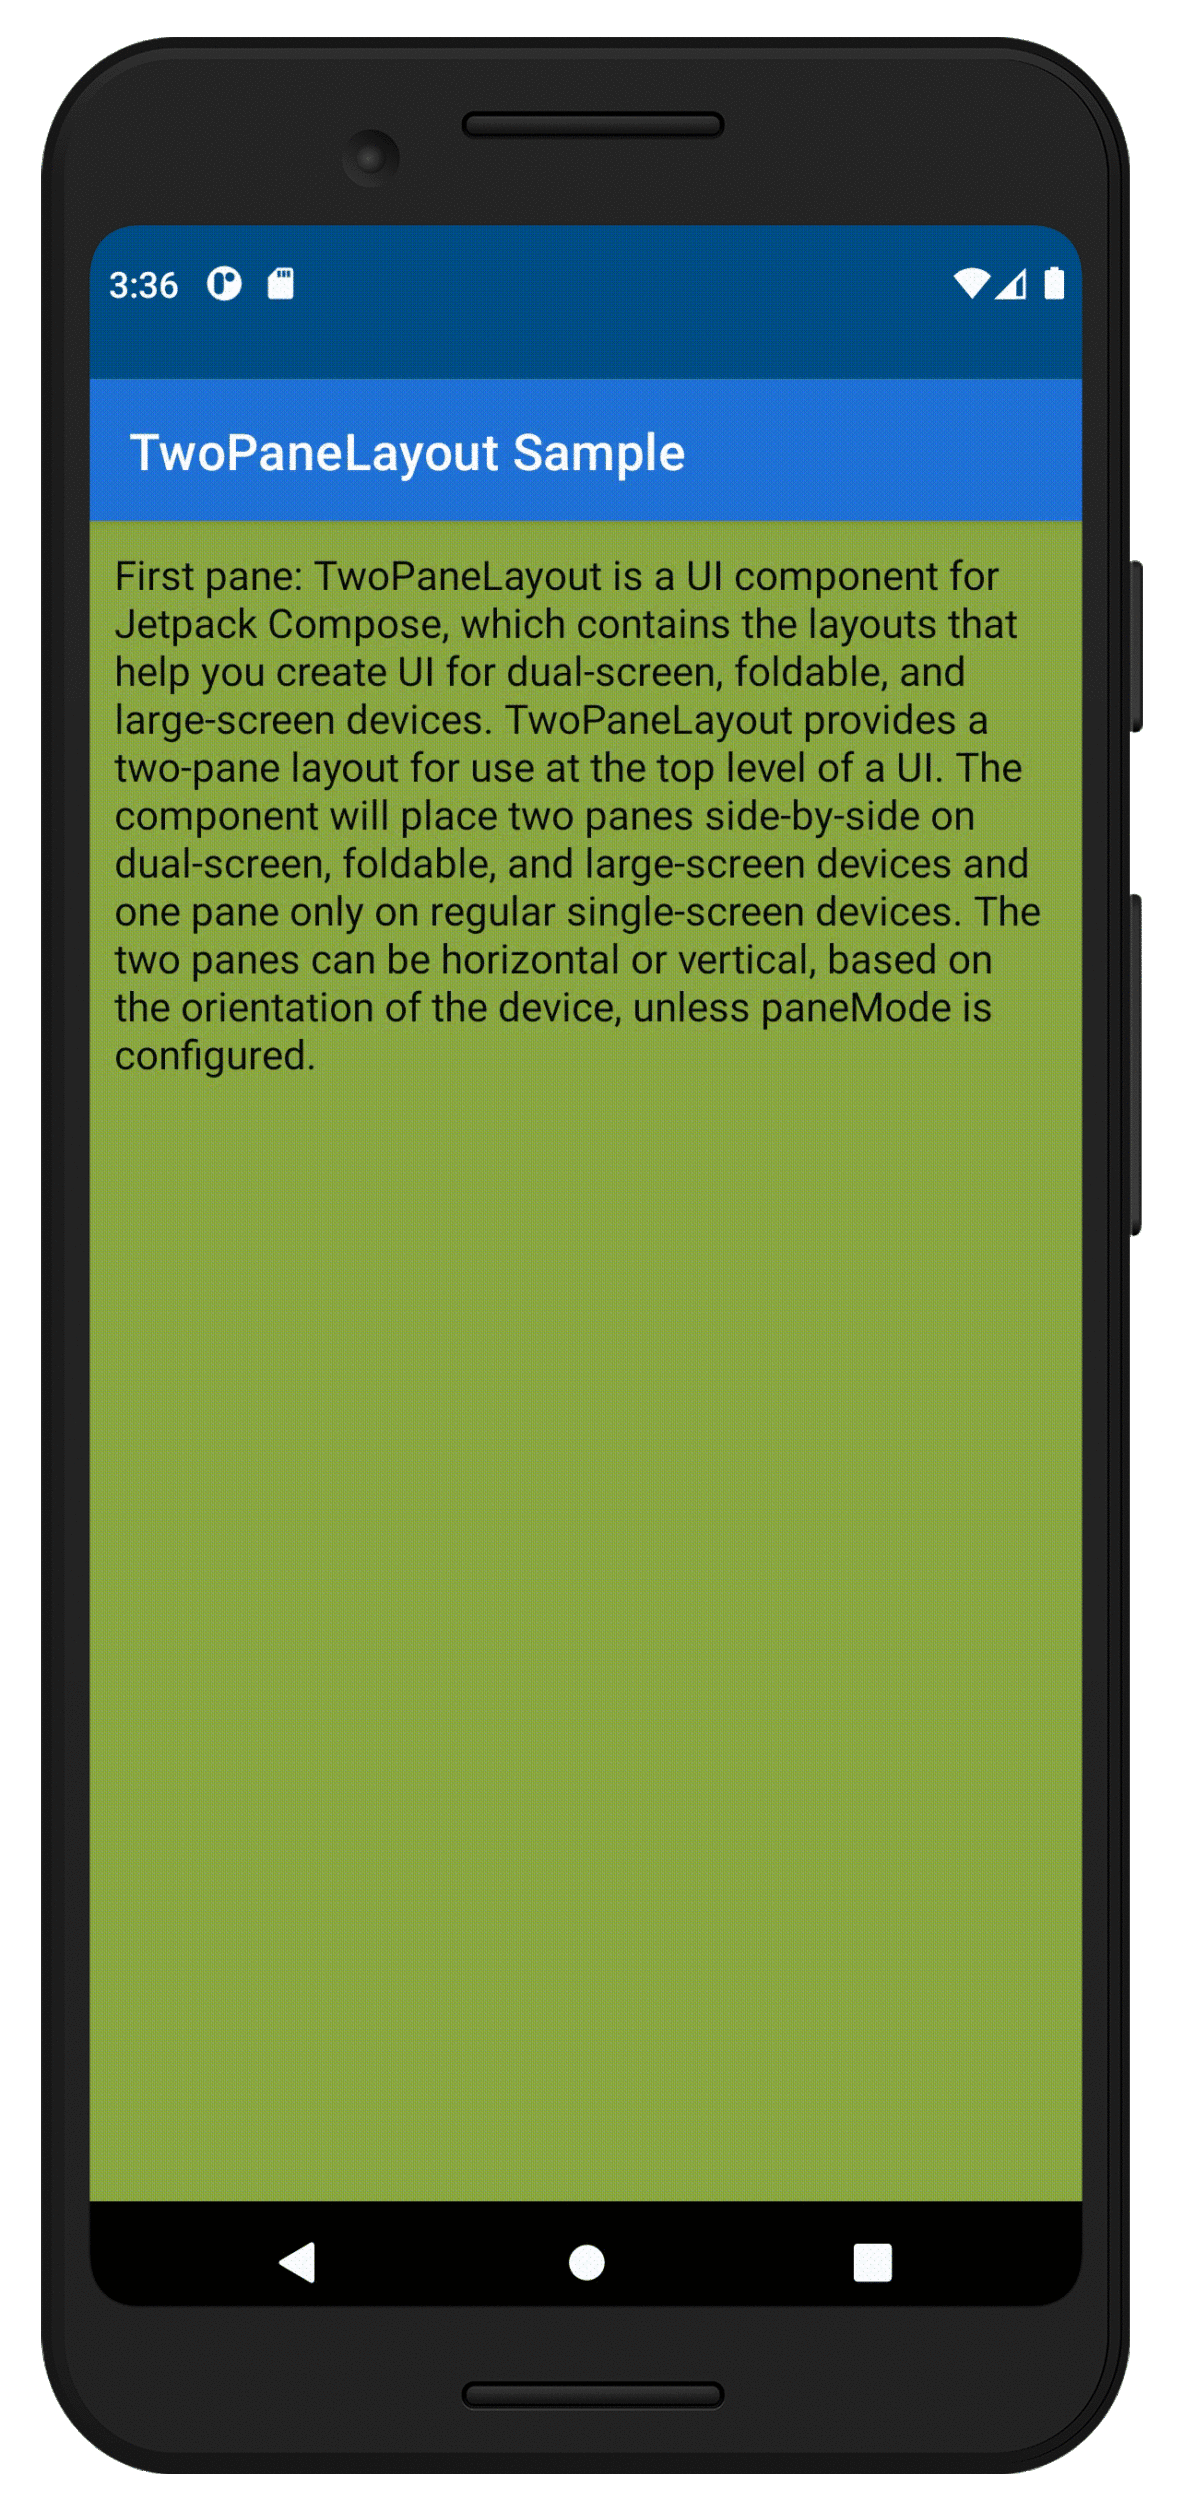
Regardless of the API changes, the navigation functionality remains the same, as shown in this animation:

Figure 1. Animation showing navigateToPane1 and navigateToPane2 on a single screen device
There also are additional fields available for use in your apps:
-
The
currentSinglePaneDestinationfield reports the route of the current pane by returning eitherScreen.Pane1.route(“pane1”) orScreen.Pane2.route(“pane2”). It’s important to note that this value makes sense only when one pane is currently displayed. -
The
isSinglePanefield returns true when TwoPaneLayout is only showing one pane, otherwise it returns false. For those of you familiar with our WindowState library, this may seem similar toisDualScreen, but the difference here is thatisSinglePanealso factors in the selectedTwoPaneModefor the layout. This is useful in cases where you want to conditionally show content based on the number of panes, such as actions in a top bar.
TwoPaneNavScope
To help you use the new TwoPaneLayoutNav constructor, we’ve also created a new interface called TwoPaneNavScope:
interface TwoPaneNavScope {
    fun Modifier.weight(weight: Float): Modifier
    fun NavHostController.navigateTo(
        route: String,
        screen: Screen,
        navOptions: NavOptionsBuilder.() -> Unit = { },
    )
    val currentSinglePaneDestination: String
    val currentPane1Destination: String
    val currentPane2Destination: String
    val isSinglePane: Boolean
}
Since the TwoPaneLayoutNav constructor doesn’t limit you to only two destinations, navigateToPane1 and navigateToPane2 don’t make sense for internal navigation support anymore. Instead, we’ve provided a navigateTo method with the following parameters:
-
route– route of the destination you want to navigate to -
screen– which screen or pane the destination should be shown in when two panes are displayed (possible values:Screen.Pane1orScreen.Pane2) -
navOptions– optional navigation options that will be used by the navController when one pane is displayed (can be used to implement different patterns, such as circular navigation)
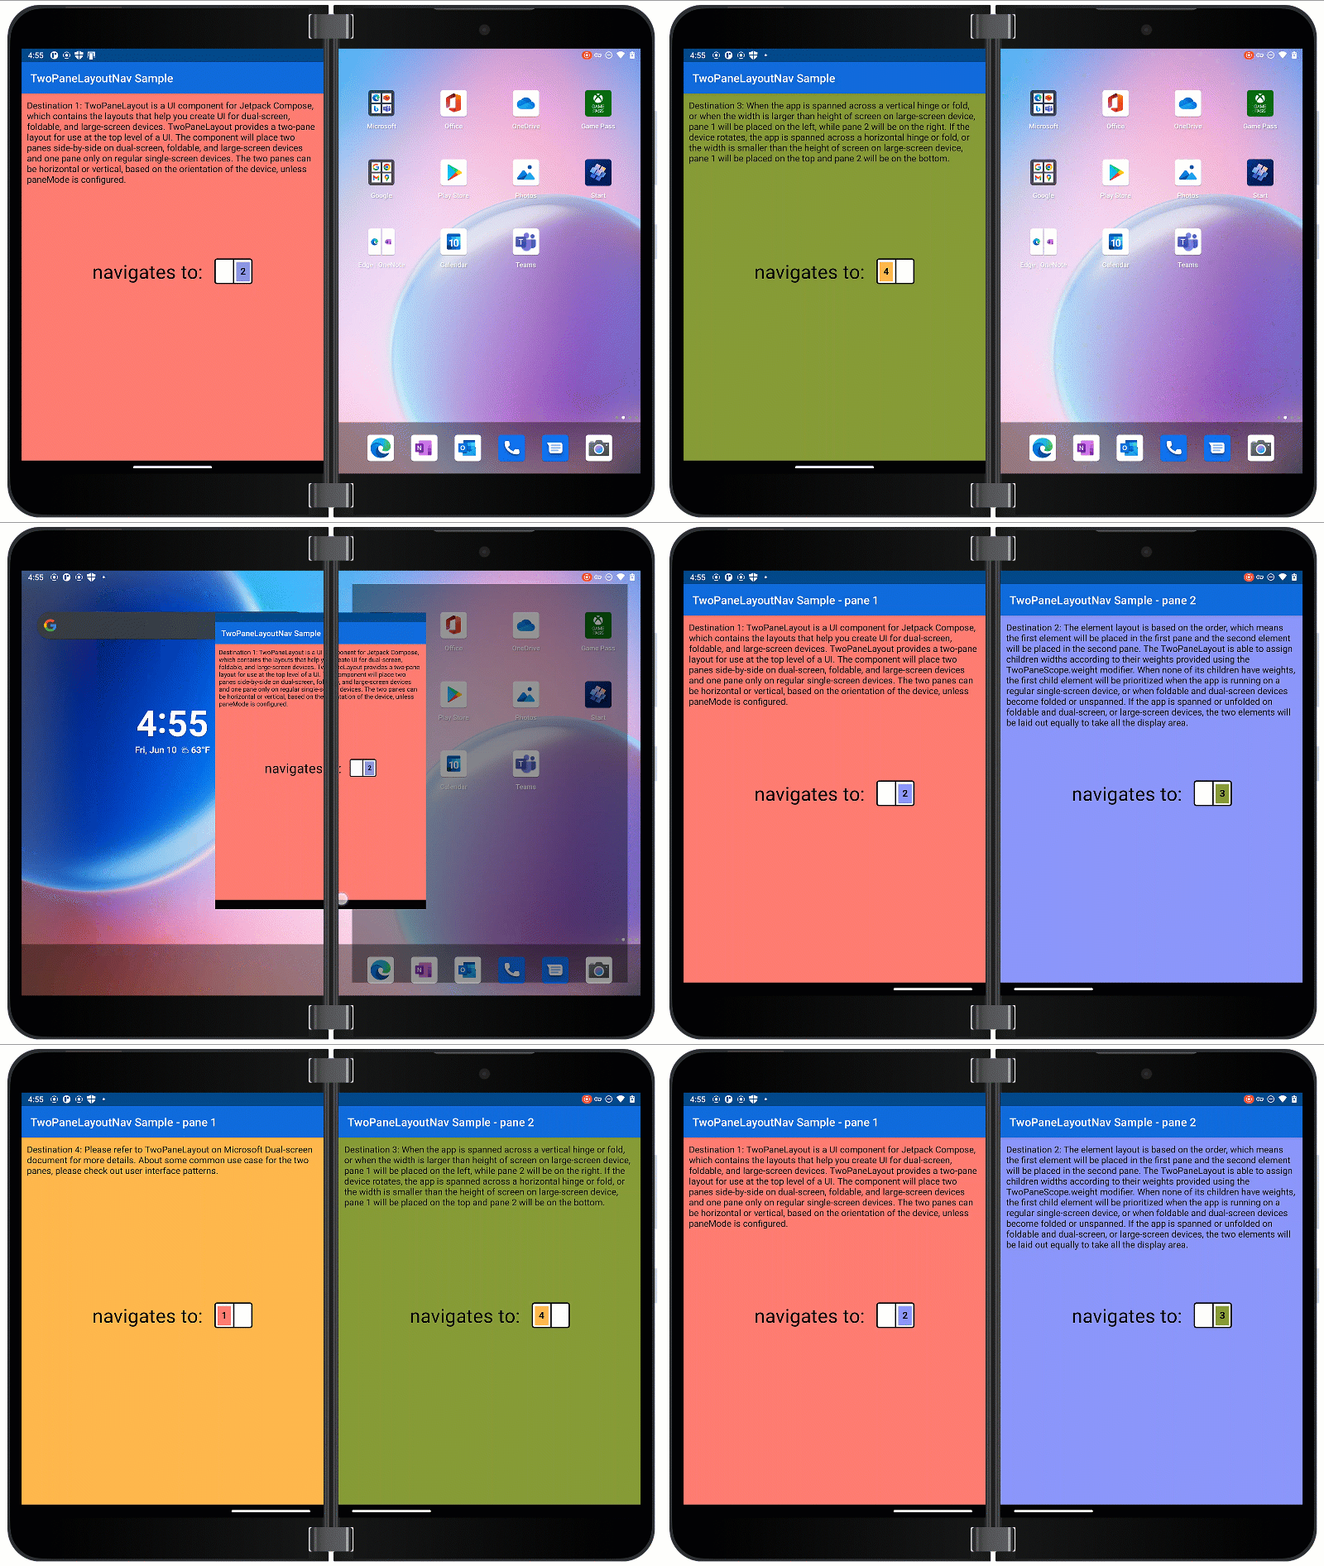
For example, this animation shows how our TwoPaneLayoutNav sample uses navigateTo to set up a navigation pattern that works well regardless of how many panes are displayed:

Figure 2. Animation showing TwoPaneLayoutNav sample behavior in one and two panes.
Like the updated TwoPaneScope, there are also fields that let you access the number of panes displayed (isSinglePane) and which destinations are currently displayed (currentSinglePaneDestination, currentPane1Destination, and currentPane2Destination).
Test scopes instances
Due to the changes described above, some composables may now require TwoPaneScope or TwoPaneNavScope to be explicitly specified as receivers. When writing your application code, this is not an issue because TwoPaneLayout provides an internal implementation of the necessary scope. However, when writing UI tests to test composables in isolation, you may find yourself trying to invoke a composable outside of TwoPaneLayout.
For instance, in the TwoPaneLayout sample, the top bar composable requires TwoPaneScope to decide what text to show:
@Composable
  fun TwoPaneScope.TopBar(pane: Int) {
      // Customize top bar text depending on the pane
      val paneString = if (!isSinglePane) " " + stringResource(pane) else ""
      TopAppBar(
          title = {
            Text(
                  text = stringResource(R.string.app_name) + paneString,
                  color = Color.White
              )
          },
          backgroundColor = blue
    )
  }
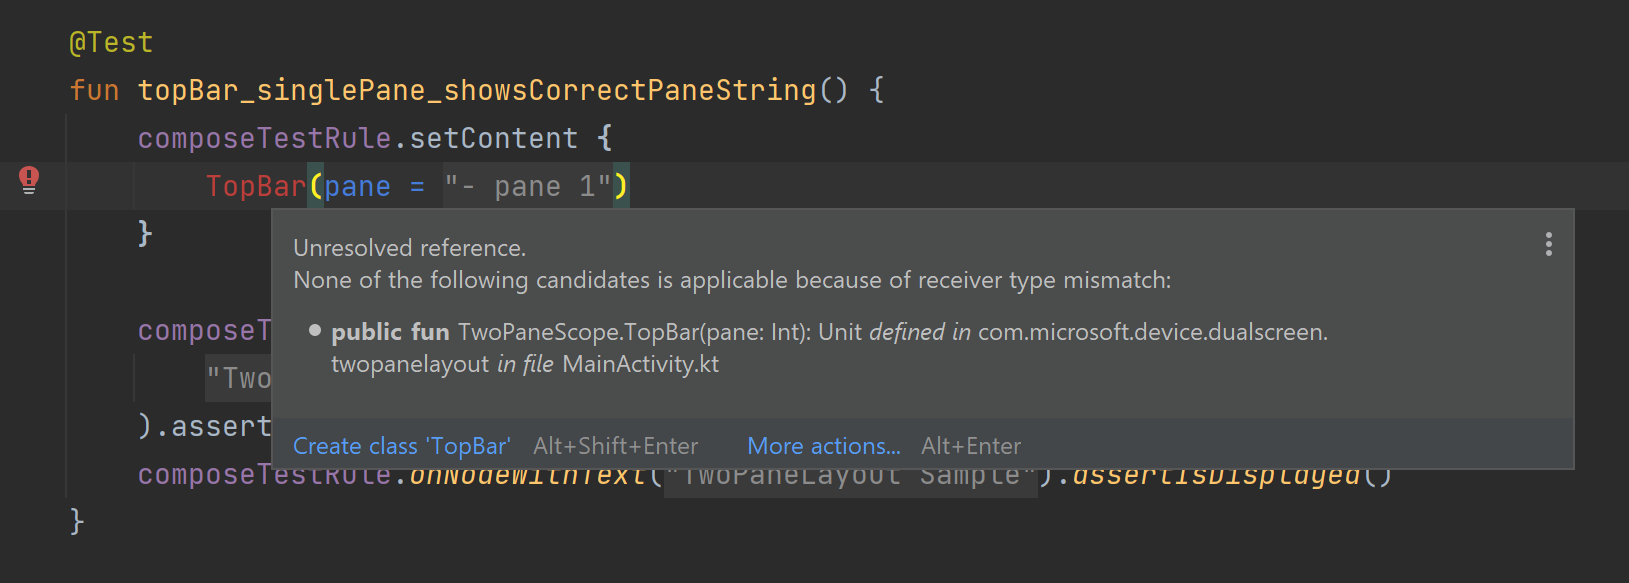
When trying to write a UI test just for this composable, though, Android Studio will show you this error:

To solve this problem, we’ve added empty implementations of both scopes: TwoPaneScopeTest and TwoPaneNavScopeTest. These both allow you to manually set the value of scope fields in the constructor so you can set up your composables with the proper state before running your UI tests.
For instance, this is the top bar test updated with TwoPaneScopeTest:
@Test
fun topBar_singlePane_showsCorrectPaneString() {
    composeTestRule.setContent {
        val twoPaneScopeTest = TwoPaneScopeTest(isSinglePane = true)
        twoPaneScopeTest.TopBar(pane = R.string.pane1)
    }
    composeTestRule.onNodeWithText(
          composeTestRule.getString(R.string.app_name) + " " + composeTestRule.getString(R.string.pane1)
      ).assertDoesNotExist()
      composeTestRule.onNodeWithText(composeTestRule.getString(R.string.app_name)).assertIsDisplayed()
}
Get started with version migration
By this point in the blog post, I hope you’re convinced that the new TwoPaneLayout version is worth a try 😊 If you were already using TwoPaneLayout before and want to migrate to the newer version, follow these steps:
- Update version number
The first and most obvious step is to upgrade your TwoPaneLayout version! The latest version with the new API is 1.0.1-alpha02, so your import statement would be as follows:
implementation "com.microsoft.device.dualscreen:twopanelayout:1.0.1-alpha02"
- Add scope to composables
The next step is to update any composables that use TwoPaneLayout navigation methods to have TwoPaneScope as a receiver. Since “navigateToPane1” and “navigateToPane2” are no longer accessible from anywhere, Android Studio won’t recognize the methods until the proper receiver is added.
- Use test scope instances in UI tests
Once you’ve updated your composables to use TwoPaneScope as a receiver, it’s important to double check existing UI tests in your project. Some may need to be updated to use test scope instances in order to build successfully.
- Optional: replace posture checks with isSinglePane
Instead of choosing layout options based on a combination of device and application logic, you can simplify your project code by switching to the
isSinglePanefield. For instance, if you were previously checking for the dual portrait posture when using the HorizontalSingle pane mode, you can now just check isSinglePane. If your project also uses WindowState, try searching for usages ofisDualScreen,isDualPortrait, orisDualLandscapeto see if you can simplify your code.
Resources and feedback
The code for TwoPaneLayout is available on GitHub.
If you have any questions, or would like to tell us about your apps, use the feedback forum or message us on Twitter @surfaceduodev.
Finally, please join us for our dual-screen developer livestream at 11am (Pacific time) each Friday – mark it in your calendar and check out the archives on YouTube.


lovely!