
Summary: Create and access resource groups with the AzureRM cmdlets.
This blog post is part of a series about how to work with the Azure Resource Manager cmdlets. To get the most out of this series, read the posts in order.
- Work with the Azure Resource Manager cmdlets – Part 1
- Work with the Azure Resource Manager cmdlets – Part 2
- Work with the Azure Resource Manager cmdlets – Part 3
- Work with the Azure Resource Manager cmdlets – Part 4
- Work with the Azure Resource Manager cmdlets – Part 5
After you finish this series, move on to the next two series to learn more about the Azure Resource Manager cmdlets.
- Retrieve Azure Resource Manager virtual machine properties by using PowerShell
- Create Azure Resource Manager virtual machines by using PowerShell
 I’m happily sitting here logged into Azure with the AzureRM cmdlets and would like to start with resource groups. Could you show me where to start?
 Honorary Scripting Guy, Sean Kearney, is here again. Yesterday we discovered how to automate authentication to Azure Resource Manager. Today we’re going to start to make this useful by creating resource groups.
A resource group is one of the most important pieces in Resource Manager. It’s the entity that ties a group of virtual machines, network structure, and various resources together as a management group. This allows you to assign resources to a user or group or to delegate responsibility.
Resource groups are the most basic way to have your development, production and quality assurance environments all on the same subscription with unique users or groups managing them. Because Resource Manager supports Role-Based Access Control (RBAC), you can give the development team Full Access to their environment in a subscription by assigning them Full Access to their resource group.
Pretty cool eh?
Before we do this in PowerShell, let’s see how to do this in Azure in general.
I am now presently signed in to the Azure portal. I would like to create a new resource group.
First, I need to select New to start the wizard from the Azure Portal. This will open the following screen. I find it easiest on a new subscription to just type resource in the search pane and let Azure do all the work for me.
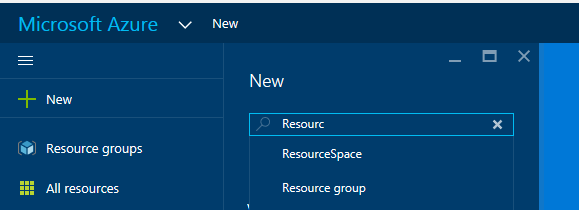
As you can see, it’s prompting me with Resource group as an option. When I can click Resource group, the following pane expands to the right.
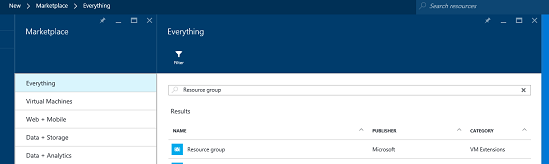
From here, I click Resource group to start the wizard.
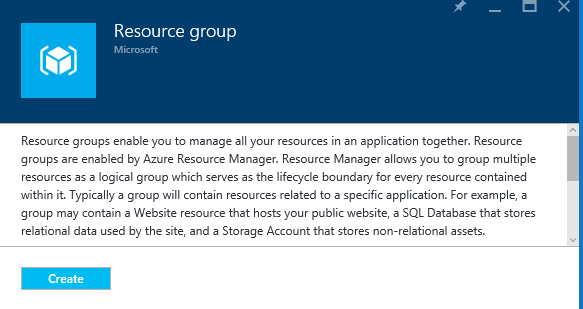
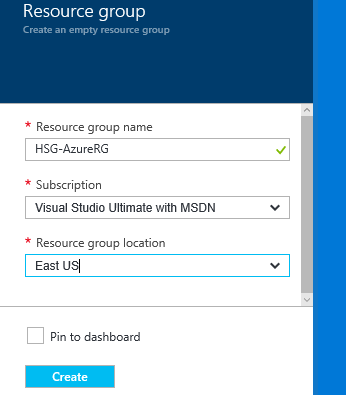
The wizard prompts for three key pieces to create a resource group.
- Name
- Subscription (The wizard will populate with your currently selected one.)
- Location (East US, Canada Central, Japan East, and so on)
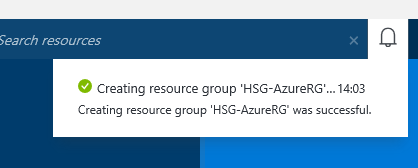
Select Create to begin to create the resource group.
A lovely little notification lets you know that things are happening in the background.
So, after all, not a difficult process. But, I prefer to use PowerShell so that I can do all of this in bulk.
To create a resource group with the AzureRM cmdlets, we need to authenticate (as we showed you in Part 2) and then provide the same information to the New-AzureRMResourceGroup cmdlet.
The nice part is that the cmdlet only really needs the name and the location because it will obtain the subscription from the Azure-RMAccount Object.
$Name=’HSG-AzureRG’
$Location=’East US’
New-AzureRMResourceGroup –Name $Name –location $Location
Yup, three little lines instead of a bunch of mouse clicks. Check things tomorrow when we see how to create our storage account.
I invite you to follow the Scripting Guys on Twitter and Facebook. If you have any questions, send email to them at scripter@microsoft.com, or post your questions on the Official Scripting Guys Forum. See you tomorrow.
Until then always remember that with Great PowerShell comes Great Responsibility.
Sean Kearney Honorary Scripting Guy Cloud and Datacenter Management MVP
0 comments