
Summary: Here’s how to use PowerShell to create a virtual network and a network security group.
This blog post is part of a series about how to work with the Azure Resource Manager cmdlets. To get the most out of this series, read the posts in order.
- Work with the Azure Resource Manager cmdlets – Part 1
- Work with the Azure Resource Manager cmdlets – Part 2
- Work with the Azure Resource Manager cmdlets – Part 3
- Work with the Azure Resource Manager cmdlets – Part 4
- Work with the Azure Resource Manager cmdlets – Part 5
After you finish this series, move on to the next two series to learn more about the Azure Resource Manager cmdlets.
- Retrieve Azure Resource Manager virtual machine properties by using PowerShell
- Create Azure Resource Manager virtual machines by using PowerShell
 I’ve heard that networking is far more powerful in Azure Resource Manager. Could you take a few minutes to show me how to use PowerShell to set up a basic network for virtual machines (VMs) in Azure?
 Honorary Scripting Guy, Sean Kearney, is here to polish off our basic introduction to the Azure Resource Manager cmdlets. Our goal this week has really been to get you familiar with some of the rudimentary setup that’s needed on the backend for Azure VMs. In addition, of course, because we’re the Scripting Guys, we needed to show you how to do it all in PowerShell.
Within the Azure portal, you’ll create two key pieces to give yourself a useful network infrastructure for your VMs.
The first is a virtual network. This is a defined IP range for a network.
The process to create a virtual network is quite similar to other processes that create resources in Azure Resource Manager.
Choose New from the Azure portal and enter network in the search box. This will prompt you with some options. You’ll select Virtual Network.
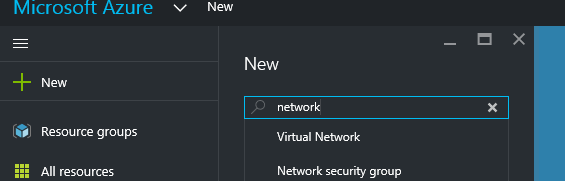
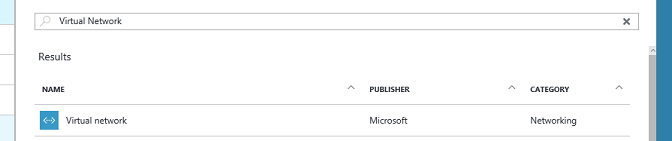
You’ll need to select Virtual Network in the window.
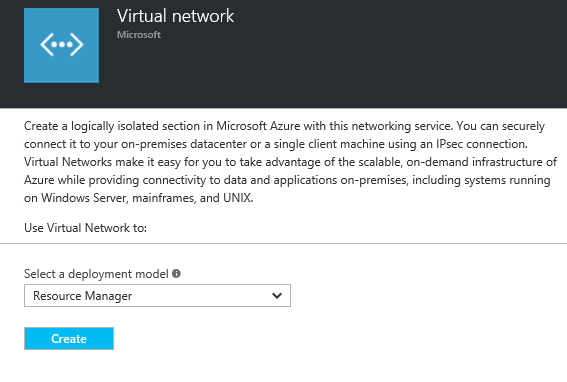
This will bring up a lovely little window for all our viewing audience that provides a decent description of a virtual network. But at this point, I think you should click the blue Create button to get things going.
At this point, you’ll see the wizard that configures your virtual network.
We need to provide the following details:
- Name
- Address range (10.0.0.0/8, 172.16.0.0/16, 192.168.0.0/16)
- Name for subnet
- IP range for the subnet (a smaller subnet of your defined address range)
- Name of your subscription
- The resource group to assign this network to
- Location

After you click the ever popular blue Create button, the creation of this network will begin.
Now, I’ll bet you’d like to see the easy way to do this, wouldn’t you?
Provide the same information to two cmdlets, New-AzureRMVirtualNetworkSubnetConfig and New-AzureRMVirtualNetwork.
First, we define the properties of the subnet:
$SNName='HSG-Default'
$SNAddressPrefix='10.0.0.0/24'$Subnet=New-AzureRmVirtualNetworkSubnetConfig -Name $SNName -AddressPrefix $SNAddressPrefix
Then, we add that subnet to our virtual network and create it.
$RGName=’HSG-AzureRG’
$Location=’East US’
$VNAddressPrefix='10.0.0.0/16'
$VNName='HSG-VirtualNetwork'
$AzureNet=New-AzureRmVirtualNetwork -Name $VNName -ResourceGroupName $RGName -Location $location -AddressPrefix $VNAddressPrefix -Subnet $Subnet
The other component that we need to populate is the network security group. This is the component in Azure Resource Manager that wraps around the various virtual networks to provide rudimentary firewall rules.
Security groups provide some basic isolation from our development, quality assurance, preproduction, and production environments that are all on the same subscription.
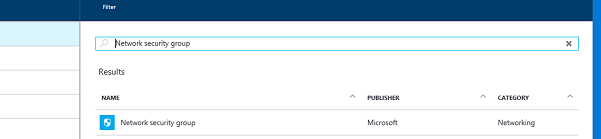
Creating a security group in Azure is also quite simple. Choose New from the Azure portal, and enter network security in the search box. This will prompt you with some options. You’ll select Network security group.
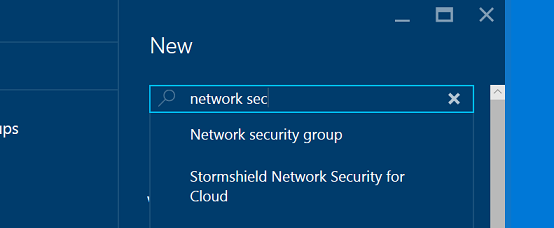
You’ll need to select Network security group from the window.
This will open yet another window with some light afternoon reading about network security groups. Let’s click the blue Create button and get to the nitty gritty.
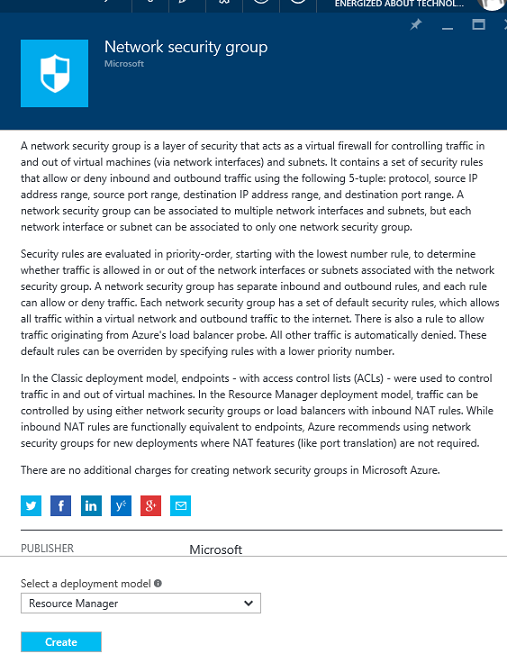
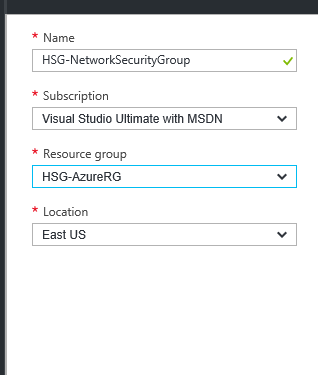
We now can create the network security group, which needs just the following information to set up:
- A name for the group
- The subscription that it’s assigned to
- A resource group that it should be a member of
- Location
Click that blue Create button, and you’ll be done.
Now that was an awful lot of screenshots for what I suspect should be a teeny bit of PowerShell, which it is!
$Name=’HSG-NetworkSecurityGroup’
$RGName=’HSG-AzureRG’
$Location=’East US’
New-AzureRMNetworkSecurityGroup –Name $Name –resourcegroup $RGName –Location $Location
Although working through the GUI may seem tedious, the point of this week is twofold. One is to get a basic Infrastructure configured for VMs, which we’ll use over the next two weeks. The second is to give you a side-by-side comparison of the graphical process and the matching PowerShell process.
Stick around for next week when we spin up a VM within Azure Resource Manager and show you how to access all of its resources to reuse in future VM.
That is all there is to our basic introduction about how to use the Azure Resource Manager cmdlets to configure the backend for VMs. Next week will continue as we talk about how to us these same cmdlets to pull the properties to create new VMs.
I invite you to follow the Scripting Guys on Twitter and Facebook. If you have any questions, send email to them at scripter@microsoft.com, or post your questions on the Official Scripting Guys Forum. See you tomorrow.
Until then always remember that with Great PowerShell comes Great Responsibility.
Sean Kearney Honorary Scripting Guy Cloud and Datacenter Management MVP
0 comments