Summary: Microsoft Scripting Guy, Ed Wilson, explains how to use Windows PowerShell to simplify the Hyper-V set-up process.
Microsoft Scripting Guy, Ed Wilson, is here. I am sitting here sipping a fairly nice cup of green tea. I wimped out this afternoon. I have a team meeting in a few minutes, so I did not take the time to make a proper pot of tea. Instead, I grabbed a tea bag and shoved it into a cup of hot water. No cinnamon, no herbs, no nothing—only hot water and a tea bag. I almost feel like I am being punished.
I paved over my laptop the other day, and I am in the process of setting it up again. I can tell you that it runs WAY faster right now. It boots quickly, shuts down quickly, and everything seems fresh and new. I miss lots of apps, but I am in the process of relocating them in the store, and getting stuff installed.
One project I have been dreading is setting up Hyper-V. I will tell you that having real, live Hyper-V on my desktop operating system is a huge win for me. I used it nearly every day to test some type of script or configuration. I also use it when I am making presentations at conferences such as PowerShell Saturday in Atlanta—or via Lync, such as PowerShell Saturday in Singapore.
The thought of all that mousing makes my hand hurt
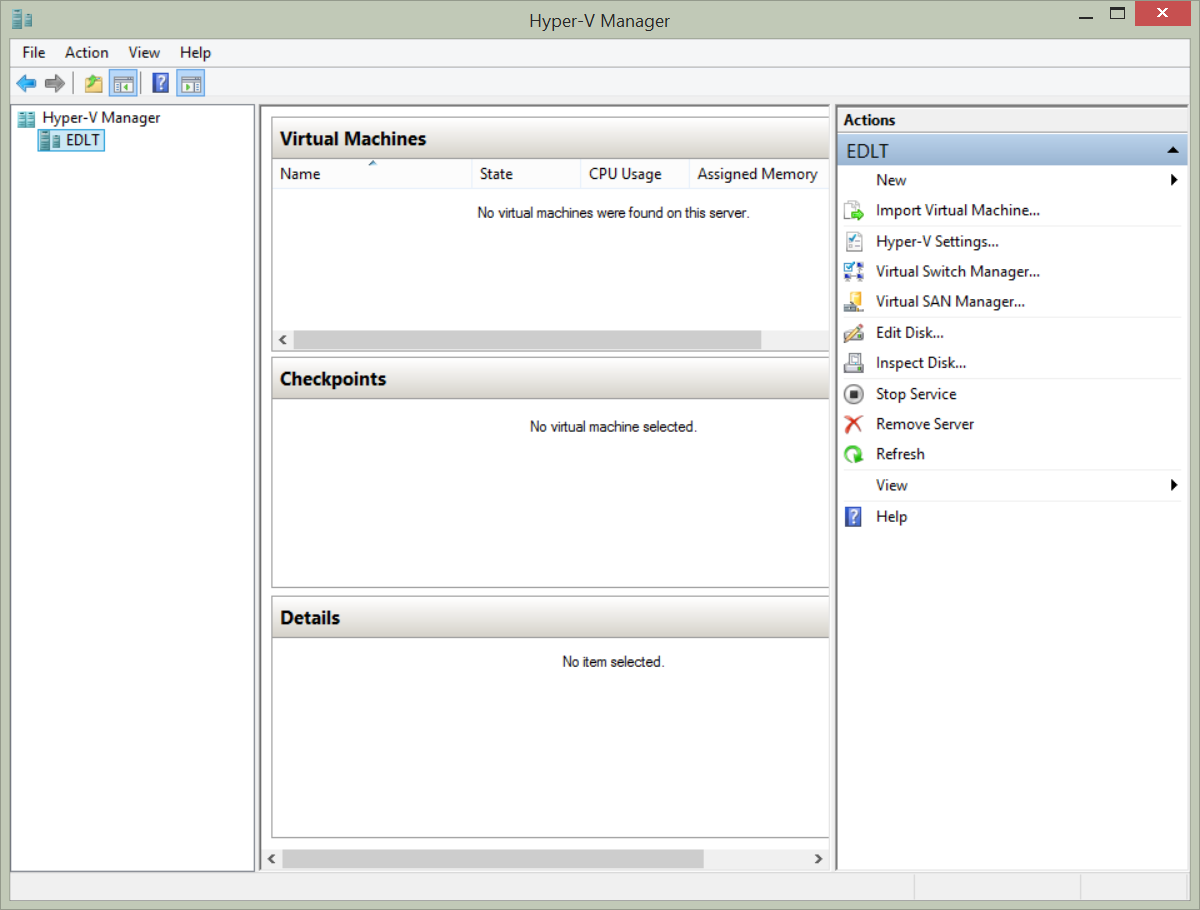
Having Hyper-V on my laptop and having a cool client operating system absolutely rocks! But the thought of setting it up and all the associated mousing around makes my hand ache. I mean, dude. There is the setting up of the virtual machine locations, the setting up of the machine configuration storage locations, creating virtual switches…and that is before I even begin to import any virtual machines. So, naturally, I have been putting it off. I mean, why do today, what I can put off until tomorrow? The Hyper-V user interface is shown here.
But, then it hit me. I do not need to put this off (in fact, I cannot put it off too much longer because of Windows PowerShell Saturday in Atlanta) because in addition to having the real-deal Hyper-V, I also have the real-deal Hyper-V Windows PowerShell module. Yes! Windows PowerShell for the win!
Check to see what I already have
The first thing one might need to do is to see if Hyper-V is even installed on one’s laptop. To check this, use the Get-WindowsOptionalFeature cmdlet. If you need to enable Hyper-V, you can do so by piping the results to the Enable-WindowsOptionalFeature cmdlet. This technique is shown here:
Get-WindowsOptionalFeature -Online -FeatureName *hyper-v*all |
Enable-WindowsOptionalFeature –Online
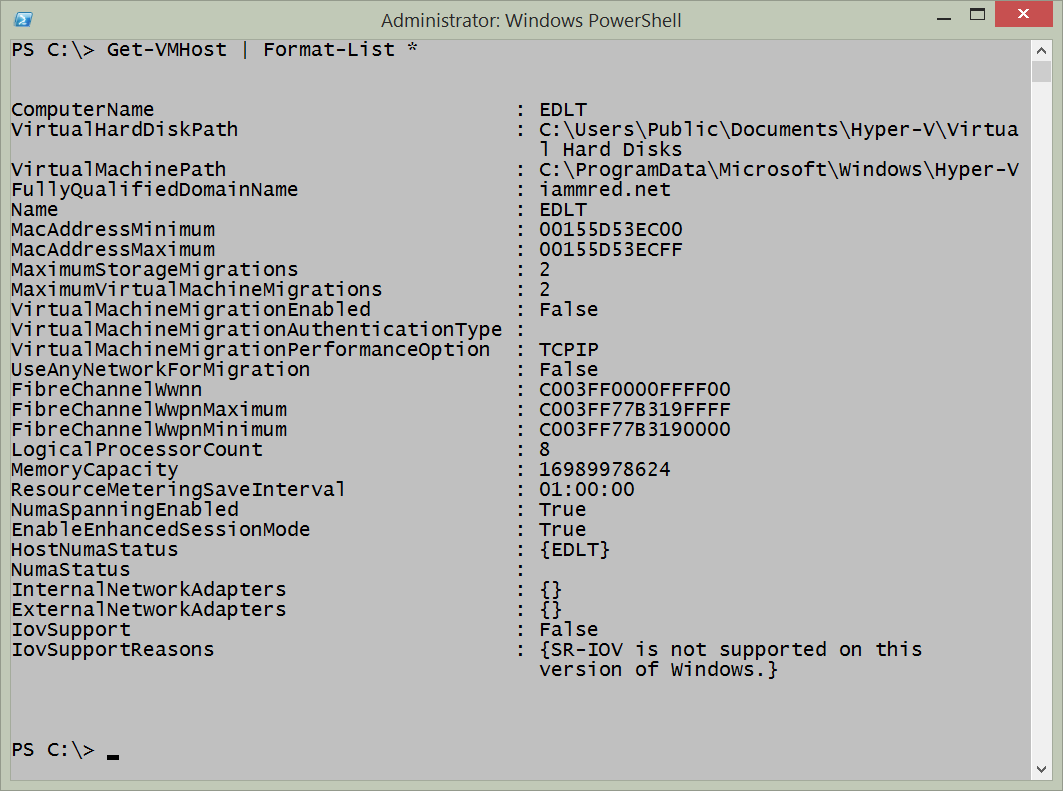
Following the installation of Hyper-V (in addition to the Windows PowerShell management module for Hyper-V), I can use the Get-VMHost cmdlet to examine my current configuration. I pipe the results to the Format-List cmdlet so I can see all of the property values. The command and its output are shown here.
Get-VMHost | Format-List *
Creating the virtual machine folders
One of the cool things about the MD function in Windows PowerShell is that it can create multiple folders at the same time. Normally, I use the old process as follows:
- Test to see if a folder exists.
- If the folder exists, exit gracefully.
- If the folder does not exist, create it.
I use the Test-Path cmdlet to check for the existence of the folders. But you know what? If I want to create a folder if it does not exist, all I need to do is to call the command to create the folder. If the folder exists, an error occurs. I know this. I really do not need to see a message stating that the folder exists. I really do not care if it does. So I decided to suppress the error message, and pass an array of folder paths to the MD function.
Creating the folder paths
So, I know where I want to create the folders. I decided to break the paths up into a couple of variables, and use the Join-Path cmdlet to create the folders. This gives me an advantage: I might want to use the script on a different computer at some time, but I still like my folder structure. The only thing I might need to change is the actual drive letter. So in my script, I create a couple of variables as shown here:
$VMDrive = “E:”
$VMPath = Join-Path -path $VMDrive -ChildPath “vms\vm”
$VHDPath = Join-Path -Path $VMDrive -ChildPath “vms\vhd”
MD -Path $vmpath,$VHDPath -ErrorAction 0
Creating the time span for resource metering
I wrote a very detailed blog post about creating the time span for resource metering for Hyper-V. You may want to check it out: Use PowerShell to Configure Hyper-V Resource Metering. What I do here, is use the New-TimeSpan cmdlet to create a new time span of an hour and a half:
$RMSave = New-TimeSpan -hours 1 -Minutes 30
Setting the virtual machine host
To configure my virtual machine host (that is, my laptop), I use the Set-VMHost cmdlet. I specify the paths and the resource metering timespan. The command shown here is a single line command:
Set-VMHost -VirtualHardDiskPath $VHDPath -VirtualMachinePath $VMPath -ResourceMeteringSaveInterval $RMSave
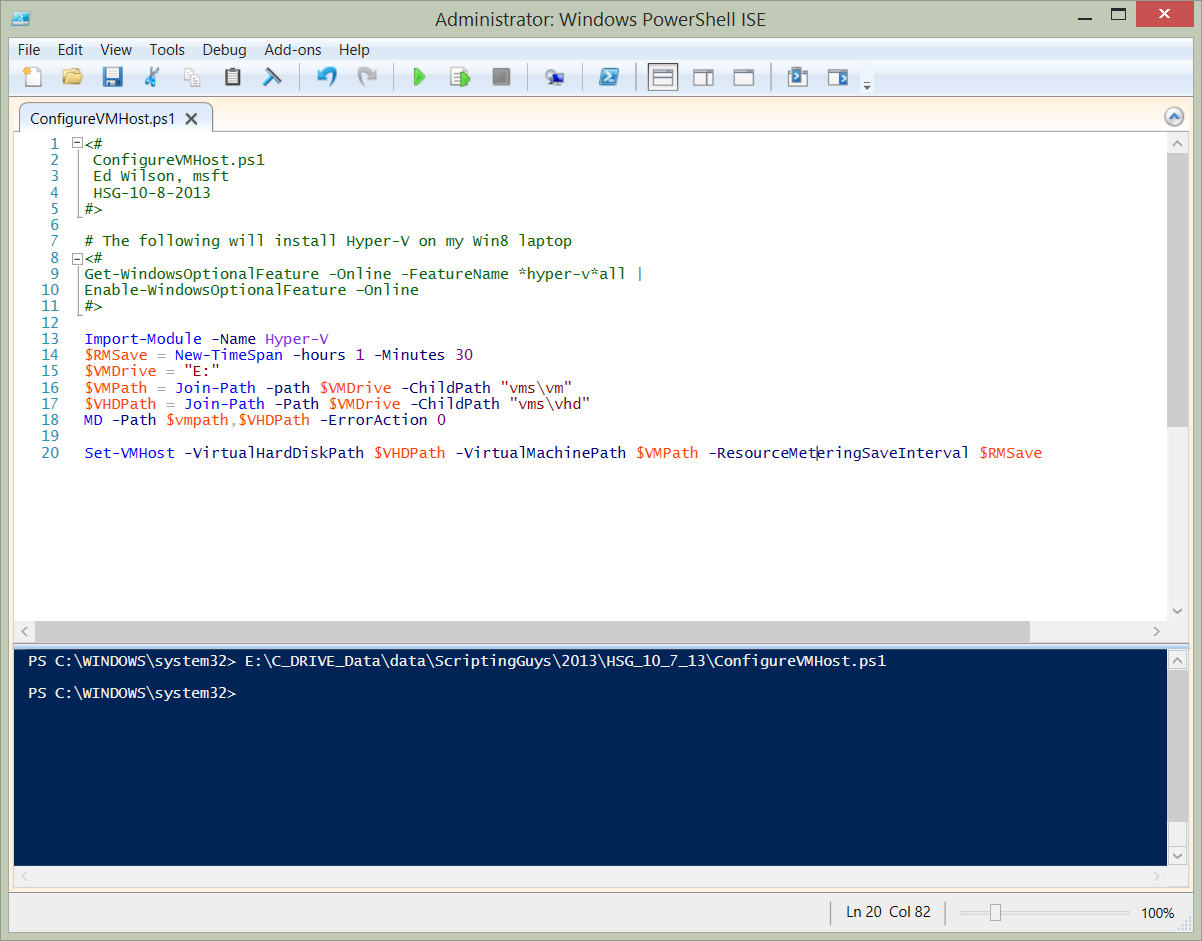
When I run the command, no output appears in the output pane of my Windows PowerShell ISE, as shown in the following image:
Here is my complete script:
<#
ConfigureVMHost.ps1
Ed Wilson, msft
HSG-10-8-2013
#>
# The following will install Hyper-V on my Win8 laptop
<#
Get-WindowsOptionalFeature -Online -FeatureName *hyper-v*all |
Enable-WindowsOptionalFeature –Online
#>
Import-Module -Name Hyper-V
$RMSave = New-TimeSpan -hours 1 -Minutes 30
$VMDrive = “E:”
$VMPath = Join-Path -path $VMDrive -ChildPath “vms\vm”
$VHDPath = Join-Path -Path $VMDrive -ChildPath “vms\vhd”
MD -Path $vmpath,$VHDPath -ErrorAction 0
Set-VMHost -VirtualHardDiskPath $VHDPath -VirtualMachinePath $VMPath -ResourceMeteringSaveInterval $RMSave
Join me tomorrow when I will talk about using Windows PowerShell to work with Hyper-V networking on my laptop.
I invite you to follow me on Twitter and Facebook. If you have any questions, send email to me at scripter@microsoft.com, or post your questions on the Official Scripting Guys Forum. See you tomorrow. Until then, peace.
Ed Wilson, Microsoft Scripting Guy


0 comments