Summary: Guest blogger, Ben Vierck, talks about grouping similar images with Windows PowerShell.
Microsoft Scripting Guy, Ed Wilson, is here. Today we have Ben Vierck back for Part 3 in his series about images. Before you begin, you might like to read:
In first two blog posts of this series, we wrote the Windows PowerShell functions Test-Image and Export-Text into a new Windows PowerShell module named PSImaging. The purpose of this exercise is to give us a set of common atomic tools that we can use to automate some of day-to-day document management tasks that require manual human intervention.
Today we're going one step further by building and using tools that give Windows PowerShell a rudimentary level of vision so that our scripts can see whether two images are similar to one another.
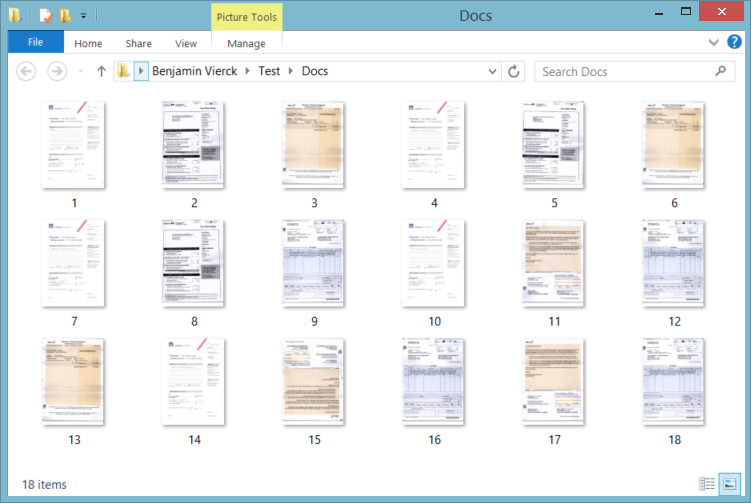
What do we mean by sorting images by similarity? By the end of the exercise, we want to be able to write a script that takes a folder that looks like this:
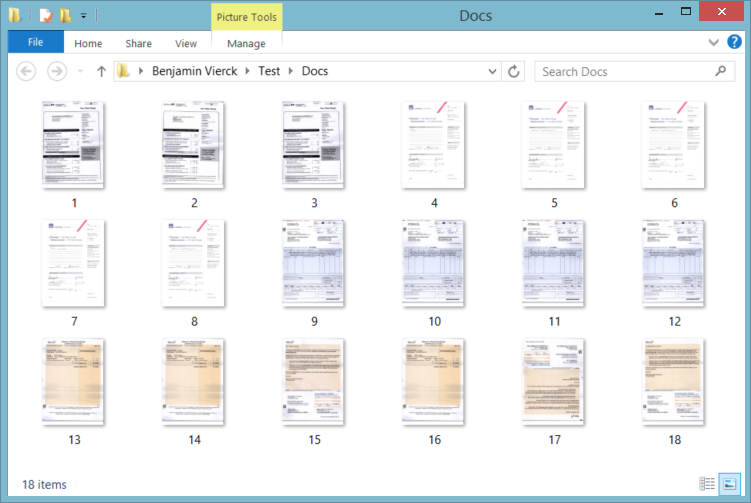
…and turn it into a folder that looks like this:
As humans, we have no problem sorting these images based on image similarity. It's a trivial task. Our computers, though, don't come with native vision. We'll have to give it these tools, one-at-a-time. Let's start with the ability to identify image similarity.
When choosing an algorithm, we want to optimize for two things:
- Minimal compute time of runtime comparison
- Resilience in the face of minor image transformations such as skew, resizing, and cropping
To satisfy the first goal, I've chosen to break the problem into two pieces:
- Compute a signature which can be stored for later retrieval
- Compare signatures
In the final production-ready module, we should store signatures on a disk for quick retrieval later. By doing so, we've moved the compute time from runtime to some other time of our choosing—for example, a nightly indexing of files.
I've chosen a signature schema developed by H. Chi Wong, Marshall Bern, and David Goldberg of Xerox, and published in 2002: An image signature for any kind of image. The algorithm itself is brilliant, comparing relative brightness levels of regions within the image. This method means it satisfies our second requirement: resilience to some resizing, cropping, and compression.
As before, we've wrapped up an open source implementation with a Windows PowerShell layer. Our PSImaging module is stored on GitHub: Positronic-IO/PSImaging. If you haven't already, you can install the module with this one-liner:
& ([scriptblock]::Create((iwr -uri http://tinyurl.com/Install-GitHubHostedModule).Content))
-GitHubUserName Positronic-IO -ModuleName PSImaging -Branch 'master' -Scope CurrentUser
Let's start with the Get-ImageHash cmdlet. It takes two parameters, Path and Level. Let's try it:
Get-ImageHash .\1.tiff
The default parameter of the new cmdlet is Path. The cmdlet returns a string that contains a hash. This is the signature described in the Wong, Bern, Goldberg paper. Now let's put it to work. Let's get hashes for two images that we know are similar:
$hash1 = Get-ImageHash .\1.tiff -Level 5
$hash10 = Get-ImageHash .\10.tiff -Level 5
Let's compare those two hashes by using the Compare-ImageHash cmdlet:
Compare-ImageHash $hash1 $hash10
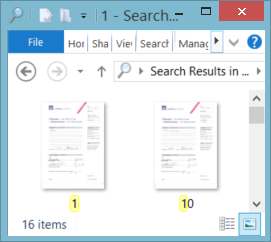
The result is 0.8125, or 81.25%, similarity. Let's get a hash for an image that we know is not similar:
$hash2 = Get-ImageHash .\2.tiff -Level 5
Let's compare the two hashes of the images we know are not similar:
Compare-ImageHash $hash1 $hash2
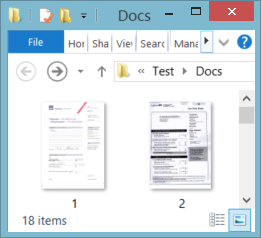
The result is 0.5241699, or 52.42%, similarity. This confirms what we can see visually. Images 1 and 10 are significantly more similar than images 1 and 2.
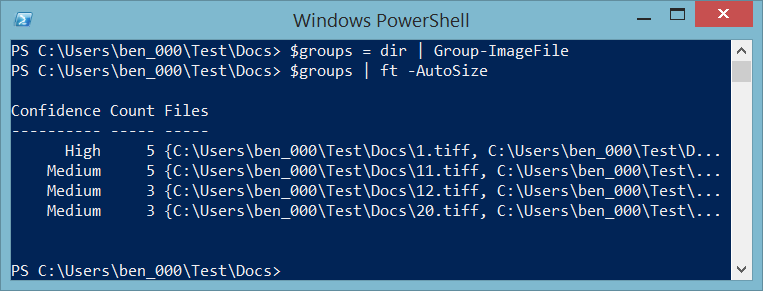
That's useful on a case-by-case basis. Let's put it to work on a whole collection of images by using the Group-ImageFile cmdlet. Under the covers, the Group-ImageFile cmdlet uses Get-ImageHash and Compare-ImageHash to sort a collection of files into groups. Let's see how it works:
$groups = dir | Group-ImageFile
$groups
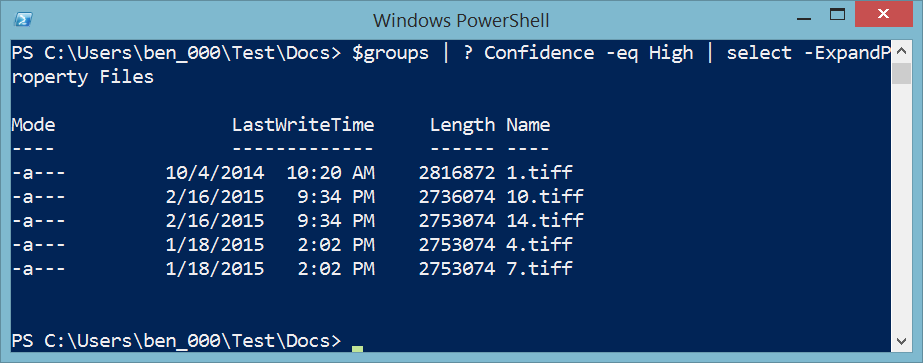
Now let's examine the files that were grouped with a High degree of confidence:
$groups | ? Confidence -eq High | select -ExpandProperty Files
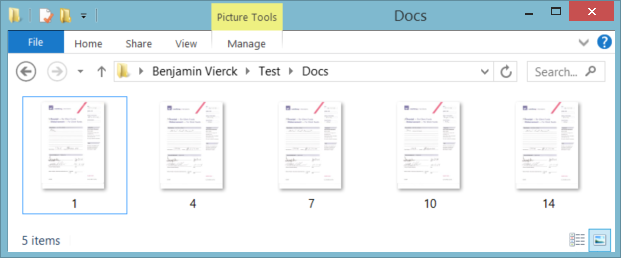
Let's check the output visually:
That's perfect.
Now you're armed with the right tools to start managing scanned document images. As we've shown in this short series, Windows PowerShell has a limitless capacity to be extended with very little effort. The project on display here was written in under an hour. Imagine how powerful it would be if we'd put in 150 hours.
With legacy imaging systems, most of the effort goes into getting the images processed and put into the system. It's a fragile process. Imagine instead, that you could send your processes to the images where they live. The characteristic of such a system would follow the philosophy of Windows PowerShell: repeatable, transparent, and completely scriptable.
Follow me at @xcud on Twitter to keep abreast of the latest in Windows PowerShell, document imaging, and computer vision.
~Ben
Thank-you, Ben, for an insightful series.
I invite you to follow me on Twitter and Facebook. If you have any questions, send email to me at scripter@microsoft.com, or post your questions on the Official Scripting Guys Forum. See you tomorrow. Until then, peace.
Ed Wilson, Microsoft Scripting Guy





0 comments