
Kyle Johnson and Sash Kavalaparambil explore batch import for Azure DevOps work items using REST APIs.
While you can upload a CSV with work items into Azure DevOps, there is so much flexibility you get when you import work items using the Azure DevOps API.
What you need
You can do this by creating an app registration and using MSAL to authenticate but to keep it simple for this blog post, we will create a Personal Access Token (PAT) then use that PAT token in the code.
Steps to create a PAT token – Use personal access tokens – Azure DevOps | Microsoft Docs
Below is a sample CSV file.

Now let’s write some code.
string azureDevOpsOrganizationUrl = "https://dev.azure.com/{Organization}/{Project}/";

        private void ImportWorkItems()
        {
            string[] workItems = File.ReadAllLines("<Path to CSV file>");

            var personalAccessToken = "<Azure DevOps PAT token>";

            string credentials = Convert.ToBase64String(System.Text.ASCIIEncoding.ASCII.GetBytes(string.Format("{0}:{1}", "", personalAccessToken)));

            //Just skipping the CSV file header
            foreach (var row in workItems.Skip(1))
            {
                var columns = row.Split(',');

                var type = columns[0];
                var title = columns[1];
                var description = columns[2];


                using (var client = new HttpClient())
                {
                    client.BaseAddress = new Uri(azureDevOpsOrganizationUrl);
                    client.DefaultRequestHeaders.Accept.Clear();
                    client.DefaultRequestHeaders.Accept.Add(new MediaTypeWithQualityHeaderValue("application/json-patch+json"));
                    client.DefaultRequestHeaders.Add("User-Agent", "ManagedClientConsoleAppSample");
                    client.DefaultRequestHeaders.Authorization = new AuthenticationHeaderValue("Basic", credentials);

                    //connect to the REST endpoint
                    string uri = String.Format("_apis/wit/workitems/${0}?bypassRules=true&api-version=6.0", type);
			//building JSON request body
                    var jsonstr = "[{\"op\": \"add\", \"path\": \"/fields/System.Title\",\"value\": \"" + title + "\" }";
                    jsonstr += ",{\"op\": \"add\", \"path\": \"/fields/System.Description\",\"value\": \"" + description + "\" }";
                    jsonstr += "]";
                    HttpContent body = new StringContent(jsonstr, Encoding.UTF8, "application/json-patch+json");
                    HttpResponseMessage response = client.PostAsync(uri, body).Result;
                    // check to see if we have a successful respond
                    if (response.IsSuccessStatusCode)
                    {
                        ...
                    }
                    else
                    {
                        ...
                    }
                }
            }
        }
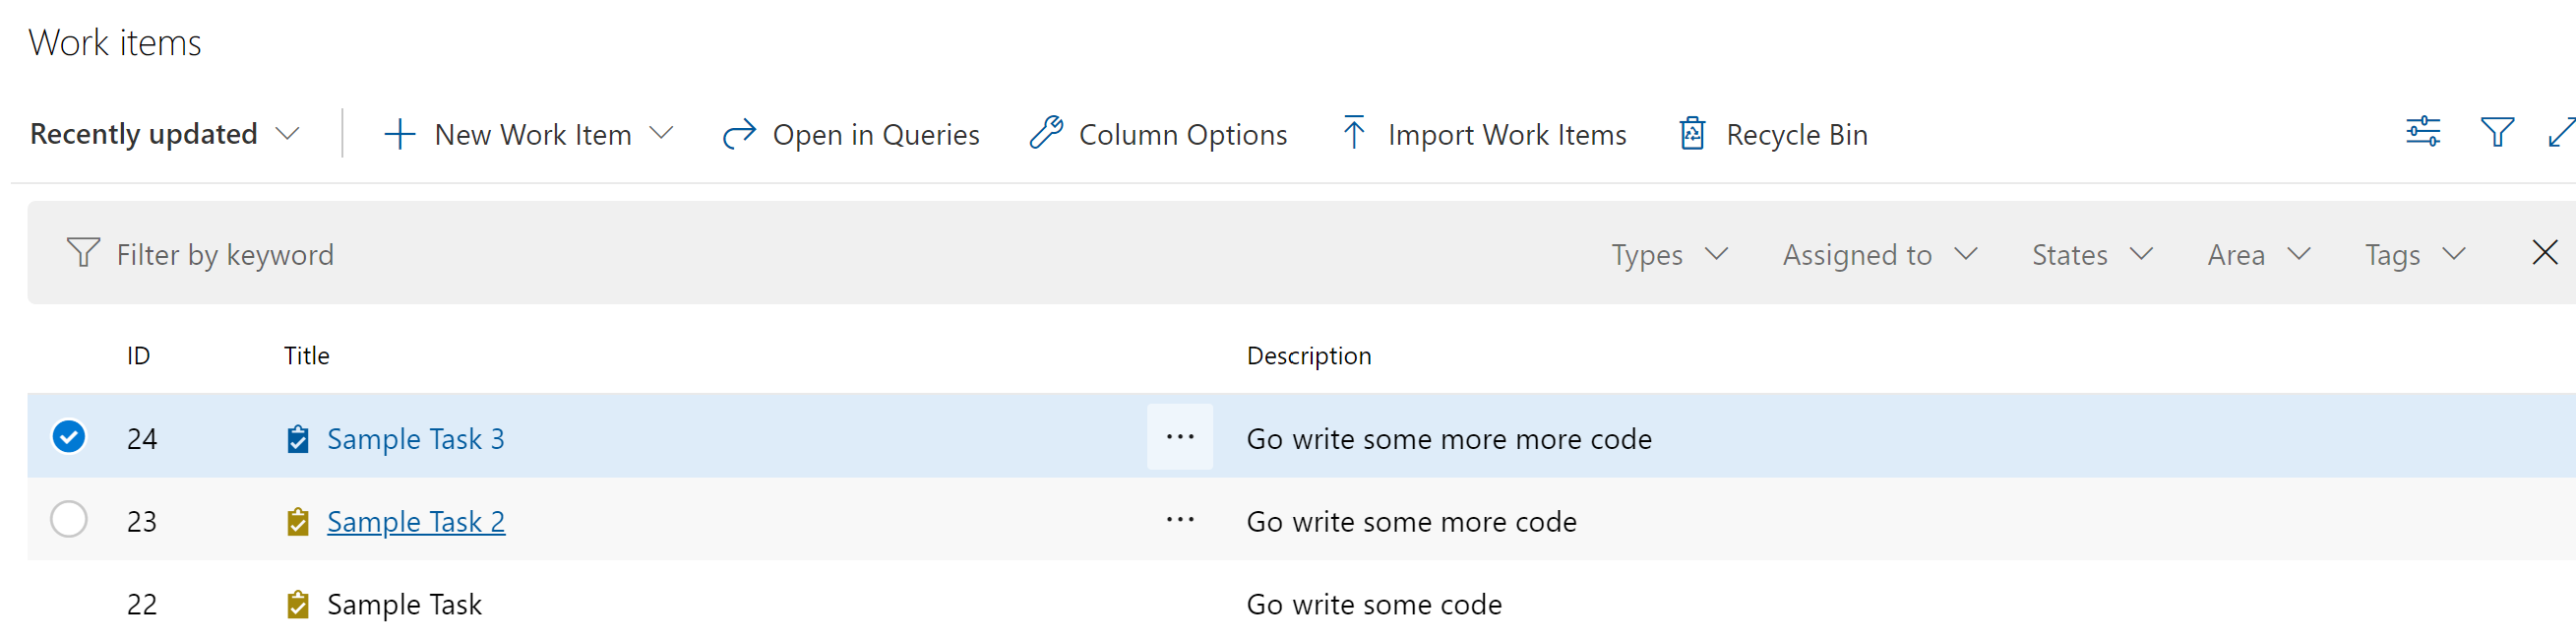
After running the above code, you should see
Additional Learning:
Work Items – Create – REST API (Azure DevOps Work Item Tracking) | Microsoft Docs
Get started with the REST APIs for Azure DevOps – Azure DevOps | Microsoft Docs
0 comments