
In this post, Premier Consultant Tim Omta explains how to migrate from SQL CE to SQL Azure.
I was recently working with a customer that needed to migrate an old web site to Azure. It was an ASP.Net Razr Web Pages site was originally created several years ago using WebMatrix.
WebMatix is now deprecated, but it allowed a developer to quickly create a web frontend and database backend. By default, the database was created as a local file database using SQL CE.
Part of my job to migrate the site for them was to get the data migrated to an Azure DB instance.
After a few web searches and poking around it didn’t seem to be a common question with an easily laid out set of steps, so I documented the approach that allowed me to install an extension and use my favored SQL Server DB interface, SQL Server Management Studio (SSMS). The source for the extension is located in the author’s GitHub site: https://github.com/ErikEJ/SqlCeToolbox
Installing the extension into SSMS 18
This is a manual process, but worth it if you have a few databases to convert. Here is the installation process:
First, navigate to this page: https://marketplace.visualstudio.com/items?itemName=ErikEJ.SQLServerCompactSQLiteToolboxforSSMS
- Click the Download button and save the extension, which is named SSMSToolbox.vsix.
- Copy the vsix file to C:\Program Files (x86)\Microsoft SQL Server Management Studio 18\Common7\IDE\Extensions. That is the default installation directory for SSMS.
- Rename SSMSToolbox.vsix to SSMSToolbox.zip.
- Use an unzip utility or PowerShell’s Expand-Archive command to decompress the zip file.
- There should be a new folder in your Extensions directory named SSMSToolbox. Rename the SSMSToolbox folder to SQLCEToolbox.
- The manual install of the extension is now complete.
Using the Extension
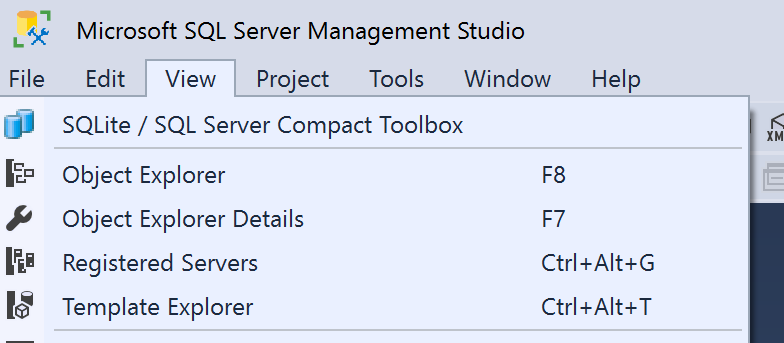
Start SSMS 18 and click on the View menu. You’ll see a new item named “SQLLite/SQL Server Compact Toolbox”. Choose it from the View menu.
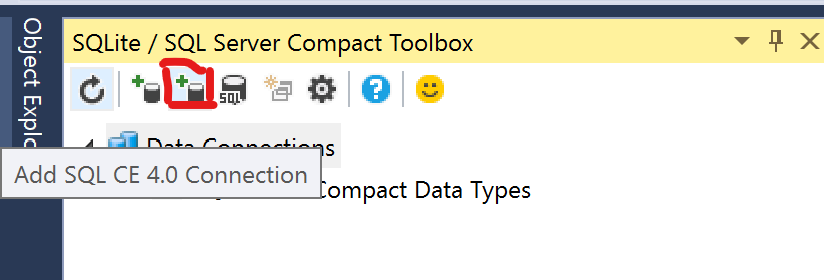
This will open the Toolbox panel on the left of SSMS. Hover over the tool icons until you see the one with the tooltip “Add SQL CE 4.0 Connection” and click it.
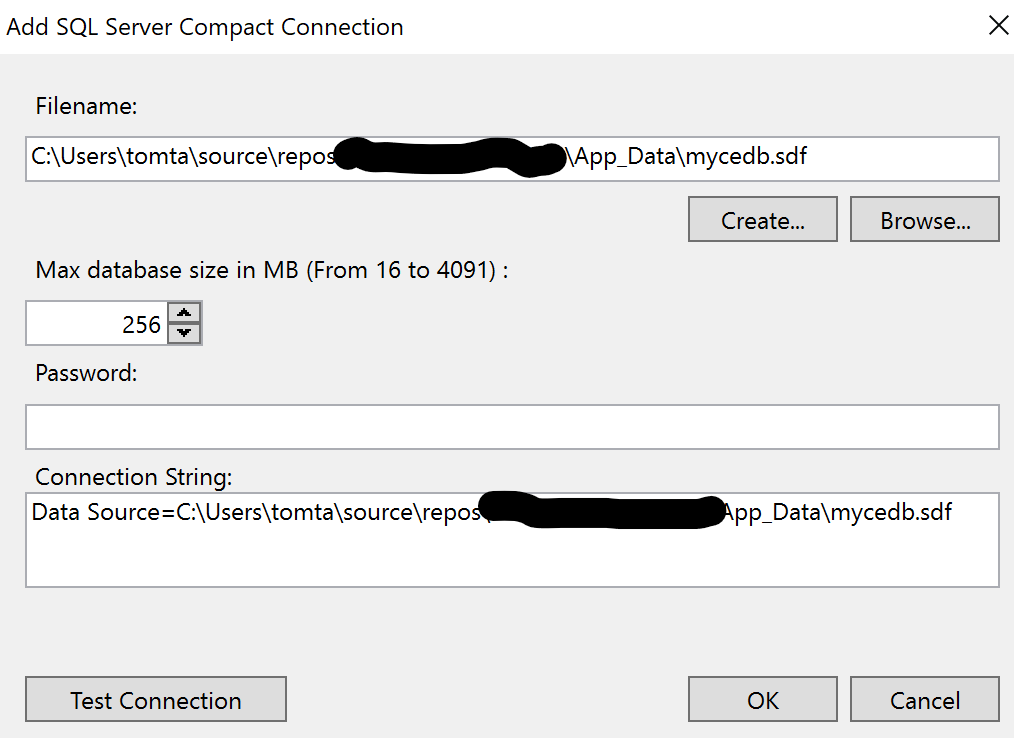
You’ll be presented with a dialog that allows you to navigate to and select the SQL CE file that you want to convert. Fill out the details for your source DB file and click OK.
You’ll see your SQL CE database file show up in the toolbox panel and you’ll be able to navigate the various tables it contains.
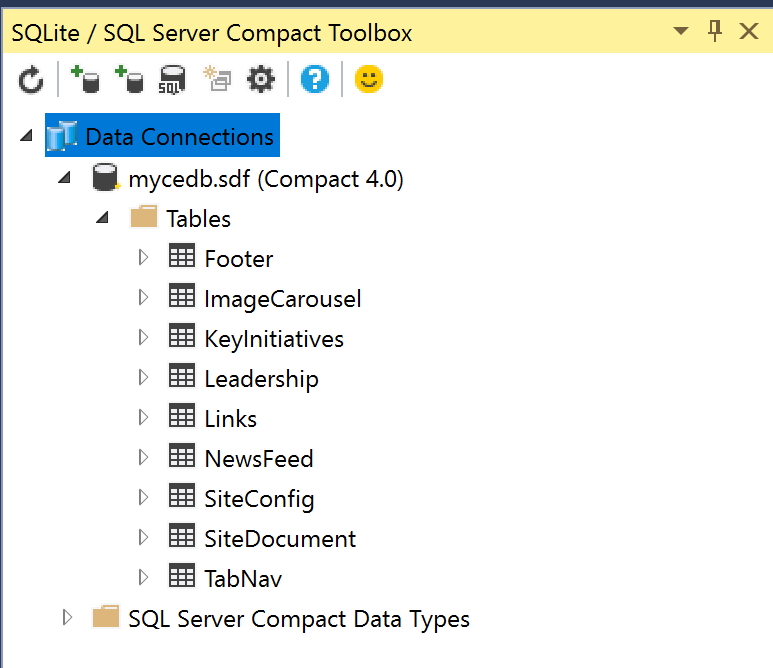
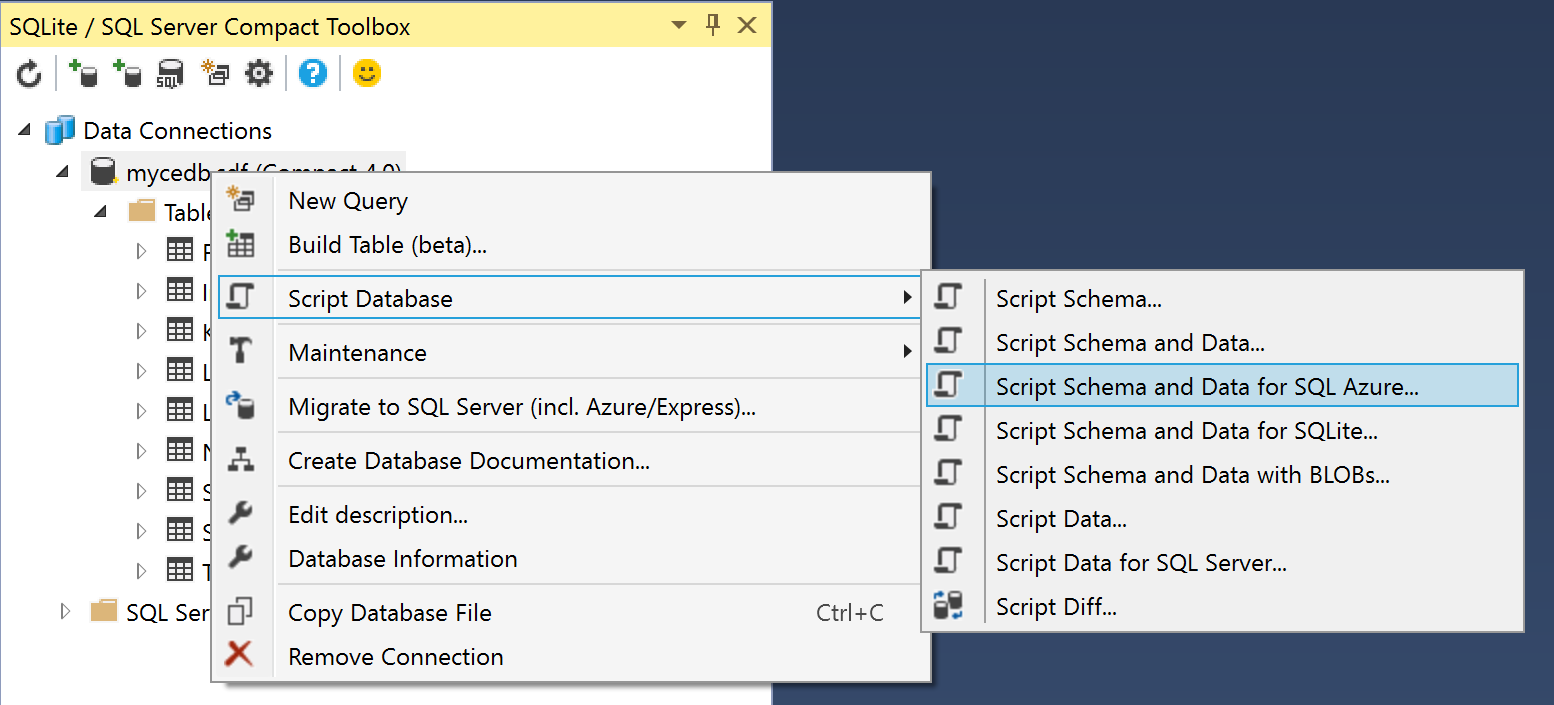
Right click on your CE database file, choose Script Database, then choose Script Schema and Data for SQL Azure…
Once the script is complete, save the script, then open it (or paste it) in a query window connected to your Azure DB.
Run the script.
You’re migrated!
Great post, thanks!
Proposal for fewer install steps:
3. Rename SSMSToolbox.vsix to SqlCeToolbox.zip
4. Use an unzip utility or PowerShell’s Expand-Archive command to decompress the zip file.
5. There should be a new folder in your Extensions directory named SqlCeToolbox.
6. The manual install of the extension is now complete.