
Premier Consultant Laurie Atkinson, explorers how to code small, short-lived calculations or other functionality using Microsoft’s serverless compute platform, Azure Functions. Choose the Consumption plan and only pay for compute resources when your functions are running.
A common question from developers building Single Page Applications is how to hide proprietary calculations or other logic from end users. The answer is always to move that logic out of the JavaScript running in the browser and onto a server, which leads to building and hosting an API service. However, in the new world of serverless computing, there is a simpler option. Azure Functions is a compute service that enables you to run code on-demand without the hassle of building an entire application or managing any infrastructure.
This post provides the steps to create a function app and then call that function app from Angular.
Log in to Azure
Sign in to the Azure portal at https://portal.azure.com with your Azure account. If you do not have an Azure subscription, you can create a free account.
Create a Function App in VS Code
You can create your function code in the Azure portal or Visual Studio or VS Code. Since VS Code is such a popular editor for Angular developers, this demo will use that option.
1) Install the tools
- Use npm to globally install version 2.x of the Azure Functions Core Tools.
npm install -g azure-functions-core-tools
- Install the Azure Functions for Visual Studio Code Extension into VS Code.
- This extension adds a new Azure icon to the Activity Bar, which opens a sidebar with options to create a new project and a function, as well as to deploy your function.
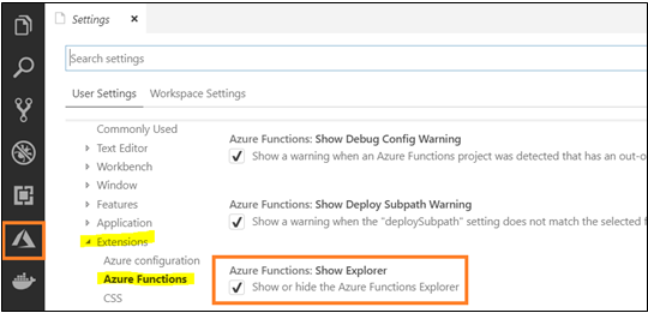
NOTE: If you do not see the Azure icon, navigate to File > Preferences > Settings and make sure that the Show Explorer checkbox is checked.
2) Create your project
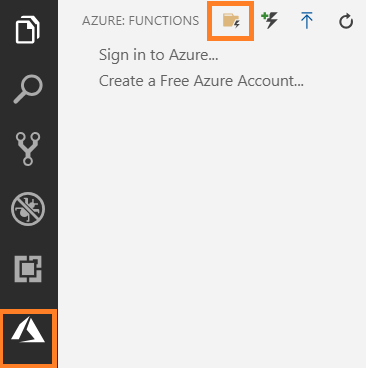
- In the Azure sidebar, click on the Folder icon to create a new project and when prompted select a folder for your code.
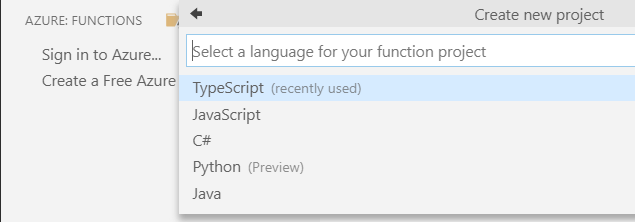
- Select a language for your function. I’ll choose my favorite language – TypeScript.
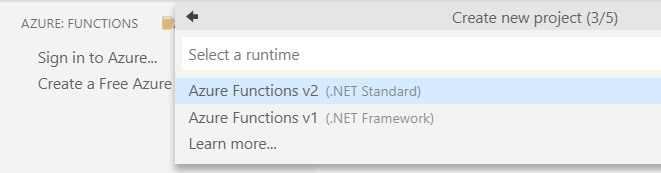
- Select Azure Functions v2.
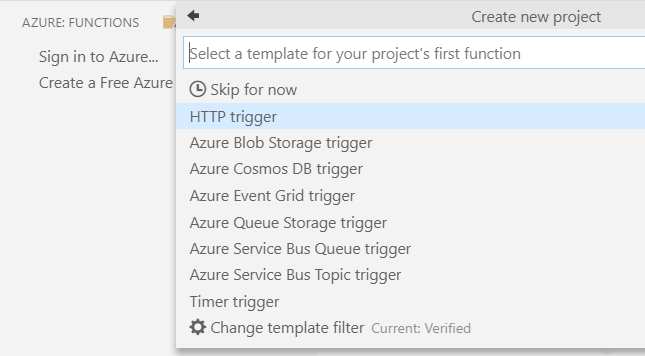
- Choose the HTTP Trigger template.
- Give the Azure Function App a name. This app will be created with one function, but you can continue to add more functions to it later.

- Choose authorization level to be used during development. In production, you should secure the HTTP trigger by requiring authentication, using API Management, or App Service Environment. For this demo, just select Anonymous or refer to this documentation on how to obtain a key which should be included in the request either in the URL or in the header.

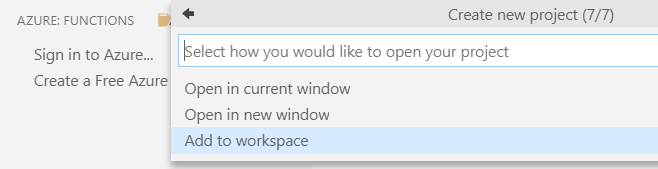
- Finally, choose to Add to a workspace.
3) Code your function
- If using TypeScript, get the Azure functions type definitions (@azure/functions) listed in the devDependencies of the package.json.
npm install
- Place your custom code in the index.ts file. Note that the TypeScript function name is not exposed and can be anything. For example.
index.ts
import { AzureFunction, Context, HttpRequest } from "@azure/functions"

const funkyCalc01: AzureFunction = async function (context: Context, req: HttpRequest): Promise<void> {
    context.log('Super secret calculation #1 has been triggered');
    let input1 = 0;
    let input2 = 0;

    if ('input1' in req.query && 'input2' in req.query) {
        input1 = +req.query.input1;
        input2 = +req.query.input2;
    } else if (req.body && 'input1' in req.body && 'input2' in req.body) {
        input1 = +req.body.input1;
        input2 = +req.body.input2;
    } else {
        context.res = {
            status: 400,
            body: "input1 and input2 required on query string or in the request body"
        };
        return;
    }

    // Do some complicated, proprietary calculations
    const result = input1 + input2;

    context.res = {
        body: result
    };
};

export default funkyCalc01;
4) Test your function locally
- Click F5 in VS Code to start the app.
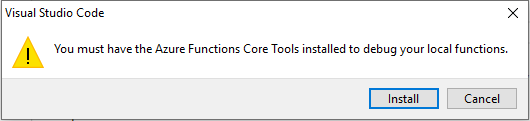
- If you skipped step 1, you will see this popup. If so, go ahead and install v2 of the Azure Function Core Tools.
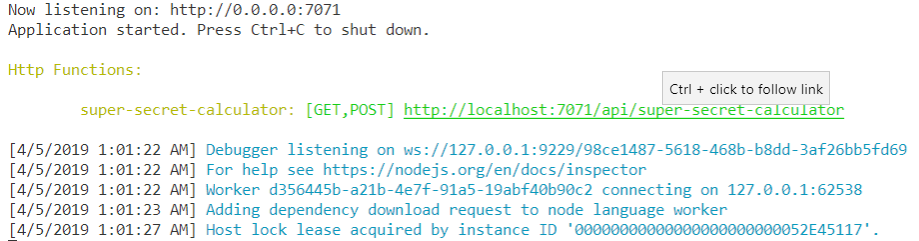
 Then, you should see this output in the VS Code Terminal Window.
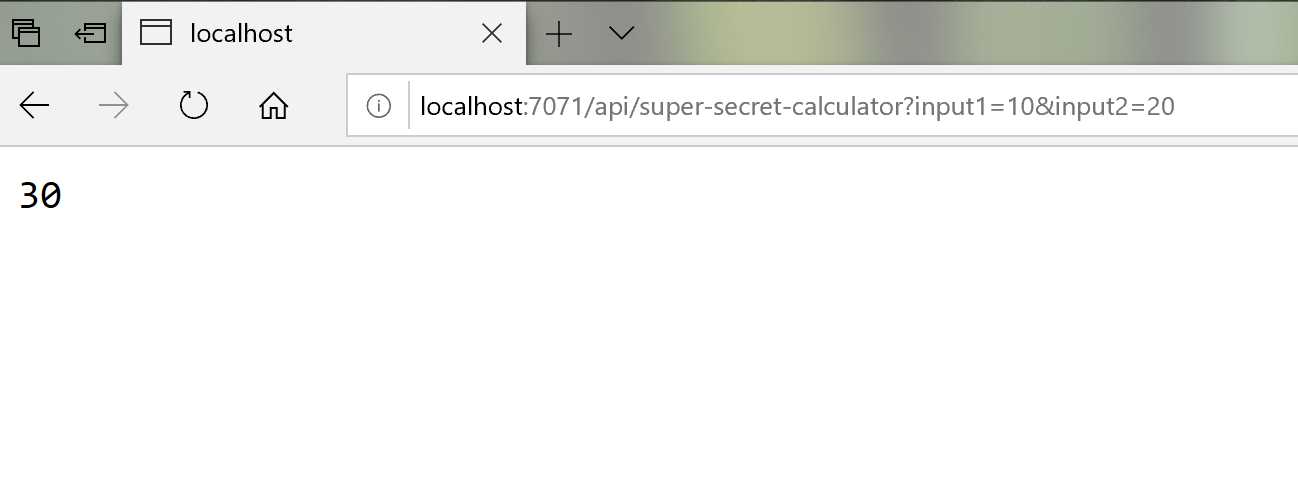
- Navigate to your locally hosted page and pass in the parameters that your function expects. http://localhost:7071/api/super-secret-calculator?input1=10&input2=20
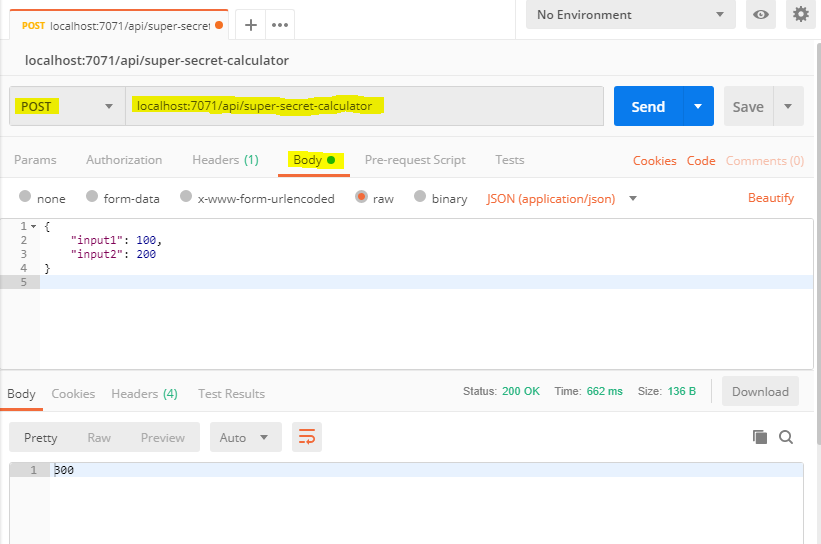
- To test input in the body of a POST, you can use Postman.
5) Test your function in Azure
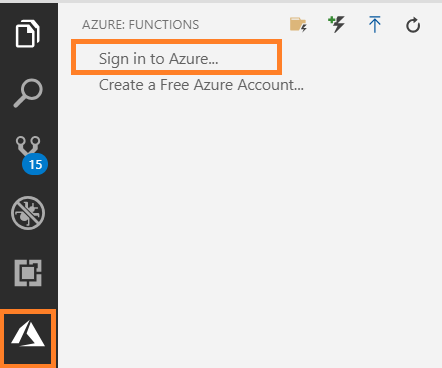
- Log into your Azure subscription from inside VS Code.
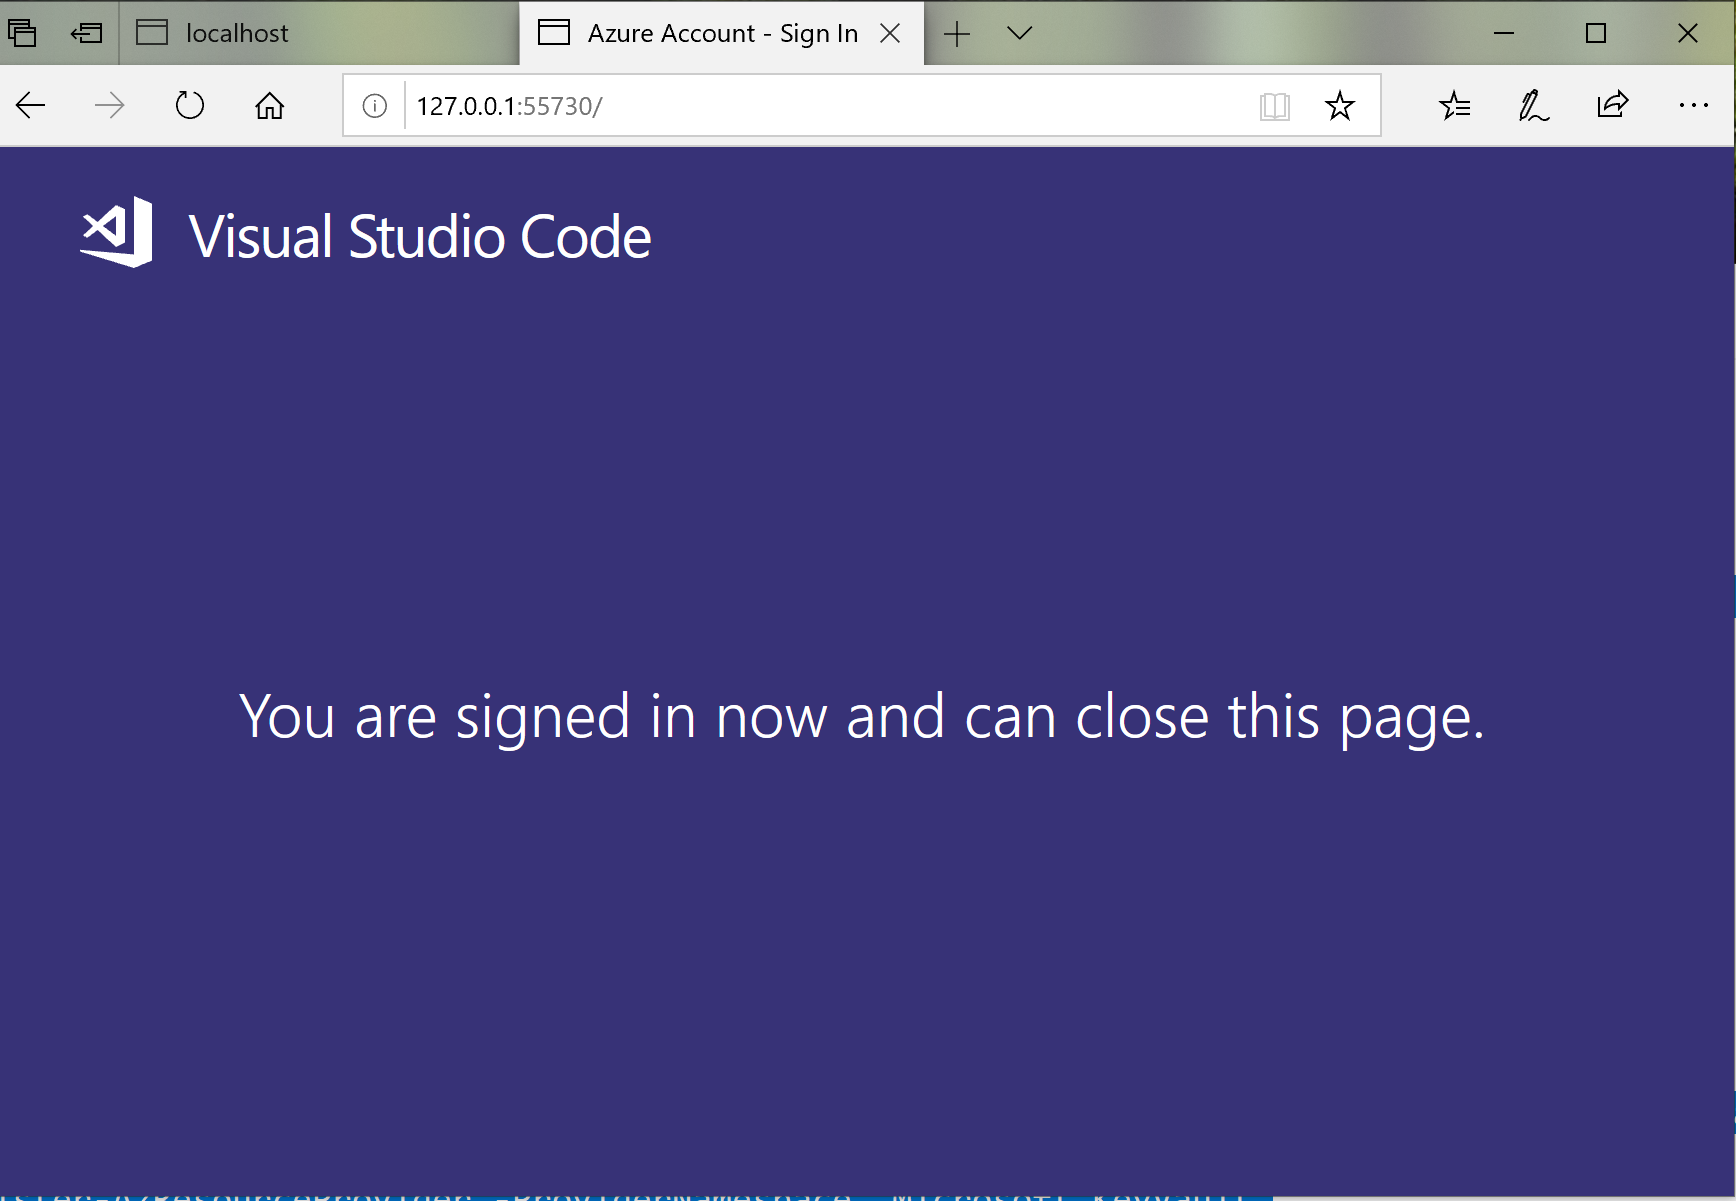
 You will be redirected to a login page and when it is complete, you should see this message.
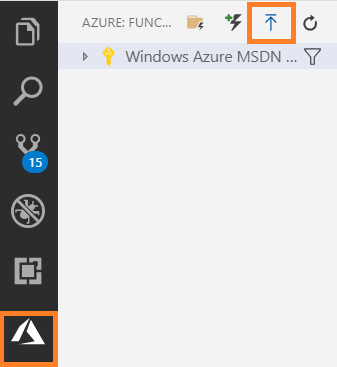
- Deploy your function app from inside VS Code by clicking the up-arrow icon in the Azure sidebar.
- Click Create New Function App in Azure.

- Enter the name for your function app in Azure.

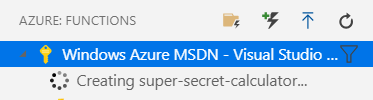
- Wait for the app to be provisioned in Azure.
 After waiting a bit, you should see a notification in VS Code that the action is complete.

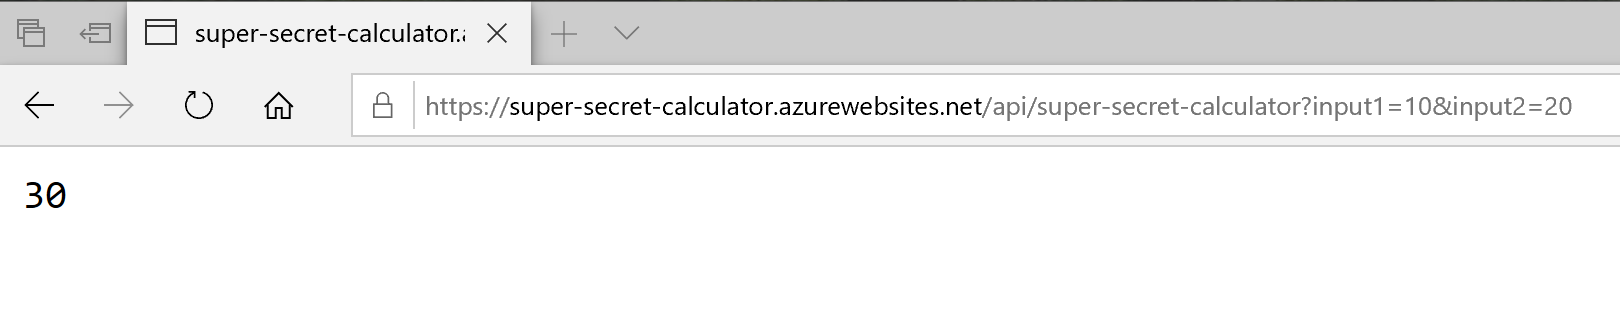
- Click on View Output to see the newly generated URL to your function and navigate there in the browser.

NOTE: The deployment automatically creates a new resource group and storage account for you. For example:

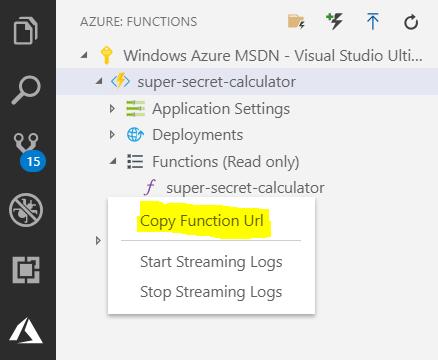
NOTE: If you need to find the URL later, it is available by right-clicking on the function in the Azure sidebar.
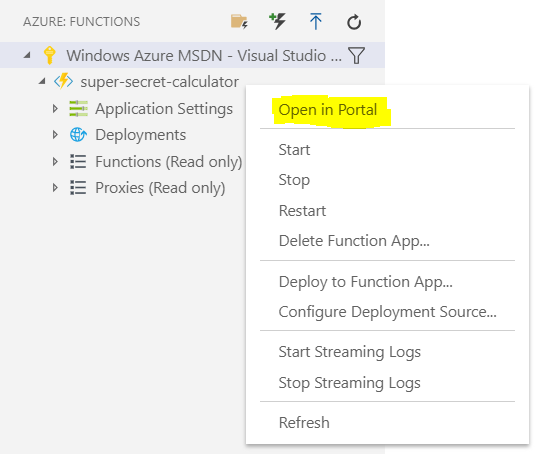
And there is also a shortcut available for navigation into your Azure portal.
Call the Azure Function from an Angular app
- Create an Angular service to make an HTTP request to the Azure function.
my-data-access.service.ts
import { Injectable } from '@angular/core';
import { HttpClient } from '@angular/common/http';

@Injectable({ providedIn: 'root' })
export class MyDataAccessService {
   private functionUrl = 'https://super-secret-calculator.azurewebsites.net/api/super-secret-calculator';
  constructor(protected http: HttpClient) { }
  calculateResult(num1: number, num2: number) {
    return this.httpClient.get(`${this.functionUrl}?input1=${num1}&input2=${num2}`);
  }
}
my-app.component.ts
   // Call your method from another service or component
    this.myDataAccessService.calculateResult(this.num1, this.num2)
      .subscribe((result: number) => {
        this.calculationResult = result;
    });
- Test it out and you are likely to receive this error indicating that the CORS request has been blocked.

Access to XMLHttpRequest at ‘https://super-secret-calculator.azurewebsites.net/api/super-secret-calculator?input1=1&input2=2’ from origin ‘http://localhost:4200’ has been blocked by CORS policy: Response to preflight request doesn’t pass access control check: No ‘Access-Control-Allow-Origin’ header is present on the requested resource.
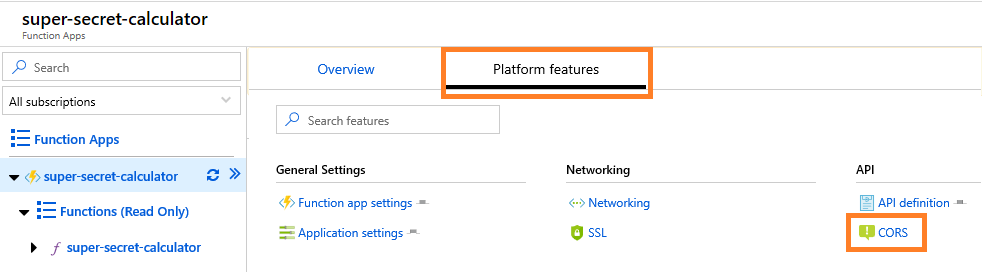
- To resolve this error, enable CORS on your Azure Function App in the Azure Portal. This option is found by navigating to Platform features tab for this function app and selecting CORS.
- Also include the origin URL of your Angular app, which is http://localhost:4200 during development.

Your Angular app should now be able to call your Azure function successfully and you are now working with a serverless backend. You can continue to add additional functions to this function app and deploy from VS Code.
I hope this post helps illustrate how this cost-effective solution for backend services can integrate smoothly with your current development environment.
Additional information and resources
Authenticate with Azure AD and configure Angular to use adal library
0 comments