

A while ago, it became possible to create multilingual copilots in Microsoft Copilot Studio. It’s easy to enable the setting and have multiple languages in your copilot, but do you know how to translate your copilot into a different language? In this blog, I will show you how it can be done!
This blog is part of a multi-part series on the Power Platform CLI.
The following blogs appeared in this series:
- Part 1 – Getting Started with the Power Platform CLI
- Part 2 – Streamline your solution development with the Power Platform CLI: Create a solution from scratch
- Part 3 – Getting Started with Power Platform CLI and Power Pages
- Part 4 – Create multilingual copilots with the Power Platform CLI and Microsoft Copilot Studio (This blog)
🤖 Create a copilot
First things first: let’s create a copilot by using the creation dialog. In this case, I’m using the conversational boosting capabilities, but this is not necessary for this scenario. What is important is the language you will select; in my example it’s set to English. This will be the primary language. You can add multiple other languages to your copilot if needed, but the primary language will not change.
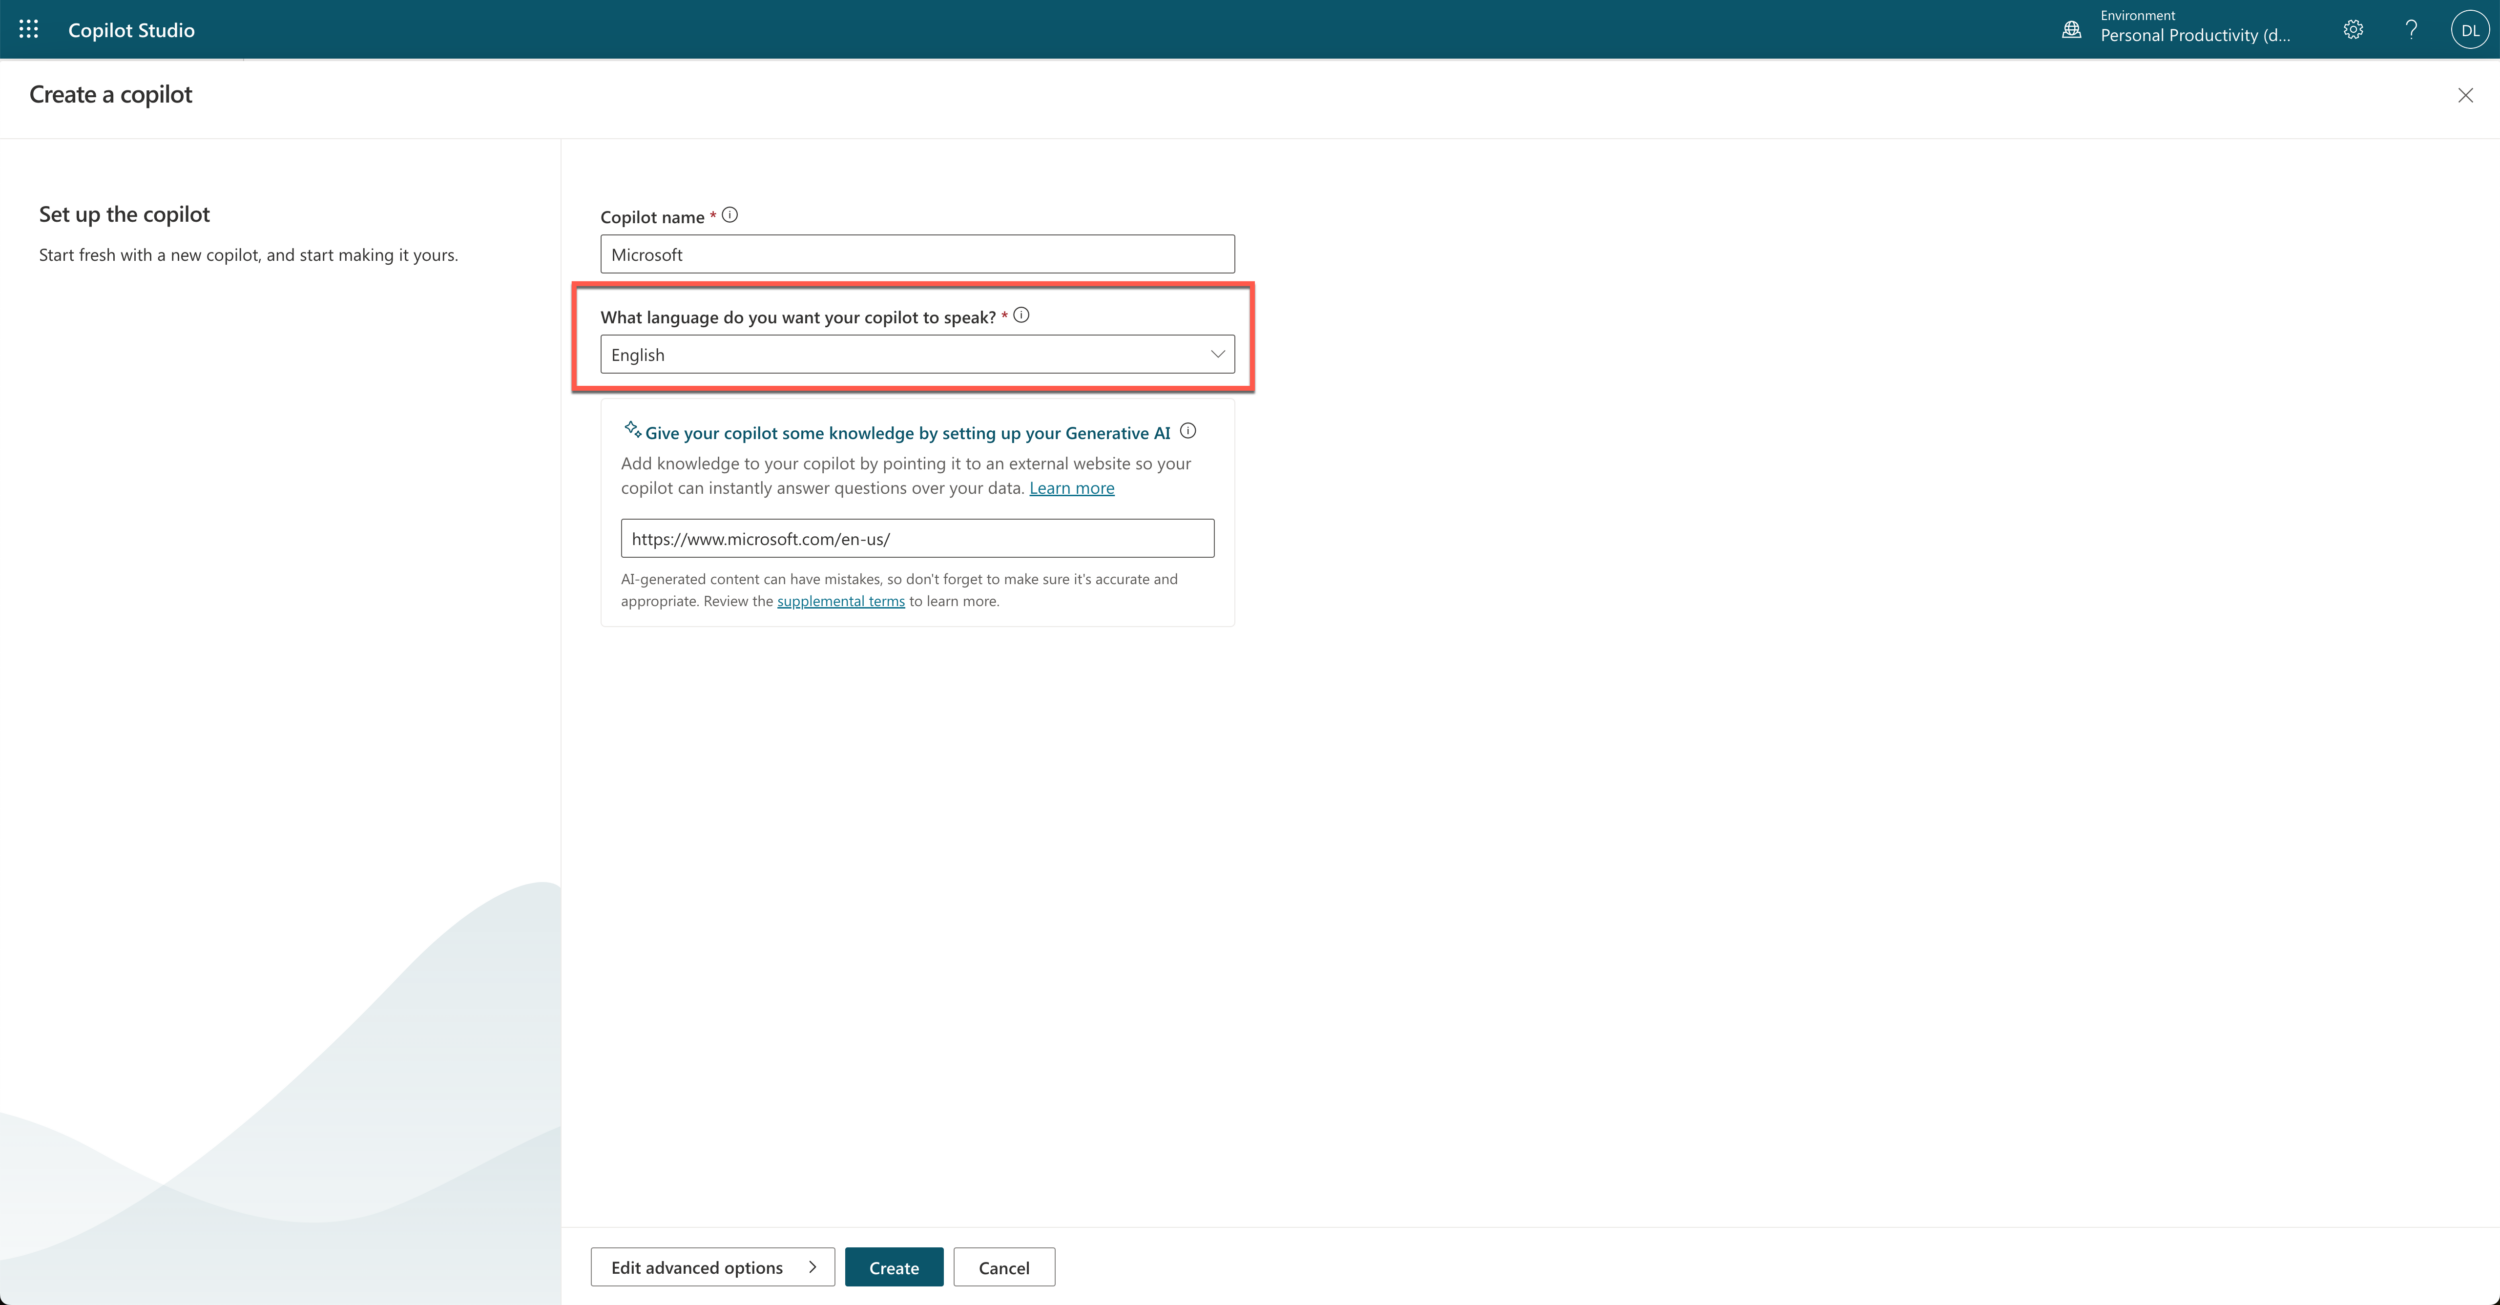
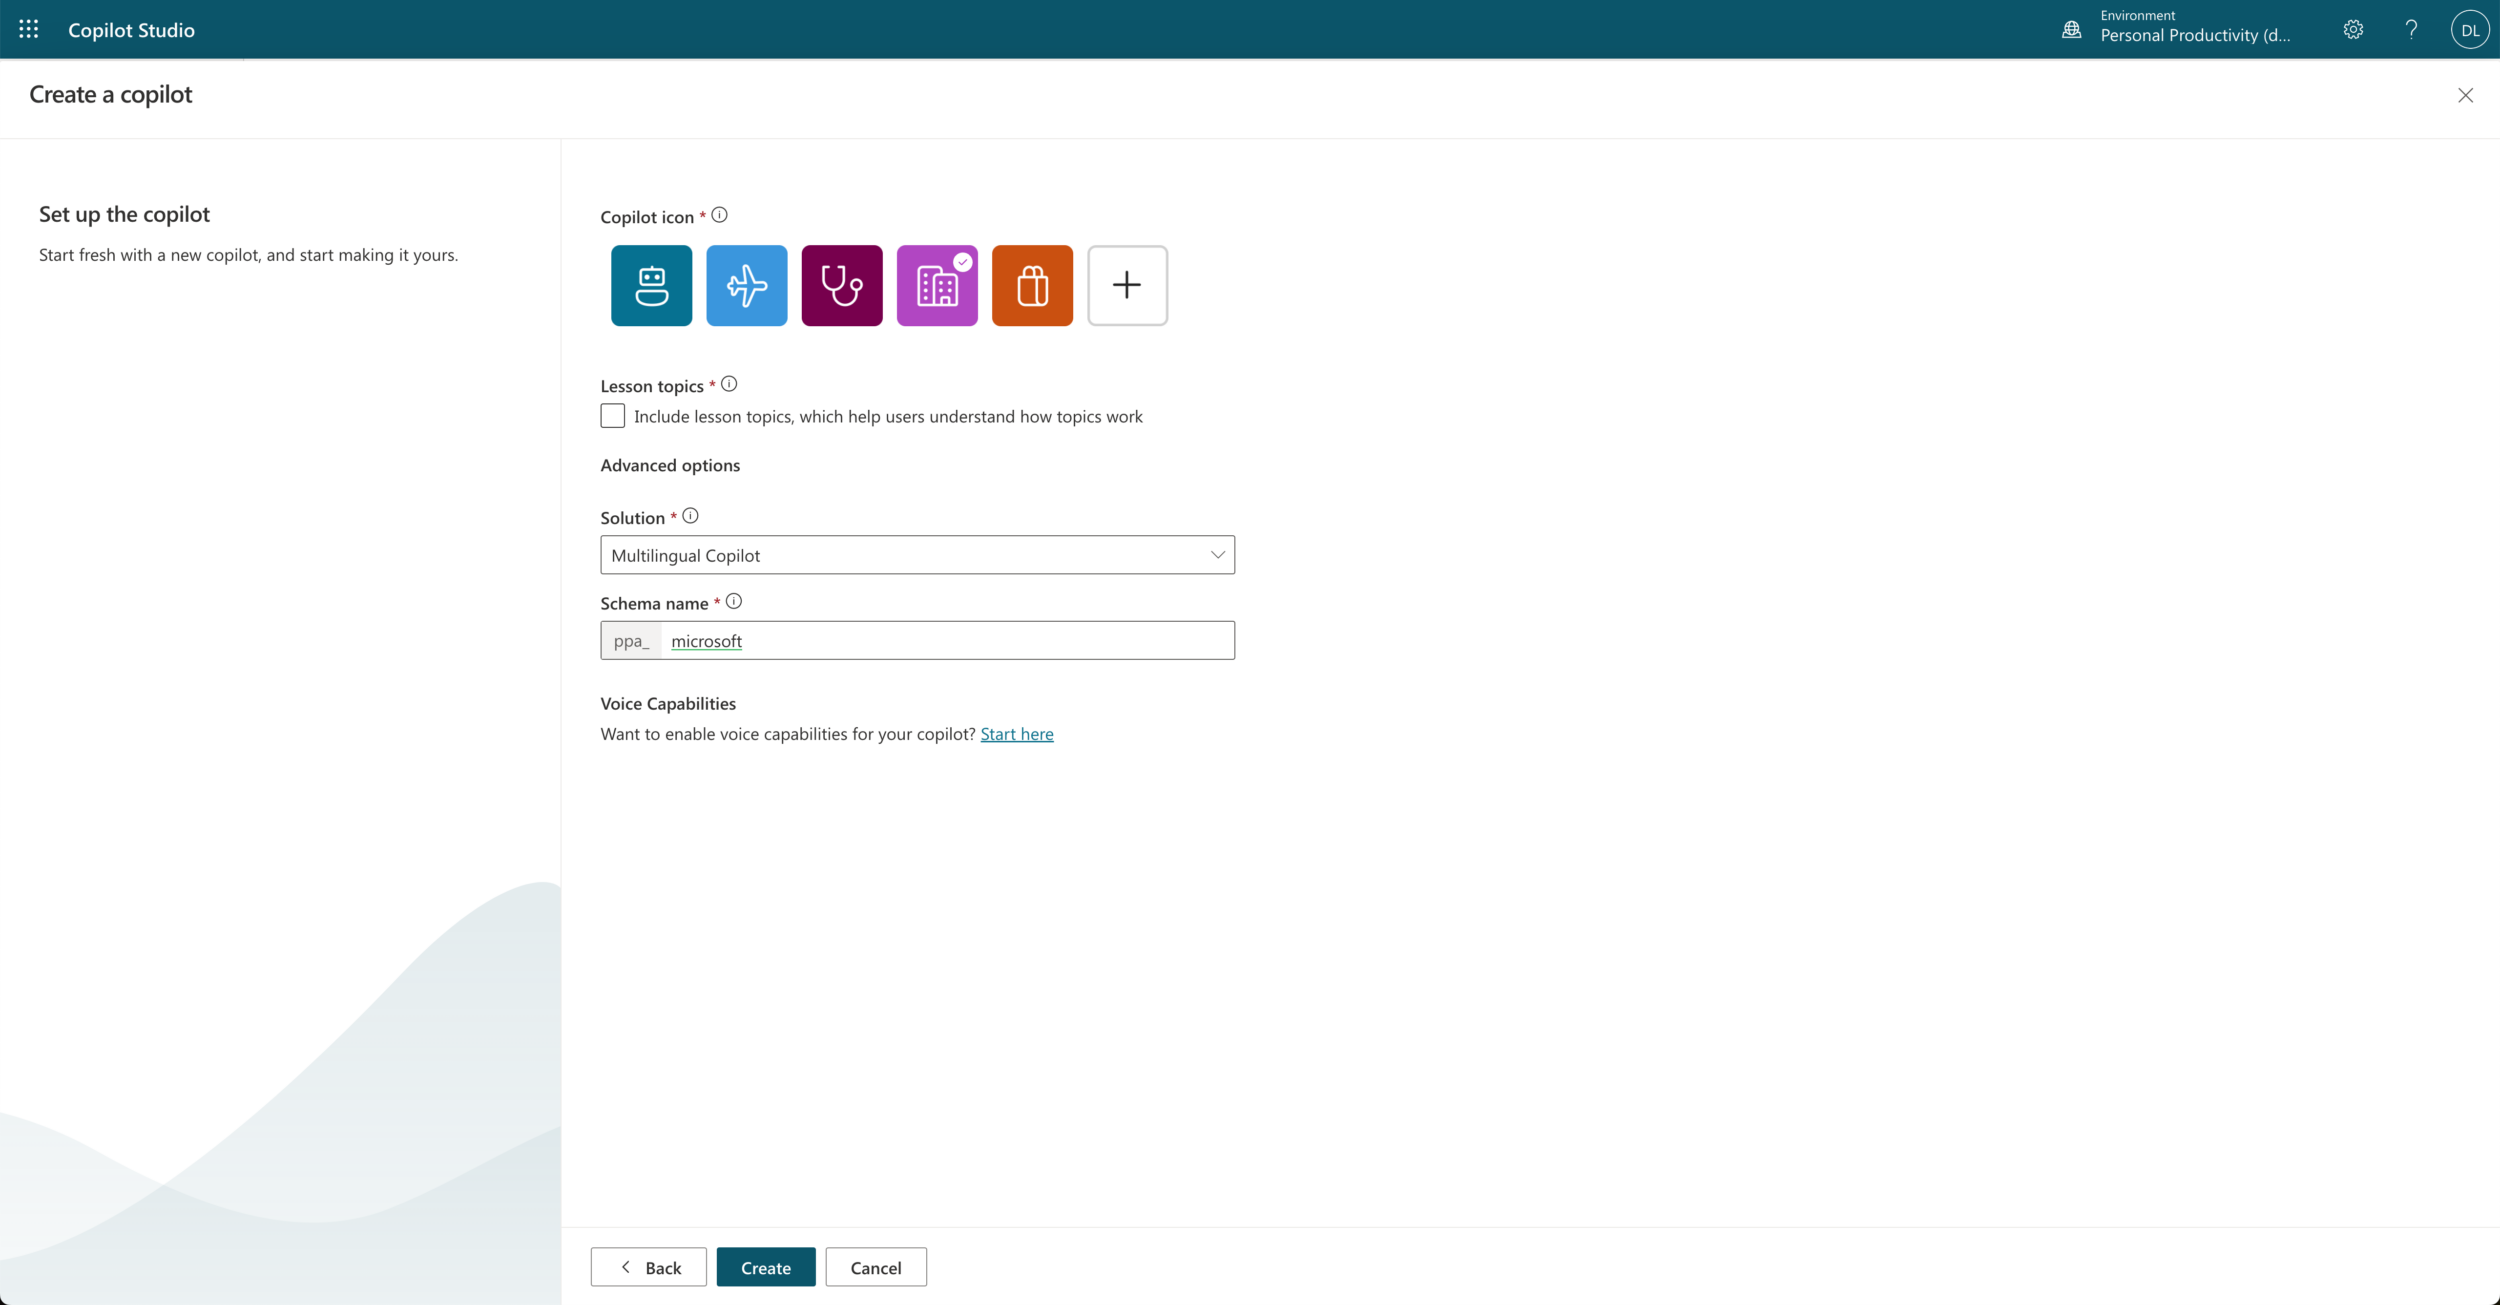
Another important selection in the creation dialog is the solution you set. This can only be done in the “advanced options” section, so make sure to select that and select the solution you want to add the copilot to. Later in this blog, I will use this, so make sure to set this. Note: the solution must be created before you start the creation dialog.
🗣️ Add a secondary language & switch to that language
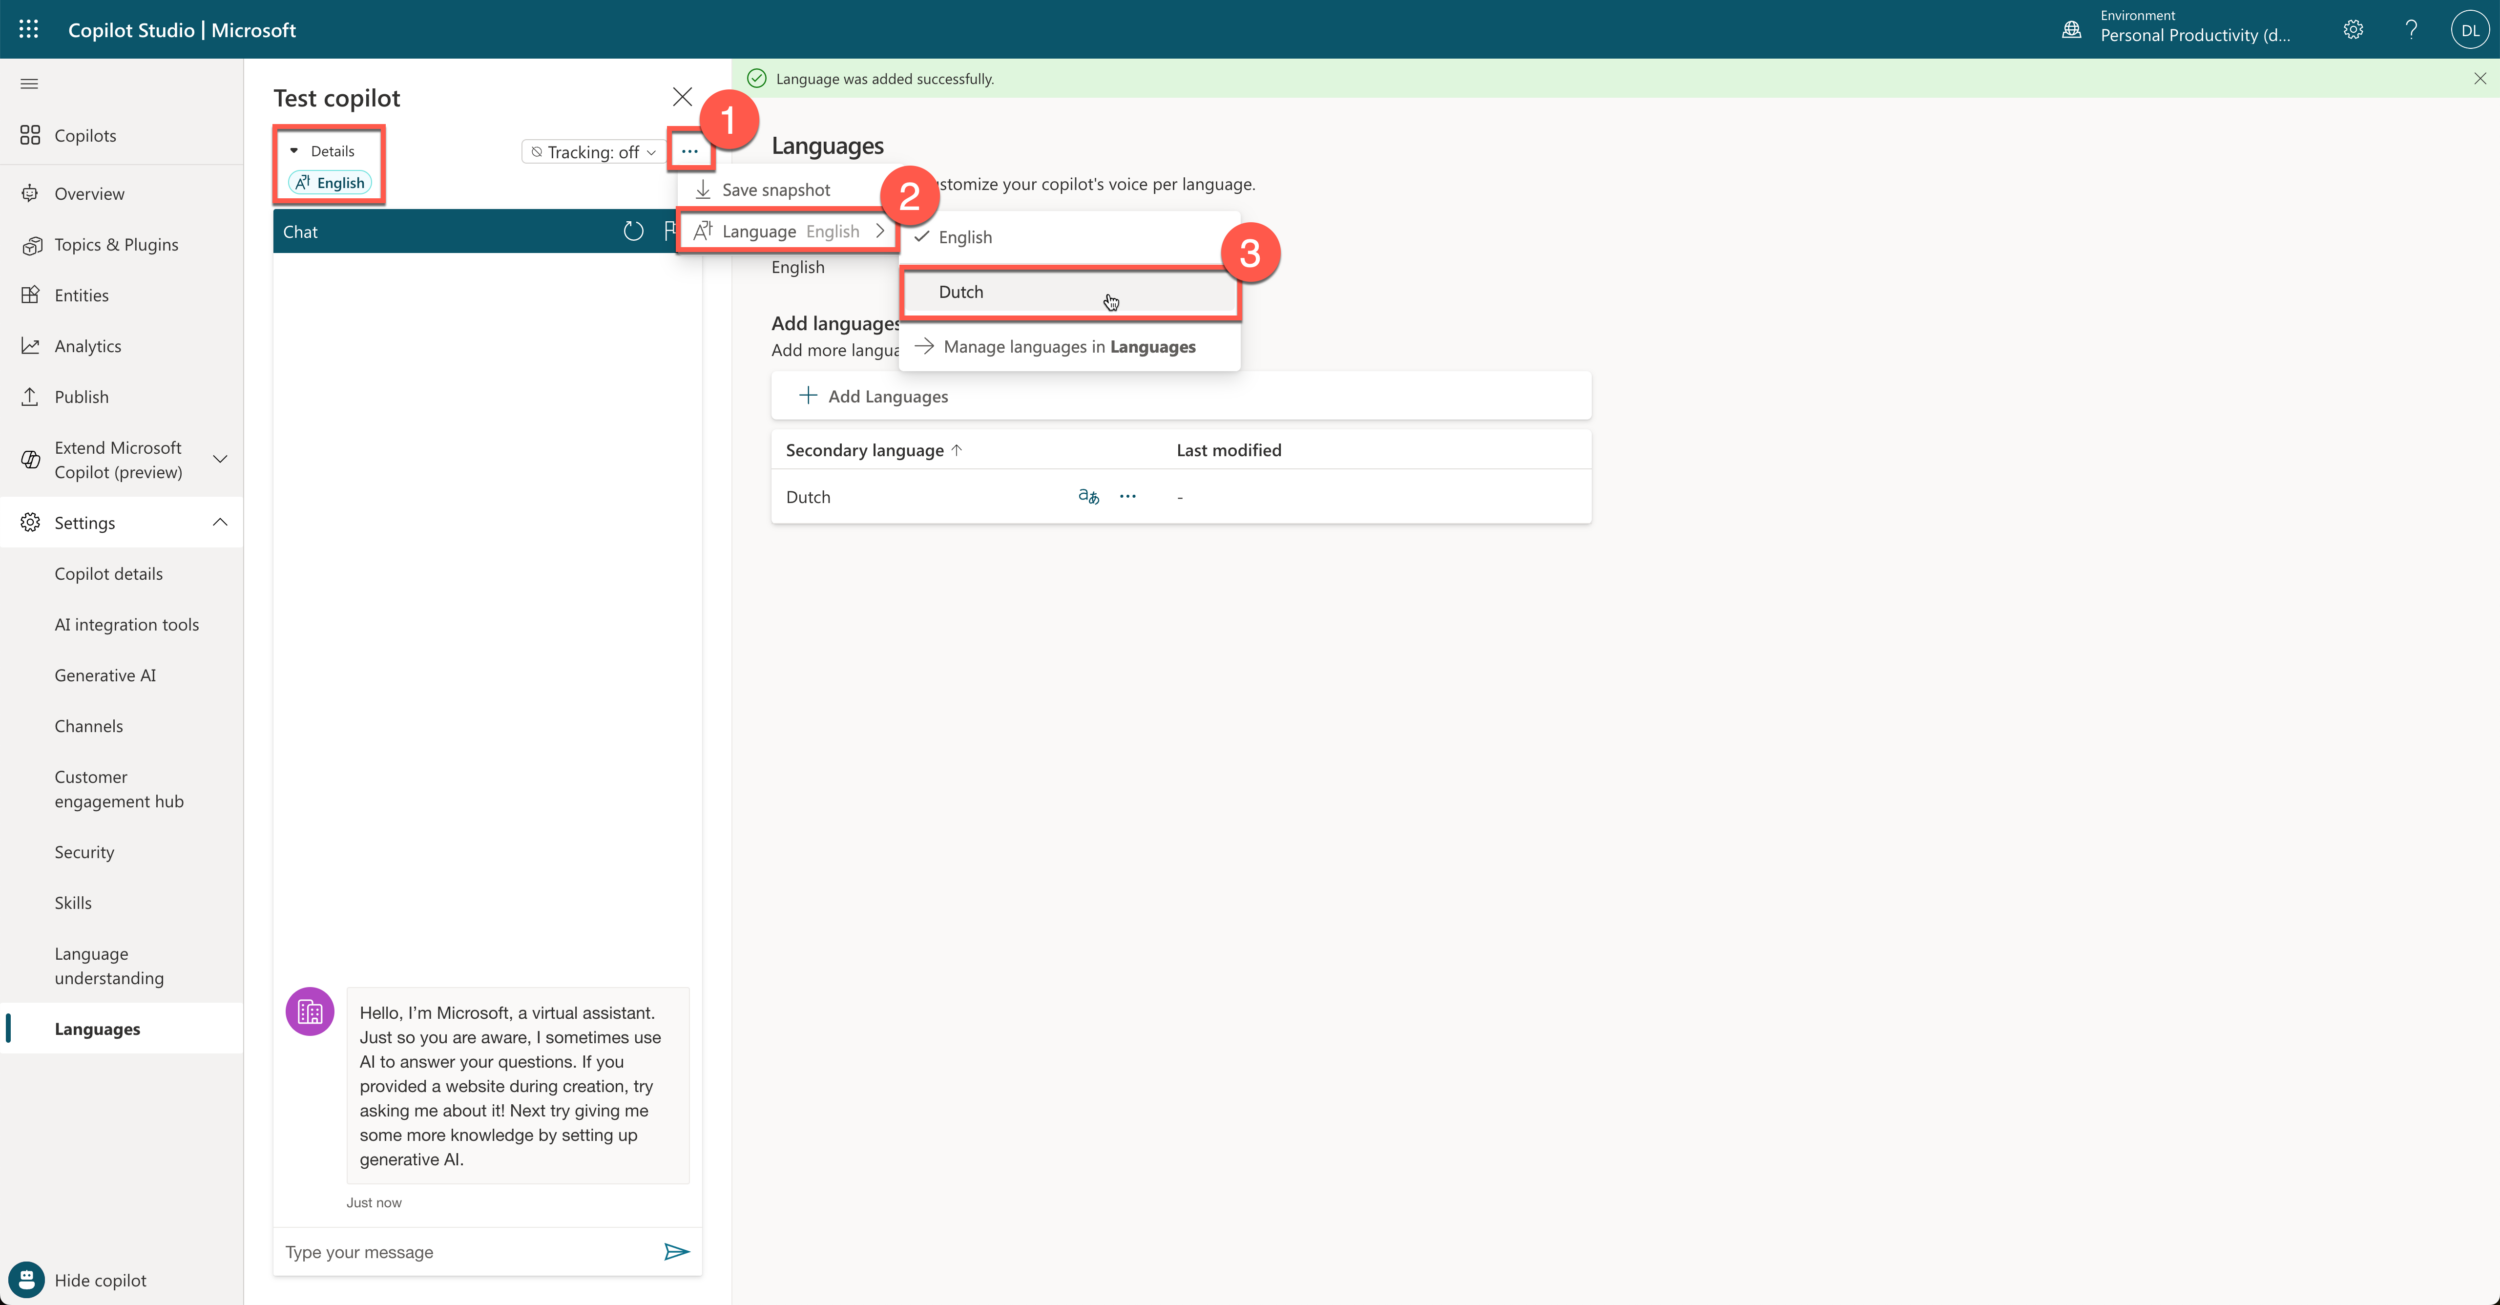
When your copilot is created, make sure to go to Settings ➡️ Languages. This will open the languages section, where you can add languages. Let’s add the Dutch language and save.

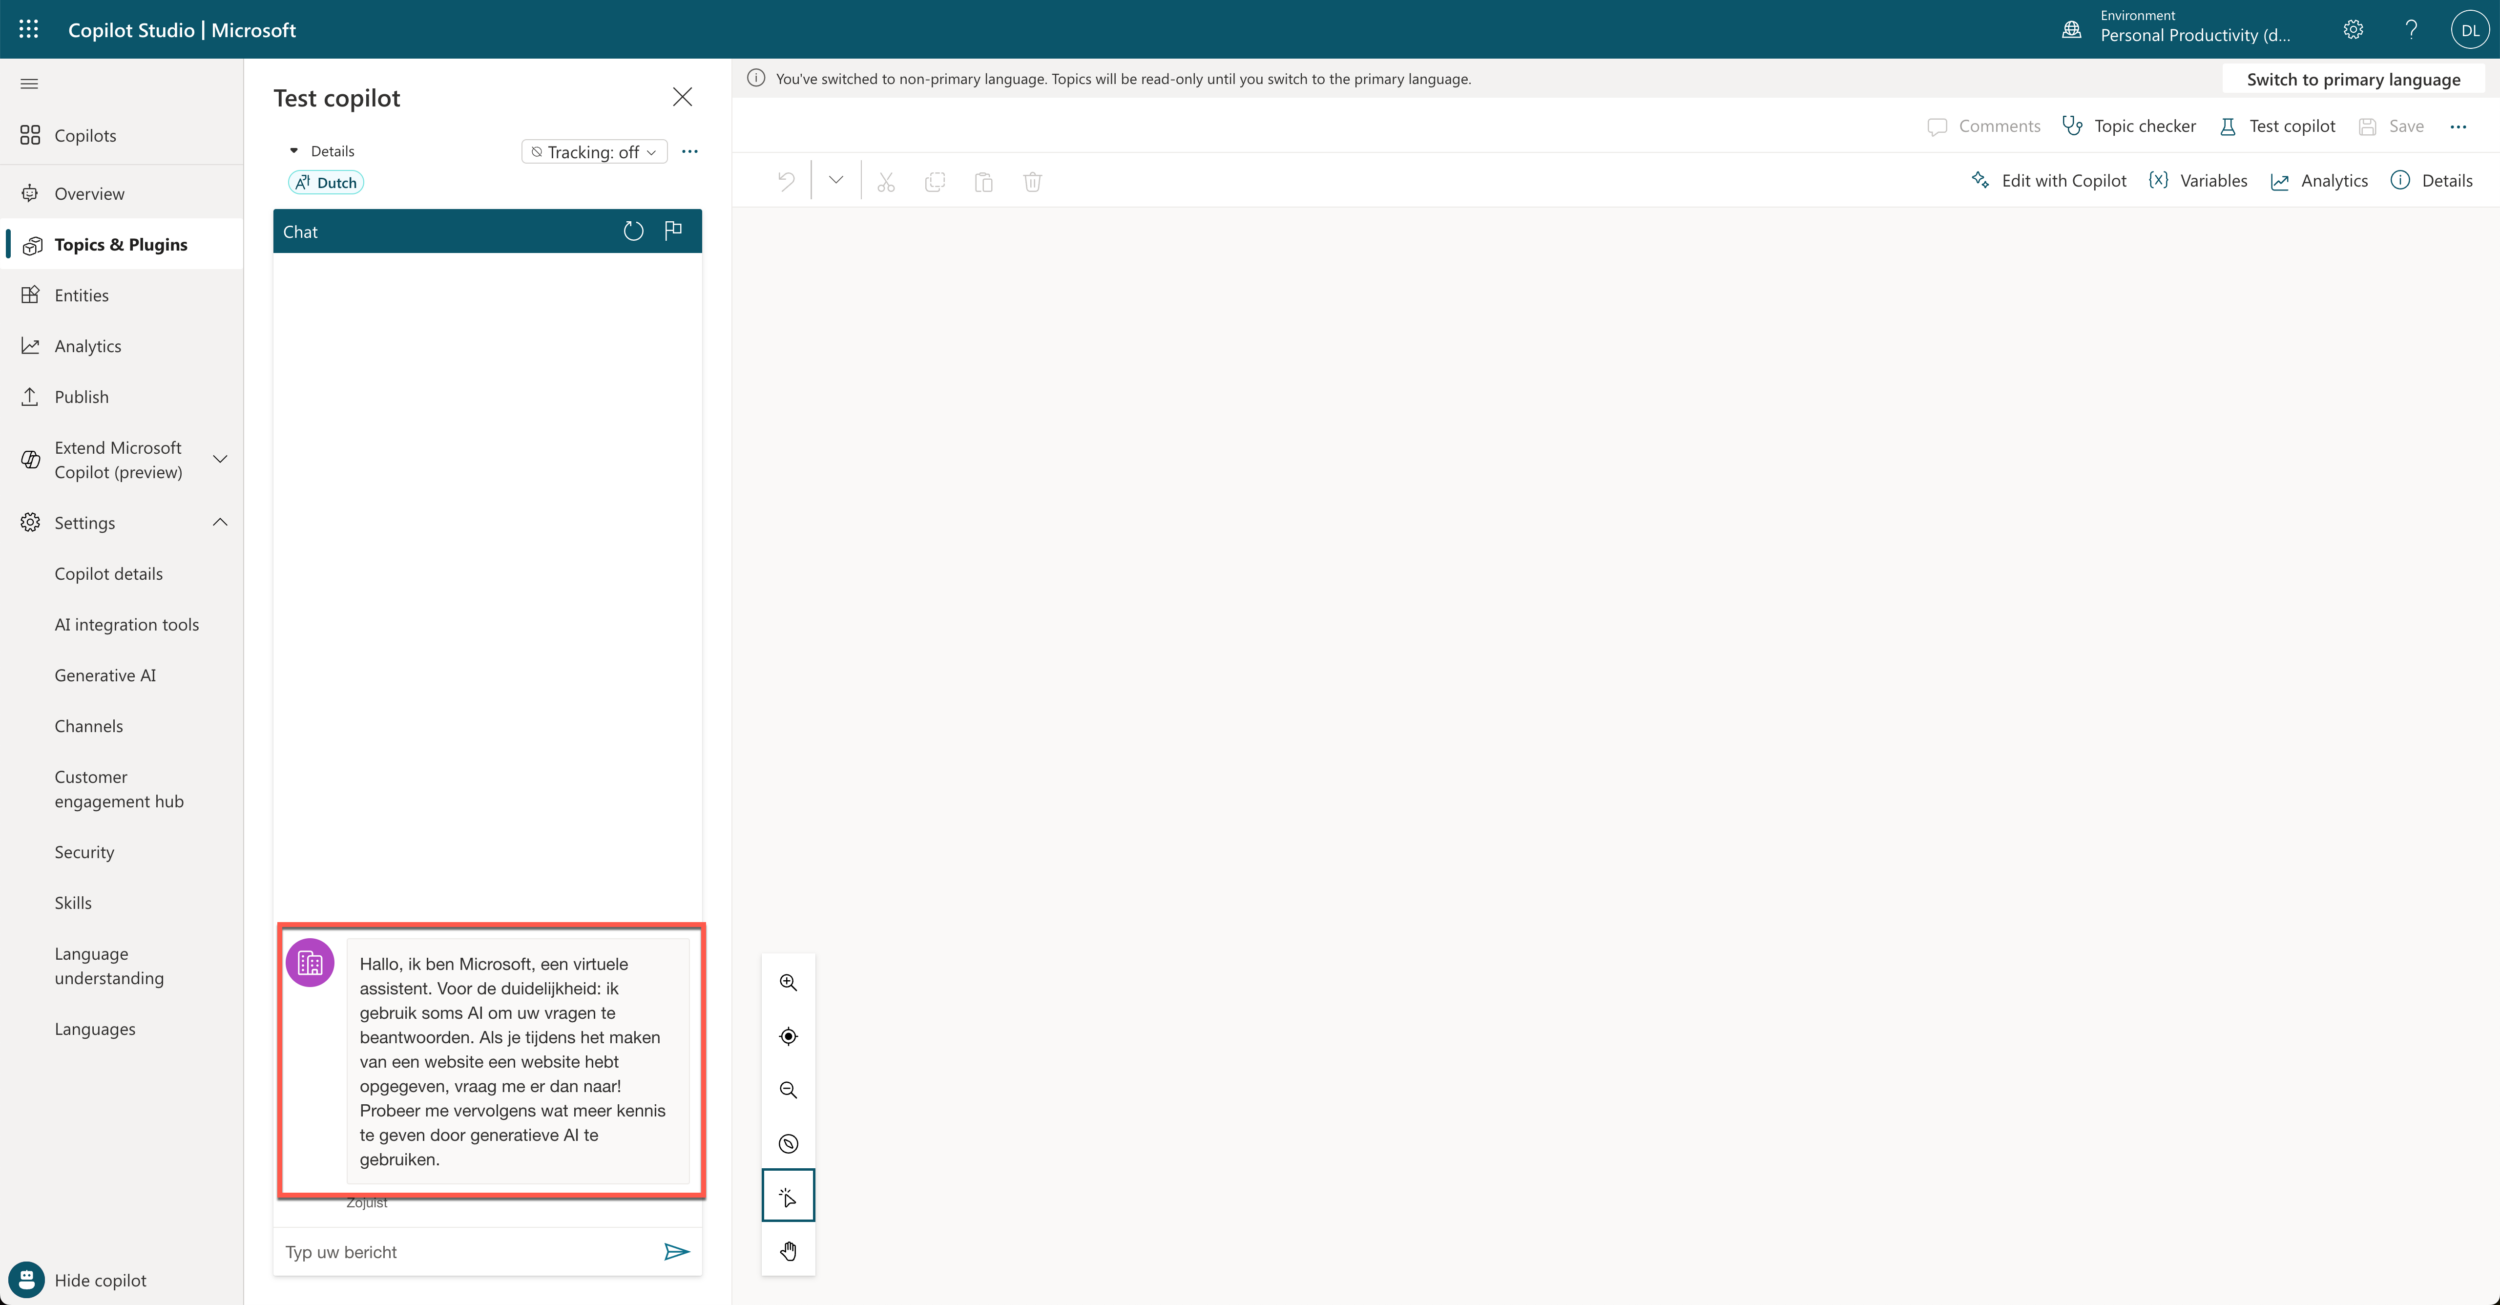
After adding the language, you will see something different in the test copilot panel. The selected language will be displayed at the top of the panel. To change the language to Dutch, select … ➡️ Language ➡️ Dutch.
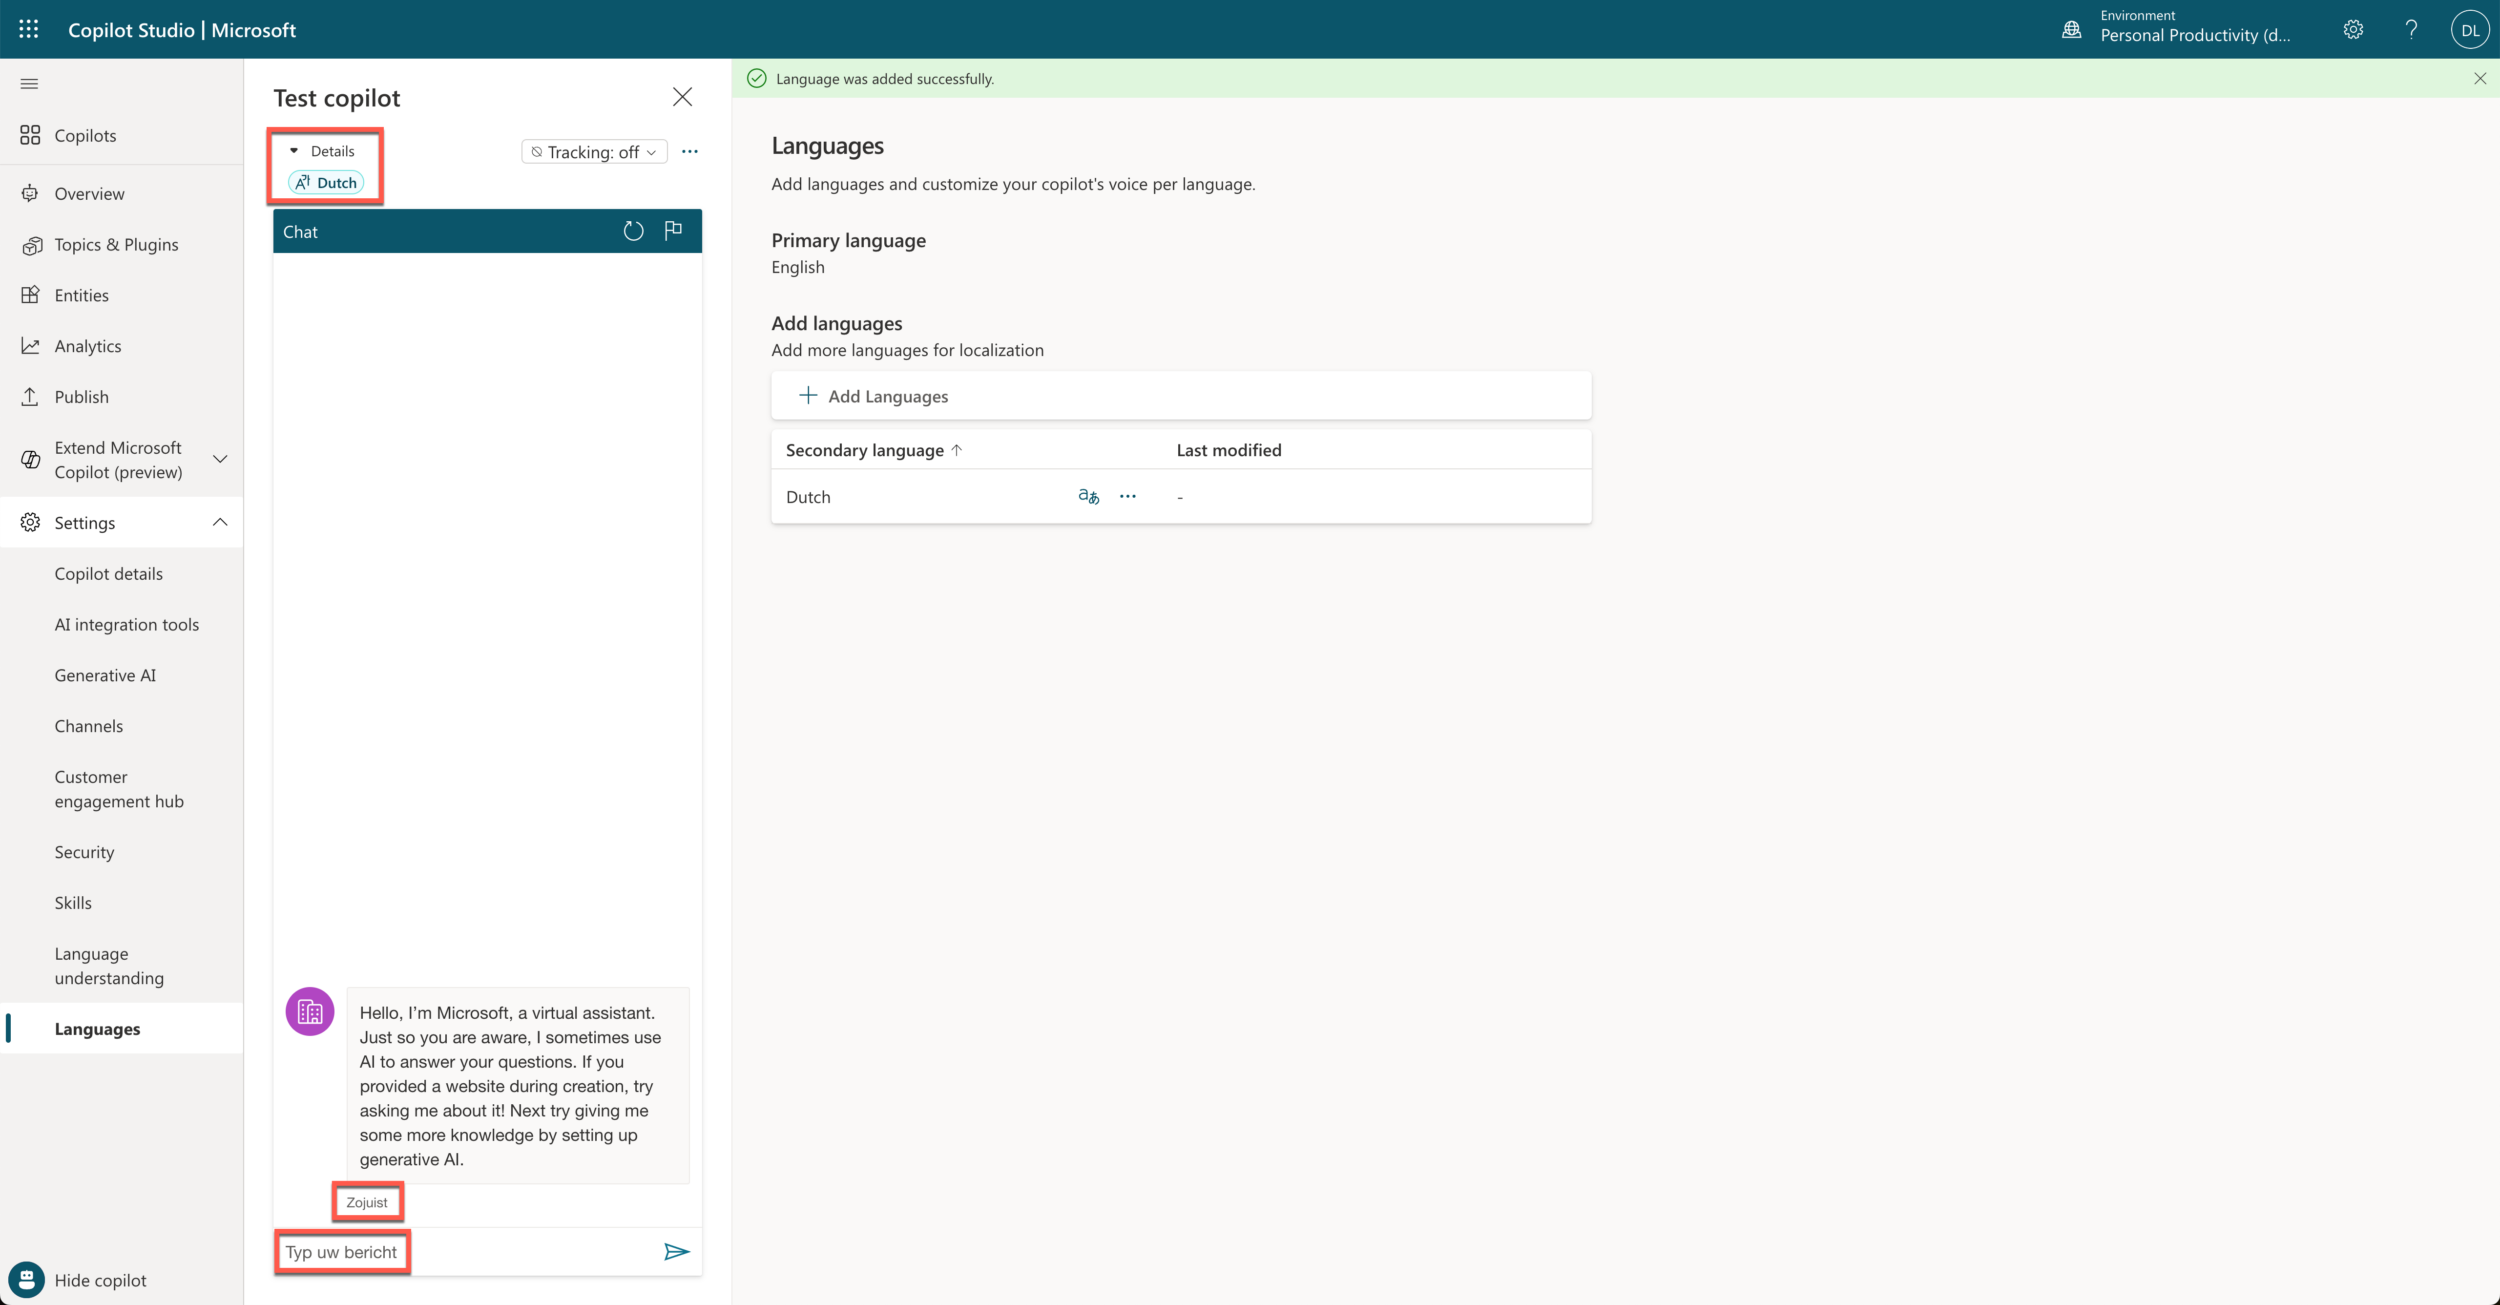
After selecting Dutch, you might expect the content of the copilot to change to Dutch, but that’s not the case. There are a couple of places in the test copilot panel which indicate you are looking at the Dutch language version of your copilot. The selected language will appear at the top of the panel (‘Dutch’ instead of ‘English’), there will be an indicator of how long ago the message has been sent which will be in Dutch (‘Zojuist’ instead of ‘Just now’) and the text in the input box will be Dutch (‘Typ uw bericht’ instead of ‘Type your message’).
👨🏻💻 Work with the translations in Visual Studio Code
To change the welcome message, you must download the translations by using the Power Platform CLI. If you haven’t done that yet, make sure to read a previous blog to see how you can download and install the Power Platform CLI.
Make sure you are connected to the right environment and run the pac copilot list command:

This will list the copilots in your environment. I have created the Microsoft copilot, so I’ll take the ID from that copilot and use that in the pac copilot extract-translation command to download the *.resx files for the translations:

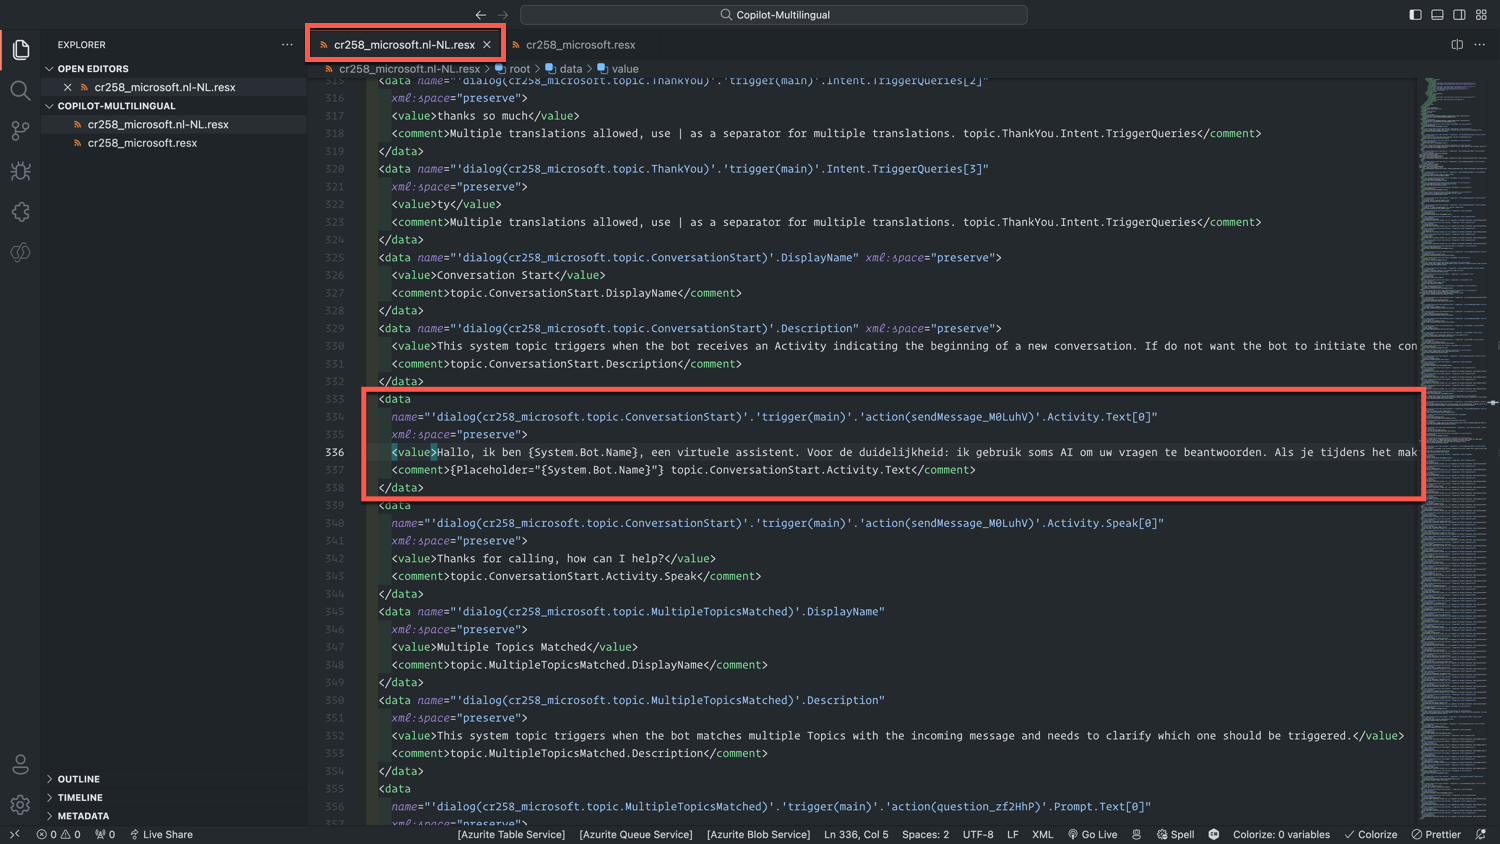
Open the directory where you downloaded the resx-files in Visual Studio Code, and you will be able to edit the translations. For this blog, I only change the greeting, so I search for the text in the greeting and replace that in the nl-NL file to a Dutch text. It’s important to keep the variables in the text the same since the name of the copilot should be inserted in the same way.
After modifying the texts, make sure to save the file and run the pac copilot merge-translation command to update the copilot in Microsoft Copilot Studio.
🏁 Wrap up
As you read in this blog, it’s easy to download and update the languages. In this blog, I showed you how to translate the resx-files manually. There are also options to translate them in a more automatic way, but that’s something I’ll save for a blog in the future!
0 comments