
This article covers the process of deploying Azure Synapse Analytics in your tenant. Azure Synapses Analytics is a complete Extract/Transform/Load (ETL) toolset that acts as the foundation of big data analytics in the cloud. It provides interfaces to develop data flow pipeline through its Azure Data Factory integration, data transformation logic via Synapse Spark Notebooks and Scripts, and data storage via its SQL or Lake databases. It is the recommended tool to perform analytics on Microsoft 365 data via Microsoft Graph Data Connect (MGDC).
Azure Resource Manager Template
Step-by-step instructions to get started and manually deploy your first Azure Synapse workspace for Microsoft Graph Data Connect Analytics are provided below. If you wish to automate the deployment of the workspace, an Azure Resource Manager Template is provided on our official GitHub repository. This template will automatically deploy all the required components in your Azure environment and can be re-used inside of your solutions to ensure the consistency of deployments.
Deploying a New Azure Synapse Workspace
From the Azure portal’s landing page, start by typing Azure Synapse in the top search box. From the result lists, select Azure Synapse Analytics as shown in Figure 1 below.
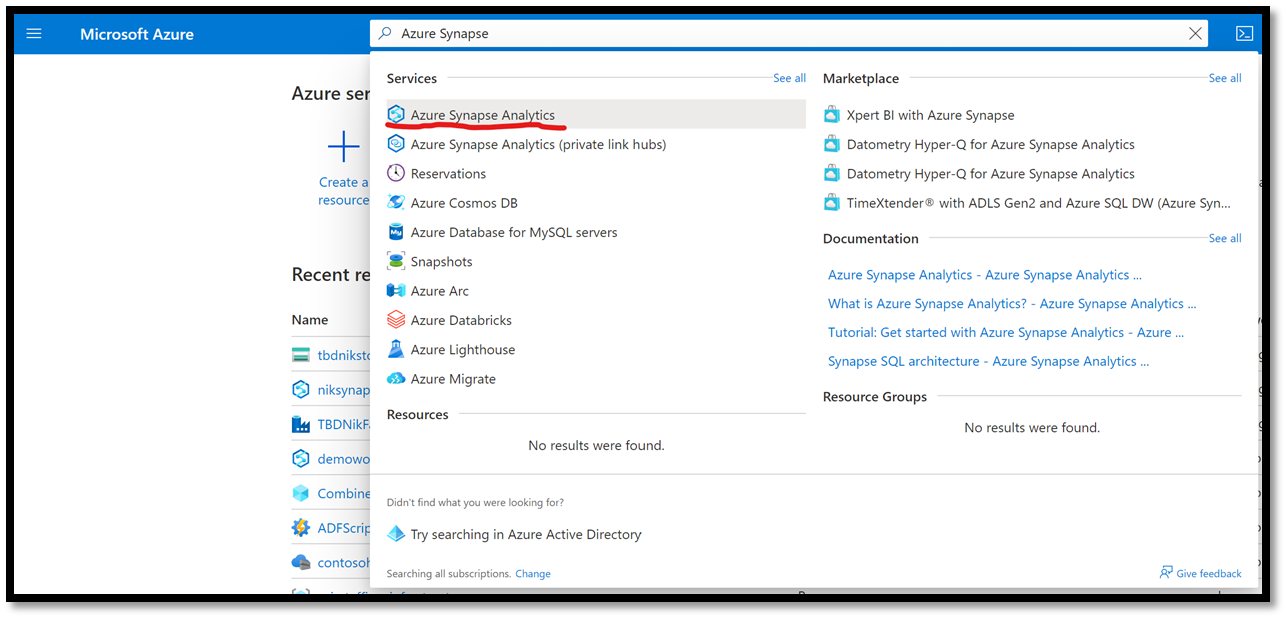
Figure 1 – Azure Synapse Analytics from the Search Menu
You will be brought to the Azure Synapse Analytics instance list. From there, click on the Create icon as highlighted in Figure 2 below.
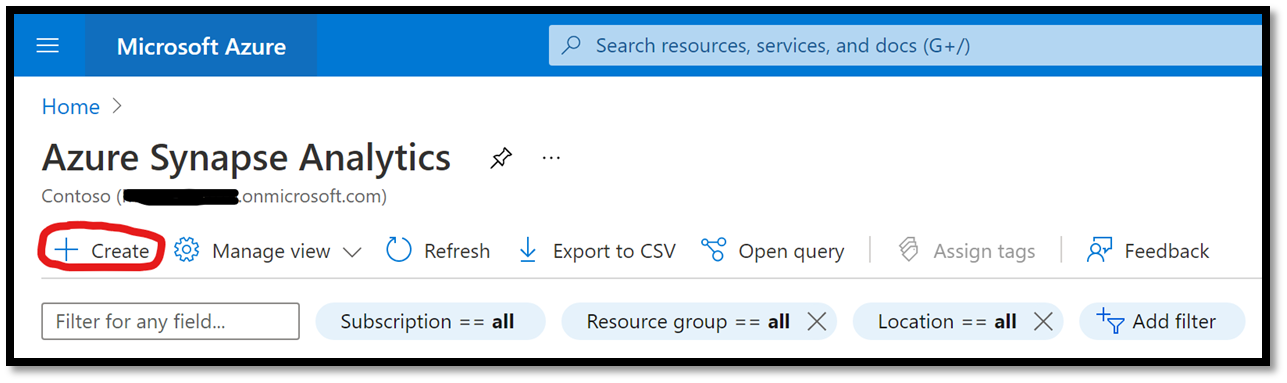
Figure 2 – Create a New Azure Synapse Analytics Workspace
This will open the Create Synapse Workspace blade which will prompt you to provide several pieces on information. Make sure you select the subscription in which you wish to create the workspace in and create a new Resource Group by clicking on the Create New link below the drop-down list as shown in Figure 3.
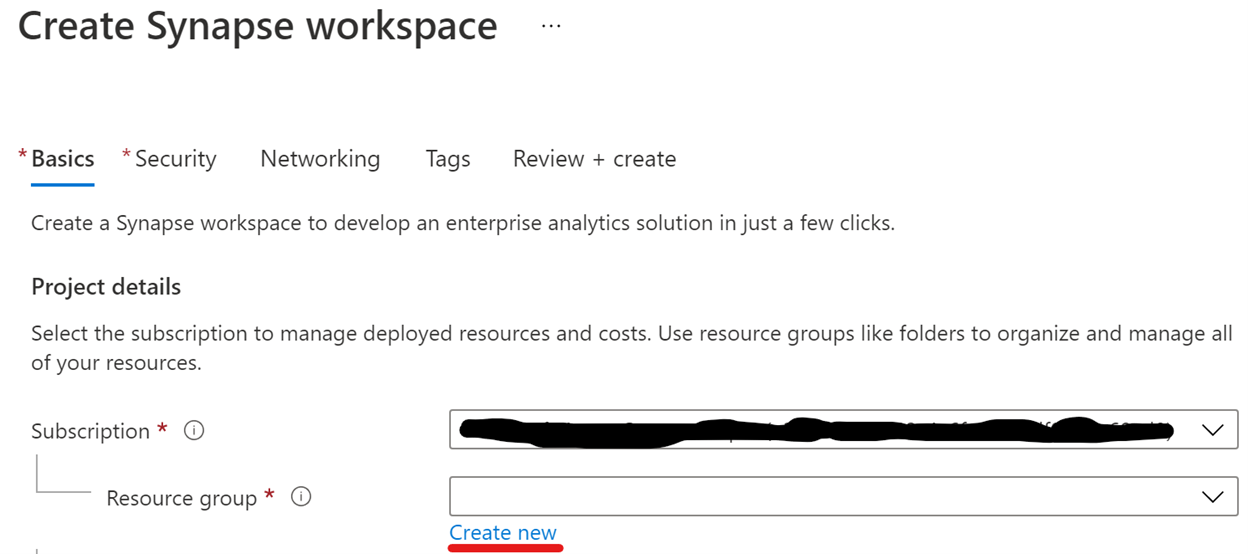
Figure 3 – Create a New Resource Group for an Azure Synapse workspace
When prompted to provide a name for the Resource Group, enter the name MGDC Azure Synapse and click Ok. Leave the Managed resource group box empty. In the Workspace details section, provide the name MGDC Workspace and select the region you want to create the instance in from the drop down.
Make sure you leave the option to Select Data Lake Storage Gen 2 set to From subscription and create a new account by providing a name. In our case, the account will be named mgdcsynapse storage. Also create a new file system and provide it a unique name. Figure 4 below summarizes the entries we provided for our scenarios. Note that the storage account names must be unique across Azure and therefore cannot be re-used in your environments.
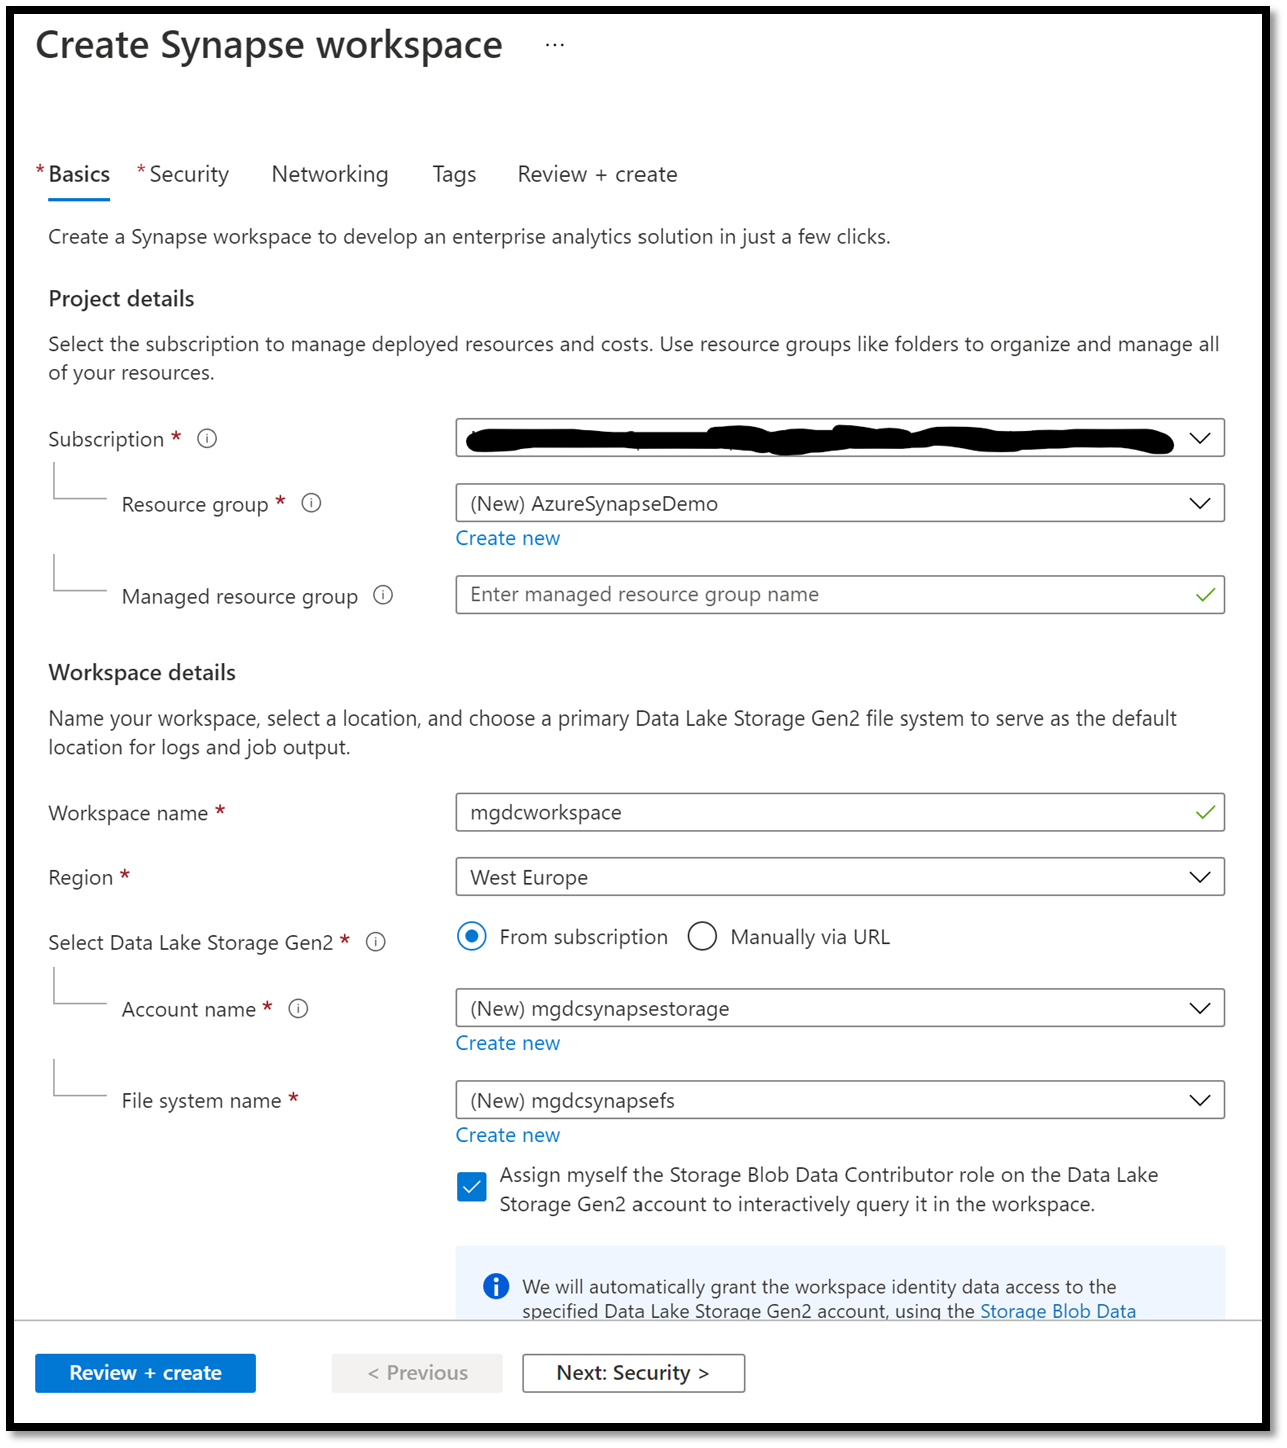
Figure 4 – Basics information provided for new Azure Synapses Workspace
Click on the Next: Security > button. On the Security tab, provide an Admin login username and password for the SQL account as seen on Figure 5 below.
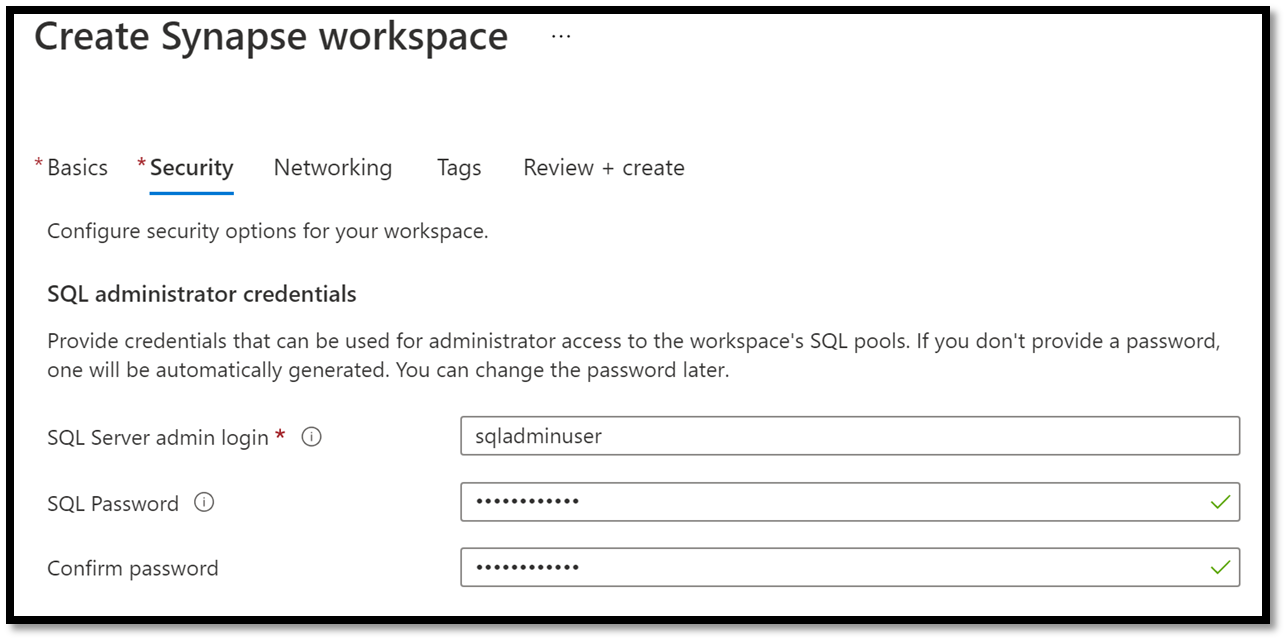
Figure 5 – Azure Synapse Workspace SQL Server admin account
Click on the Review + create button, and then once again on the Create button. This will initiate the creation process which can take several minutes to complete.
Once the workspace is created, go to the resource. At the top of the Overview screen, click on New Apache Spark pool. You will be brought to a new screen. Provide an Apache Spark pool name and keep all other default settings (see Figure 6 for an example).
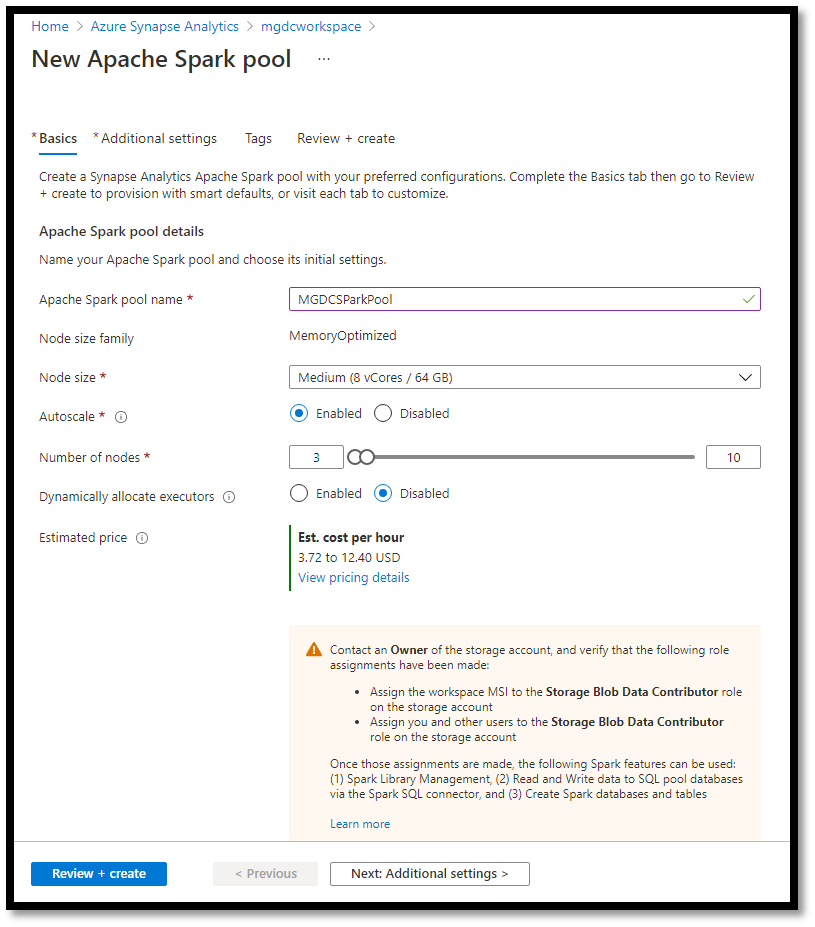
Figure 6 – Basic information for a new Apache Spark Pool
Click on the Review + create button at the bottom of the screen. This will bring you to the summary screen. From there click on the Create button at the bottom. After a few minutes, the Spark pool will be created. Navigate back to the new Azure Synapse Analytics workspace you created (search for Azure Synapse Analytics in top bar and select the instance). When you get back to the Overview page, under the Open in Synapse Studio section, click on the Open link. This will open a new browser tab and navigate into Azure Synapse Studio automatically.
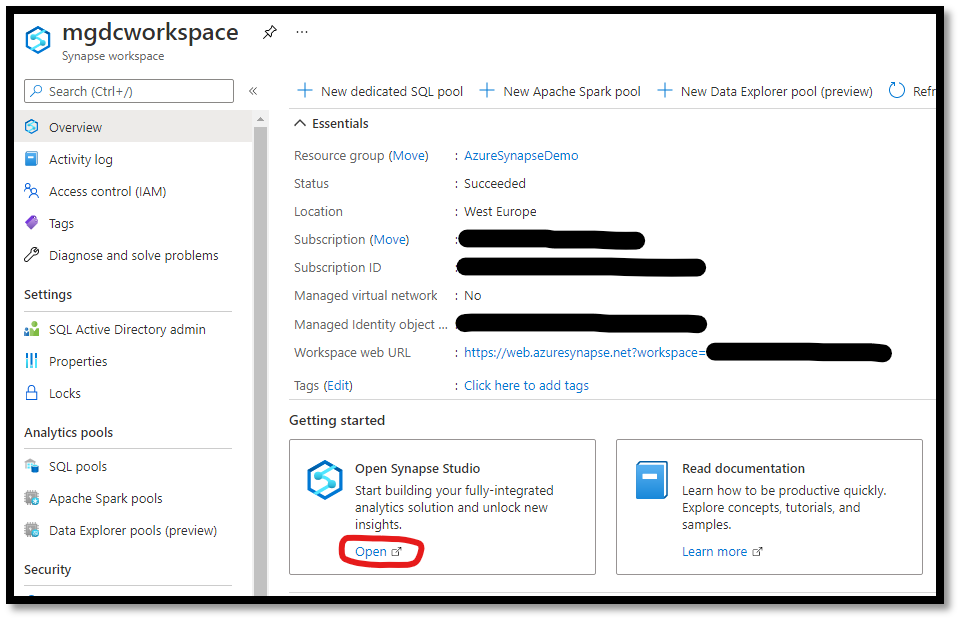
Figure 7 – Open Synapse Studio
Synapse Studio is the workbench you will use to execute your ETL operations against Microsoft Graph Data Connect’s data. While this article doesn’t cover the steps to create and automate your ETL processes using Azure Synapse, it acts as the baseline for multiple articles we will be releasing over the next few months. Subsequent articles in our series will always assume you have an Azure Synapse Workspace created that follows the guidance provided in this blog post.
Happy coding!
0 comments