
Welcome to Java on Visual Studio Code Update. In September, we launched a new VS Code installer called Coding Pack for Java. In this edition, we would like to focus on best practices of setting development environment. Regardless of whether you just want to explore or have already been using VS Code for projects or studies, we believe you all will benefit from these practices. Let’s start.
Your development environment
When use VS Code, the first thing you have to know is what your development environment consists of. For Java development, your environment consists of VS Code, extensions, and JDK. While VS Code provides you the best in class editing experience, more features are offered through extensions, for example, code completion, debugging, testing, building, project management, etc. VS Code has a broad ecosystem, where you can find all kinds of extensions to meet your specific needs. You can visit VS Code Marketplace to explore further.
Coding Pack for Java
To use VS Code for Java development, a very first thing is to set up your environment. Best practice #1: using Coding Pack for Java, if on Windows or MacOS, when set up for first time, upgrade, or even repair an existing environment. The pack will install VS Code, AdoptOpenJDK and Extension Pack, a collection of essential extensions recommended by Microsoft, and also configure them automatically. When installation completes, you immediately have an integrated environment for your Java projects. The pack supports incremental updates by checking your environment firstly and only installs required pieces.
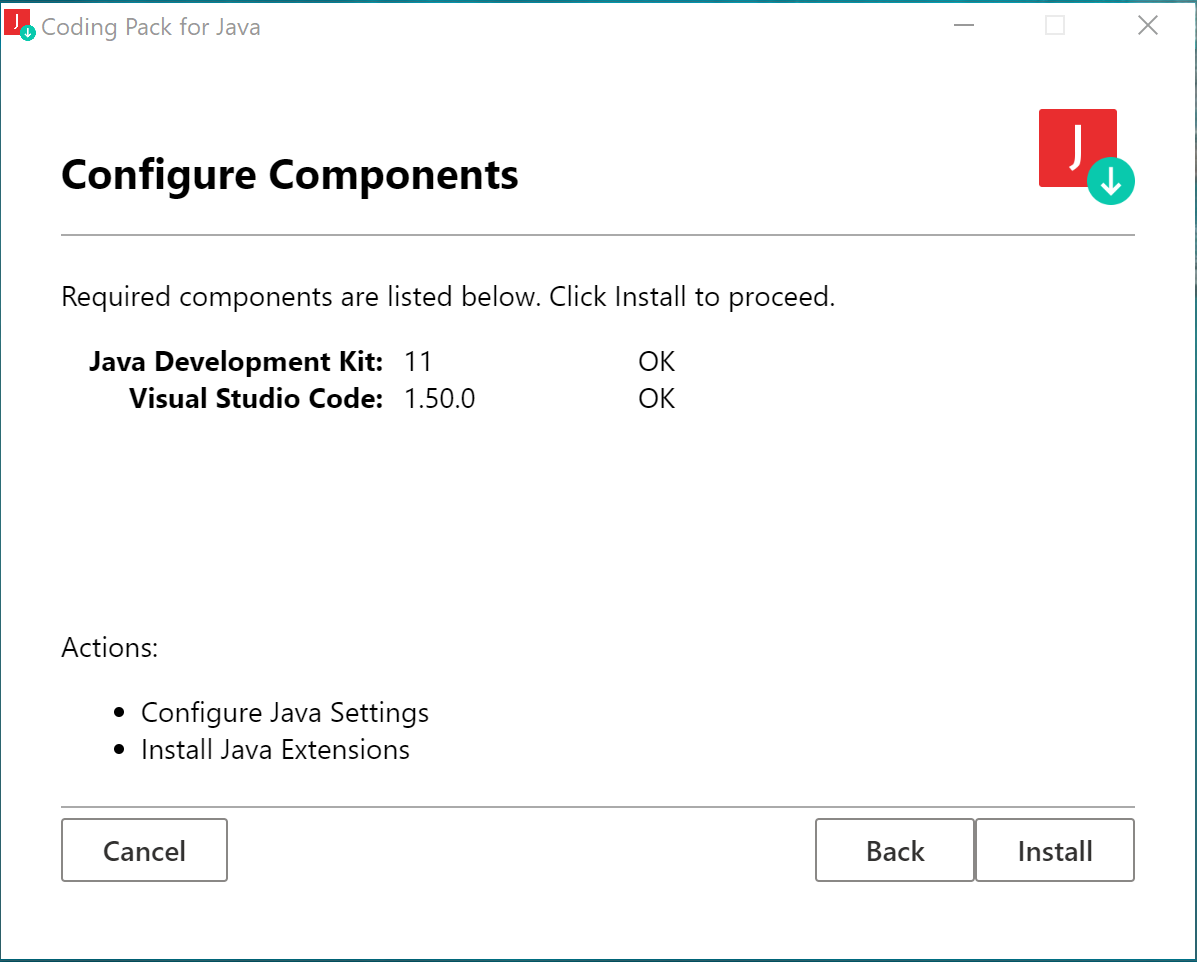
The pack won’t modify your existing project setting, so you don’t have to worry using it will break your existing projects.
Configuring JDK
There are two JDK concepts involved in your development environment, JDK to run VS Code for Java (boot JDK) and JDK to build your project (project JDK). In VS Code, you can configure them separately. While boot JDK requires Java 11 or above version, project JDK supports any major version above Java 1.5. If Coding Pack is used, setting boot JDK has already been taken care by it.
Best practice #2: if encounter a JDK issue for running VS Code for Java, always checking VS Code setting: “java.home” to make sure it points to a JDK with Java 11 or above version. You can access the setting by clicking menu “File->Preferences->Settings”, searching “java.home” on “User” tab, and then opening the setting.

Best practice #3: configuring your project JDK using VS Code setting: “java.configuration.runtimes”. You can access the setting by clicking menu “File->Preferences->Settings”, searching “java.configuration.runtimes” on “User” tab, and then opening the setting. You can set multiple JDK versions, and VS Code will pick the best version per your default or project’s source level. For more details on how to set, please refer to Configure JDK.
Extension Pack
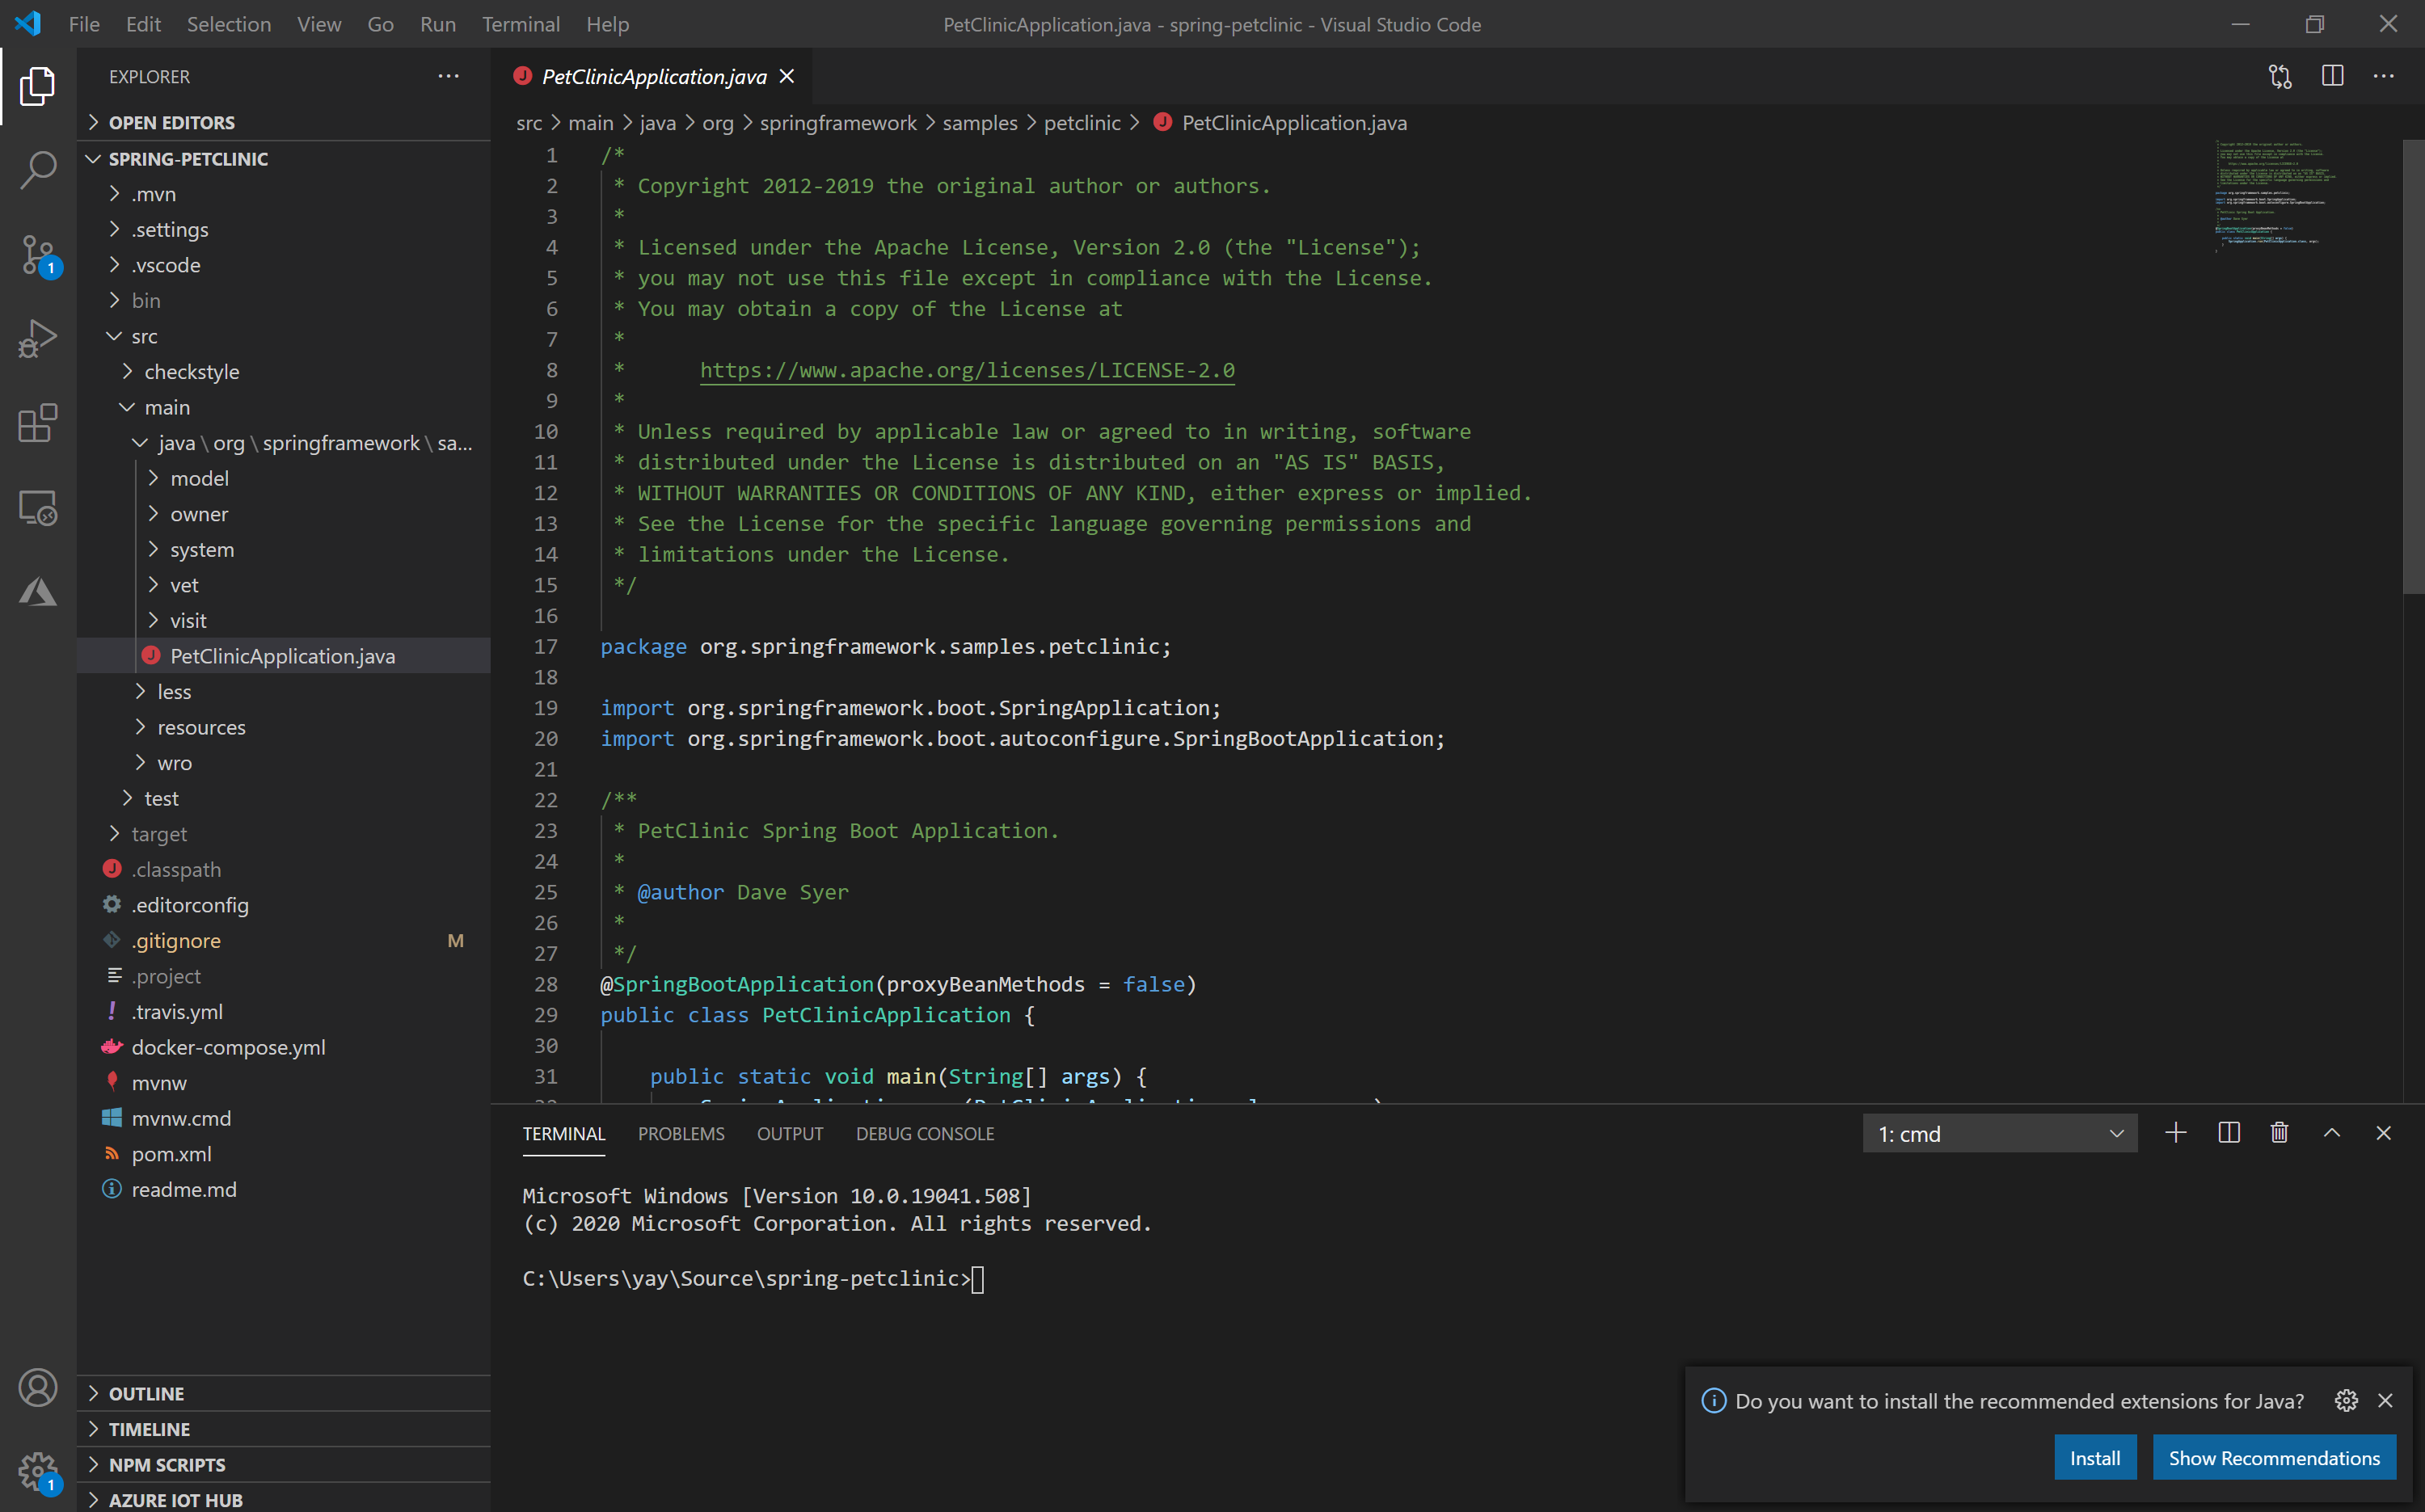
If you are on Linux or just want to manually install VS Code, JDK and extensions instead of using Coding Pack for Java, best practice #4: installing Extension Pack instead of installing extensions individually. You can find Extension Pack from VS Code Marketplace by searching “Java extension pack”, or when you first time open a “.java” file using VS Code, there will be a pop up message on bottom right corner of window for you to accept installing Extension Pack.
Extension Guide
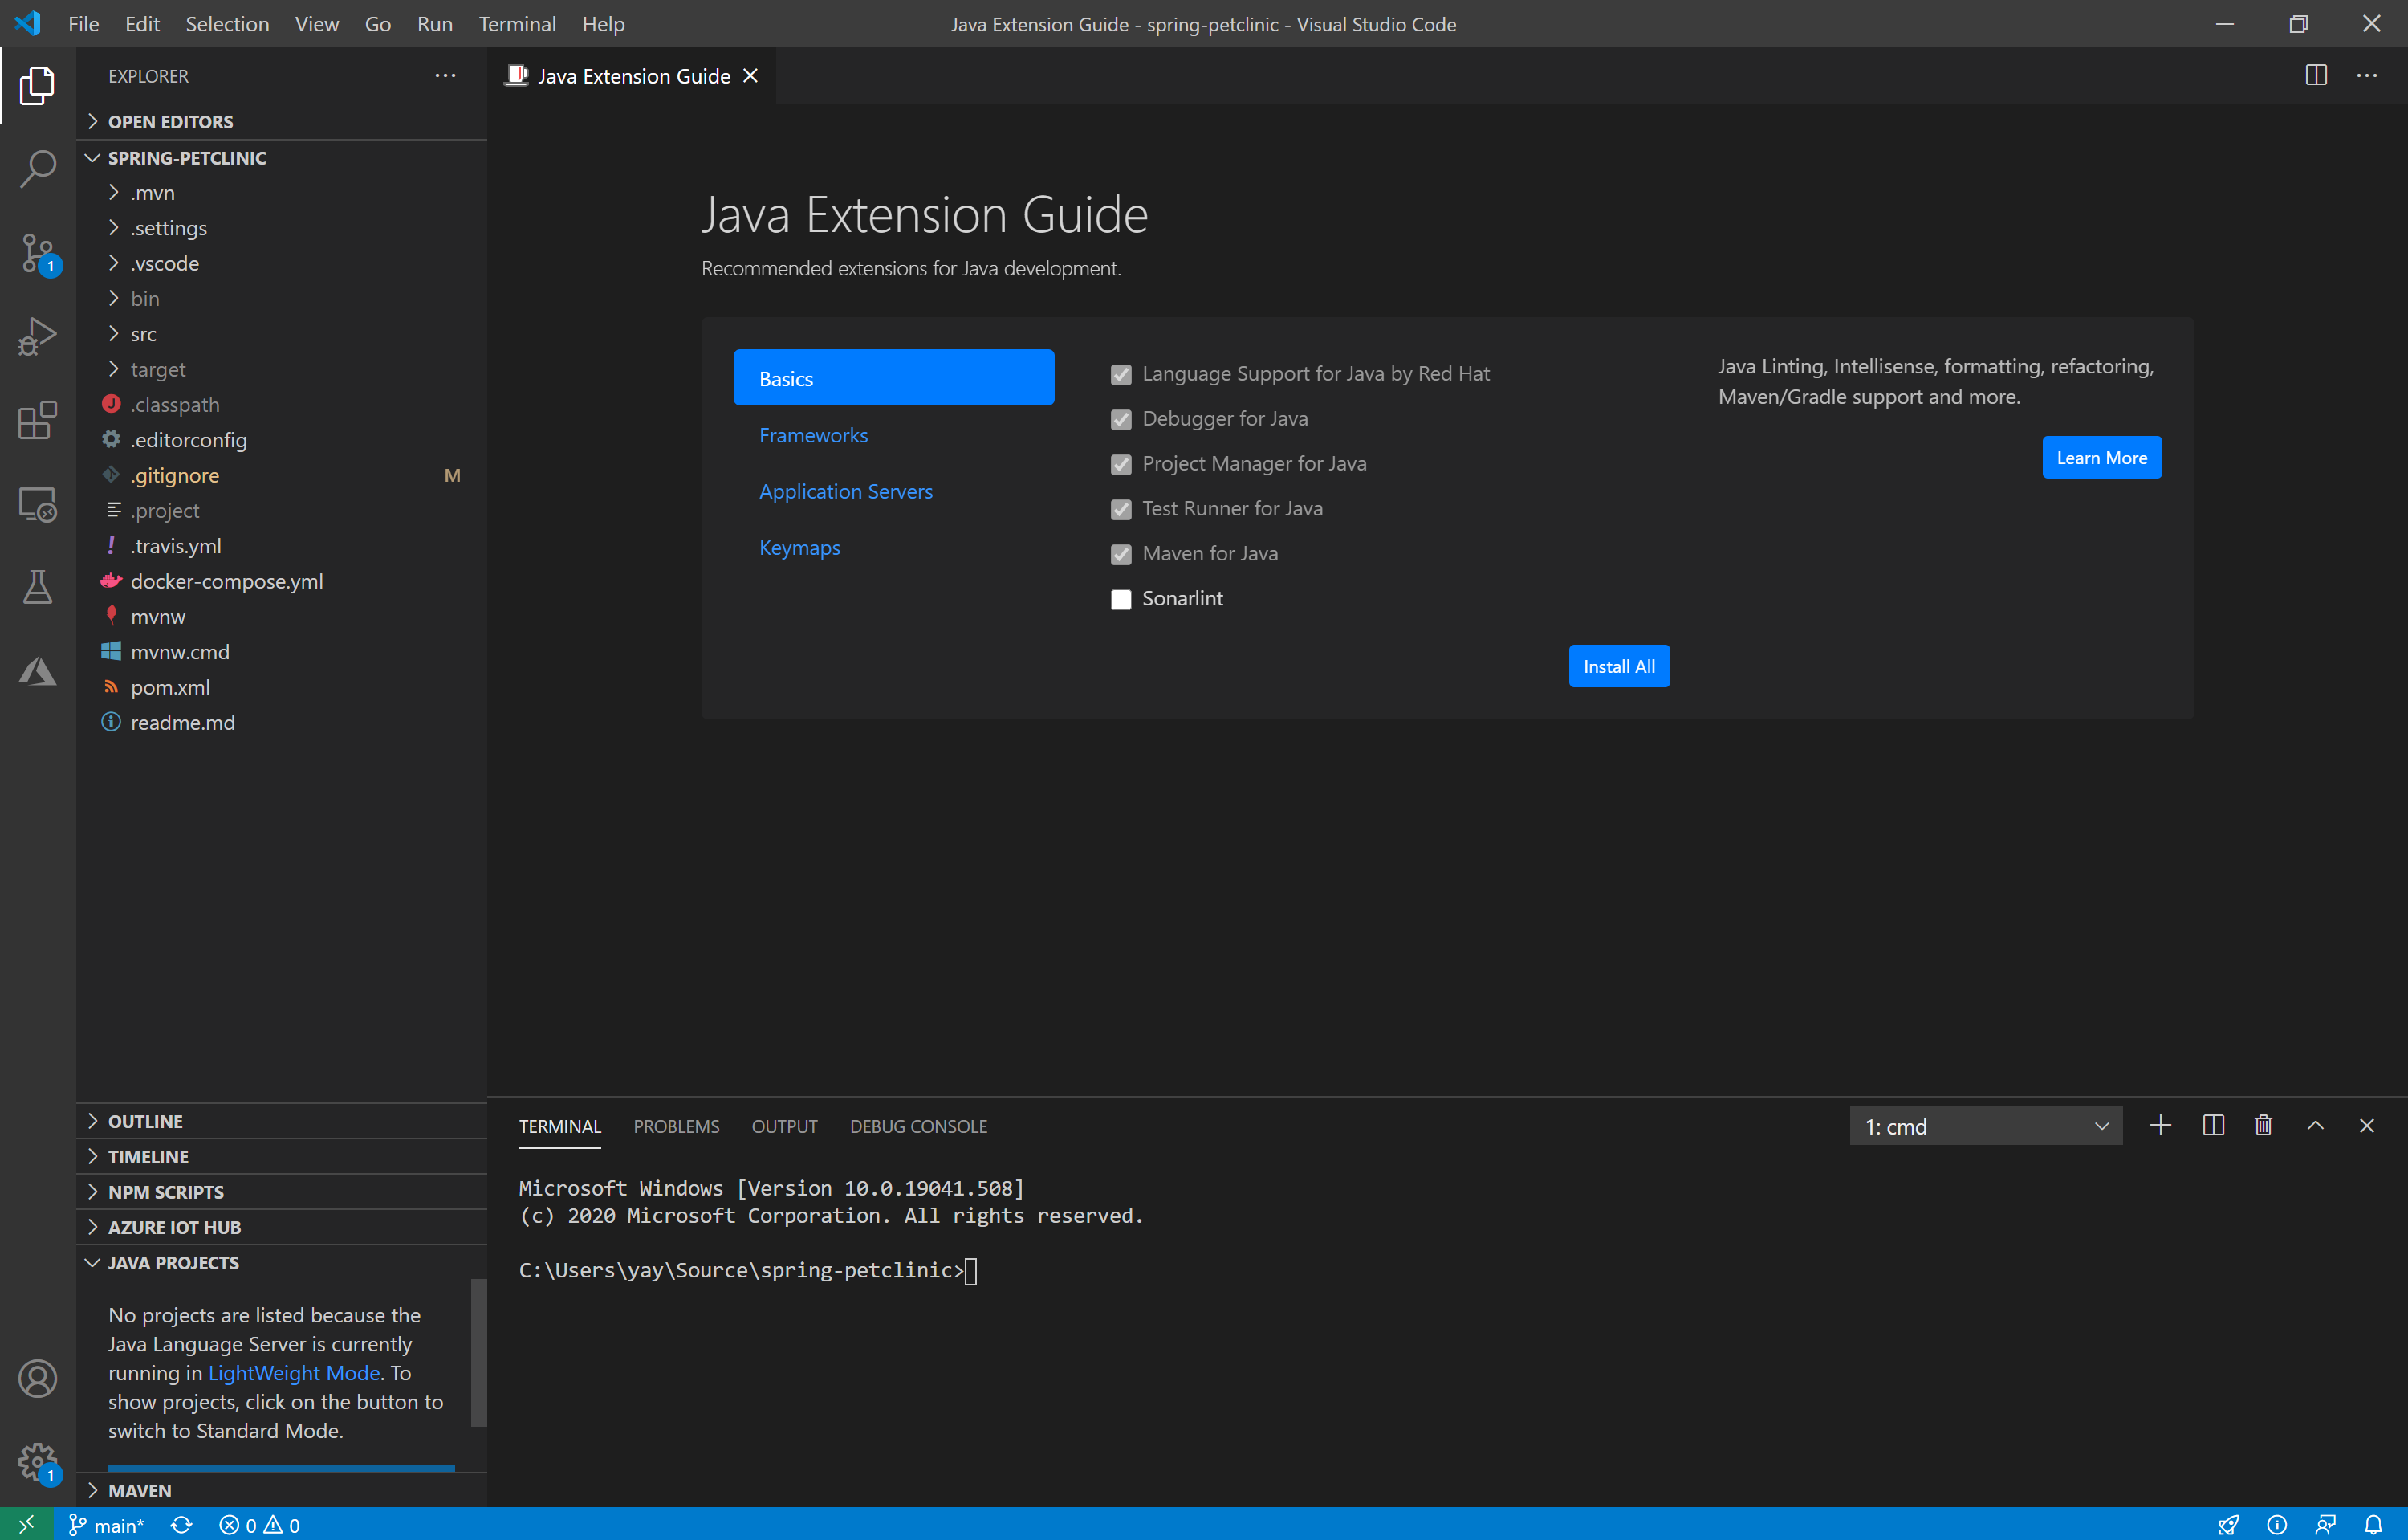
There are wide variety of extensions for VS Code. If you want to quickly extend your environment beyond Extension Pack, such as adding more framework support, application server support, or utility functions, best practice #5: leveraging Extension Guide. The guide provides you a wizard like experience for recommending and installing extension per your specific needs. You can launch the guide by clicking menu “View->Command Palette…” and then type “Java: Extension Guide” in the palette.
More to know
If you have followed our advices, a clean and properly set environment is already there at your disposal. If not yet, you can always come back to use them to upgrade or repair your environment. Here, we would like to share a couple of additional notes before you dive into your projects.
- Project view helps you view your project and its dependencies and provides entry points for project management tasks. The view is on VS Code’s side bar and named “JAVA PROJECTS”. For details, please refer Project View.
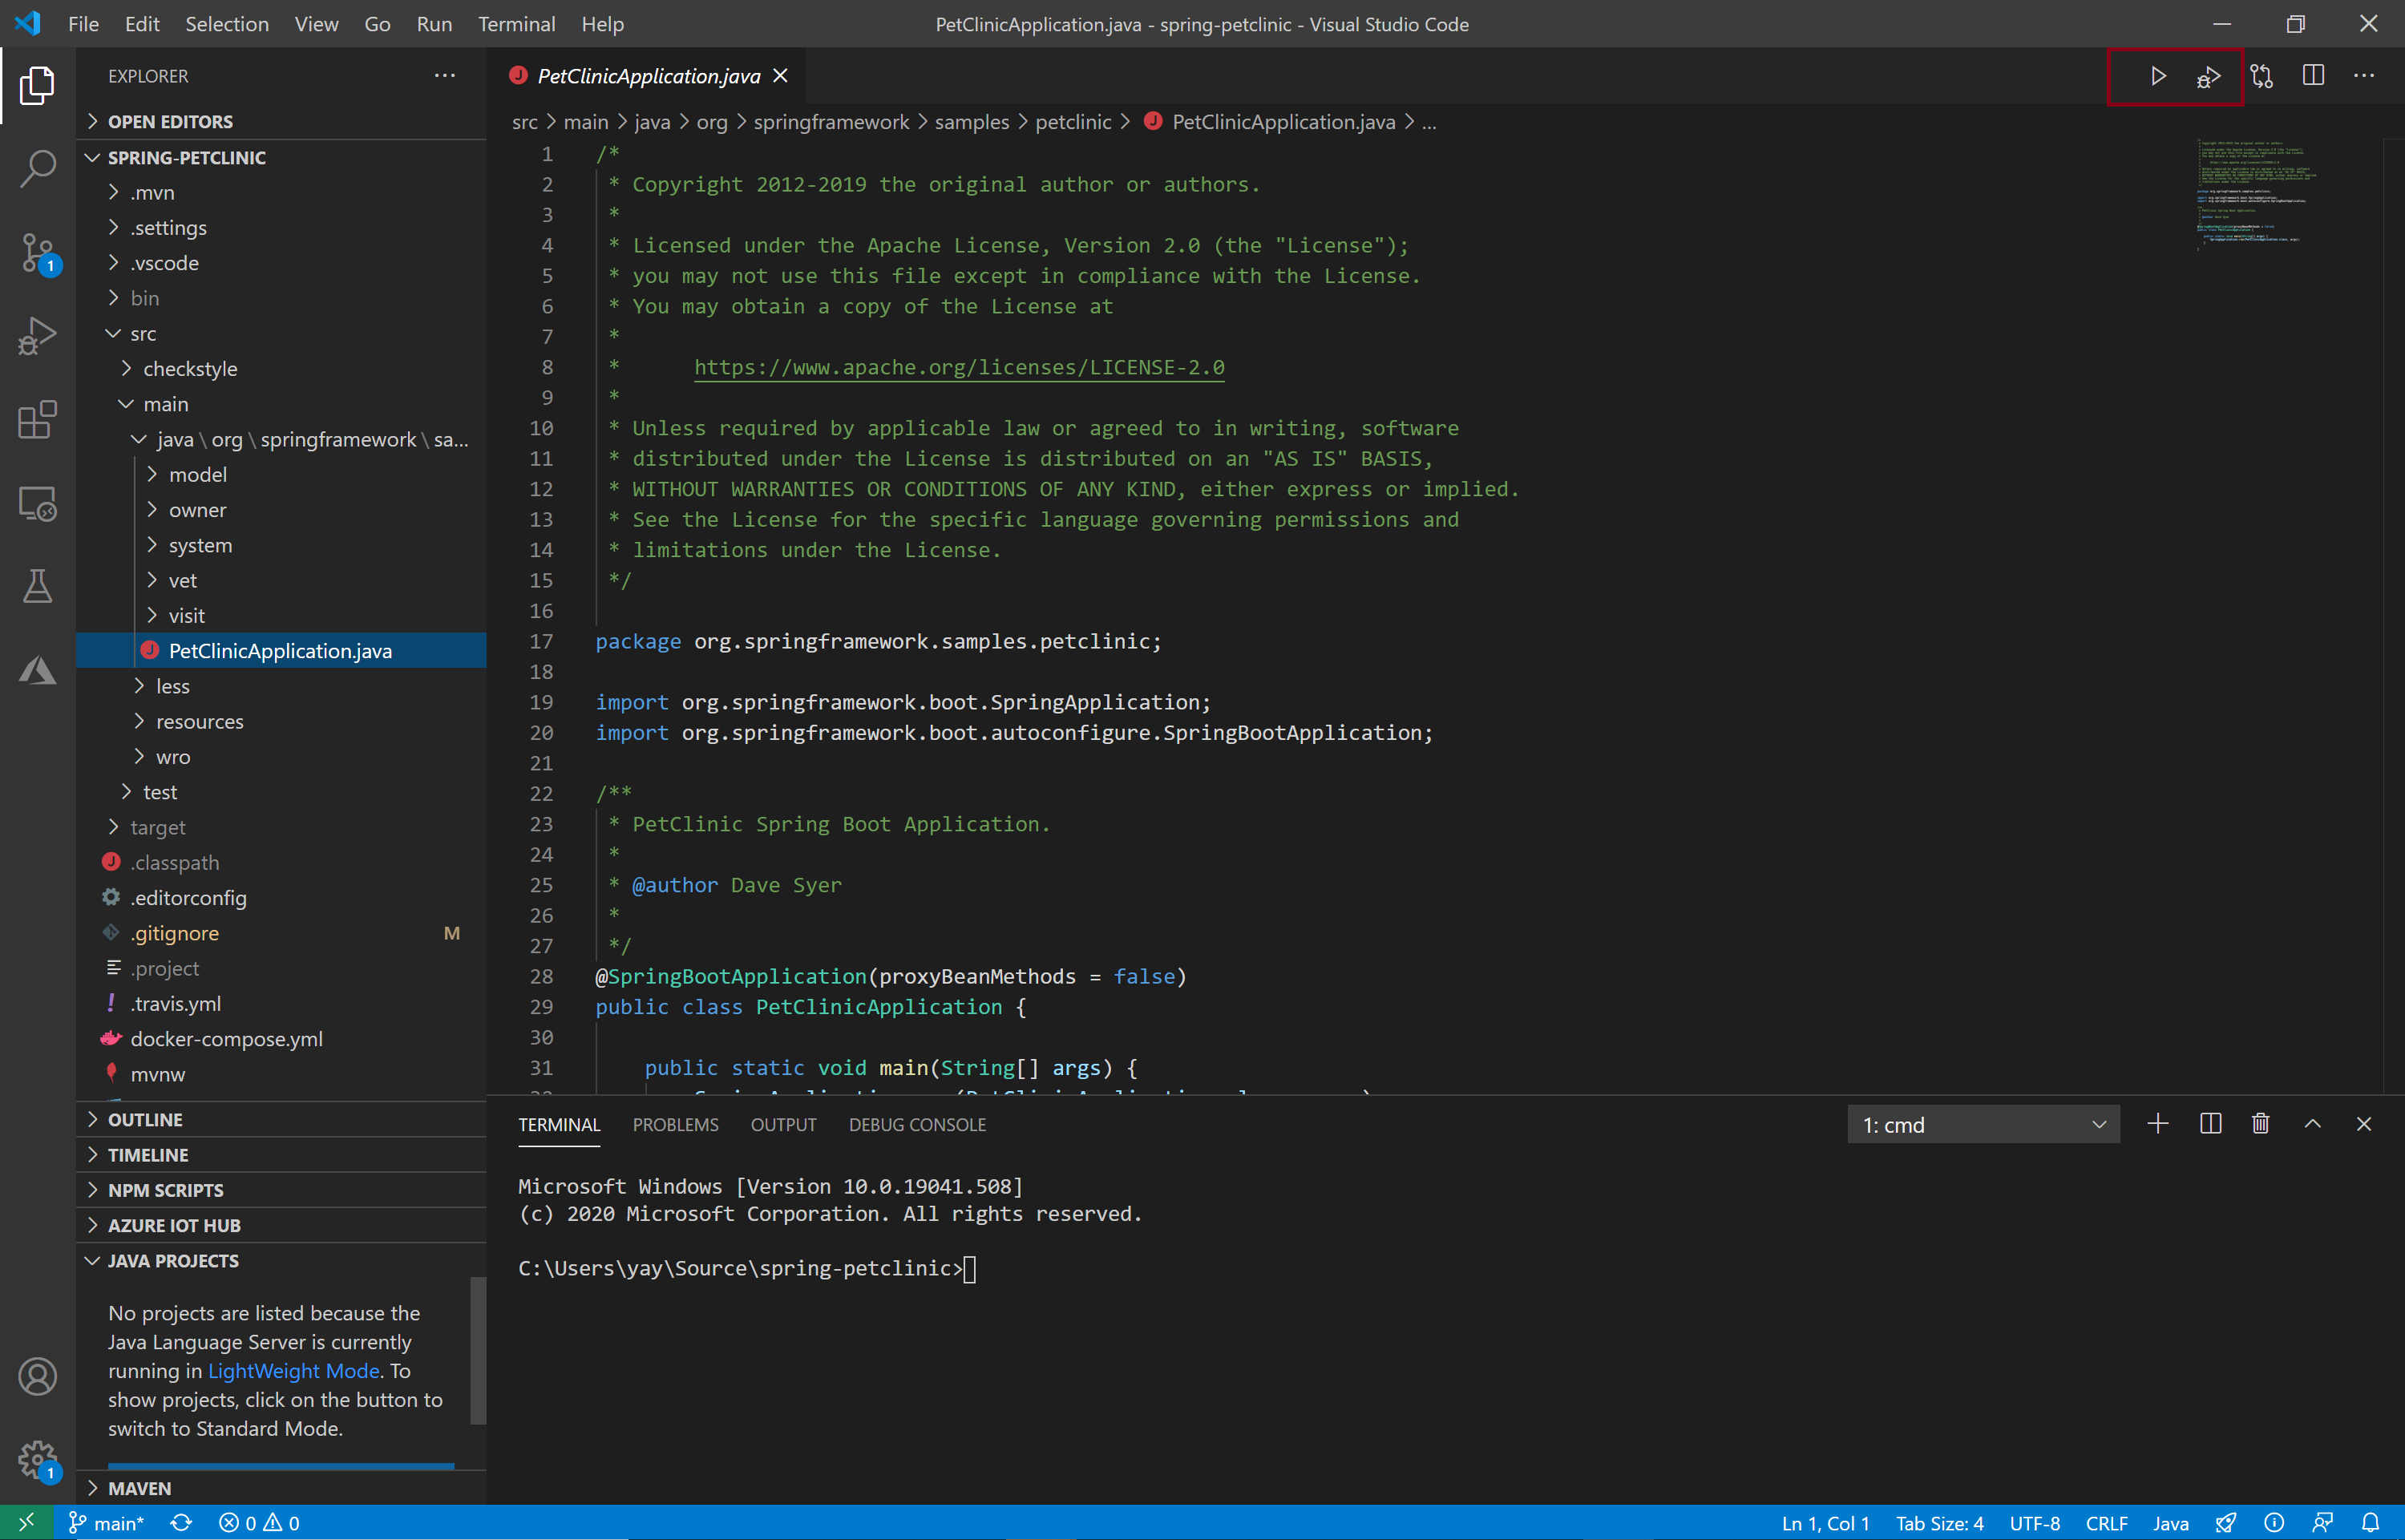
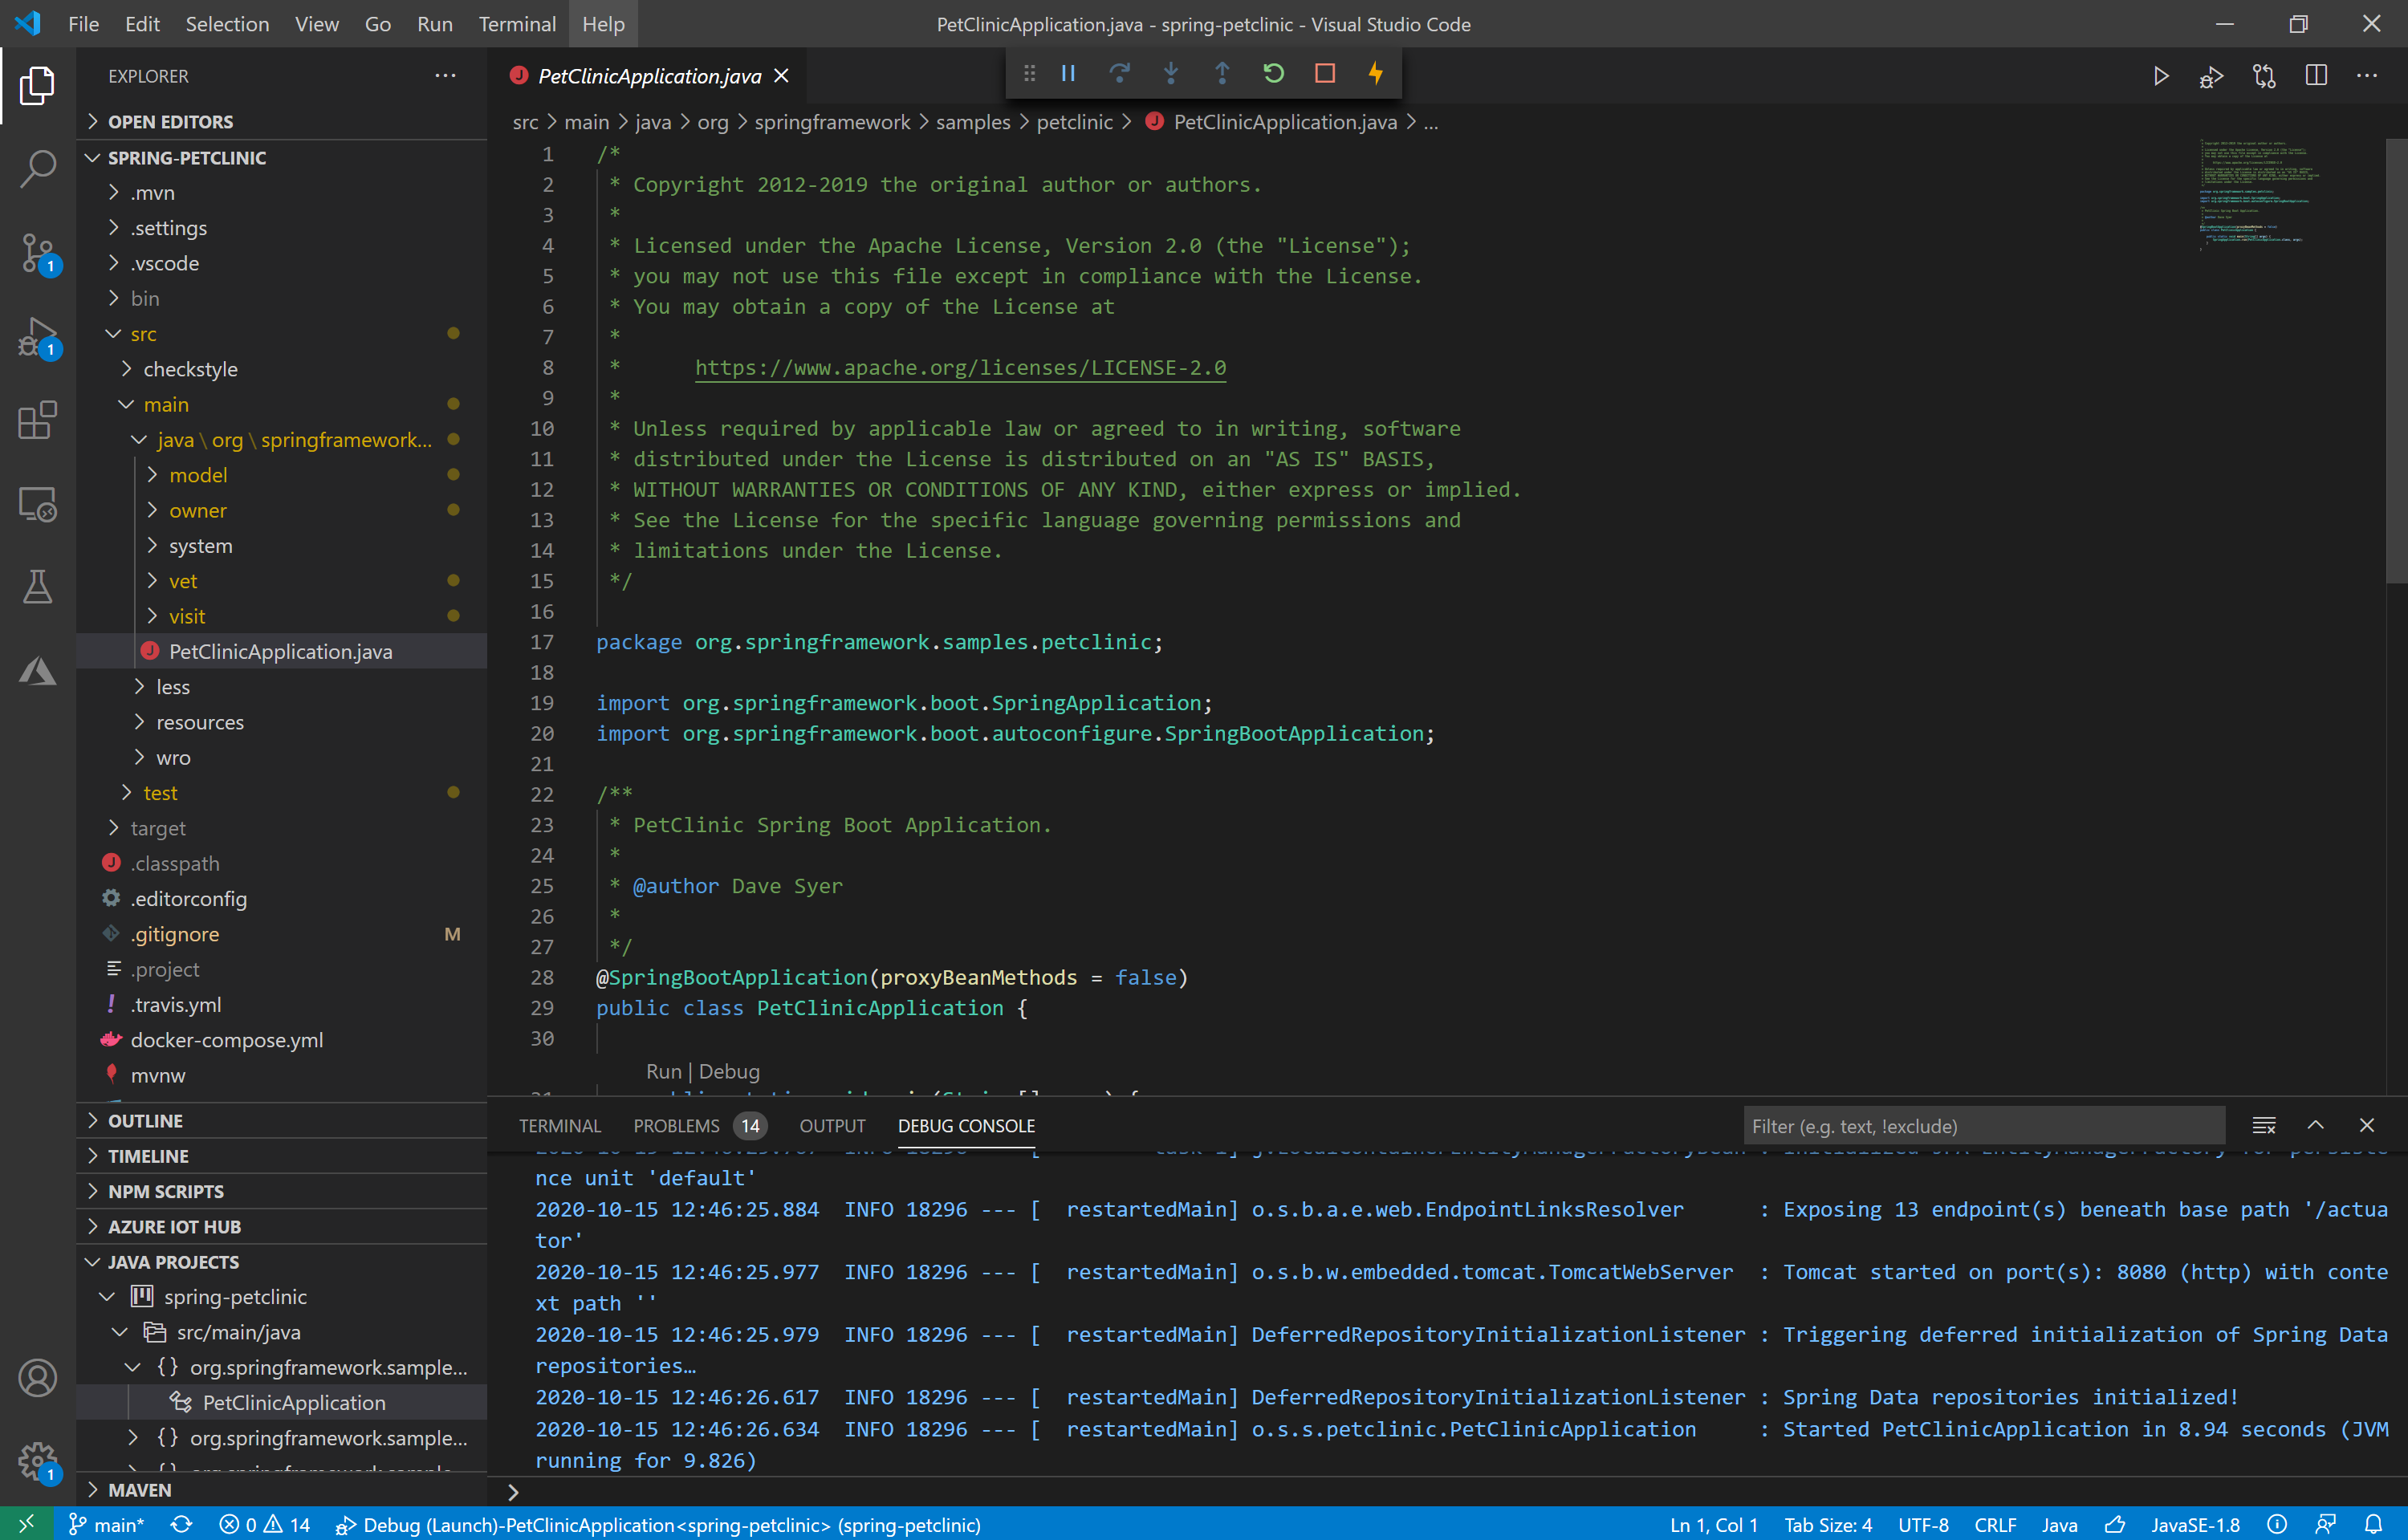
- There are multiple ways to trigger run or debug:1) click menu “Run” and then select “Run Without Debugging” or “Start Debugging”, 2) hit “Ctrl+F5” for run or “F5” for debugging, or 3) open a “.java” file and then click run or debug button on editor view. After kicking off, watch Debug Console for build status.


- VS Code maintains a rich set of documents. For starting Java development, we found these documents are particularly useful: User Interface, Java in VS Code and Getting Started with Java in VS Code.
Try it out
Please don’t hesitate to give it a try! Your feedback and suggestions are very important to us and will help shape our product in future.
- Learn more about Java on Visual Studio Code.
- Explore our step by step Java Tutorials on Visual Studio Code.
0 comments