

What are authentication brokers
One of the interesting developments in the last few years in the field of authentication is the use of authentication brokers. Authentication brokers help make your applications more secure and resilient by enabling developers to:
- Remove the need to handle refresh tokens.
- Simplify the user authentication flow and remove any variability from it.
- Take advantage of more complex authentication features, like Windows Hello, conditional access, and FIDO keys.
If you are a Windows user, you might not have even known that you had an authentication broker pre-installed with your operating system – the Web Account Manager, or WAM for short. WAM has been in Windows since the early Windows 10 days and it handles all connected Microsoft accounts, both personal as well as those associated with work or school. Both for developers and customers, an authentication broker like WAM drastically simplifies how client applications can authenticate users with their Microsoft or organizational accounts, providing a smooth path from app to account and back.
Using the Windows authentication broker
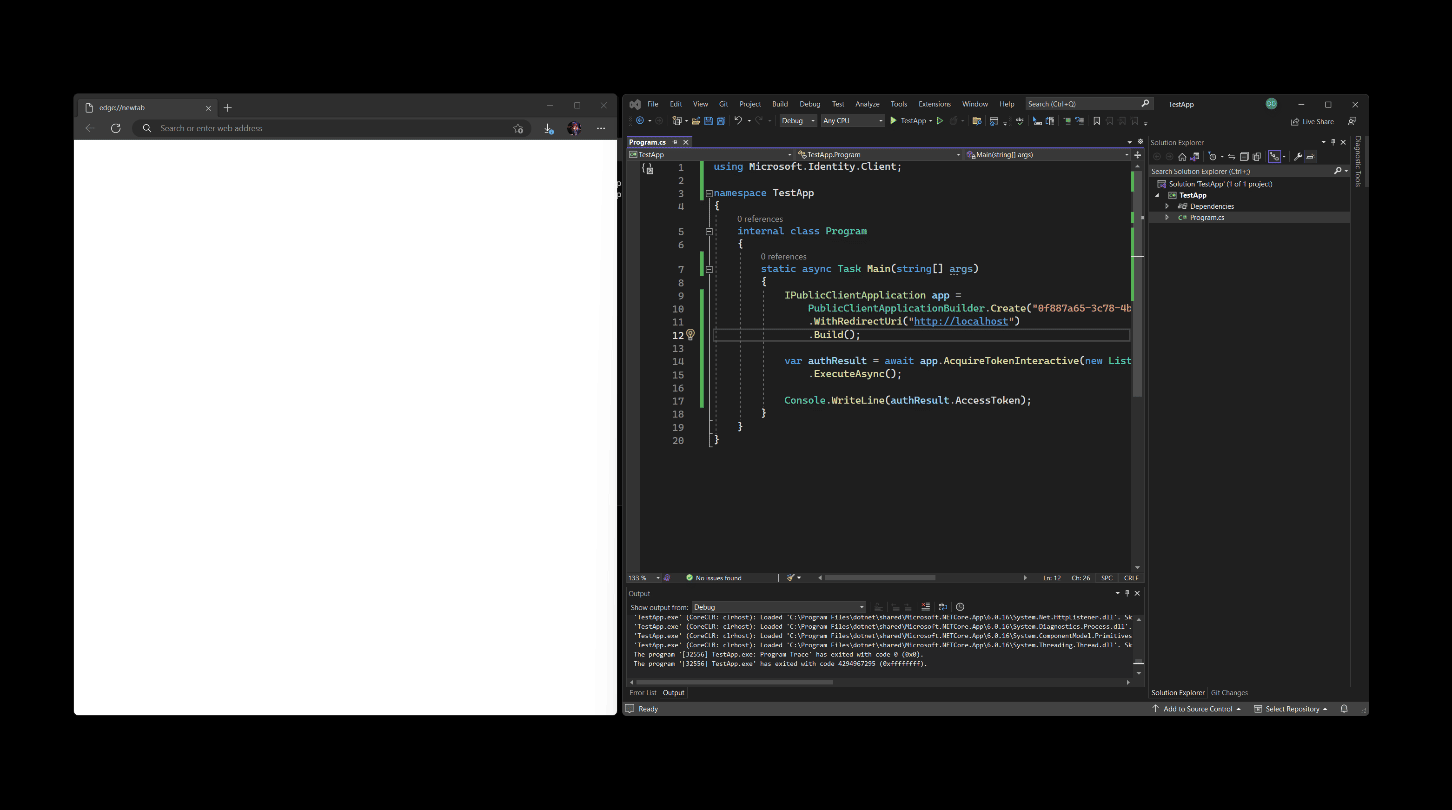
Let’s take a look at a concrete scenario. A developer is building a Windows desktop application that needs to obtain user credentials, such as their personal Microsoft account, to give access to an underlying API. Said developer can use the Microsoft Authentication Library (MSAL) for .NET to try and obtain an access token with a snippet like this:
IPublicClientApplication app =
    PublicClientApplicationBuilder.Create("CLIENT_ID_YOU_HAVE")
    .WithDefaultRedirectUri()
    .Build();

var authResult = await app.AcquireTokenInteractive(new List<string>() { "User.Read" })
    .ExecuteAsync();
Using this approach, the application will open a new browser window where a customer will need to enter their credentials or select one of the cached accounts before returning back to the application itself.
While this does get the job done and does work well across platforms where the presence of an authentication broker cannot be ensured, it might be a bit jarring.
The application users get a disjoint experience where they need to go to the browser to complete something they are doing in a desktop application. Second, the same application user can’t take advantage of the credentials that are stored on the OS in a streamlined manner – if they have Windows Hello set up, they would also have to jump through the browser to get their credentials. The entire experience is somewhat detached from the application so if a user comes back to the browser window later after a distraction happened (e.g., their cat walked into their room and they ran off to close the door), they don’t know who requested the authentication or why – the browser shows an auth prompt, but where did it come from?
With the advent of WAM, the application can now provide that context and give the user the means to easily access existing accounts they’ve already connected to the system, such as their work account, or the account they use to access other Microsoft services. With the help of WAM, the authentication request is instantly contextualized, and it doesn’t take much effort to do it either compared to opening the browser! For example, if we would be to rewrite the earlier snippet to rely on the Windows authentication broker, it would look like this:
BrokerOptions options = new BrokerOptions(BrokerOptions.OperatingSystems.Windows);
options.Title = "My Awesome Application";
options.ListOperatingSystemAccounts = true;

IPublicClientApplication app =
    PublicClientApplicationBuilder.Create("CLIENT_ID_YOU_HAVE")
    .WithDefaultRedirectUri()
    .WithParentActivityOrWindow(GetConsoleOrTerminalWindow)
    .WithBroker(options)
    .Build();

var authResult = await app.AcquireTokenInteractive(new List<string>() { "User.Read" })
    .ExecuteAsync();
First, we are providing some custom broker options with the help of BrokerOptions – the developer can specify whether they want to set a custom title or even whether we want to show existing accounts connected to Windows. Then, we are using the almost exactly same code as we did for the browser-based authentication, with an updated call – .WithBroker(options) together with .WithParentActivityOrWindow(handle) that obtains the parent window handle.
An important note to add here is that because we’re working within the Windows environment, we are also constrained by some of its requirements. One of these requirements is the need to provide a window handle for the broker to “bind” to, hence the call to .WithParentActivityOrWindow. Without it, the broker window would pop up on any connected monitor, in front or behind existing windows – there is too much variability to guess, so we decided to make it a requirement to provide one before calling the API. In the example above, GetConsoleOrTerminalWindow is a function that we’ve documented in the MSAL.NET WAM guide, which obtains the handle to the console Window, and then ensures that the broker is using it.
With the code change, the authnentication experience now looks like this:

Much smoother! Not only is the customer not forced to switch context into the browser, but notice there is also context attached to the prompt – the user instantly knows what application is requesting credentials with the help of the customizable title. Even if the hypothetical cat busts inside the user’s office and they run off to close the door, they can come back and instantly see who requested the credentials.
Because MSAL is a library that is available across platforms and languages, the WAM functionality can also be accessed through other library versions, such as MSAL for Python. The code to talk to the broker would look like this:
from msal import PublicClientApplication

app = PublicClientApplication(
    "CLIENT_ID_YOU_HAVE",
    authority="https://login.microsoftonline.com/common",
    allow_broker=True)

result = None
result = app.acquire_token_interactive(["User.ReadBasic.All"], parent_window_handle=app.CONSOLE_WINDOW_HANDLE)
The snippet above uses the msal[broker] package (which depends on pymsalruntime package) to provide the connection to WAM. When creating an instance of PublicClientApplication, all a developer needs to indicate that they want to use the broker is adding the allow_broker=True argument. MSAL will then attempt to use WAM if available. When calling acquire_token_interactive, the handle to the active window needs to be passed through parent_window_handle. Our team has made it easy to grab the active console window handle through app.CONSOLE_WINDOW_HANDLE, so if you are building a console-based application, that should be enough to use without adding any extra dependencies.
Running our simple Python application would yield this result:
As you can see, using the built-in Windows authentication broker makes it easier for customers to connect applications to accounts that are already integrated with Windows as well as new accounts that can be automatically connected to the system. Using WAM, customers don’t need to worry about re-entering their credentials over and over and instead rely on a native and familiar user experience.
Additional resources
To learn more about the integration between the Microsoft Authentication Library and the Web Account Manager in Windows, refer to the MSAL.NET library documentation. We are currently working on making documentation for other MSAL versions available on Microsoft Learn, so stay tuned for WAM guidance for other languages as well!
For questions around the usage of the library, refer to Stack Overflow.
Feedback
If you would like to share any thoughts or ideas to improve the Microsoft Authentication Library, we’re always looking for input through the library-specific repositories on GitHub.
0 comments