Today marks the release of Xamarin.Forms 4.8. With a collection of features and quality improvements, Xamarin.Forms will give you even more opportunities to build colorful, interactive cross-platform applications. Let us take a dive into all of the new features coming to you in Xamarin.Forms!
Gradients and Brushes
Xamarin.Forms is releasing experimental support for Gradients and Brushes. Brush allows you to “paint” an area of your application with the brushes output, and different brushes have different types of output. There are three types of brushes: Solid Colors, Linear Gradients, and Radial Gradients.
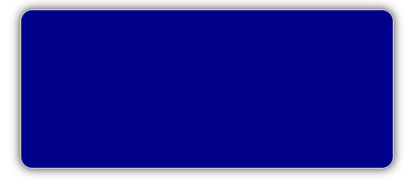
Solid color brush allows you to paint an area with a solid color. Below, see an example of the XAML code used to create a solid gradient:
<Frame Background="DarkBlue"
       BorderColor="LightGray"
       HasShadow="True"
       CornerRadius="12"
       HeightRequest="120"
       WidthRequest="120"/>
The above XAML creates the corresponding solid gradient, seen below:

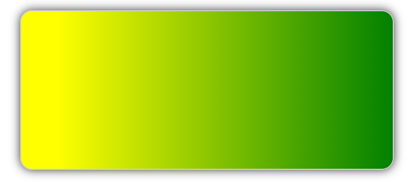
Linear gradient brush allows you to blend two (or more) colors together into a beautiful gradient. Decide where the gradient starts using the StartPoint property and the EndPoint property. Furthermore, these properties can be the targets of data bindings! Below, find an example of the XAML code used to create a linear gradient:
<Frame BorderColor="LightGray"
       HasShadow="True"
       CornerRadius="12"
       HeightRequest="120"
       WidthRequest="120">
    <Frame.Background>
        <LinearGradientBrush StartPoint="0,0"
                             EndPoint="1,0">
            <GradientStop Color="Yellow"
                          Offset="0.1"/>
            <GradientStop Color="Green"
                          Offset="1.0"/>
        </LinearGradientBrush>
    </Frame.Background>
</Frame>
This XAML creates the corresponding linear gradient, seen below:

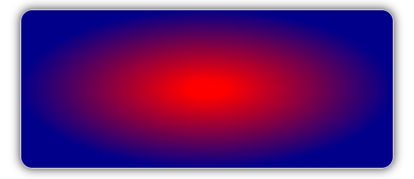
Radial gradient paints the designated area with a radial gradient. Which allows the blending of two or more colors across a circle. You can also decide the center of the gradient using the Center property. As well as the radius of the gradient using the Radius property. Just like the linear gradient brush, the properties of the radial gradient brush are also bindable! Here is an example of the XAML code used to create a radial gradient:
<Frame BorderColor="LightGray"
       HasShadow="True"
       CornerRadius="12"
       HeightRequest="120"
       WidthRequest="120">
    <Frame.Background>
        <RadialGradientBrush Center="0.5,0.5"
                             Radius="0.5">
            <GradientStop Color="Red"
                          Offset="0.1"/>
            <GradientStop Color="DarkBlue"
                          Offset="1.0"/>
        </RadialGradientBrush>
    </Frame.Background>
</Frame>
The above XAML creates the corresponding radial gradient, seen below:

Brushes and gradients allow your full creative abilities to be released through Xamarin.Forms! For more information, take a look at the brushes and gradients docs here.
Drag & Drop
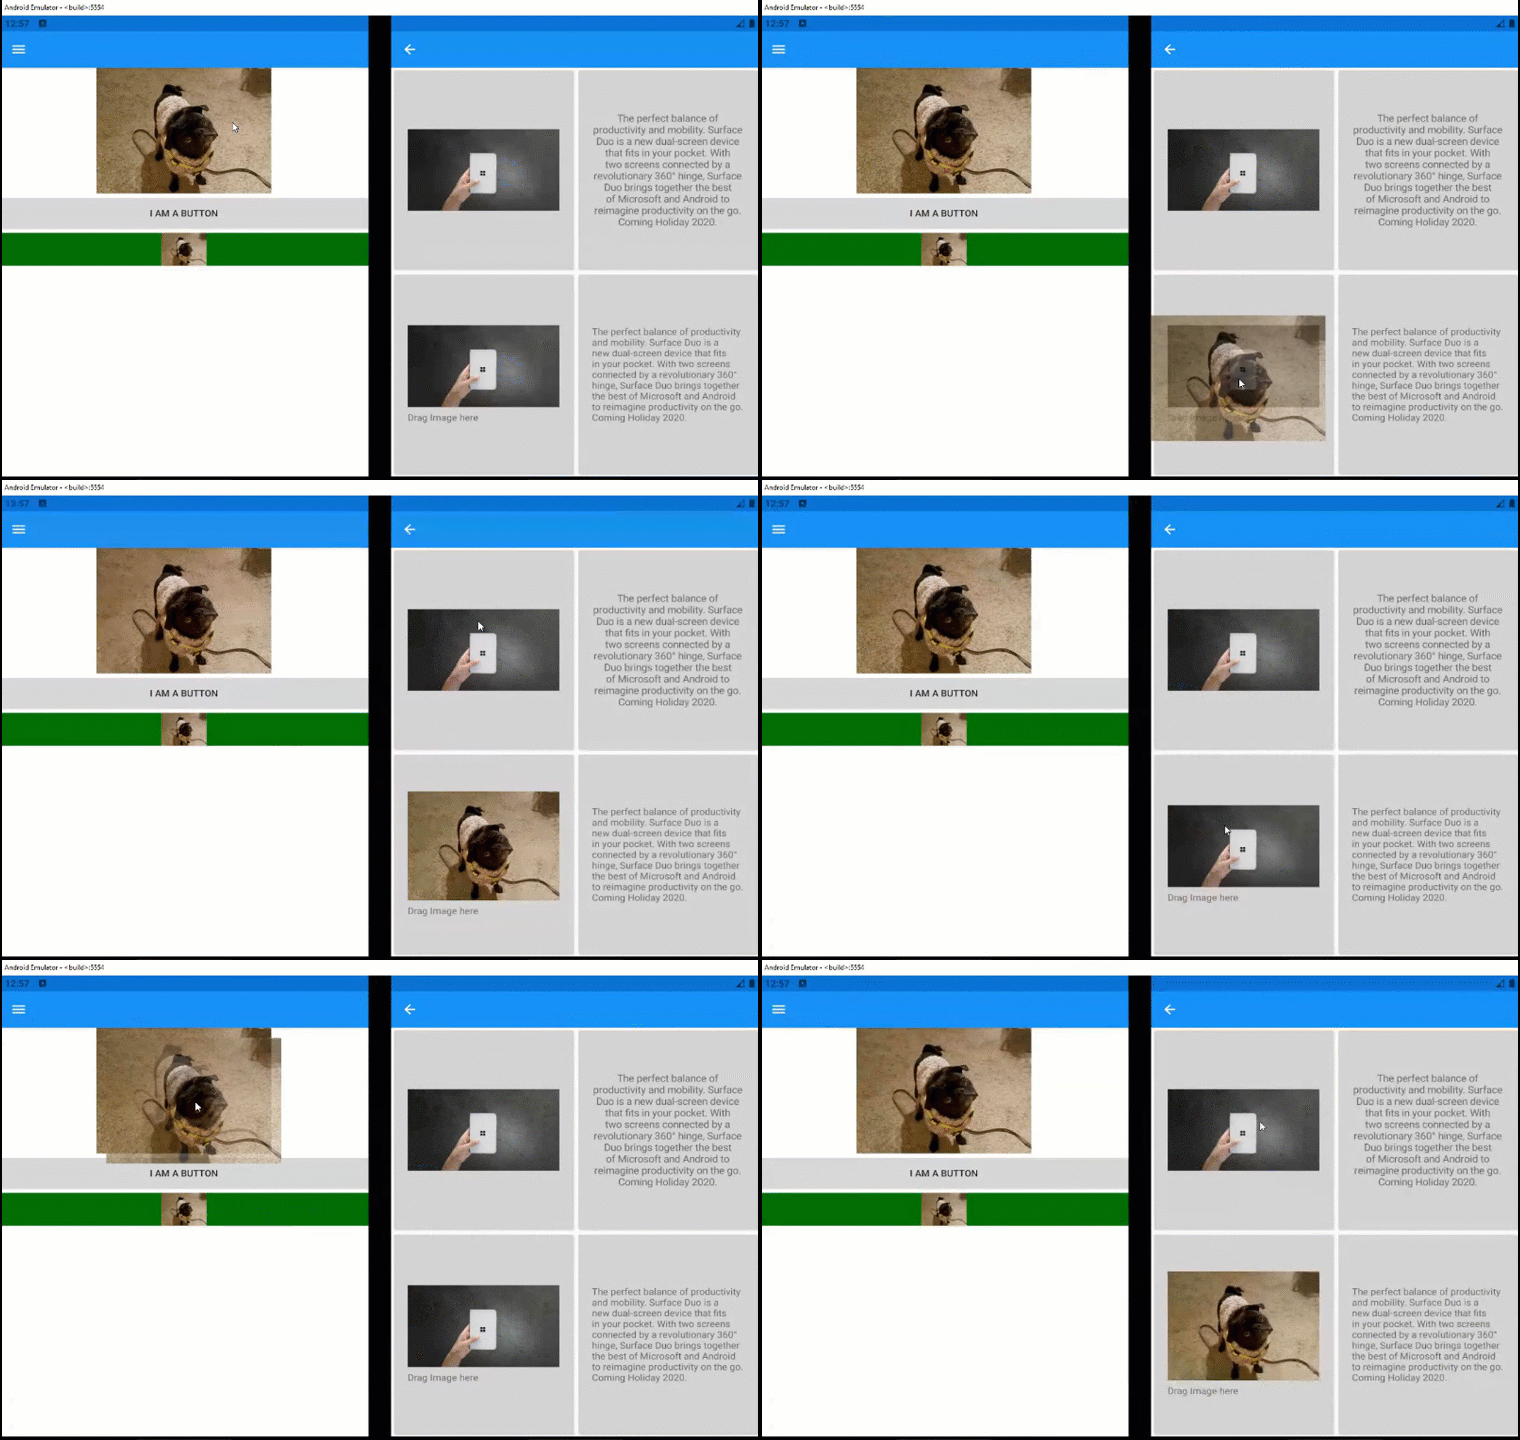
Now, drag and drop items in your applications with Xamarin.Forms 4.8! By using drag and drop, move an item from one location to another in the application, or even to a different application!

There are a few steps to go through when enabling drag and drop in an application:
1. Add a DragGestureRecognizer object to its GestureRecognizers collection.
2. Build a data package. For image and text controls, Xamarin.Forms automatically will make the data package for you! For other content you will need to construct your own data package.
3. Enable drop on an item by adding a DropGestureRecognizer object to its GestureRecognizers collection. Then setting the DropGestureRecognizer.AllowDrop property to True.
4. If needed, set the DropGestureRecognizer.DragOver event to indicate the type of operation that should be performed.
5. If needed, process the data package to receive the dropped content. Xamarin.Forms automatically processes the data package for images and text. However, for other content you will need to process the data package yourself.
Drag & drop is a great new gesture implemented in Xamarin.Forms to give you even more ways to interact with your application! Please note that this is shipping experimentally and you must enable the DragAndDrop_Experimental flag. For more information about Drag & drop, see the docs here!
Flyout Backdrop Color
The introduction of the flyout backdrop color makes the shell is even more customizable! Changing the the flyout backdrop color changes the color of the overlay that covers the page of your application when opening the flyout backdrop.
This new feature works by using another new feature. In order to set the flyout backdrop color, set the Shell.FlyoutBackdrop property to a Brush.
One amazing part of this feature is that it actually works with another new features: brushes & gradients! Once enabling the brushes feature, define a solid, gradient, or radial brush. Then assign it to the Shell.FlyoutBackdrop property. An example of the XAML that defines and assigns the brush to the flyout is displayed below:
<Shell ...>
    <FlyoutItem ...>
      <Shell.FlyoutBackdrop>
          <LinearGradientBrush StartPoint="0,0"
                               EndPoint="1,1">
              <GradientStop Color="#8A2387"
                            Offset="0.1" />
              <GradientStop Color="#E94057"
                            Offset="0.6" />
              <GradientStop Color="#F27121"
                            Offset="1.0" />
          </LinearGradientBrush>
      </Shell.FlyoutBackdrop>
      ...
    </FlyoutItem>
    ...
</Shell>
By combining brushes and the flyout backdrop, you now have more control over the design of your flyouts! To learn more, look at the flyout docs.
Featured Contributor
Xamarin.Forms has dozens of contributors constantly working to ensure a great experience. The Xamarin team wants to highlight individuals in our community who have constantly contributed to the success of Xamarin.Forms. Today we are highlighting Pedro!

|
What is your name? Pedro Henrique de Souza Jesus Where are you based? How long have you been using Xamarin.Forms? What was the first application you developed? What is your favorite NuGet package? |
Get Started Today
Update your projects from your favorite NuGet package manager today! Take advantage of the latest release. Share your projects and progress with us online.
We love your feedback on Xamarin Forms. Please open issues on GitHub for any additional enhancements or issues to discuss. For more information on this release check the resources below.

I found this helpful as well: https://docs.microsoft.com/en-us/xamarin/xamarin-forms/internals/experimental-flags
Hey,
thanks for the Infos.
Could you please advise if I need something in the XAML-Namespace?
THX
Could you mention which of the 4.7 experimental features (that require enabling a flag to use them) are not experimental anymore in 4.8?