
WebSocket is a two-way communication protocol, or persistence communication channel over TCP connection, an extremely powerful protocol leveraged by numerous games, apps with chat functionality, and real-time apps such as stock tickers.
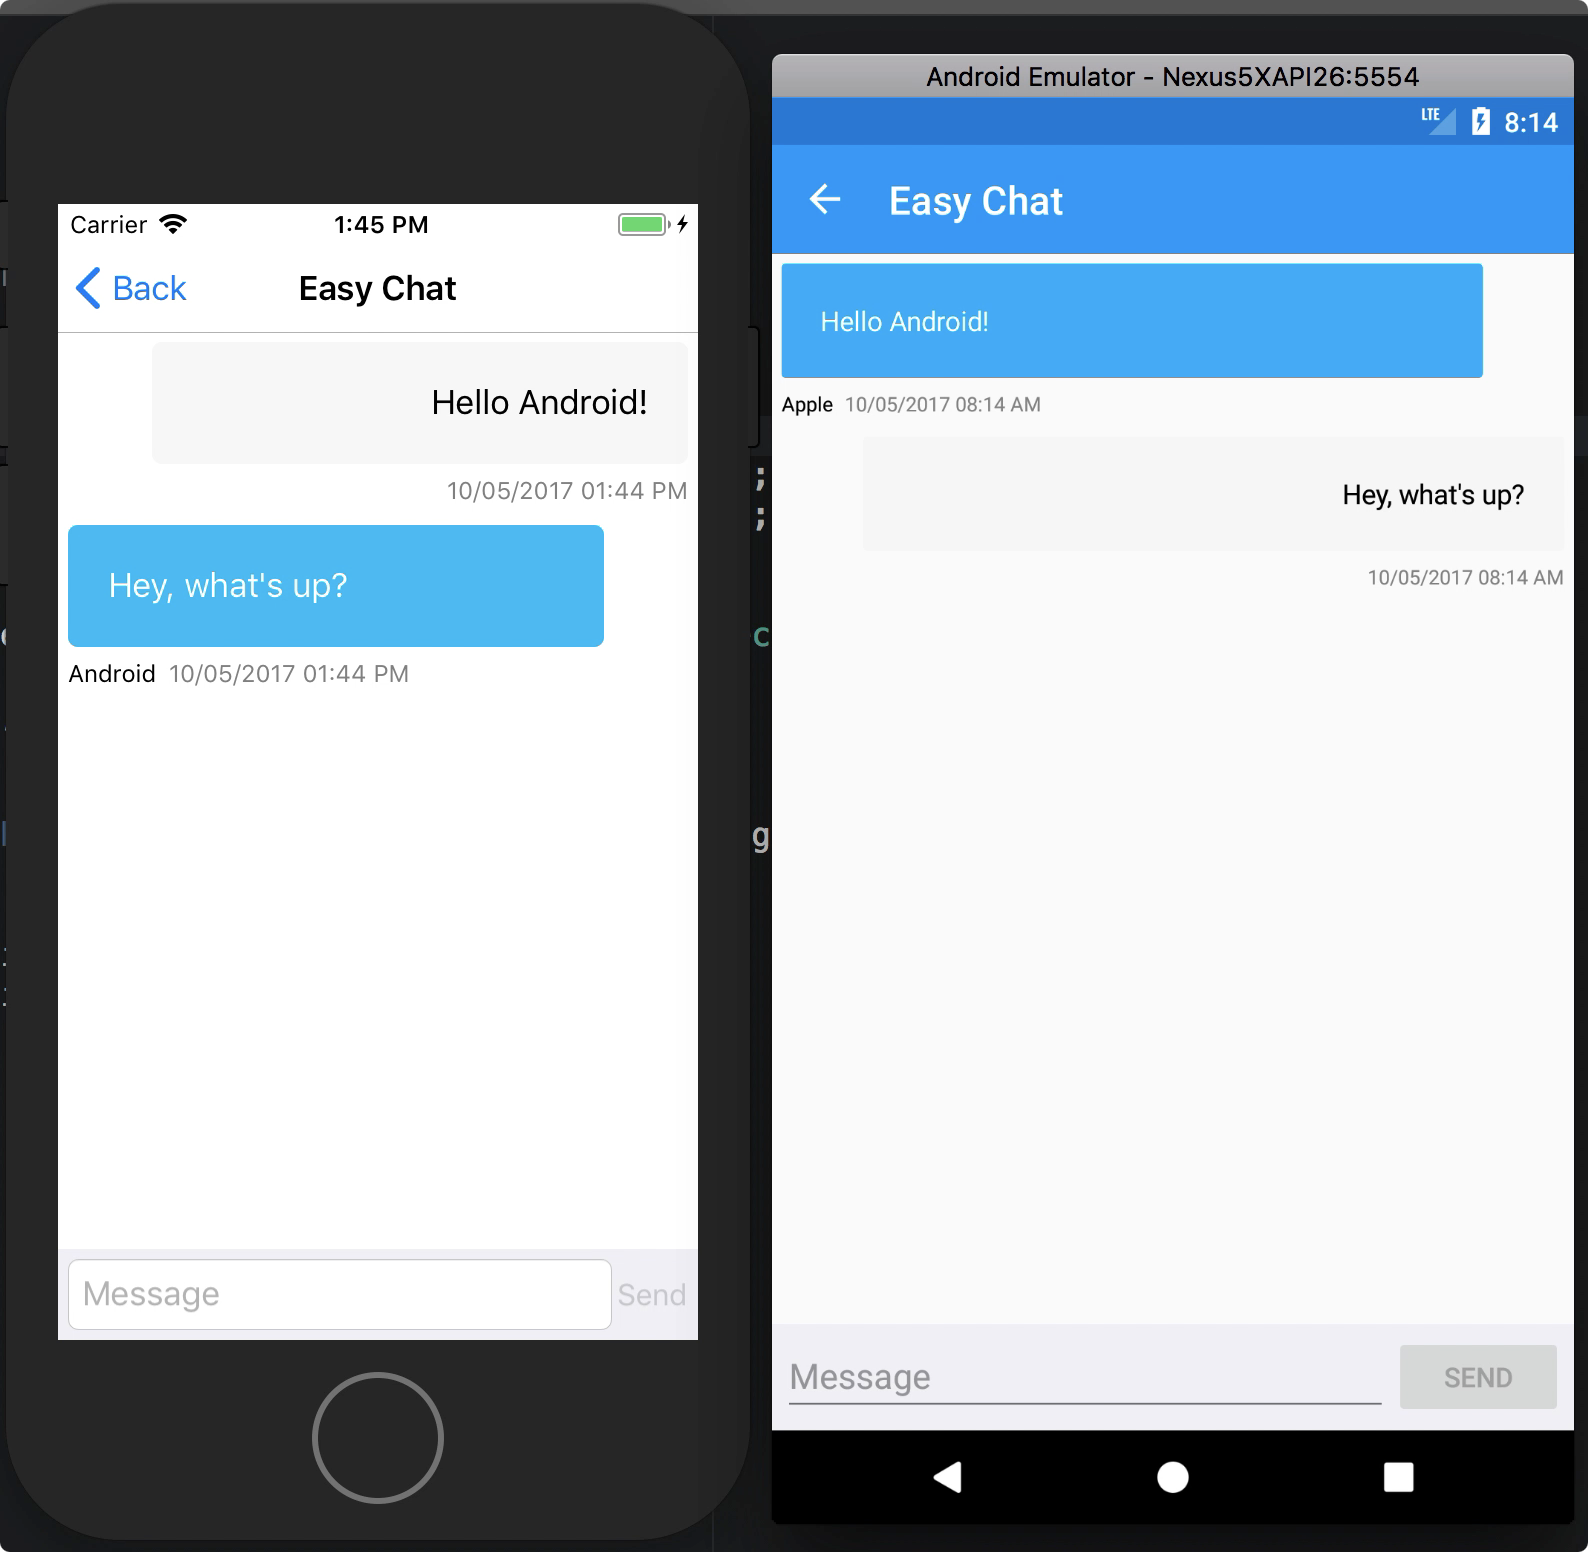
In this blog post, we’ll discuss how to build a simple Xamarin chat room application that will leverage and connect to an ASP.NET Core WebSocket service.
Getting Started with WebSocket
- Download the server source code from GitHub here.
- Install dotnet core 2.0 on your machine to run the server. Find the instructions here.
- Run
dotnet runin the terminal once you’re in the source directory. - Visit http://locahosthost:5000 or http://(IP/Hostname):5000, and make sure you see Easy chat service message on the web page.
Building the Mobile Client
Let’s start with creating a blank Xamarin.Forms app leveraging a shared project (a .NET Standard library could also be used) and call it EasyChat. We’ll use the System.Net.WebSockets.Client NuGet package in our mobile apps to communicate with the server.
Once the project is created, we can use the MainPage.xaml as a simple sign in page from which we’ll navigate to the chat room.
Next, we can add a new page for the chat room, ChatPage.xaml, and a very simple View Model called ChatPageViewModel.cs to handle WebSocket’s client-side code. Here in this view model, we have code to connect to the server and send and receive messages.
Connecting to a Socket
Using the System.Net.WebSockets.ClietWebSocket object to establish the connection, this object will be used subsequently to communicate with the server
var client = new ClientWebSocket();
...
async void ConnectToServerAsync()
{
    await client.ConnectAsync(new Uri("ws://10.0.2.2:5000"), cts.Token);
    UpdateClientState();

    await Task.Factory.StartNew(async () =>
    {
        while (true)
        {
            await ReadMessage();
        }
    }, cts.Token, TaskCreationOptions.LongRunning, TaskScheduler.Default);
}
Notice I’m using the IP address 10.0.2.2 to connect to the server with the ConnectAsync method. This is the default host IP on the Android emulator, and we cannot use localhost or the default localhost IP.
iOS simulator running on Mac does allow us to use localhost, but when running on an iOS/Android device we must use hostname/IP address.
Reading Messages
Once a connection is open with the server, we can start monitoring for the incoming messages using the ReceiveAsync method. In this scenario, the messages are UTF8 encoded byte array; when we receive the message we have to convert bytes into readable string and ignore anything that is not text
async Task ReadMessage()
{
    WebSocketReceiveResult result;
    var message = new ArraySegment(new byte[4096]);
    do
    {
        result = await client.ReceiveAsync(message, cts.Token);
        if (result.MessageType != WebSocketMessageType.Text)
            break;
        var messageBytes = message.Skip(message.Offset).Take(result.Count).ToArray();
        string receivedMessage = Encoding.UTF8.GetString(messageBytes);
        Console.WriteLine("Received: {0}", receivedMessage);
    }
    while (!result.EndOfMessage);
}
Sending Messages
To send a message, we first need to convert the text to a byte array (using UTF8 encoding) and call the SendAsync method. Additionally, SendAsync requires parameters to identify the message type, and if it is the end of the message.
async void SendMessageAsync(string message)
{
    if (!CanSendMessage(message))
        return;

    var byteMessage = Encoding.UTF8.GetBytes(message);
    var segmnet = new ArraySegment(byteMessage);

    await client.SendAsync(segmnet, WebSocketMessageType.Text, true, cts.Token);
}
Wrapping Up
In this post, we reviewed the necessary code to connect, receive, and send messages in real-time using Web Socket in Xamarin apps. You can explore more about the available APIs on MSDN and download the completed sample Xamarin.Forms application on GitHub.
Hello Guys
I have checked the sample and its really good one, for real time chating and nice way to handle chat. But i have a quey, which is that
what we do, if application is used by multiple users and want to chat specific two users, then how will handle this case?
Thanks in advance