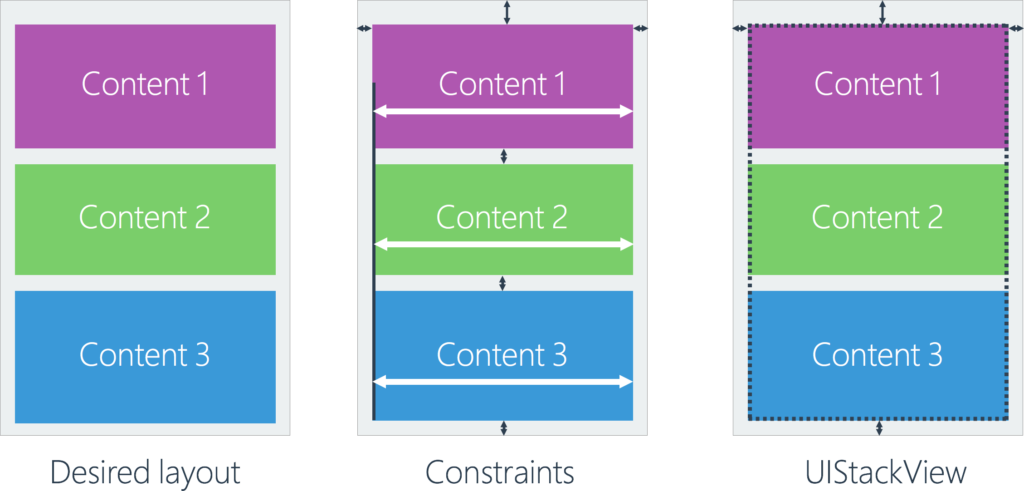
Laying out views on iOS has traditionally been very difficult. Before the birth of the iPad and different iPhone form-factors, developers would often hardcode view positions, but this is no longer a viable approach as the device landscape has broadened. To solve this, Apple introduced AutoLayout, which can dynamically adjust your user interface depending on device form factor by using a constraints-based layout system. AutoLayout solved many issues, but is difficult to learn, fragile to changes, and can be extremely time consuming to get right. One of the more frustrating aspects of this approach is that if I wish to add a control between different parts of my content, I’ll need to break a number of existing constraints and rebuild the layout almost from scratch to ensure it works perfectly.
What if we could layout views in a dynamic manner that was also extremely easy? One of my favorite additions to iOS 9 is a brand new control named UIStackView to help streamline the process of laying out interface elements. This new control is unlike any existing controls we’ve used before with iOS. In this blog post, I’m going to detail how you can get started building dynamic, beautiful UIs with UIStackView today.
Introducing UIStackView
Apple has taken note of the pain of AutoLayout and has provided a new tool that aims to make our lives easier. UIStackView eliminates the pain of inner constraints by handling the creation of the the constraints at runtime based on the simple properties you’ve set. This means we can drag and drop new controls into a UIStackView and have the correct constraints automatically set for us. It even allows for adding and removing views at runtime (you’d set it to be hidden).
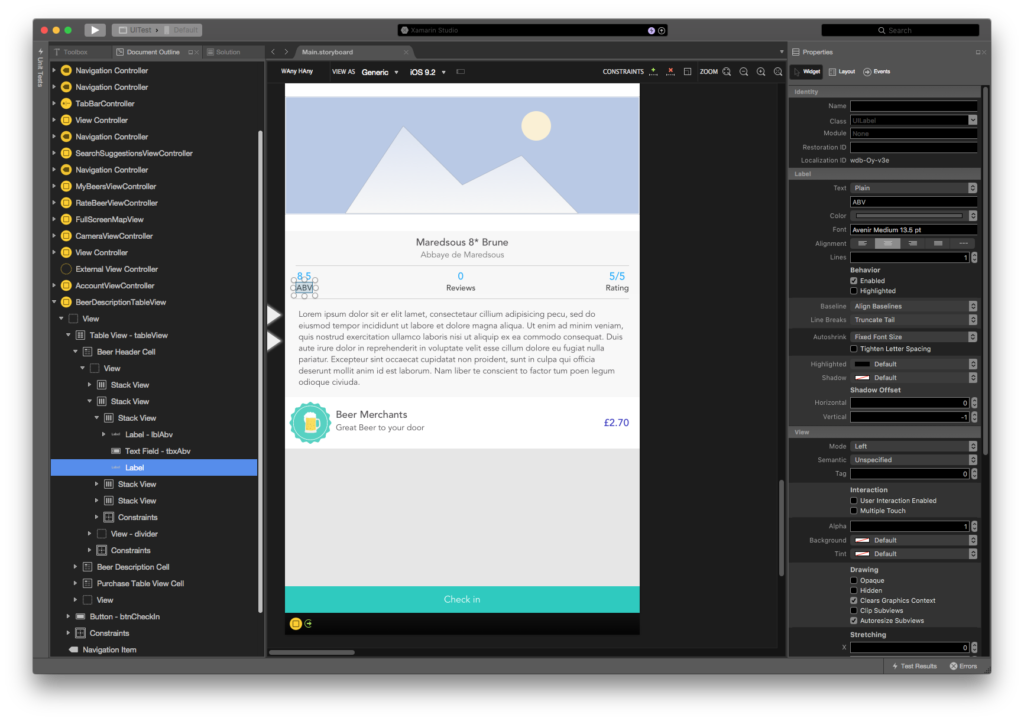
Instead of working with constraints like you would with AutoLayout, you use self-descriptive properties such as Axis, Spacing, Alignment, and Distribution with UIStackView. These are accessible from the Properties Pad, which makes it as simple as a few mouse clicks to get your UI looking great on every iOS device.
UIStackView is an interesting addition to our toolbox, as it is a non-rendering subclass of UIView. Because it is non-rendering, you don’t have the ability to set its background color or override its Draw method. Instead, it’s just a control for helping you with the layouts of its subviews. Another key limitation of UIStackView is that it’s not compatible with devices running below iOS 9. This means that if you need to support backwards compatibility, you’ll need to continue using constraints (be sure to check your Xamarin Insights data to see how many users are using pre-iOS 9 devices).
Adding and Removing Views from StackLayout
UIStackView has an API for adding and removing subviews, alleviating any worries about your layout. Any views you wish to view within the stack view will need to be added using the ArrangedSubviews property rather than SubView property.
//Add View
MyUIStackView.AddArrangedSubview(myView);

//Remove view
MyUIStackView.RemoveArrangedSubview(myView);
Extending this a little further allows us to easily add an animate effect to the addition and removal of views.
// Animate stack
UIView.Animate(0.25, ()=>{
    // Adjust stack view
    MyUIStackView.LayoutIfNeeded();
});
Learn More
We have fantastic documentation on how to get started with UIStackViews over on our documentation site.
UIStackViews are available with the latest version of Xamarin.iOS for both Xamarin Studio and Visual Studio. If you’re looking to target iOS 9 as a minimum, you’ll find UIStackViews dramatically improve the rate at which you can build a user interface that looks great on all iOS form factors.


