
Visual Studio for Mac is retired
Visual Studio for Mac was retired on August 31, 2024 in accordance with Microsoft's Modern Lifecycle Policy. While you can continue to work with Visual Studio for Mac, there are several other options for developers on Mac such as the preview version of the new C# Dev Kit extension for VS Code.
In Visual Studio 2019 for Mac v8.4 one of the big things that we added support for is developing Blazor Server Applications. In this post I’ll show you how you can get started building new Blazor Server applications with Visual Studio for Mac. Blazor lets you build interactive web UIs using C# instead of JavaScript. Blazor apps are composed of reusable web UI components implemented using C#, HTML, and CSS. Both client and server code are written in C#, allowing you to share code and libraries.
Creating a new Blazor Server Project
When you first launch Visual Studio for Mac you will see the dialog that follows:
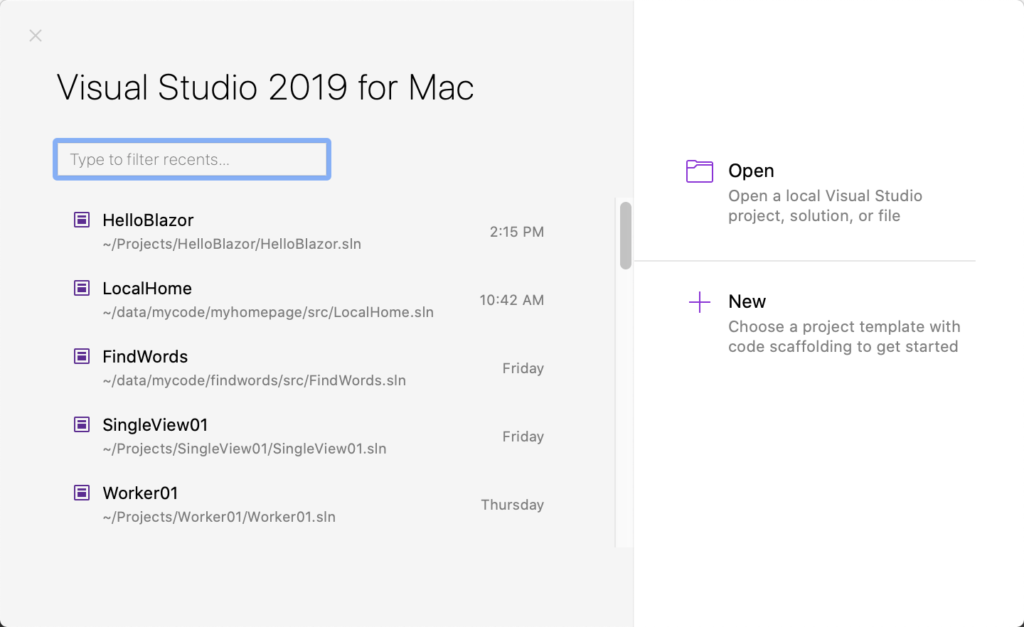
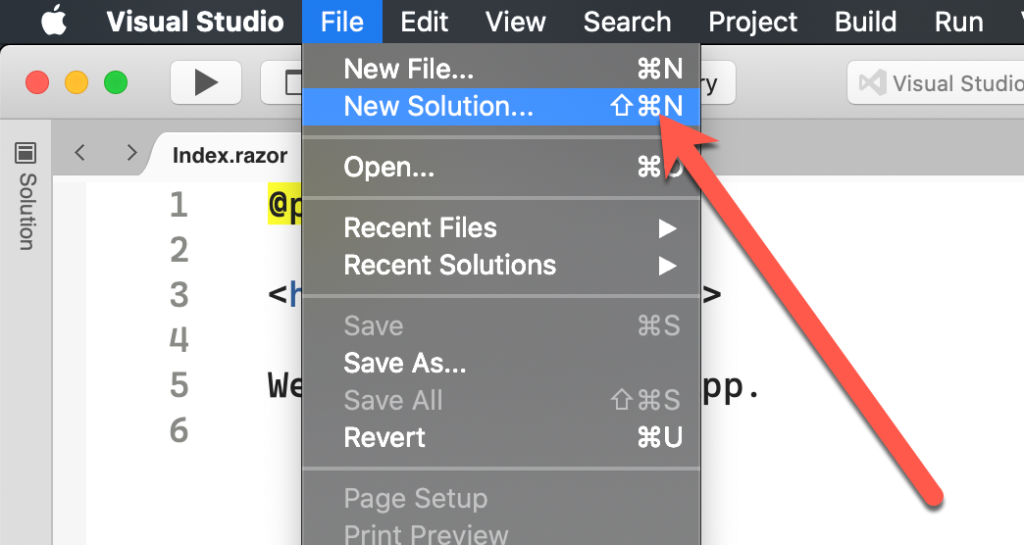
To get started you will first click New to begin creating your new Blazor Server app. You can also use the menu option File->New Solution as shown below.
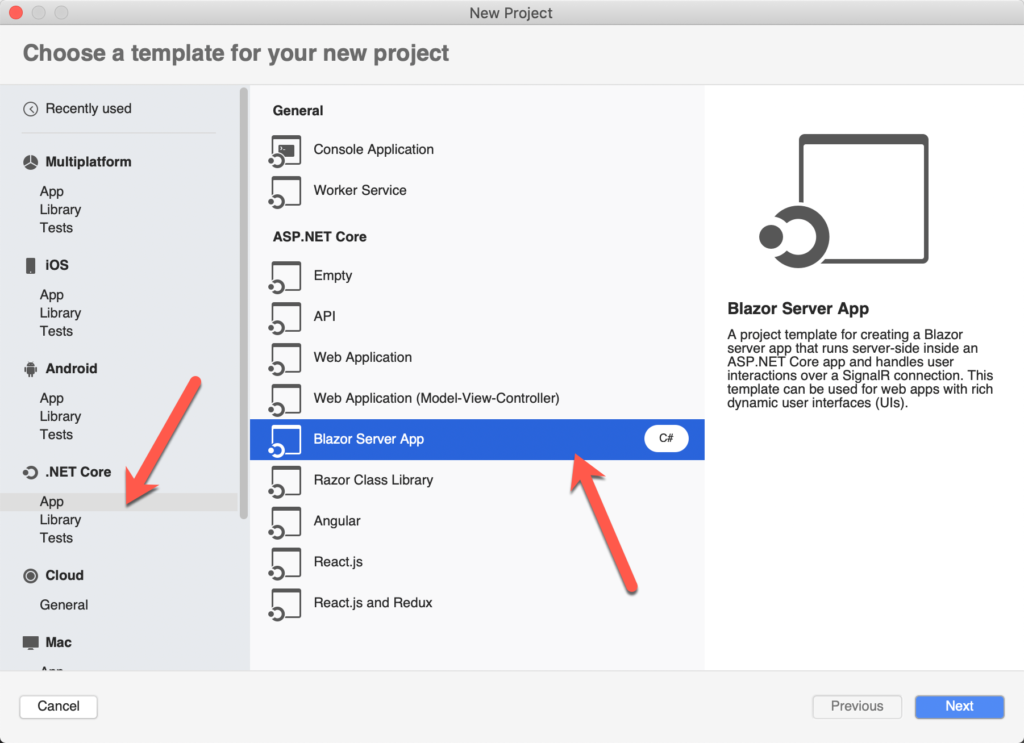
Once you’ve done that, the New Project Dialog will appear. To create a Blazor Server app we will go to the .NET Core -> App section and then select Blazor Server App:
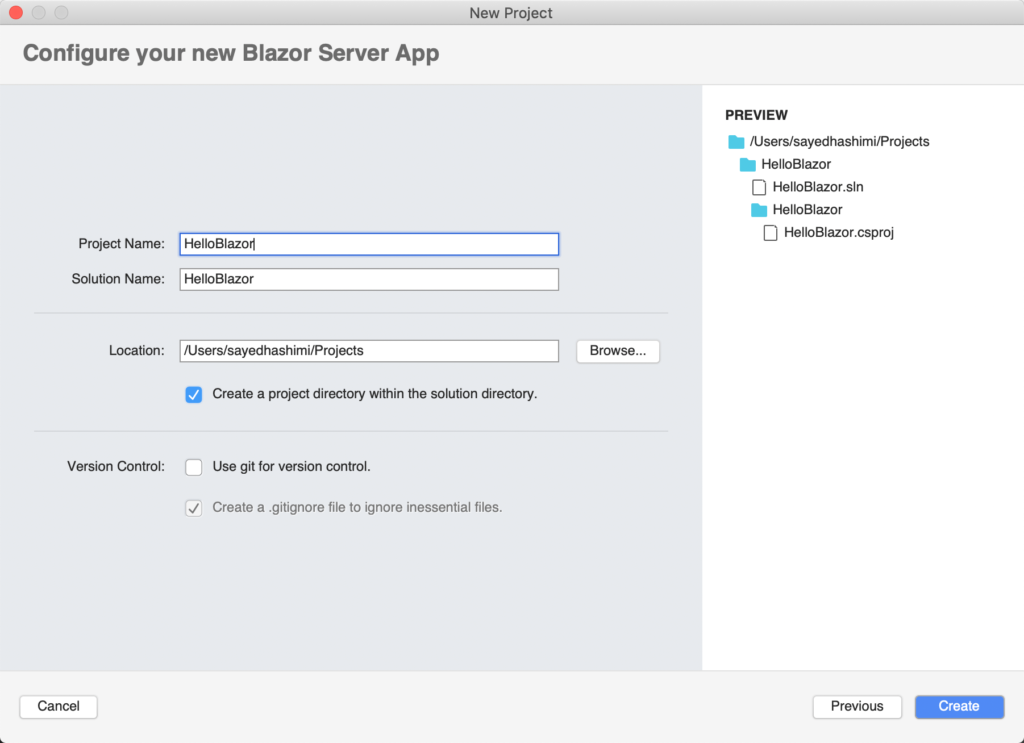
After clicking Next, you’ll be prompted to select the .NET Core version. You can select the default value, .NET Core 3.1 at the time of this post, or change it to use a specific version. For Blazor apps, .NET Core 3.0 or newer is required. Once you’ve selected Next, you’ll get to the next page in the wizard where you will give your new project a name. I have named this new project HelloBlazor.
Now that we have configured our new project we can click Create (or hit the Return key) to create the project. After the project is created, it will be opened in the IDE. I have opened the Index.razor file in Visual Studio for Mac’s editor, which you can see in the screenshot below.

Now that the project has been created, the first thing that we should do is to run the application to ensure that everything is working as expected. You can start your new Blazor app with Run > Start Debugging or Run > Start without Debugging.
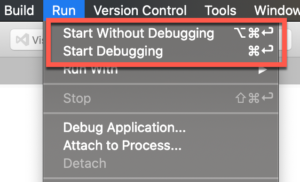
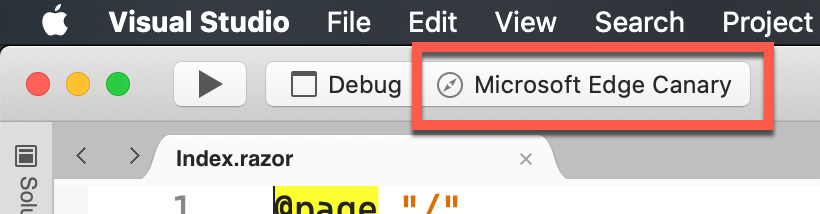
In this case, let’s go with Start without Debugging because it launches faster than a debug session, and we are not intending to do any debugging currently. To Start without Debugging you can use the menu option (shown in image above), or you can use the keyboard shortcut ⌥⌘⏎. When you start your application, it will be launched within the default system browser., You can change the launched browser by using the browser selector in the toolbar, shown in next image.
Let’s start this app with the keyboard shortcut for Start without Debugging. After the project is built, the app will be opened in a browser. Now that we have our project up and running, let’s have some fun and customize it a bit.
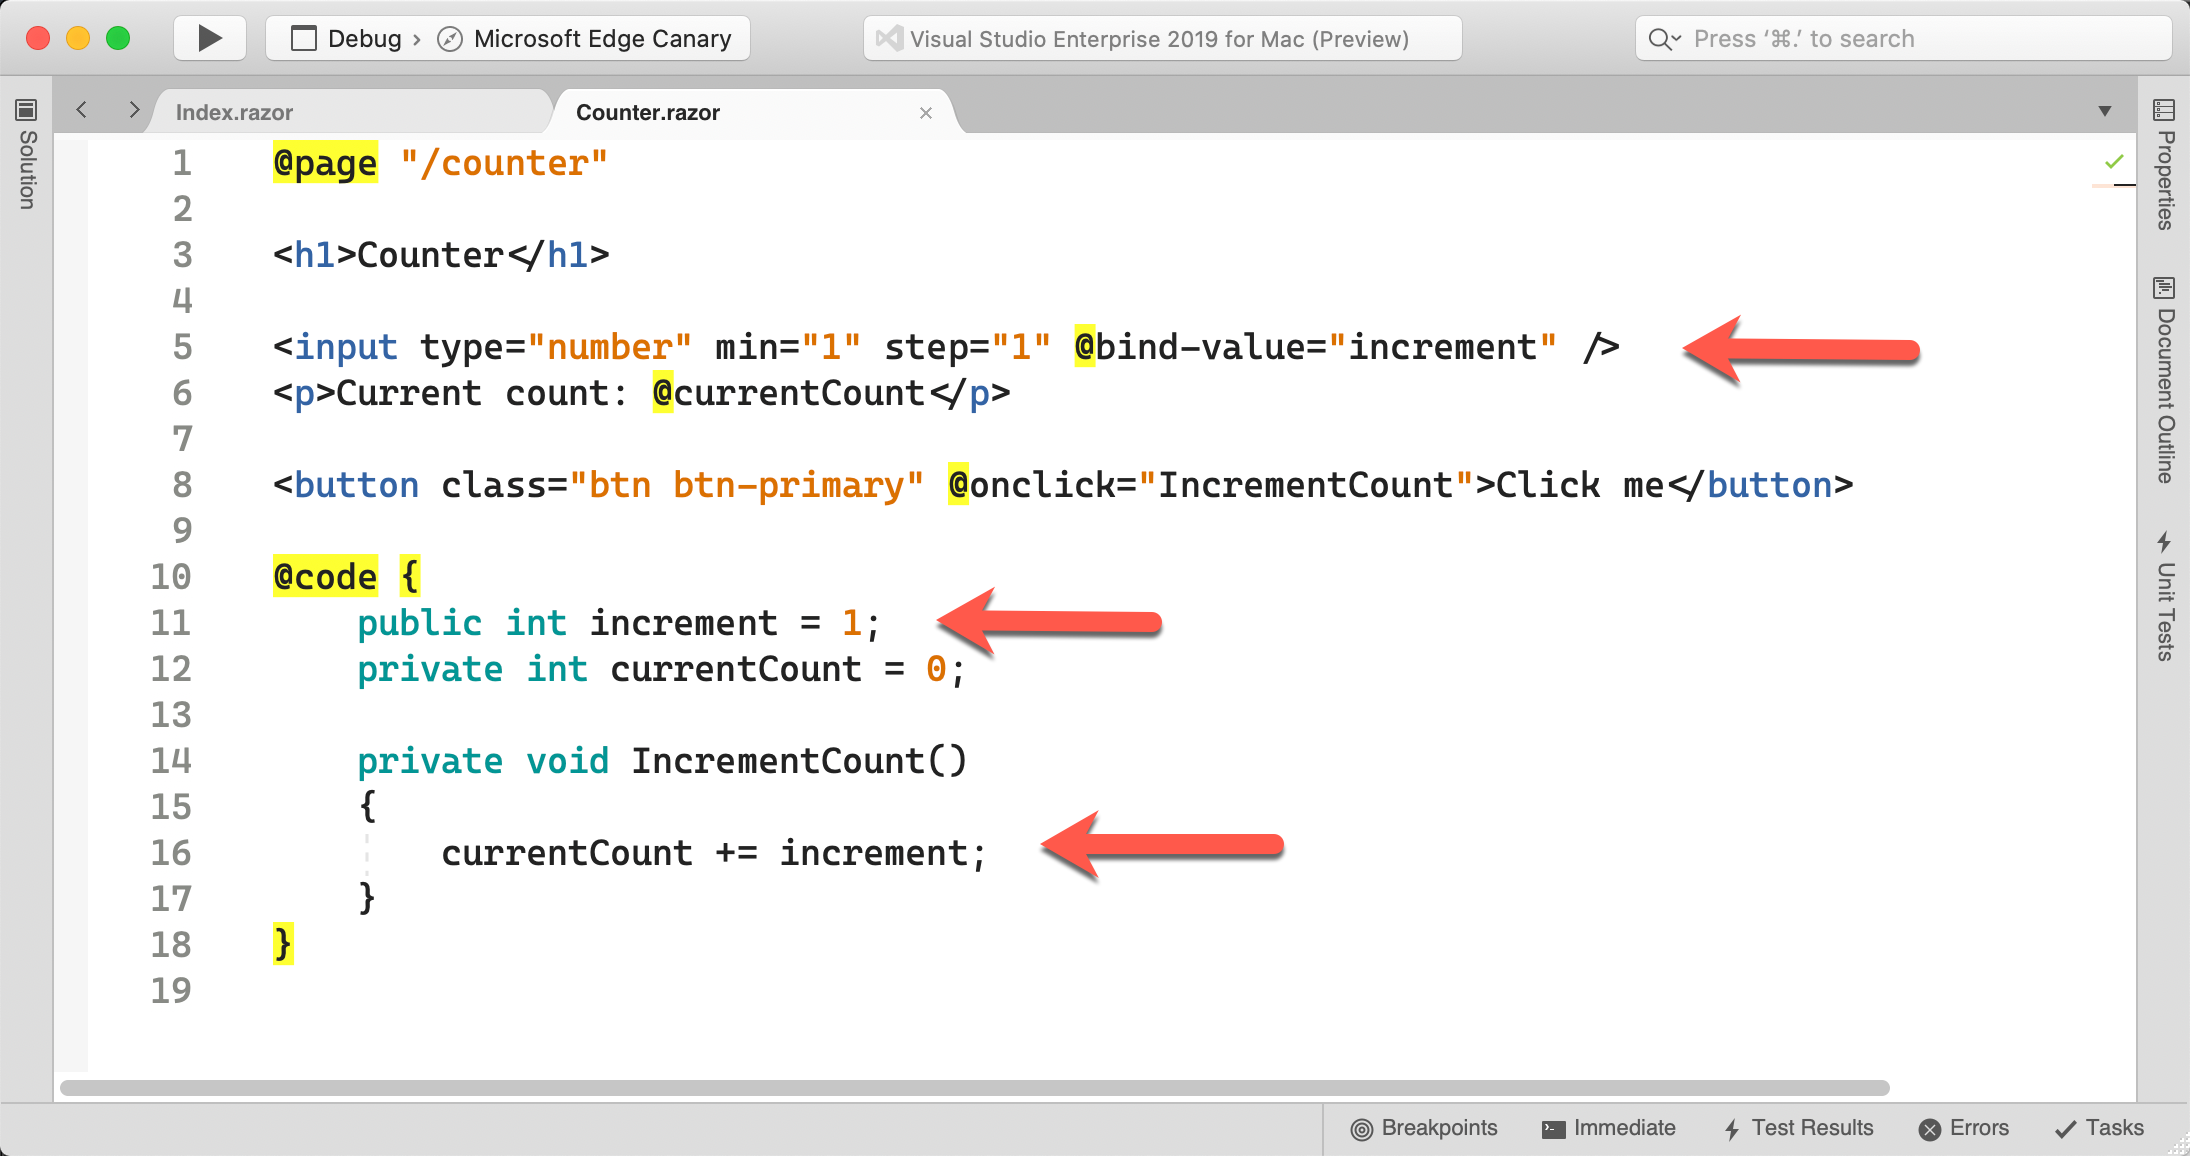
In the project that is created there is a Counter page where you can click a button to increment the count. Let’s modify this to page to enable the user to specify the increment value. We can do this by adding an input field onto the Counter page and binding it to a new increment property that is used to increment the counter. Take a look at the updated code for Counter.razor in the following screenshot.
If you would like to copy and paste the code into your project, a snippet is below.
@page "/counter"

<h1>Counter</h1>

<input type="number" min="1" step="1" @bind-value="increment" />
<p>Current count: @currentCount</p>

<button class="btn btn-primary" @onclick="IncrementCount">Click me</button>

@code {
    public int increment = 1;
    private int currentCount = 0;

    private void IncrementCount()
    {
        currentCount += increment;
    }
}
In the code shown above the lines indicated by an arrow are the new, or edited, lines of code. Here we have added a new input field (line 5) for users to configure the increment, we have added a new property increment (line 11) to store the increment value and lastly we have modified line 16 to use the increment value instead of the hard coded increment by 1.
To ensure that the changes we have made are working as expected, we will start a debugging session. Let’s set a breakpoint when currentCount is incremented, line 16. After setting that breakpoint, we will Start Debugging with the keyboard shortcut ⌘⏎. When the breakpoint is hit, we can verify that the value for increment is taken from the input field on the Counter page. The animated gif below shows; creating a breakpoint, debugging the application and inspecting the value for increment when the breakpoint is hit.
If all goes well, the increment value was taken from the input field in the Counter page, and the app is behaving correctly. Now that we’ve shown how you can create, edit and debug a Blazor Server app, it’s time to wrap up this post.
Recap and next steps
In this post we have shown how to create a new Blazor Server application and work with it in Visual Studio for Mac. If you haven’t already, download Visual Studio for Mac to get started. If you are an existing Visual Studio for Mac user, update Visual Studio for Mac to version 8.4 or newer to get support for Blazor Server apps. In addition to developing Blazor Server apps, you can also publish them to Azure App Services.
If you have any issues while working in Visual Studio for Mac, please Report a Problem so that we can improve the product. Before we go, here are some additional resources for you.
Additional Resources
To learn more about the changes in Visual Studio 2019 for Mac v8.4, take a look at the v8.4 release blog post.
Join us for our upcoming Visual Studio for Mac: Refresh() event on February 24 for deep dive sessions into .NET development using Visual Studio for Mac, including a full session on developing Blazor applications.
For more info on Blazor a good starting point is Introduction to ASP.NET Core Blazor.
For another guide on creating a Blazor Server application in Visual Studio for Mac head over to the docs at Create Blazor web apps.
Make sure to follow us on Twitter at @VisualStudioMac and reach out to the team. Customer feedback is important to us and we would love to hear your thoughts. Alternatively, you can head over to Visual Studio Developer Community to track your issues, suggest a feature, ask questions, and find answers from others. We use your feedback to continue to improve Visual Studio 2019 for Mac, so thank you again on behalf of our entire team.
Hello,
Thanks for this article. I was able to get the project running.
A couple of commands for your future readers.
Run these commands to get the Blazor Server App menu item to show up.
1. brew cask install dotnet-sdk
2. dotnet new -i Microsoft.AspNetCore.Blazor.Templates::3.1.0-preview4.19579.2
It’s possible there are newer versions of the Blazor.Templates package so keep that in mind when running this.