With new tools for Windows Azure Mobile Services, Visual Studio 2013 helps you quickly build connected Windows Store apps. We’ve made it very easy for you to associate your app with Mobile Services, create new tables and services, edit your server side scripts, and most importantly enhance your apps with push notifications all from within Visual Studio. This blog post provides an overview of the features. To get more details, take a look at the Windows Azure Mobile Services Tools in Visual Studio 2013 Toolbox episode and our extensive documentation.
Get Connected
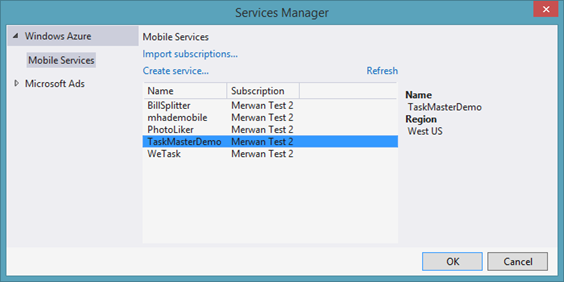
With the new Services Manager experience, you can easily connect your apps to online services such as Windows Azure Mobile Services. The Services Manager adds library references and custom snippets to your project allowing you to reference a particular service instance. Think of it as the enhanced version of the References Manager, where you can now add “connected references.”
To add a connected reference, simply select your Windows Store project, right click, and choose Add Connected Service.
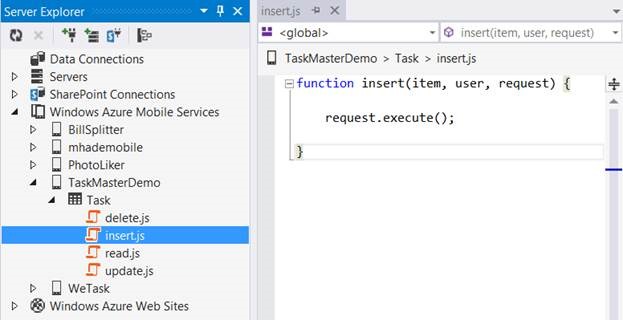
Edit your server side scripts
Up until now, to create new tables and edit your server side scripts, you had to switch back and forth between VS and the Windows Azure Management Portal. With Visual Studio 2013, you no longer have to do that. Using our new Server Explorer functionality, you can do all your basic management tasks from Visual Studio.
Need a push?
Push notifications can be a powerful tool for informing users of changes in their data. Until now, this has required a significant amount of code and steps to follow. To make things easier for you, we’ve created the Push Notification Wizard.
The Wizard guides you through all the steps required to enable your Windows Azure Mobile service to send push notifications (tiles, toast, and badge) to your app. In a nutshell, the wizard configures your project, your mobile service, the Windows Store, and the Windows Notification Service so that your app will get a push notification as soon as it launches. There’s a lot going on here, and again, the documentation gives a look behind the scenes.
To try out the Push Notification Wizard, simply select your Windows Store Project, right-click and choose the Add submenu, and select Push Notification.
We’d love to hear back from you. You can comment on this post, use the send-a-smile feature from Visual Studio, submit bugs through Microsoft Connect, or post suggestions on Visual Studio User Voice.


0 comments