
Hello Android developers,
Today we’ll be continuing our blog series on using the Microsoft Authentication Library (MSAL) and the Microsoft Graph to connect to M365 services in your own Android apps.
Last week, we covered the basics of MSAL, so be sure to check that out first!
This week, we’ll focus on the Microsoft Graph, specifically:
- The basics of MS Graph
- Exploring the MS Graph API with Graph Explorer
- Adding MS Graph API permissions to your app registration
Next week, after you have a better understanding of the Microsoft Graph and how to add permissions to your app registration, we’ll show you how to call the MS Graph API from an Android app!
Microsoft Graph Overview
The Microsoft Graph is a common set of APIs that allows developers to get user data from a common Microsoft tenant. Depending on the tenant, you can access different kinds of information. For example, you can access your own data in a personal Microsoft tenant, and access data and analytics across your company in a work-based Microsoft tenant.
With MS Graph, you can access a wide range of information from M365, Windows, and Enterprise Mobility + Security services, like calendar events, user profile information, Teams meeting data, and Viva Insights analytics. These APIs can be accessed from a variety of platforms, including Android, to enhance a user’s experience with personalized data. To learn more, check out the full list of MS Graph services and features.
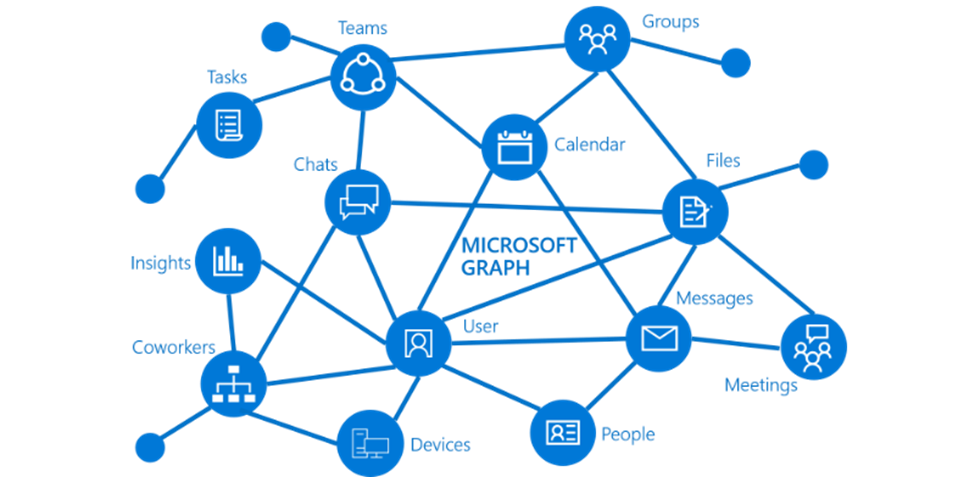
Figure 1. Visualization of the Microsoft Graph and the information it exposes.
Data from the M365 platform can be accessed in three main ways: with the Microsoft Graph API, connectors, or Data Connect. Today, we’ll be focusing on the MS Graph API, which uses REST APIs and SDKs to access the https://graph.microsoft.com endpoint.
Graph Explorer
The best way to start familiarizing yourself with the MS Graph API is to check out the Graph Explorer! This online tool helps you visualize and test out different API calls, inspect request/response bodies, and see what permissions are required.
To use the Graph Explorer, you must follow a few simple steps:
- Sign in
- Select a query
- Consent to permissions
- Run a query
Sign in
The first step is to sign in your Microsoft account! We would recommend using a personal account, if possible, because work/school accounts may have stricter restrictions on how users can use MS Graph.
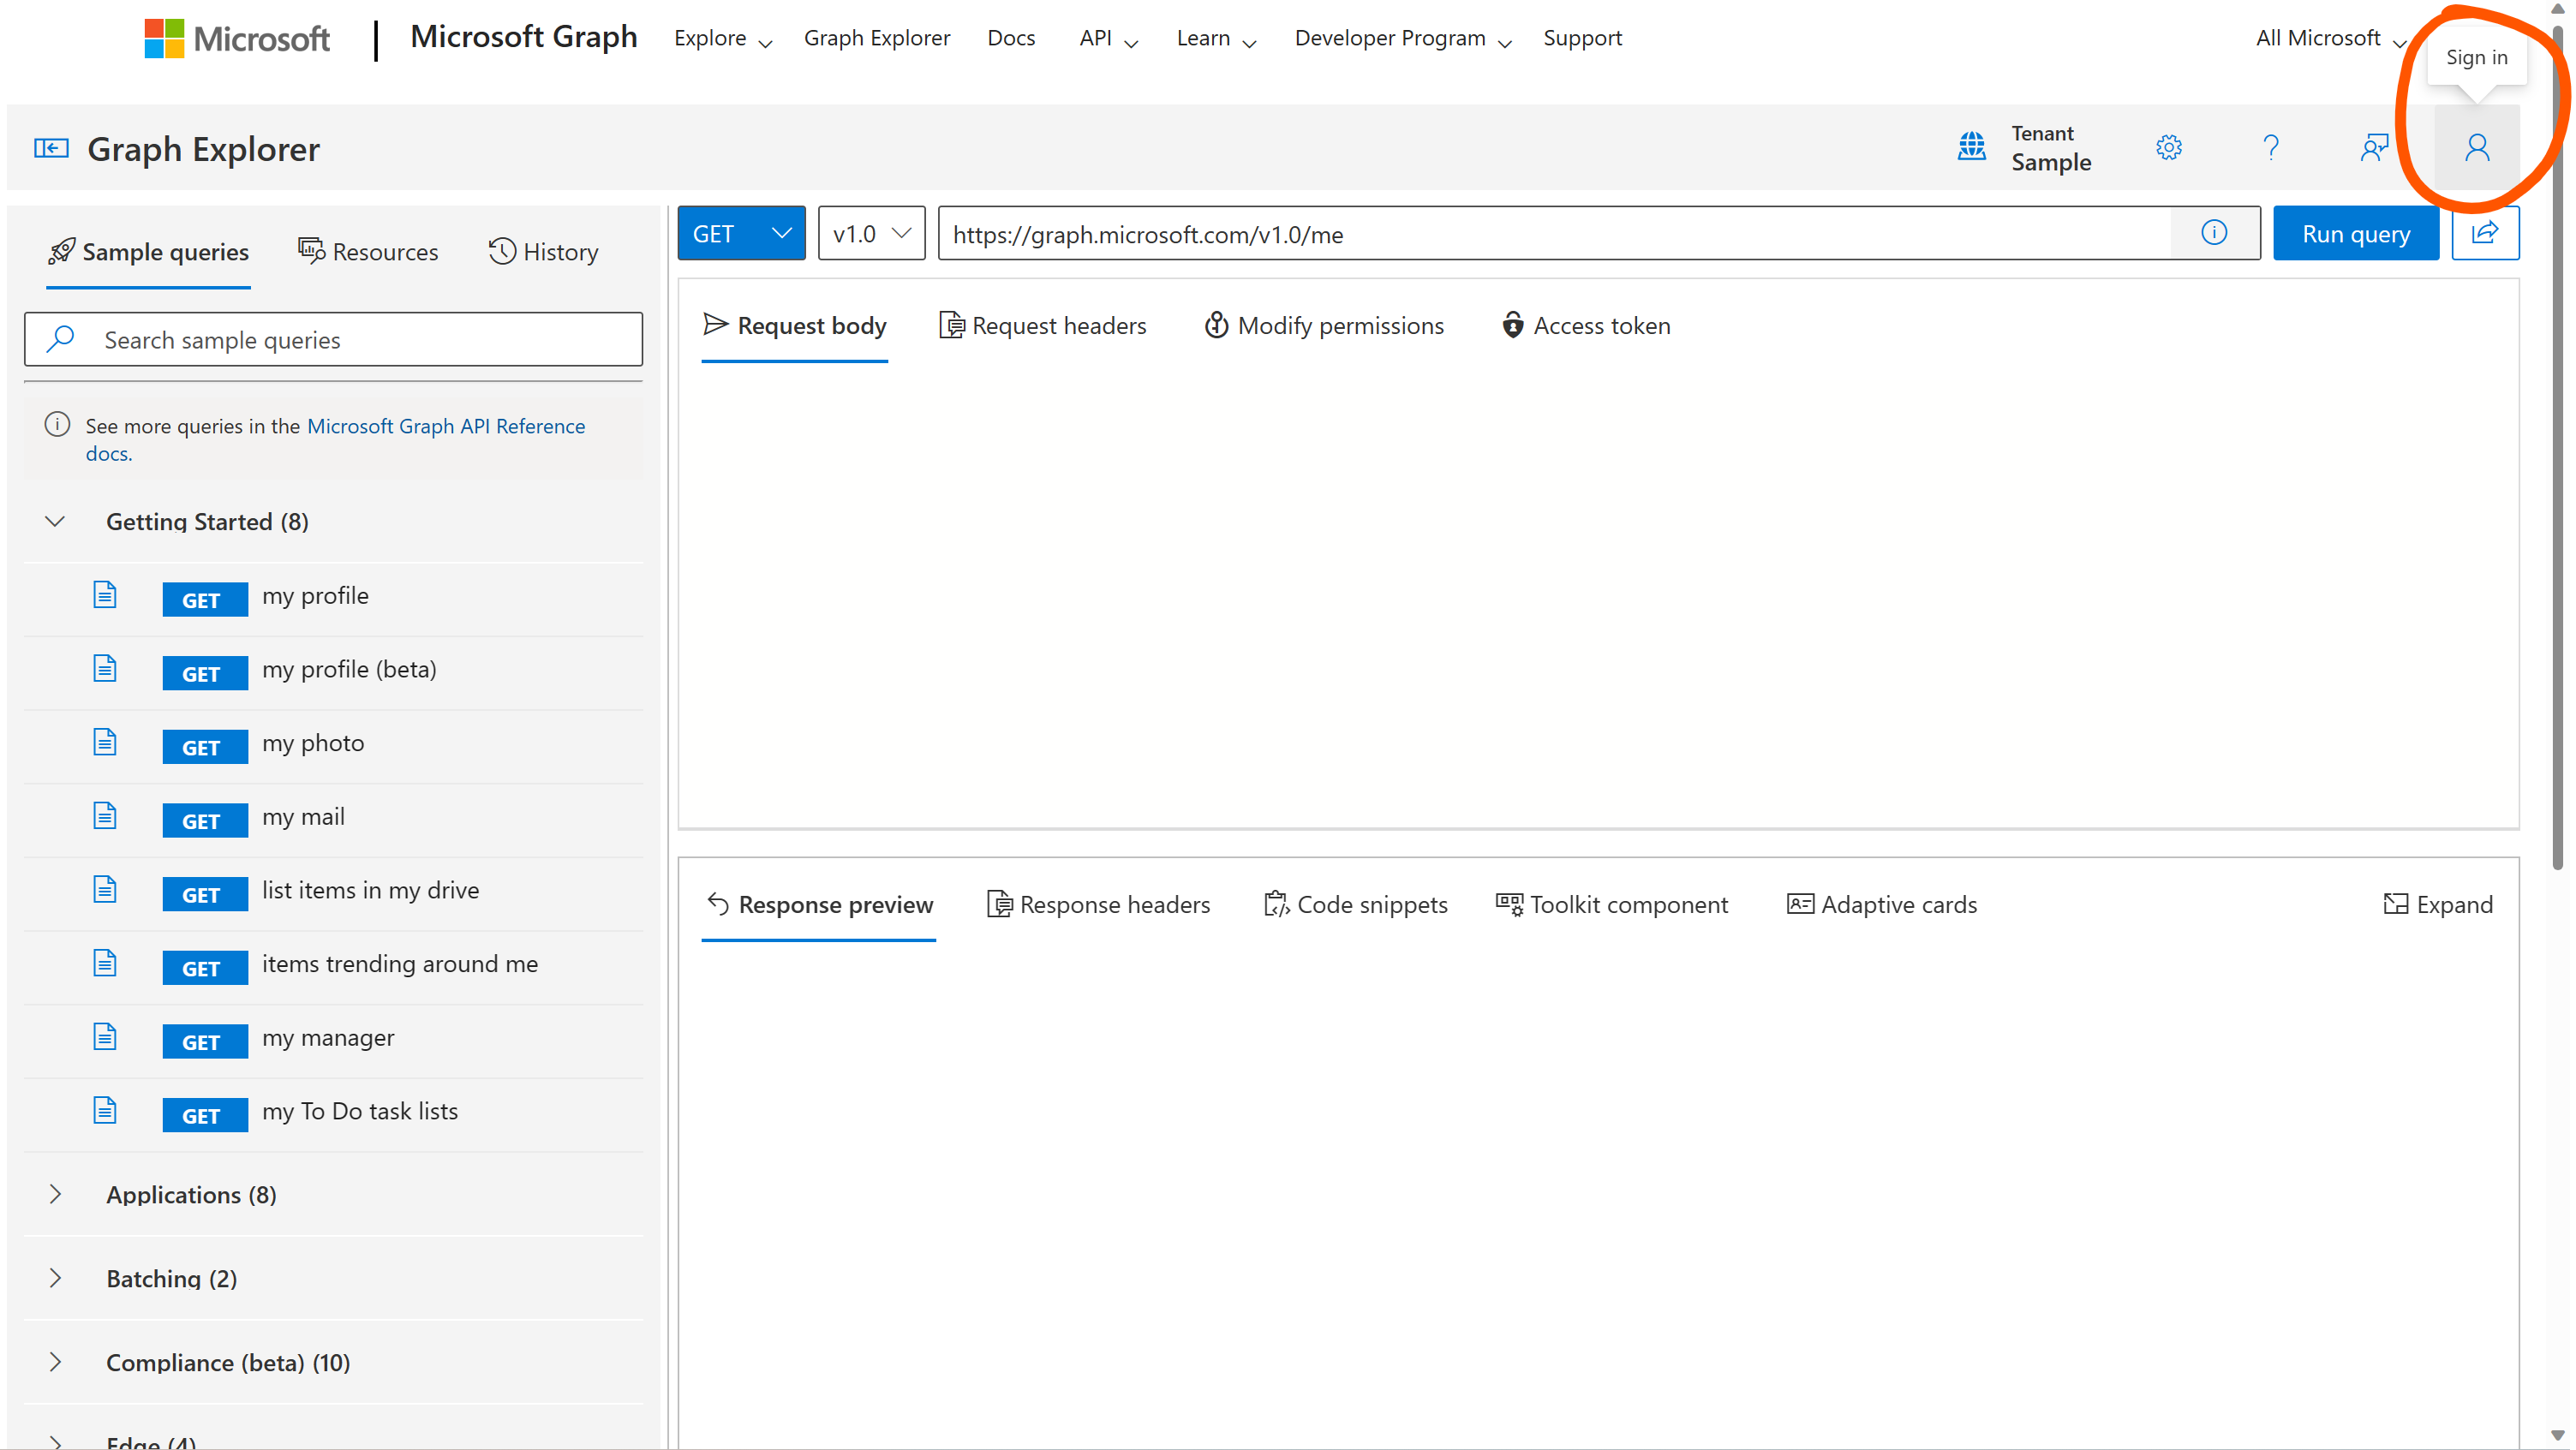
Figure 2. Before making calls with the Graph Explorer, you need to sign in with a Microsoft account.
Select a query
The next step is to select a query to run, which you can do by searching through the Sample queries pane on the lefthand side of the screen. As you can see, the queries are sorted by which resources they access, and they help give you an idea of what can be accomplished with the MS Graph API. You can check out the Microsoft Graph REST API v1.0 documentation for the full list of possible queries.
The pre-generated sample queries provide a great starting point for building requests, since they already fill out the target resource URL and provide sample request bodies. You can then start to customize requests by modifying the endpoint or request body – in some cases, such as a POST request to create a new OneNote page (Figure 3), this may even be necessary for the request to succeed.

Figure 3. In Graph Explorer, you can start out with a sample query and then modify the endpoint or request body to customize the request. For example, when trying to create a new page in OneNote, you can customize the page HTML in the request body, and you need to change the highlighted “section-id” placeholder to a specific section ID from one of your notebooks.
Consent to permissions
In order to run the query you’ve selected, you will also need to grant MS Graph the permissions to read/write to different resources. Otherwise, you’ll run into a Forbidden - 403. Access denied error when trying to make a request.
There are two ways you can grant the proper permission(s):
- If you already know what calls you’ll be making, then you can click on your profile photo, click on Consent to permissions, and then search for and consent to the permissions you need (Figure 4).
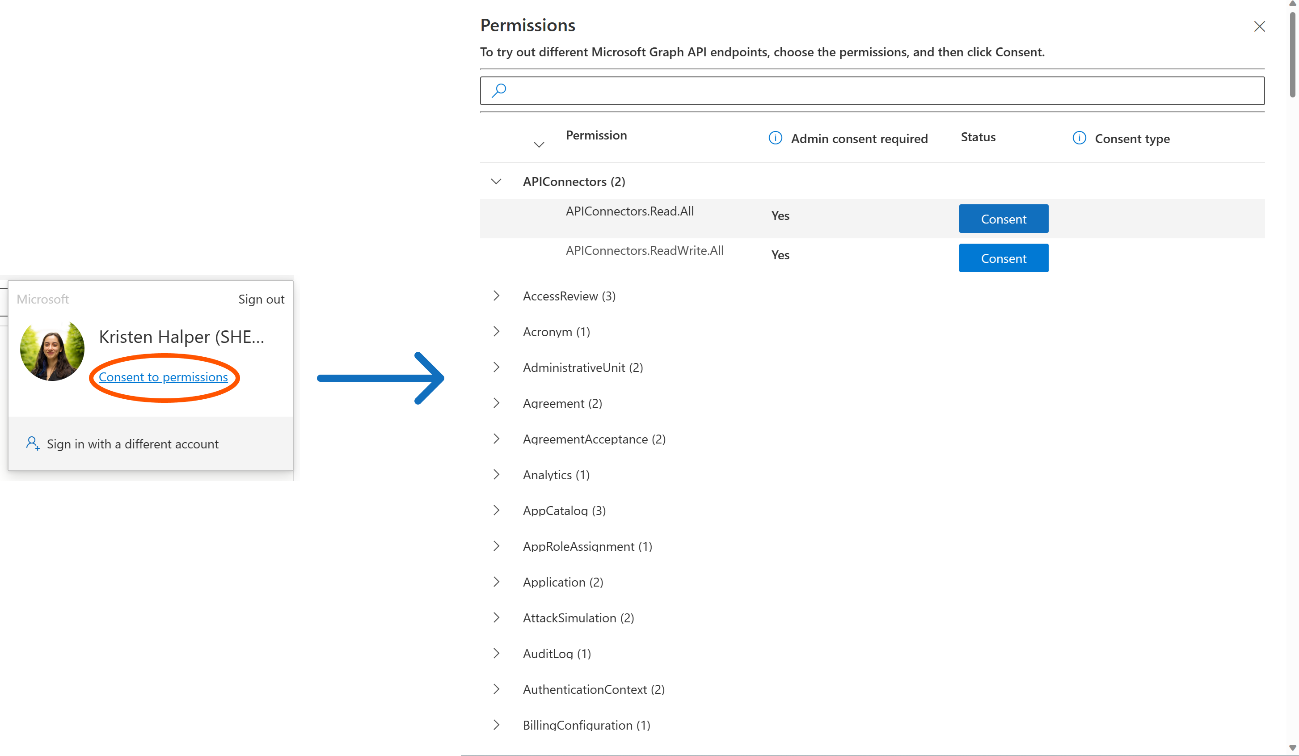
Figure 4. In the “Consent to permissions” view, you can search for and grant various MS Graph permissions.
- If you don’t know ahead of time which calls you’ll make, you can grant permissions as you go. If you prepare a query and then switch to the Modify permissions tab, you can view and consent to all the permissions required for the request (Figure 5).
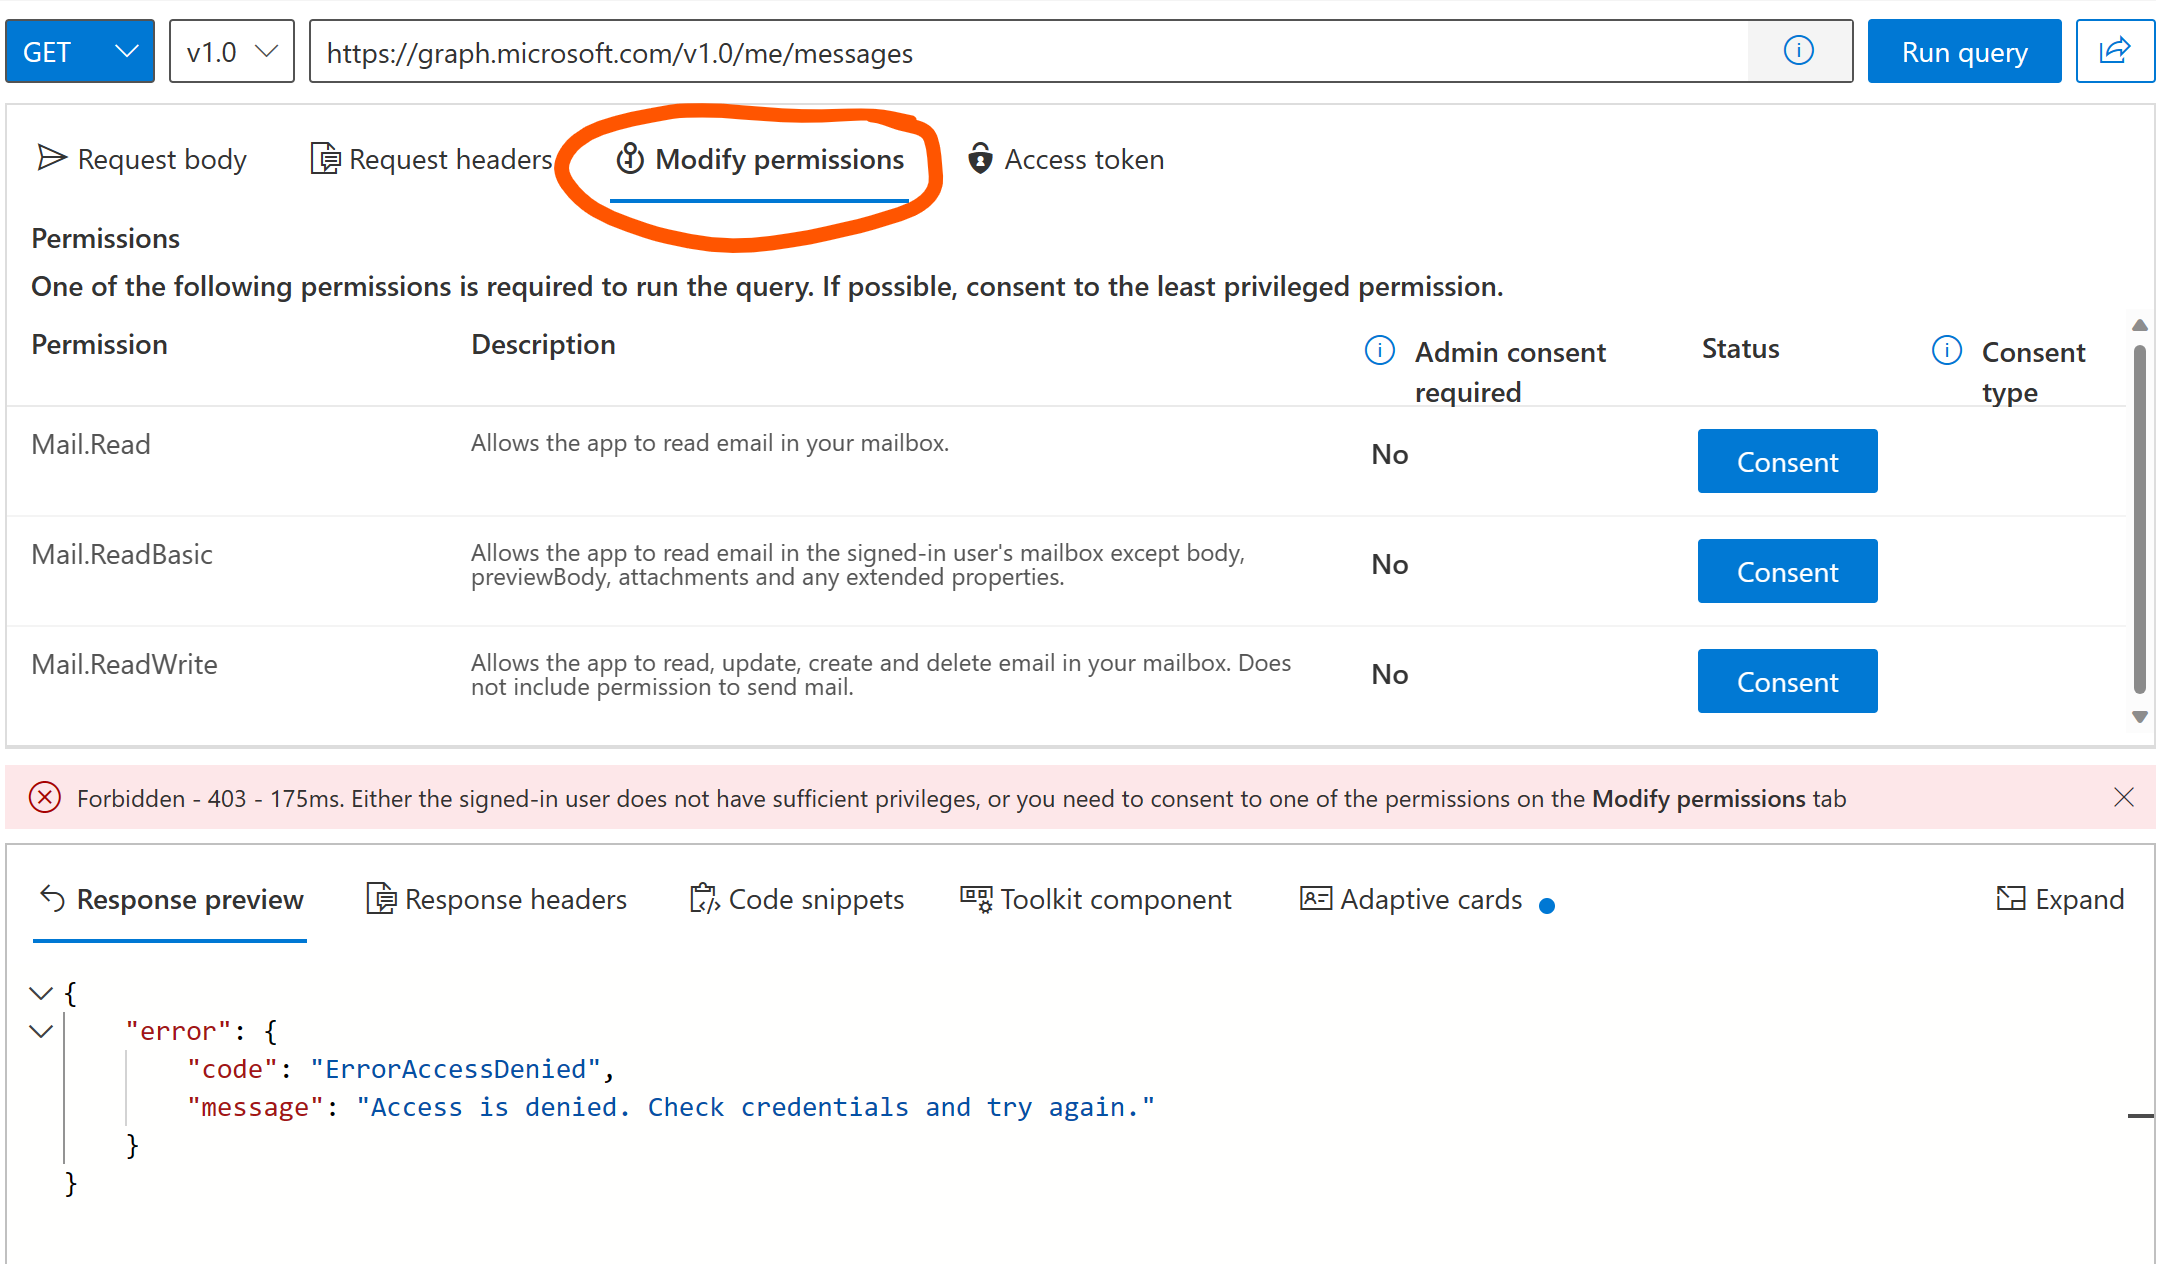
Figure 5. Before running a query, you can also check the “Modify permissions” tab for the permissions you need to grant.
Run a query
Finally, once you’re logged in and have granted the proper permissions, you just have to click “Run query”!
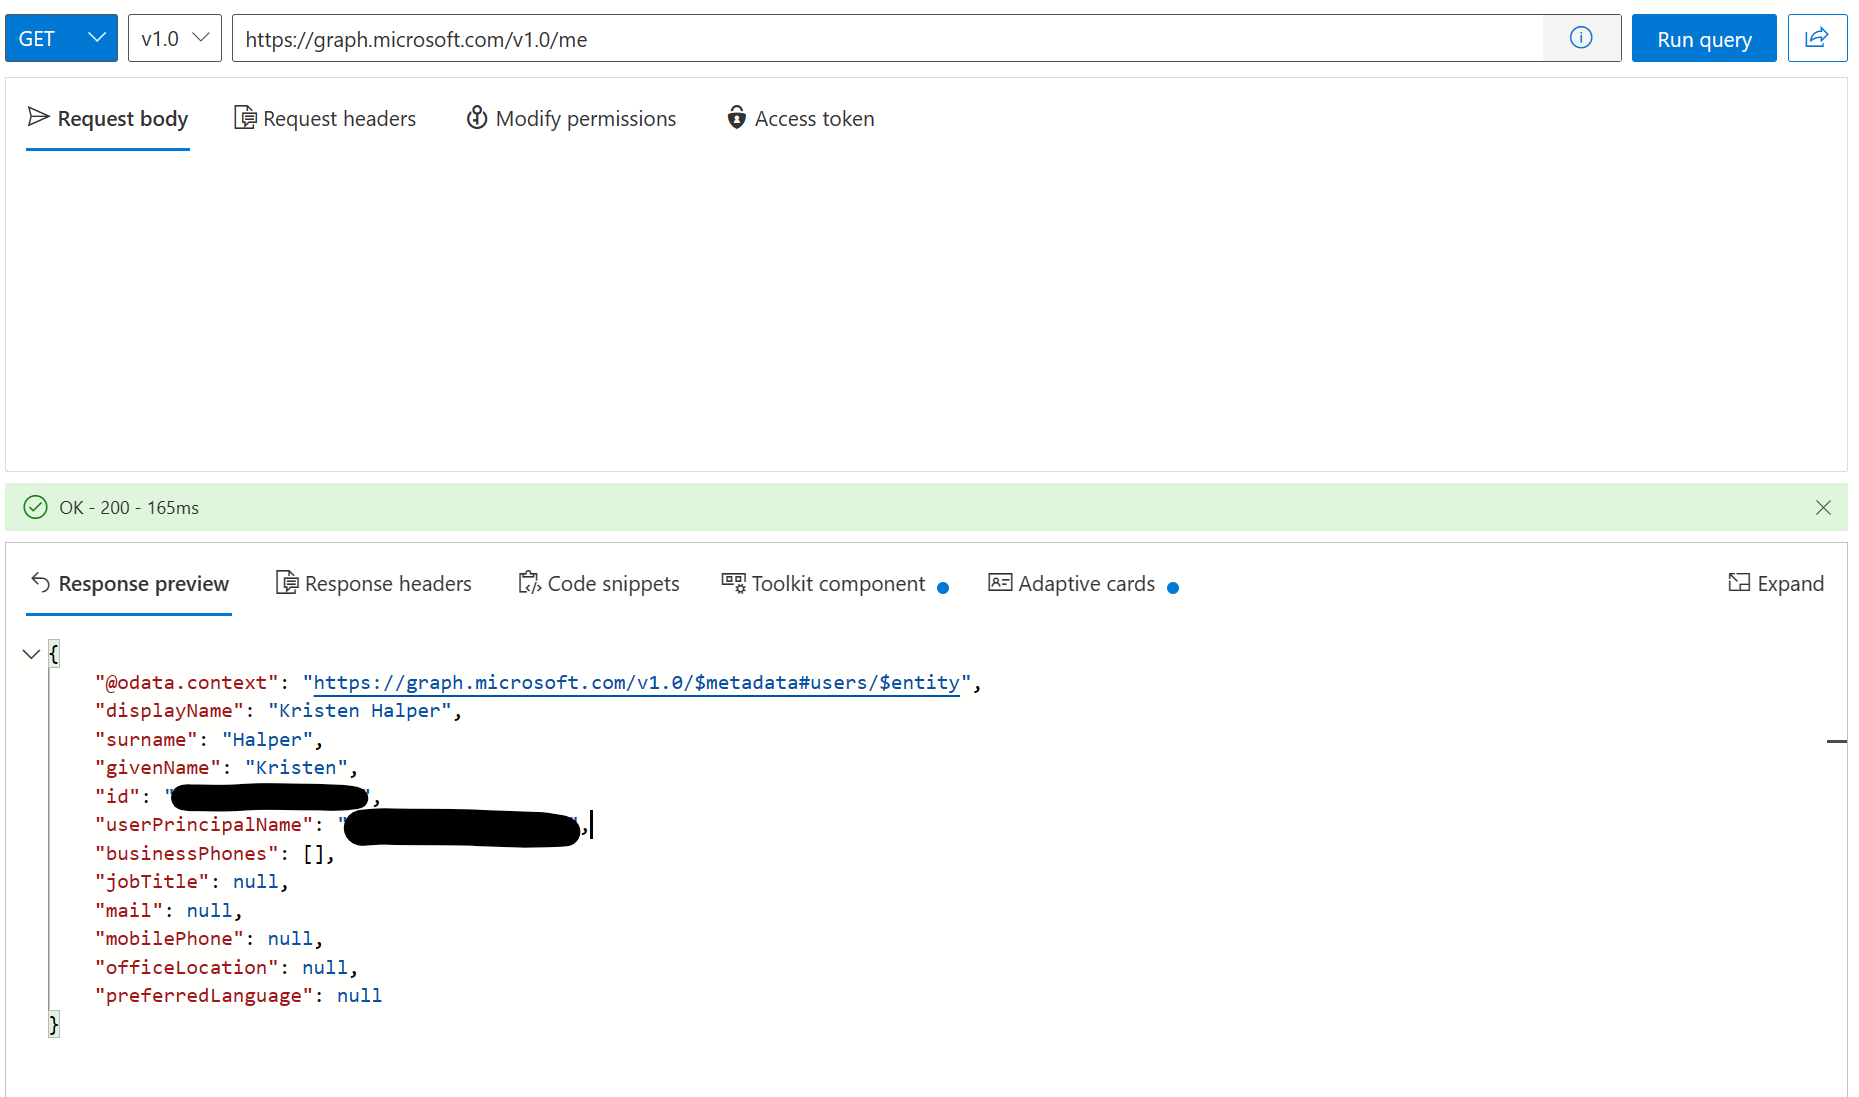
Figure 6. Once your query has run, you can inspect the request body/headers, as well as the response preview and code snippets for how to perform the same call with different MS Graph SDKs.
You can inspect both the request and response details, view code snippets for how to make the same request with SDKs, and find links to API documentation. This really comes in handy when you need to know how to format request bodies/headers and how to parse response information.
Adding permissions to your app registration
Now that you know that basics of the Microsoft Graph API and the kinds of requests you can make (thanks Graph Explorer 😁), we’ll move on to how you can start using MS Graph in an Android app.
The first step is related to an MSAL topic we covered last week: registering an app in the Azure Portal. In Graph Explorer, we had to consent to permissions to make sure we could read/write to different resources. We have to do the same thing now in our app registration to let our app make requests to the MS Graph API.
You can use the Graph Explorer or the Microsoft Graph permissions reference to figure out what permissions your app will need, then in Azure Portal, you can add these under the API permissions section (Figure 6). In most cases, you will need to add delegated permissions, which mean you’re accessing the API as the signed-in user. Application permissions are for the cases when your app is running as a background service without a signed-in user.

Figure 7. In the API permissions section in Azure Portal, you can add the necessary permissions for MS Graph requests to your app registration. This example app contains the permissions for reading and writing OneNote information.
Once you’ve updated your app registration, users will be prompted the first time they sign in to consent to the permissions you added to your app.
So, to review, in this post we learned the basics of the Microsoft Graph, how to build and test requests with Graph Explorer, and how to add MS Graph API permissions to an app registration in Azure Portal. Stay tuned for next week’s post, where we’ll combine today’s learnings with our MSAL lessons from last week to show you how to call the Microsoft Graph API in an Android app!
Resources and feedback
To learn more about using MS Graph in Android apps, check out:
- Microsoft Graph DevBlog
- Tutorial: Sign in users and call the Microsoft Graph from an Android application
- Quickstart: Sign in users and call the Microsoft Graph API from a mobile application
- Quickstart sample repo
If you have any questions, or would like to tell us about your apps, use the feedback forum or message us on Twitter @surfaceduodev.
Finally, there won’t be a livestream this week, but check out the archives on YouTube. We’ll see you online again soon!
Thanks for sharing this