

Hello Android developers,
Connecting users to their data is an important factor in the mobile space as it helps to create a personalized experience across multiple devices. As is common across the technology space, users need to provide credentials in order to access their data, often in the form of a username and password, two factor authentication, or authentication token. This is especially true when connecting users to data from their Microsoft accounts, where a valid authentication token is required for each call to APIs like the Microsoft Graph and Azure Cognitive Services.
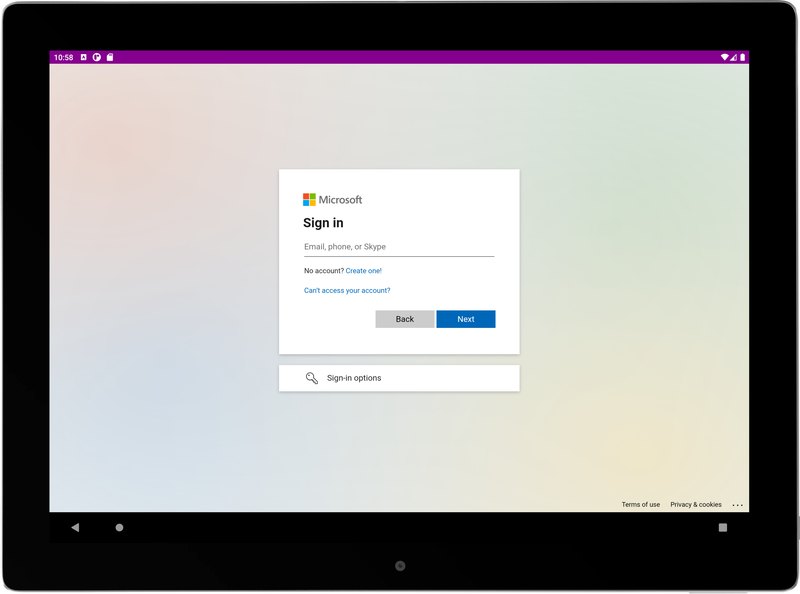
Figure 1. By using MSAL, you can authenticate Microsoft users in an Android app.
This blog is part of a series where we’ll talk about how to use the Microsoft Authentication Library (MSAL) and the Microsoft Graph to connect to M365 services in your own Android apps. In this first post, we’ll cover:
- The basics of MSAL
- How to register your app in the Azure Portal
- How to set up MSAL configuration files
- How to use MSAL to authenticate users in an Android app
MSAL Android Overview
MSAL can be used across many platforms to acquire the security tokens needed for Microsoft-based APIs. It also maintains a token cache, refreshes tokens, and allows for different kinds of Microsoft accounts to be targeted.
To use MSAL in an Android app, there are two main steps you need to take:
- Register your app in the Azure Portal
- Set up configuration files in your Android project
Register an app in the Azure Portal
The first step to acquire a security token with MSAL is to register your Android app in the Azure Portal. To learn more about why the Microsoft identity platform requires apps to be registered, check out the documentation on the application model.
To do this, you’ll need to know:
- The type(s) of Microsoft accounts you’ll be supporting
- Your app’s package name
- Your development signature hash
With this information, you can follow the app registration guidelines to set up your project.
The Azure Portal registration page for creating a new app, as shown in Figure 2, allows you to specify settings for your app to start with. The only setting that cannot be changed or edited later is the “Supported account types”. All other settings on this page can be added or updated after the app has been created.
In the example below, we set the app name to be “Hello World”, specify that any Microsoft account can be used to sign into this app, and opt to set any Redirect URIs and Service Tree IDs at a later time.
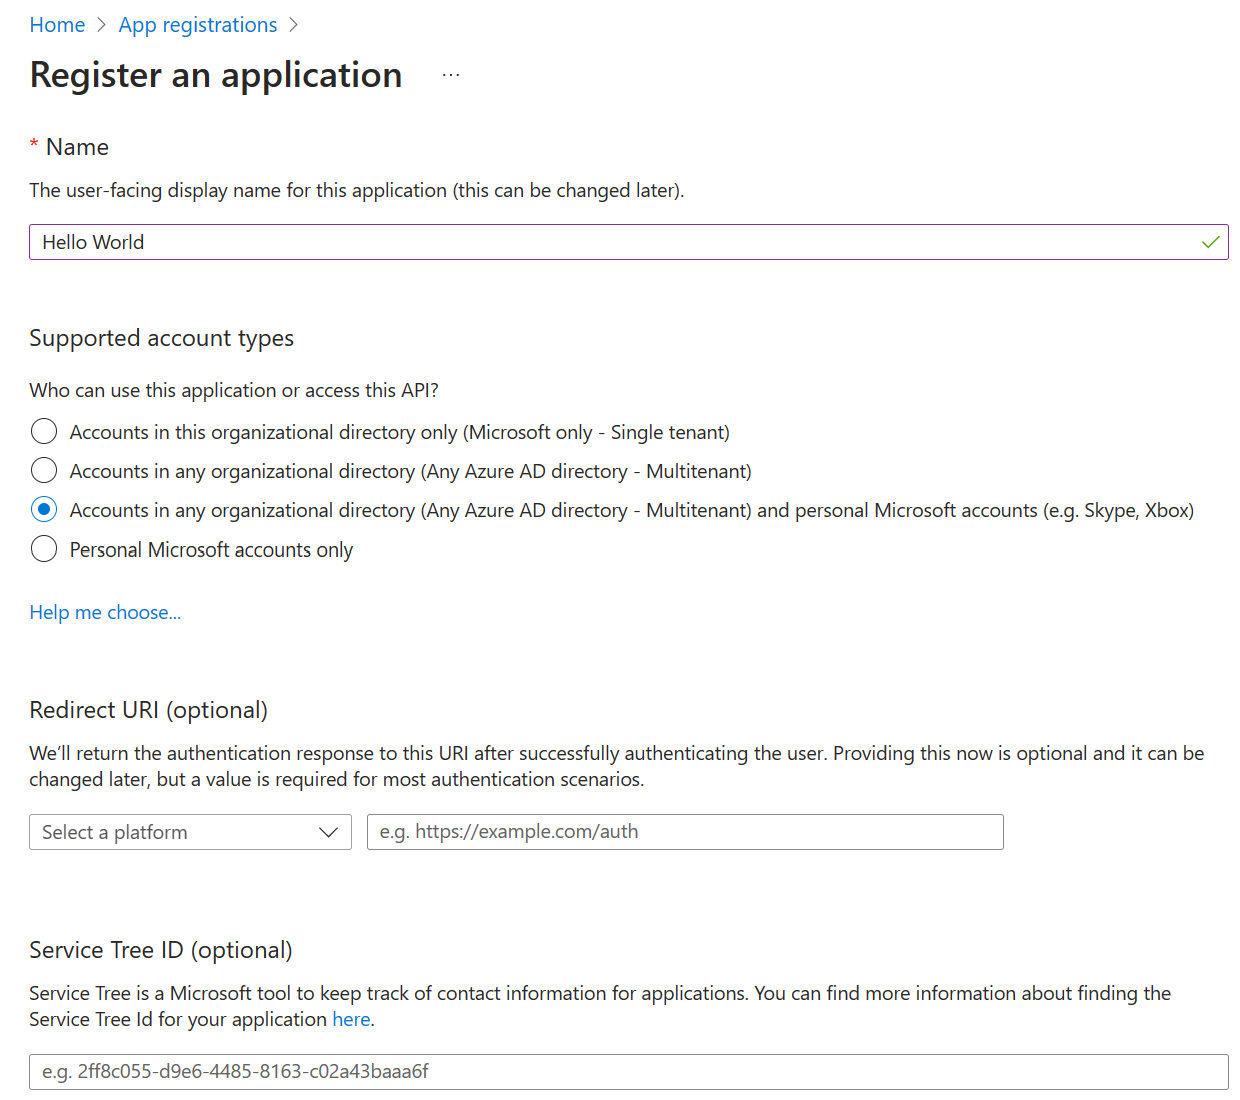
Figure 2. Azure Portal page for registering a new application.
Configuring the Android Project files
Once your app is registered in Azure Portal, you can then use your new client id and redirect URI to set up MSAL authentication in Android Studio.
As described in the configuration guidelines, you will need to make two main changes:
-
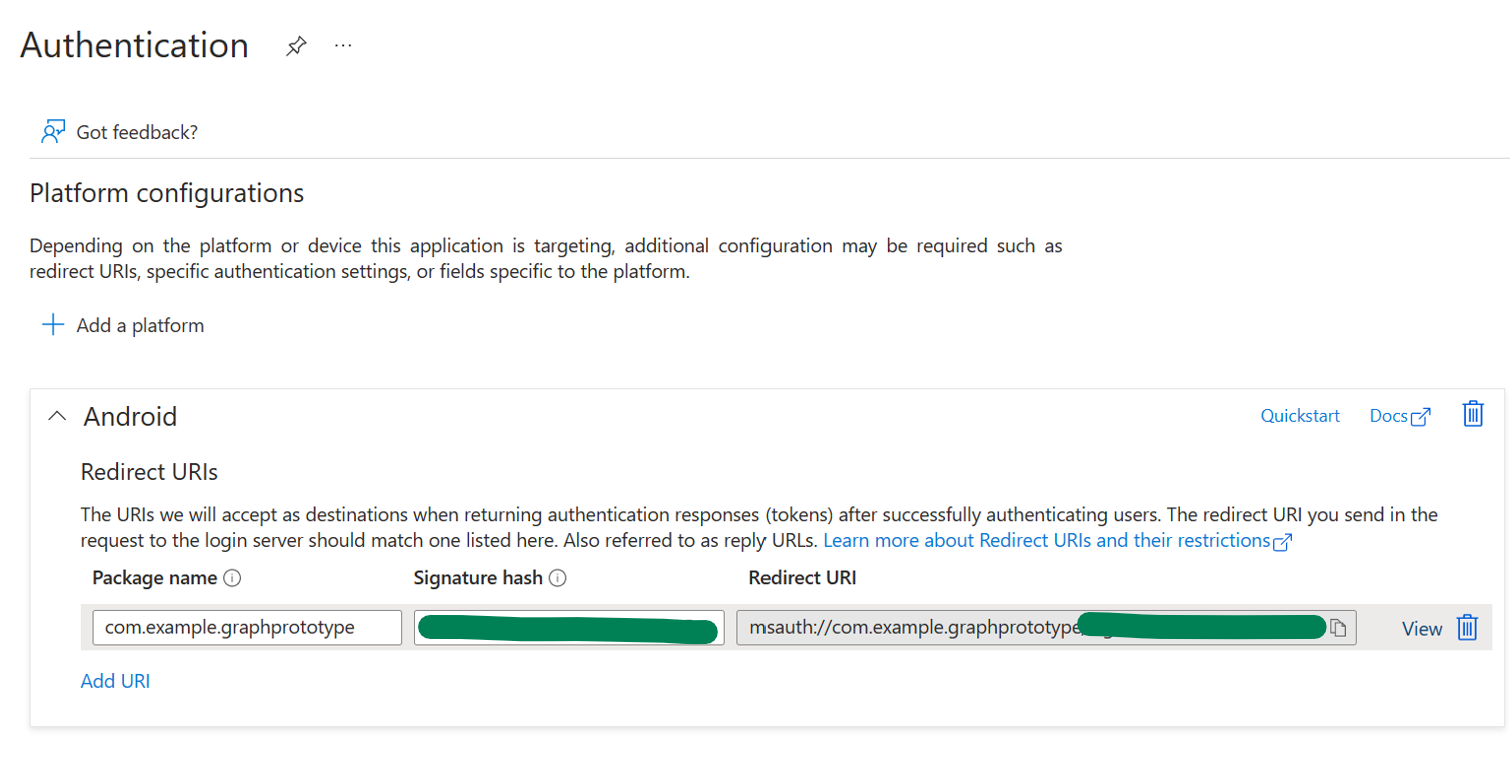
Create a JSON config file under your project’s raw resources. You can set up your config file to authenticate in single or multiple account mode, and you’ll need to enter your client id, redirect URI (see Figure 3), and audience type in this file.

Figure 3. You’ll need to copy your redirect URI, which combines your package name and signature hash, from Azure Portal in order to set up the config files for MSAL. -
Add a
BrowserTabActivityto your AndroidManifest.xml. You’ll also need to add your redirect URI here. It is formatted a bit differently in this file, but all the pieces are still there. All that needs to be changed is a) adding the package name to theandroid:hostattribute and b) updating theandroid:pathvalue to your signature hash.
To obtain the signature hash needed for a redirect URI, you can follow the application registration documentation on step 9. This will generate a specific development signature hash with KeyTool.
An alternative to generating a hash is to skip this step and run through the rest of the configuration process. Once finished, if you build the project in Android Studio, Android Studio will log a message about what signature hash it was expecting for your device – you can then copy this value and enter it into the Azure Portal and Android config files.
For example, in Figure 4, you can see that the “expected” (green) URI in that message is the one that you should add to the Azure Portal.

Figure 4. Example log message from Android Studio when the incorrect redirect URI/signature hash is being used.
Authenticating users in your app
Finally, to start using MSAL in your app, there are a few more code changes you’ll need to make.
The MSAL documentation goes into more detail, but the main steps are:
- Import the Microsoft Authentication Library (MSAL) for Android. This is how you will initiate a sign in with the correct permissions, request user consent, and redirect users back to the app once authentication is finished.
-
Create an instance of a
PublicClientApplicationusing your config files from the previous section. -
Call
signIn()oracquireToken()to interactively to prompt the user for their credentials.
And you’re in! Once a user has successfully been authenticated, you can use the accessToken field of the returned authentication result to call other Microsoft APIs.
Resources and feedback
To learn more about using MSAL in Android apps, check out:
- Tutorial: Sign in users and call the Microsoft Graph from an Android application
- Quickstart: Sign in users and call the Microsoft Graph API from a mobile application
- MSAL for Android API reference
- MSAL for Android GitHub repo
- Understanding Android MSAL configuration files
If you have any questions, or would like to tell us about your apps, use the feedback forum or message us on Twitter @surfaceduodev.
Finally, there won’t be a livestream this week, but check out the archives on YouTube. We’ll see you online again soon!
0 comments