Hello Jetpack Compose developers!
We’re excited to announce that UI tests have been added to all our Compose samples!
We learned a lot throughout the process of adding these tests, so we hope this week’s blog post makes it easier for you to start testing your own Compose layouts, especially when testing for compatibility with large screen and foldable devices.
Compose testing basics
Like with any other testing framework, the first step in writing UI tests with Compose is to import testing libraries and create an instrumented test class. For basic Compose tests, you need the following dependencies:
dependencies {
    androidTestImplementation("androidx.compose.ui:ui-test-junit4:$compose_version")
    debugImplementation("androidx.compose.ui:ui-test-manifest:$compose_version")
}
Inside your test class, you also need to create a test rule. You can choose to create either a ComposeTestRule (as shown below in the code snippet) or an AndroidComposeTestRule. You should use an AndroidComposeTestRule if you need to access an activity during your tests, in which case you would use the createAndroidComposeRule<Activity>() method instead of the createComposeRule() method.
@get:Rule
val composeTestRule = createComposeRule()
Once you’ve set up your dependencies and test class, the next step is to start creating tests! Each test must be located in its own function and marked with the @Test annotation in order to run correctly. The overall structure of each test is based on the idea that you want to look for UI elements and perform checks/actions on those elements.
If you’ve tested traditional views with Espresso before, this logic should sound very familiar. With the Compose testing APIs, the main difference is that we search for nodes in the semantics tree instead of views. These nodes store information about the different properties and actions that we may want to access during our UI tests. Another difference is that we have to manually set the content that is shown during each test, but this is actually one of the many benefits of working with Compose – each composable you write can be tested in isolation!
So, the main steps of testing a Compose layout are as follows:
- Set the content of the test
- Find the node(s) to test
- Perform actions or assertions on the node(s)
The code snippet below shows a basic test from our Extended Canvas sample. You can see how we first set the test content to the ExtendedCanvasApp composable, then search for the top bar in the semantics tree by looking for the top bar test tag, and finally perform an assertion to check if the top bar is currently displayed.
  @Test
  fun topBar_shows() {
      // 1. Set the content of the test
      composeTestRule.setContent {
          ExtendedCanvasAppsTheme {
              ExtendedCanvasApp()
          }
      }
      // 2. Find the node to test
      composeTestRule.onNodeWithTag(composeTestRule.activity.getString(R.string.top_bar))
          .assertIsDisplayed() // 3. Perform assertion on the node
  }
There are many other options for filtering nodes, checking properties, and performing actions, all of which can be found on the Compose testing cheatsheet. For more detailed setup information and coverage of additional testing topics, refer to the official testing documentation.
Advanced testing tips
As you practice writing Compose tests, you may find yourself testing more unique scenarios. Below, we’d like to share a few tips based on what we learned when adding more advanced tests to our samples.
Test layouts on large screens and foldables
Of course, we first have to discuss our favorite topic: large screen and foldable support! The great thing about instrumented tests is that they are run on whichever device you choose, so an easy way to test for compatibility is to simply run your tests on a large screen/foldable device. As a reminder, the Surface Duo 2 emulator is an excellent resource for this purpose, and we also recommend trying out the 6.7 horizontal fold-in, 7.6 fold-in with outer display, 8 fold-out, and Pixel C emulators to make sure you’re testing on a variety of large screen and foldable devices.
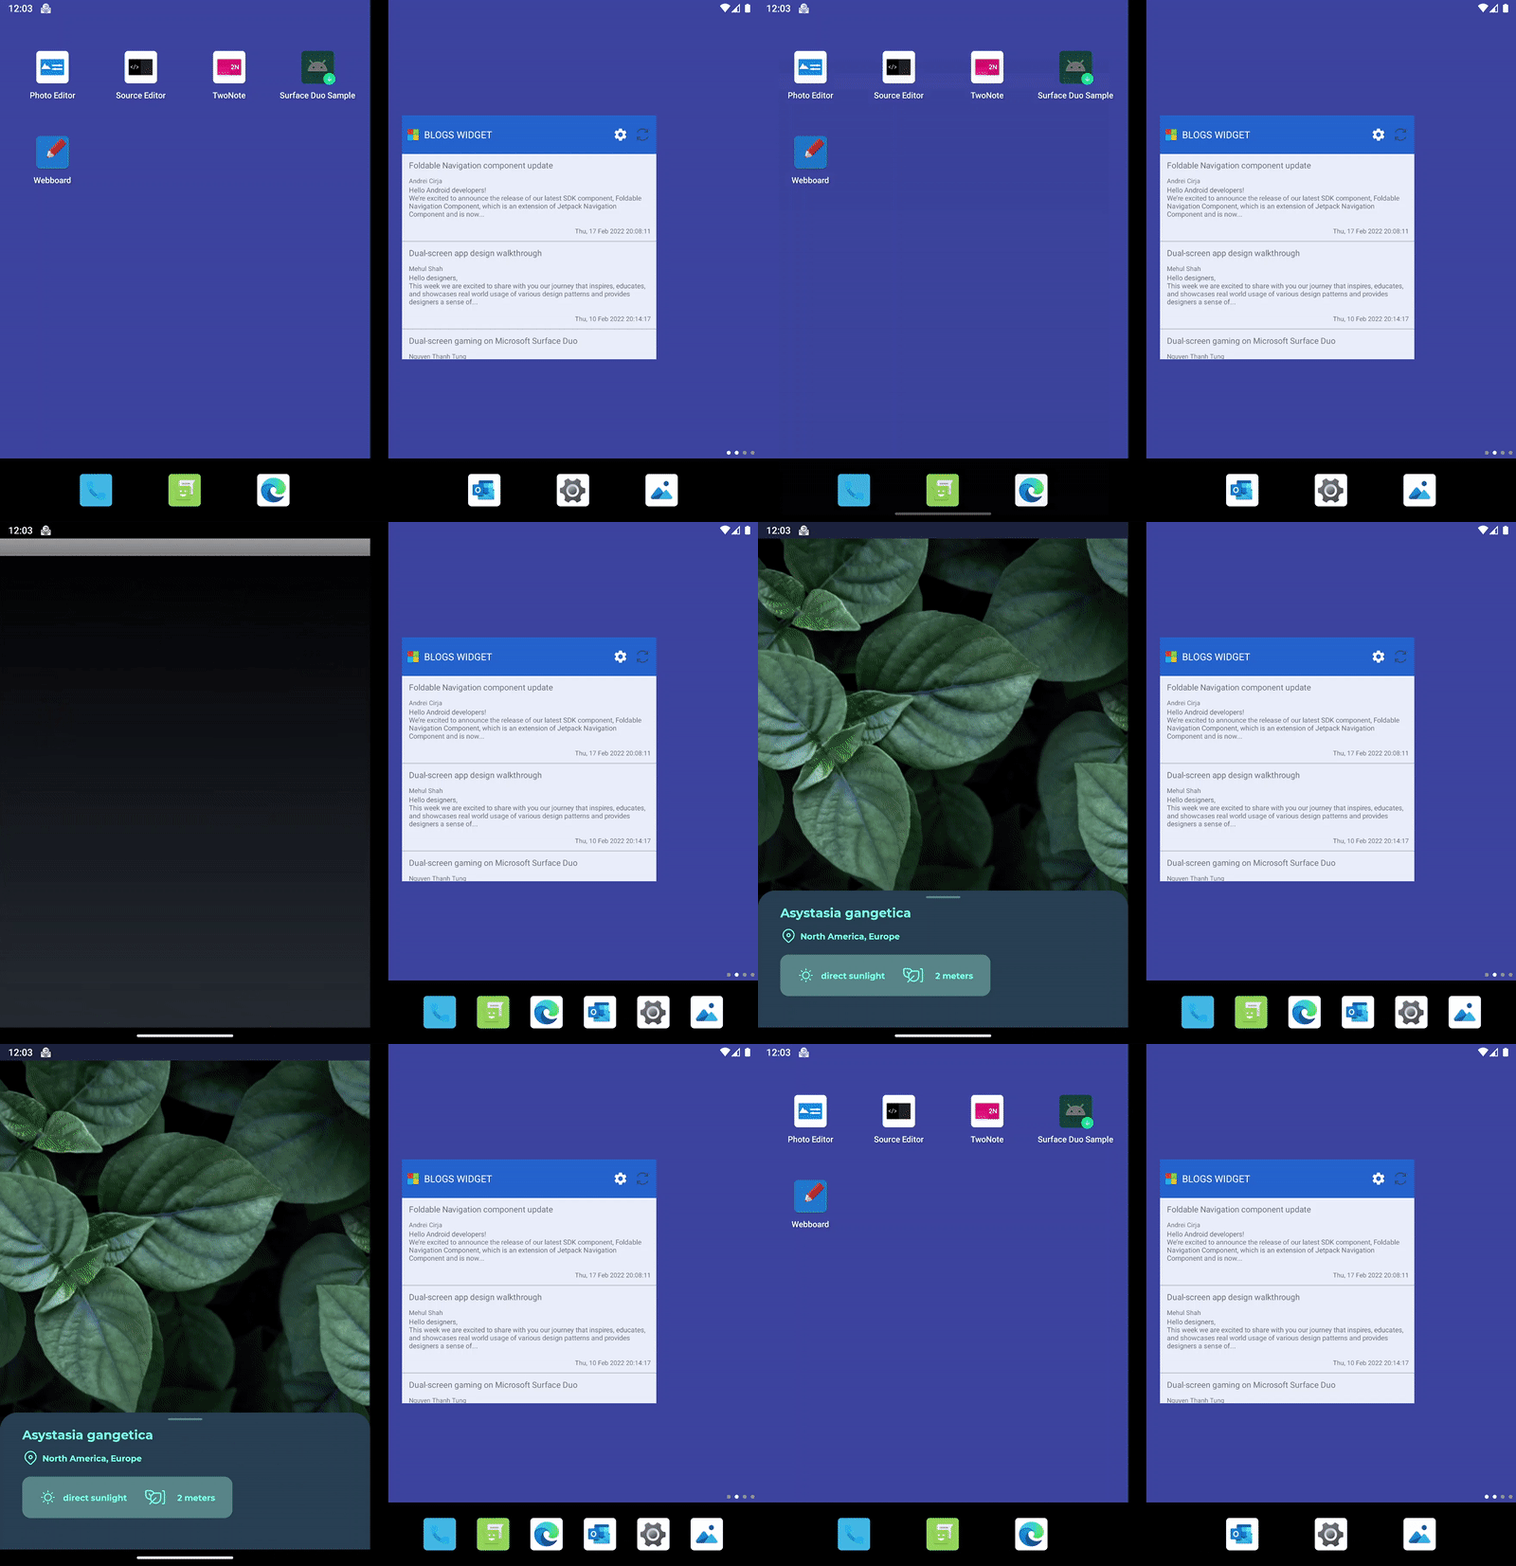
However, it’s also possible to test your layouts for large screen/foldable compatibility on any Android emulator. Depending on which states are passed into your composables, this could be as simple as passing in a larger window size or changing a boolean value. For example, our TwoPage sample uses our new WindowState library to pass information into the top-level composable, and this is the only information used to determine how the app is laid out. To test the app’s behavior on a large screen/foldable, all we need to do is modify the properties of the WindowState object when setting the content of the test. The code snippet below shows how we simulate the app being run on a foldable in dual landscape mode in the app_horizontalFold_pagesSwipeWithinLimits test:
  composeTestRule.setContent {
      TwoPageAppTheme {
          TwoPageApp(WindowState(hasFold = true, foldIsHorizontal = true, foldIsSeparating = true))
      }
  }

Figure 1. Animation showing the app_horizontalFold_pagesSwipeWithinLimits test running on the Surface Duo 2 emulator for the TwoPage sample.
If a composable reads some window properties internally though, then you can still use the Jetpack Window Manager window-testing artifact to send mock folding features to your activity. For instance, TwoPaneLayout reads window information directly from an app’s activity, so all of our samples that use this component are tested by creating mock folding features. To learn more, please refer to our doc on how to write Compose tests for foldables.
Choose the right “finder” for a node
Although the concept of finding a node sounds simple enough, sometimes it’s hard to choose which “finder” will work best for you. The main methods for finding a node are onNodeWithContentDescription, onNodeWithTag, and onNodeWithText. The onNodeWithTag method is especially helpful for nodes that don’t have text or content descriptions, in which case you just need to use the testTag modifier attribute with the element you want to test.
However, there may be times when you need to use other matchers to find a node. This could be for a number of reasons – maybe the node doesn’t display text, or the only information you know about a node is its relationship with other nodes. This is when the flexibility of the onNode(matcher) method becomes useful.
One example is a test in the NavigationRail sample that checks if a node is able to perform a specific action. This test uses multiple matchers in onNode, first to locate the correct node and then to check if the action is defined in the node’s semantics.
composeTestRule.onNode(
    hasAnyChild(hasText(plantList[0].fact1))
        and SemanticsMatcher.keyIsDefined(HorizontalScrollAxisRange)
).assertExists()
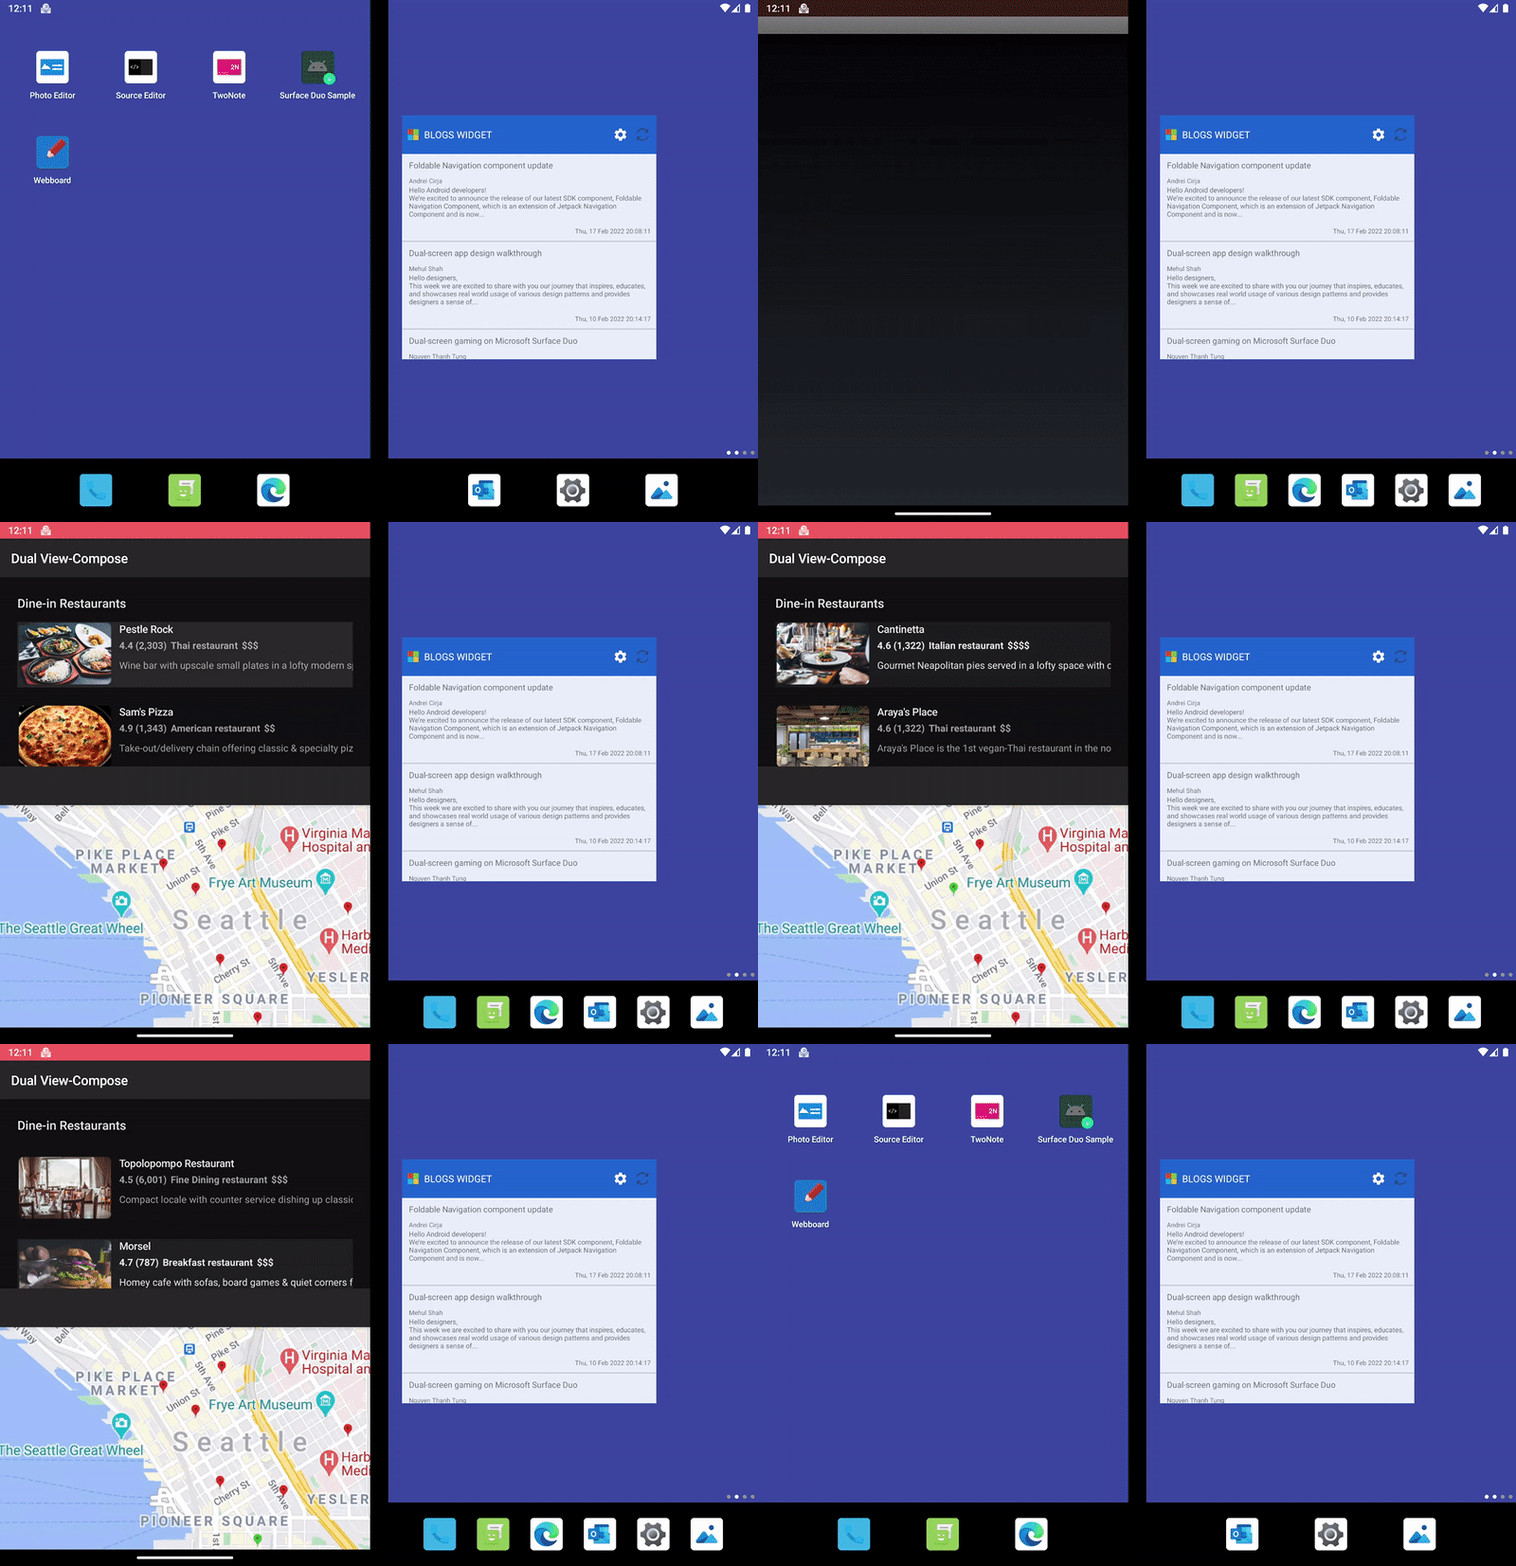
Another example is a test in the DualView sample that scrolls through a list and checks the content of each list element. In this case, we still need to find the list node so we can scroll through it, but we only want to perform assertions on the list elements. This is why it’s useful to just search for the node based on the action we want to perform and we save time by not adding a test tag or debugging the semantics tree.
composeTestRule.onNode(hasScrollToIndexAction()).performScrollToIndex(index)

Figure 2. Animation showing the app_horizontalFold_mapUpdatesAfterRestaurantClick test running on the Surface Duo 2 emulator for the DualView sample. A horizontal fold is simulated and then the node with the scrollToIndex action is found so each restaurant in the list can be clicked.
A final example is a test in the CompanionPane sample that checks whether the app name appears in the top bar.
composeTestRule.onNode(
    hasParent(
        hasTestTag(composeTestRule.activity.getString(R.string.top_bar))
    )
).assertTextEquals(composeTestRule.activity.getString(R.string.app_name))
At first, you would think that setting up this test would be simple – just add a test tag to the TopAppBar composable and then assert that its text is equal to the app name. When we first tried this, however, the test failed! This is a great example of why it’s so important to debug your tests with the printToLog feature and experiment with the merged/unmerged semantics tree, especially when working with nested composables and lists with many children. Even when nodes don’t display text or have other unique properties, you can always look at the semantics tree and use node relationship matchers.
A quick look at the printToLog output (with the merged semantics tree) shows why the test failed: the title element in the top bar is treated as a child node of the TopAppBar node, which has our test tag. For this reason, we use the hasParent matcher with onNode instead of just directly calling onNodeWithTag.
  |-Node #3 at (l=0.0, t=60.0, r=1344.0, b=200.0)px, Tag: 'Top Bar'
     |-Node #5 at (l=40.0, t=97.0, r=687.0, b=164.0)px
       Text = '[Companion Pane - Compose]'
       Actions = [GetTextLayoutResult]
Check properties that aren’t in the semantics tree
There may also be cases when you want to check the value of properties that aren’t stored in the semantics tree. To solve this problem, you can create a custom semantics property in three steps:
-
Declare a public semantics property key and receiver:
val TextStyleKey = SemanticsPropertyKey<TextStyle>("TextStyleKey") var SemanticsPropertyReceiver.textStyle by TextStyleKey -
Set the value of your custom property with the
semanticsmodifier attribute and the previously defined key:val textStyle = if (isSelected) selectedBody1 else typography.body1 Row( modifier = Modifier .fillMaxWidth() .semantics { this.textStyle = textStyle }, horizontalArrangement = smallArrangement ) -
Create a
SemanticsNodeInteractionextension function that you can use to check the property in your tests:private fun SemanticsNodeInteraction.assertTextStyleEquals(textStyle: TextStyle) = assert(SemanticsMatcher.expectValue(TextStyleKey, textStyle))
The code snippets above were taken from our DualView sample, but you can see additional examples of custom properties in our ExtendedCanvas sample (ImageOffsetKey) and our NavigationRail sample (DrawerStateKey).

Figure 3. Animation showing the detailView_contentDrawerSwipes test running on the Surface Duo 2 emulator for the NavigationRail sample. The item details drawer is swiped up and down and then the drawer state is checked.
Resources and feedback
Check out the Surface Duo developer documentation and past blog posts for links and details on all our samples.
If you have any questions about Jetpack Compose or testing, or would like to tell us about your apps, use the feedback forum or message us on Twitter @surfaceduodev.
Finally, please join us on Twitch on Friday 5th March at 11am Pacific time to discuss this post.

0 comments