Hello prompt engineers and Jetpack Compose developers,
Last week, we introduced the JetchatGPT sample to show you how to integrate the OpenAI chat API into an Android app. Instead of building requests manually like in previous blog posts, we showed you how to use the openai-kotlin client library to make it easier to interact with the chat endpoint.
This week, we’ll show you how to improve the JetchatGPT user experience by adding error handling when using the client library and building some cool animations!

JetchatGPT overview
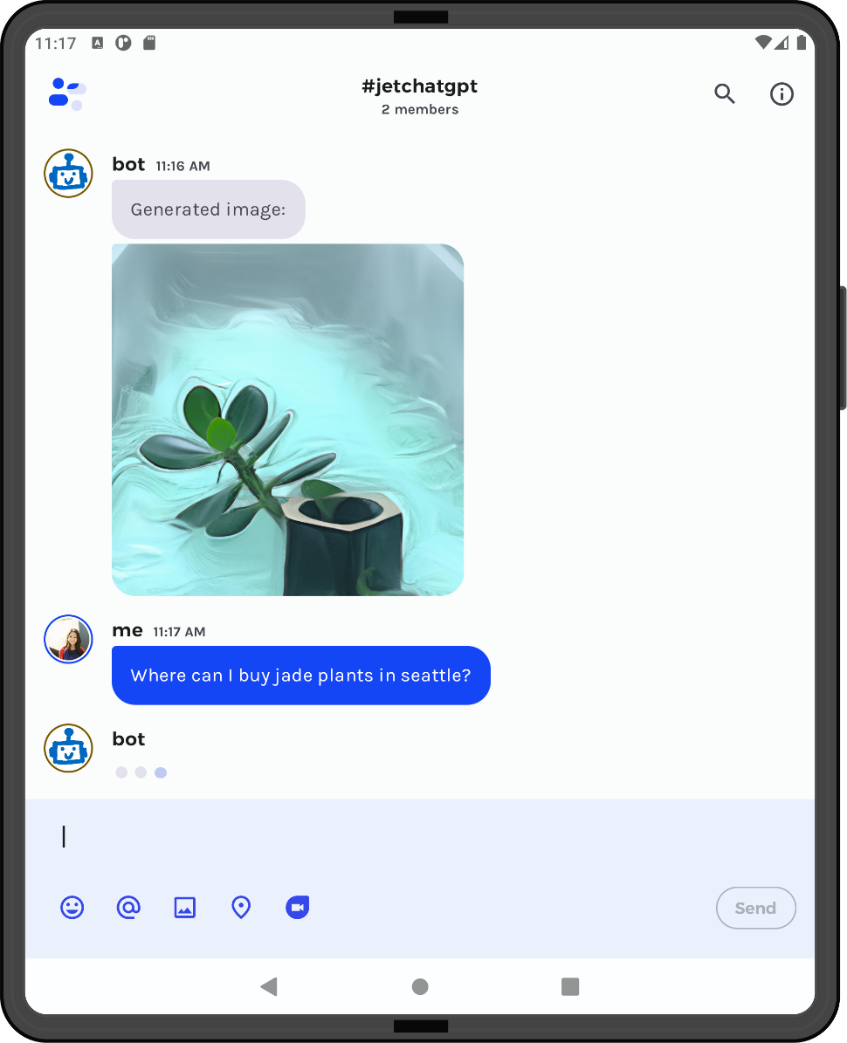
As a reminder, the JetchatGPT sample is a forked version of Jetchat, one of the official Jetpack Compose samples. It uses the OpenAI kotlin client library to allow users to access the chat and image generation endpoints. If the keyword image is detected in a user message, then the prompt will be sent to the image generation endpoint, otherwise the message will be saved as part of the conversation context for the chat endpoint.
Add error handling
Our first step to improve JetchatGPT is to add error handling. Sometimes requests fail, or user input is formatted incorrectly, and we want to make sure this doesn’t crash the app.
The OpenAI client library provides several different error types that you can handle with try-catch logic. The code snippet below shows an example of how you could customize the bot’s response depending on the error type:
  val botResponse = try {
      // request with client library
      openAIWrapper.chat(content)
  } catch (e: OpenAIAPIException) {
      "Sorry, there was an error with the API: ${e.message}"
  } catch (e: OpenAITimeoutException) {
      "Sorry, your request timed out."
  } catch (e: Exception) {
      "Sorry, there was an unknown error: ${e.message}"
  }
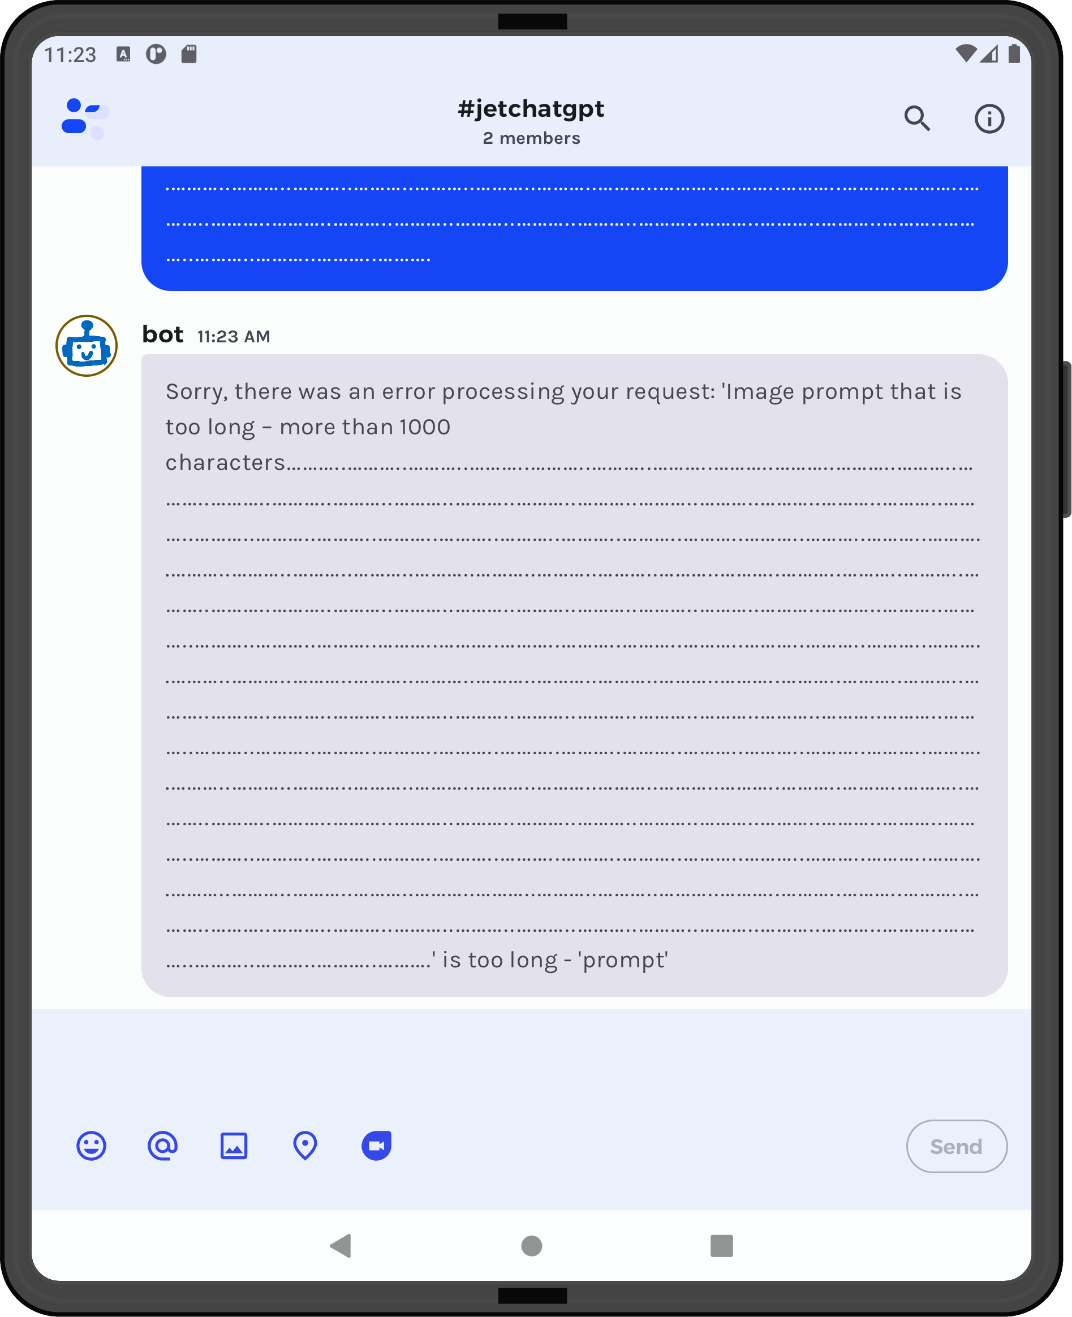
In the updated sample, we just added a basic try-catch statement inside onMessageSent in the MainViewModel.We use the client library to send requests inside onMessageSent in the MainViewModel, and you can see that now, our app will not crash when a request fails. For example, this is how the bot responds when the user prompt is too long:

Typing indicator using Compose Animation APIs
Now that the app has proper error handling, we can focus on UI updates to help improve the JetchatGPT user experience even more. Since Jetchat is an official Compose sample, it already looks amazing, but there are some additions we can make to ensure that looks even better.
One very common feature in chat and messaging apps is a typing indicator. This can drastically improve the user experience, especially when waiting 5+ seconds for a long response from an OpenAI endpoint.
Typing indicators come in a wide variety, and they usually animate some combination of color, size, and position. Here are a few examples:
- React typing indicator sample
- Flutter typing indicator widget
- After Effects typing indicator tutorial
Today, we’re going to implement a typing indicator that uses Compose APIs to animate two properties: color and shape.
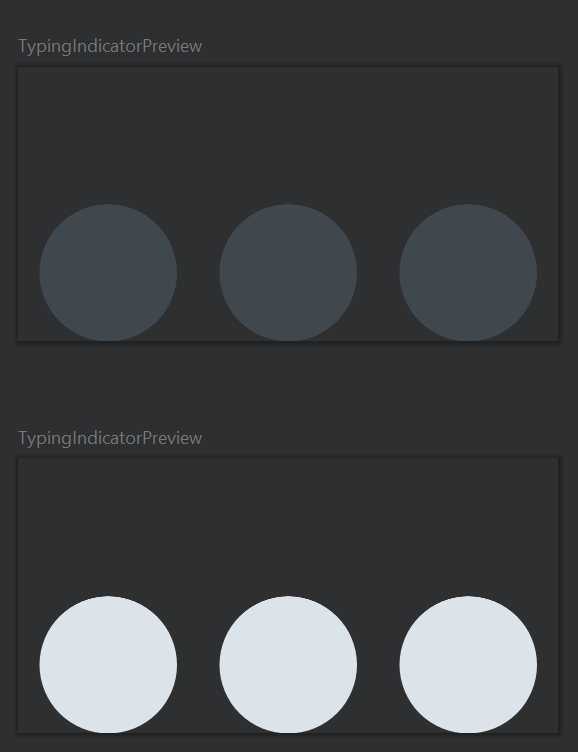
The first step is to set up our basic typing bubbles, which we can do easily with Row and Box:
  @Composable
  fun TypingBubbleAnimation(modifier: Modifier = Modifier) {
      Row(modifier.fillMaxWidth(0.8f))
     {
        repeat(3) {
           TypeBubble()
        }
     }
  }

  @Composable
  fun RowScope.TypeBubble() {
      Box(
          modifier = Modifier
              .weight(1f)
              .align(Alignment.Bottom)
              .size(10.dp)
              .background(MaterialTheme.colorScheme.surfaceVariant, CircleShape)
    )
  }

Now let’s try animating the bubbles! For both the color and shape changes, our desired behavior is to animate one bubble at a time, in order. Because of this, a good starting point would be to set up an animation that changes between 0, 1, and 2 – this animated Int will represent which bubble is currently being animated.
To set this index value animation up, we can use rememberInfiniteTransition:
  val transition = rememberInfiniteTransition()
  val bubbleIndex by transition.animateValue(
      initialValue = 0,
      targetValue = 3,
      typeConverter = Int.VectorConverter,
      animationSpec = infiniteRepeatable(
          animation = tween(durationMillis = 450, easing = LinearEasing)
      )
  )
Now, we can check if the index of a bubble matches bubbleIndex to determine its color and shape. The current bubbleIndex bubble should use the primary color from the Material Theme, instead of surfaceVariant, and should have a shape with an increased width and decreased height to simulate the bubble being squished. We can easily animate the color and height/width values of the bubble using animateDpAsState and animateColorAsState, and then we just need to add the color and DpSize as parameters to the TypeBubble composable.
One important note is that, to avoid unnecessary recomposition, we don’t want to pass in the color and size raw values. Since these values are being changed constantly as part of the animation, the composable would be constantly recomposed. Instead, we want to follow Compose performance best practices, so we will pass in a lambda function that returns a color or size, and switch to the lambda versions of the our size and color modifiers. That way, the color and size states are only read during the draw phase and there’s no need to recompose.
Putting all that together, we get this animation code:
  @Composable
  fun TypingBubbleAnimation(modifier: Modifier = Modifier) {
      val baseColor = MaterialTheme.colorScheme.surfaceVariant
      val highlightColor = MaterialTheme.colorScheme.primary

      // animate index of highlighted bubble (goes up to 4 to add slight pause between repeats)
      val transition = rememberInfiniteTransition()
      val bubbleIndex by transition.animateValue(
          initialValue = 0,
          targetValue = 4,
          typeConverter = Int.VectorConverter,
          animationSpec = infiniteRepeatable(
              animation = tween(durationMillis = 600, easing = LinearEasing)
          )
      )

      val baseDiameter = 10.dp
      Row(modifier.fillMaxWidth(0.8f))
      {
         repeat(3) { index ->
            // controls bubble squished-ness
            val heightPct = if (index == bubbleIndex) 0.6f else 1f
            val widthPct = if (index == bubbleIndex) 1.1f else 1f

            val height by animateDpAsState(baseDiameter * heightPct)
            val width by animateDpAsState(baseDiameter * widthPct)

            val color by animateColorAsState(if (index == bubbleIndex) highlightColor else baseColor)

            TypeBubble(color = { color }, size = { DpSize(width, height) }, baseSize = baseDiameter)
         }
      }
  }

  @Composable
  fun RowScope.TypeBubble(color: () -> Color, size: () -> DpSize, baseSize: Dp) {
      Box(
          modifier = Modifier
              .weight(1f)
              .align(Alignment.Bottom)
              .drawBehind {
                  val sizePx = size().toSize()
                  val heightPx = sizePx.height

                  // push y coordinate down so bubble gets squished from the top, not the bottom
                  drawOval(color(), Offset(center.x, center.y + (baseSize.toPx() - heightPx)), sizePx)
              }
     )
  }
Note that we also increased the bubbleIndex target value to 4 instead of 3, which adds a bit of a pause before the animation starts looping again. You may also notice that, instead of always drawing the bubbles at the center coordinates, we adjust the y coordinate so that the bottoms of the bubbles are always aligned. That way, it looks like the bubbles are being squished down, instead of squished up.
Now that we have our animation set up, all that’s left to do is add a field to the MainViewModel called botIsTyping to determine whether or not the animation should be shown. Here’s the final result:
We also made a few other minor UI improvements after adding the animations – check out the updated JetchatGPT and let us know what you think!
Resources and feedback
Here’s a summary of the links shared in this post:
If you have any questions about ChatGPT or how to apply AI in your apps, use the feedback forum or message us on Twitter @surfaceduodev.
We will be livestreaming this week on Friday at 11am! You can also check out the archives on YouTube.

0 comments