

UPDATE: See the blog post: How to deploy Semantic Kernel to Azure as a web application service on the easiest way to deploy Semantic Kernel to your Azure instance.
If you have been following the Semantic Kernel GitHub repo, you have probably experimented with some of the examples and seen how powerful and flexible the platform is for adding intelligence to your own apps. You might be eager to take your Semantic Kernel skills to the next level and deploy our SDK to the cloud.
In this blog post, I will show you how to deploy Semantic Kernel to Azure using Azure functions, a serverless computing service that lets you run code without managing servers or infrastructure. You will see how easy it is to set up Semantic Kernel as an Azure function. By the end of this tutorial, you will have a fully functional Semantic Kernel SDK running on Azure and ready to use in your own apps.
Before we begin, make sure you have the Azure Tools extension for VS Code installed.
If you already have a blank Azure Function running, you can skip past these setup screens.
Creating an Azure Function from VS Code
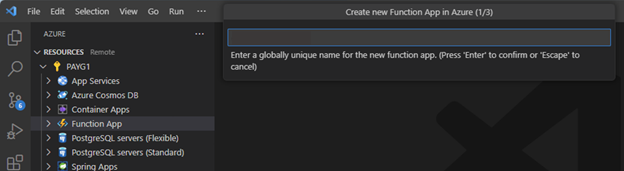
Go to the Azure Tools extension on the left rail and select your resource then Function App. Right click and select “Create Function App in Azure”.

After you select “Create Function App in Azure” you will be prompted to create a new Function App by entering in a unique name.
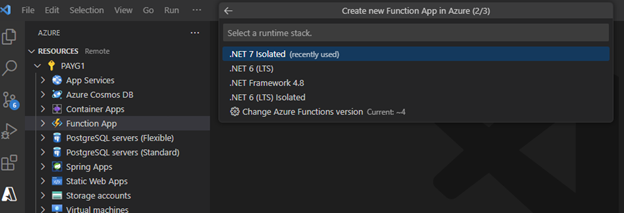
Continue to follow the prompts to select an Isolated runtime stack (.Net 7 Isolated or .Net 6 Isolated).
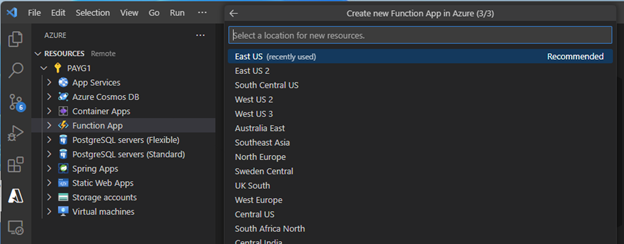
Finally, select your region for deployment.
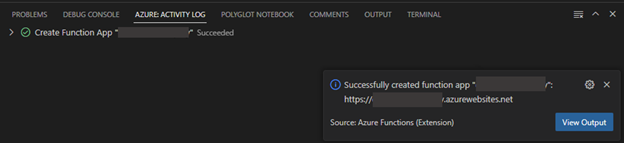
Now you will see that you have an Azure function deployed and ready in Azure.
Deploying Semantic Kernel SDK to your Azure Function
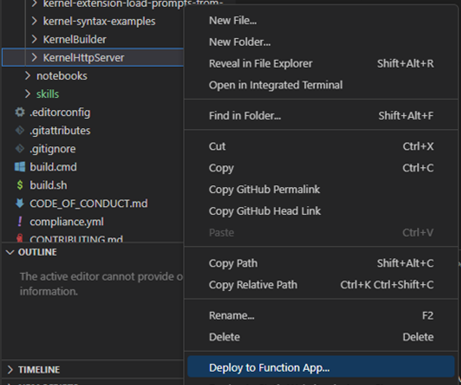
To deploy Semantic Kernel to an Azure Function, start with selecting the KernelHttpServer folder from:
samples >> dotnet >> KernelHttpServer
Right click on the folder and select “Deploy to Function App…”
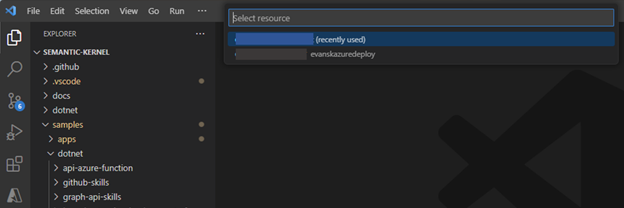
You will be guided to select a Subscription and then a resource. Select the one you created above or one you already created in the past.
The process will run in in VS Code to deploy the Semantic Kernel SDK to the Azure Function. Once complete you can go to the Azure Portal to review the resource you just created.
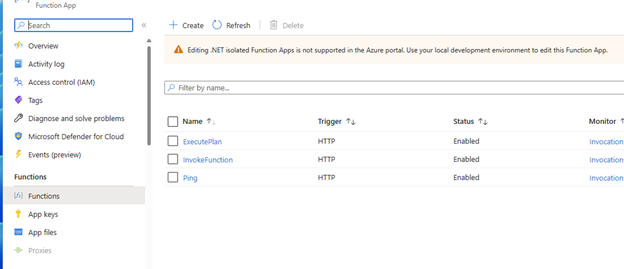
You can also try to run the Azure Function with Semantic Kernel SDK running in it from the portal.

In just a few minutes you have deployed Semantic Kernel to Azure, and you can now start adding intelligence to your apps.
Next steps:
Join the community and let us know what you think: https://aka.ms/sk/discord
0 comments