Weekend Scripter: Introducing the PowerShell and WMI Browser
Summary: Guest blogger, Jakob Gottlieb Svendsen, talks about the Windows PowerShell and WMI browser.
Microsoft Scripting Guy, Ed Wilson, is here. Today we have a guest blog post by Jakob Gottlieb Svendsen. But first, a little bit about Jakob…
Jakob is a senior consultant, trainer, and chief developer at Coretech A/S, where he is one of the driving forces in keeping Coretech a System Center Gold Partner and member of the System Center Alliance. Since he started at Coretech in 2007, he has focused on scripting and development, primarily developing tools, extensions, and scripts for the System Center Suite.
His main product focus is System Center Orchestrator (the former Opalis), a product he has been invited to speak about at different summits and user group meetings, leading him to become a renowned voice in his field. Since 2012, he has been travelling the world and teaching his 3-day workshop on Orchestrator, which is called “Mastering System Center Orchestrator 2012.”
He is passionately devoted to the community, and he contributes to it by being a moderator at TechNet and a member of the TechNet Influencers team, and by sharing his knowledge on his blog. In 2012, he and a two other Windows PowerShell geeks started the Danish PowerShell User Group.
Jakob’s contact info:
Blog: Coretech Blog
Twitter: @JakobGSvendsen
Coretech WMI and PowerShell Explorer
Hey scripting guys and girls!
WMI is a great tool, but can sometimes be a hassle to browse, and it can be hard to find the information you are looking for. A great quote says, “I have a love-hate relationship with WMI. I love access to everything, but I can never find it!”
To help in this matter, use a WMI browser! My great colleague, Kaido Järvemets (Enterprise Client Management MVP), has released a new WMI and Windows PowerShell browser tool. It is great for any kind of WMI browsing, but it also enables you to browse the Windows PowerShell commands on the local computer to get a list of the valid parameter sets. Because it is written completely in Windows PowerShell using WPF form, it can be a very nice inspiration for your own GUIs!
To get started, you can download the browser and learn about all the requirements and license (it’s FREE!): Coretech WMI and PowerShell Explorer.
Now let’s get busy using this tool…
Using the WMI feature
Follow these steps to start using the WMI browser.
To connect to the local computer Root\Cimv2 namespace
- Launch the Coretech WMI and PowerShell Explorer as an Administrator. In the upper-left corner, expand the Menu, and click Connect.
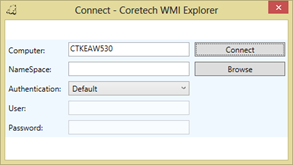
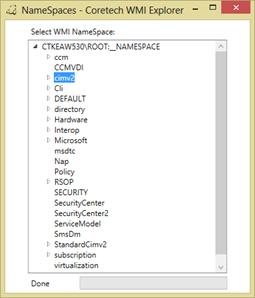
- In the Connect dialog box, use the Browse button to browse for existing namespaces on the local computer (or you can type the Namespace information). In this example, we will connect to the Root\Cimv2 namespace.
- From the list, double-click Root\Cimv2 to add the namespace, and then click Connect.
With a successful connection, you are now able to browse all the Root\Cimv2 classes.
To connect to a remote computer
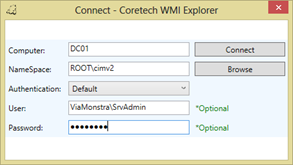
- Launch the Coretech WMI and PowerShell Explorer as an Administrator. In the upper-left corner, expand the Menu, and click Connect.
- In the Connect dialog box, delete the existing computer name.
- Type a User name and Password.
- Use the Browse button to browse for existing namespaces on the local computer (or you can type the Namespace information). In this example, we will connect to the Root\Cimv2 namespace.
- Click Connect to connect to the namespace.
Note When you connect to a remote computer, some classes requires that you change the Authentication to PacketPrivacy. The six Authentication levels are:
- None
No authentication is performed. - Connect
Authentication is performed only when the client establishes a relationship with the application. - Call
Authentication is performed only at the beginning of each call when the application receives the request. - Packet
Authentication is required for all data received from the client. - PacketIntegrity
All data transferred between the client and the application is authenticated and verified. - PacketPrivacy
The properties of the other authentication levels are used, and all data is encrypted.
To query information from a specific WMI class
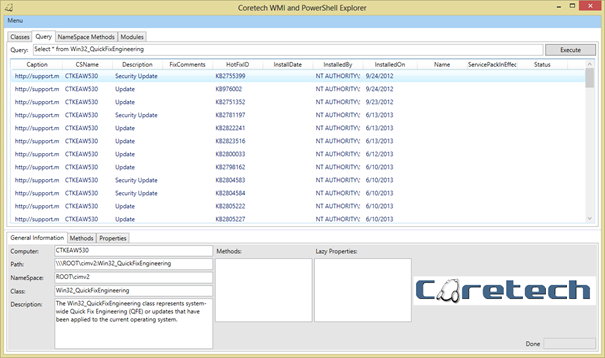
After you are connected to a namespace, you can use Query tab to query the WMI class instances. In the following example, a query lists all installed MSU updates that are listed in the Win32_QuickFixEngineering class.
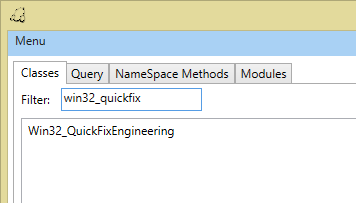
- Connect to the Root\Cimv2 namespace, and in the Filter dialog box, type Win32_QuickFix (or select the class from the list of classes).
- Select the Win32_QuickFixEngineering class, and then click the Query tab.
- Notice that the a query that will list all instances from the class is precreated (Select * from Win32_QuickFixEngineering), and it is ready to be run.
- Click Execute to run the query and list the class instances.
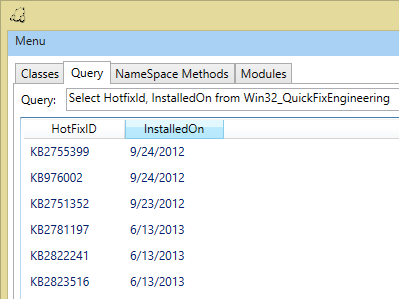
- By default, * will return all columns. You can customize the query to return specific columns by typing Select HotfixId, InstalledOn from Win32_QuickFixEngineering
To export the query results
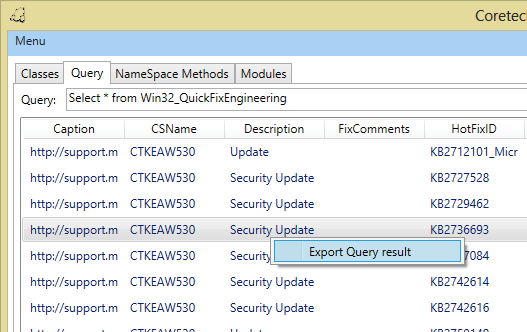
All results from a query can be exported to a CSV file.
- Run a WMI query, right-click any instance in the query result, and click Export Query result.
- The Export feature automatically creates a CSV file on the desktop.
To export namespace methods
The Coretech WMI and PowerShell Explorer can also be used to export all methods from a namespace. In the following example, all methods from the Root\Cimv2 namespace will be exported.
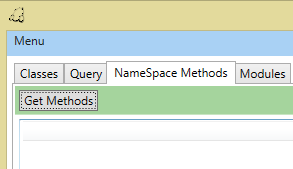
- Connect to Root\Cimv2, and click the NameSpace Methods tab.
- Click Get Methods to get a list of all the methods in the Root\Cimv2 namespace.
Using the Windows PowerShell feature
The Windows PowerShell feature can be used to browse any Windows PowerShell module. This makes it easy to read the Help files or find a command.
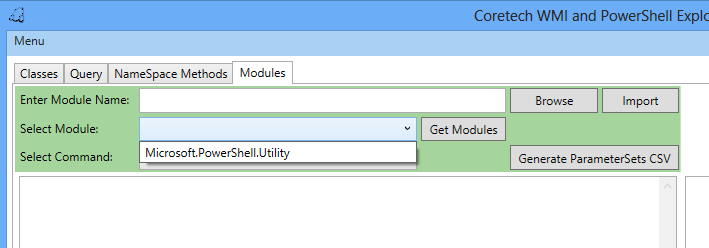
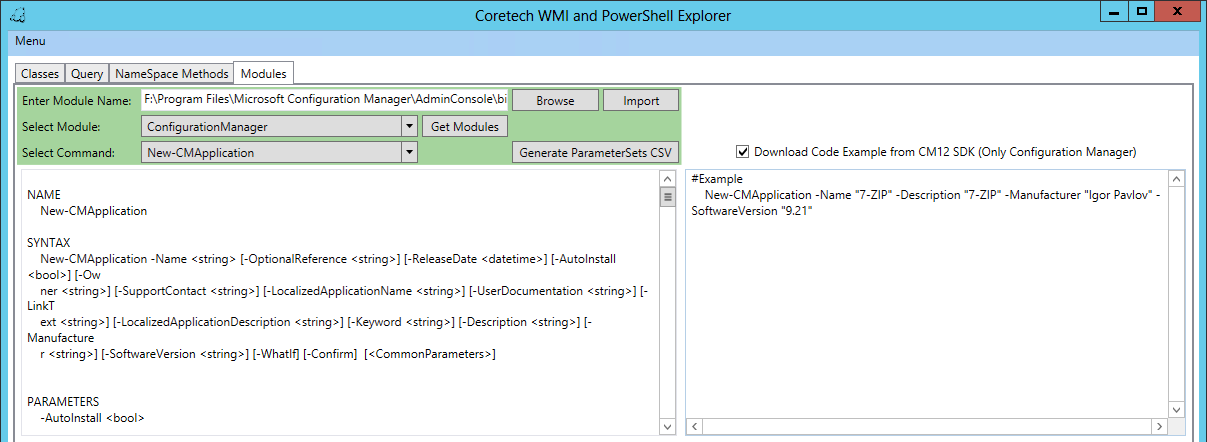
- Launch the Coretech WMI and PowerShell Explorer as an Administrator, and click the Modules tab.
- Enter a module name, or click Browse to browse for a .psm1 or .psd1 file.
- Click Import to import the module.
- Click Get Modules to fill the modules drop-down list.
- Select a command to show the Help file.
- If you want a complete list of valid parameter sets for the cmdlets, click the Generate ParameterSets CSV button to export and open a CSV file.
To use Configuration Manager 2012 features
The Windows PowerShell tab also includes a special Configuration Manager 2012 feature for getting examples from the CM12 SDK website.
- Launch the Coretech WMI and PowerShell Explorer as an Administrator, and click the Modules tab.
- Click Browse and select the ConfigurationManager.psd1 file. The Windows PowerShell module is part of the Configuration Manager administrator console installation, and it is stored in one of the following locations:
C:\Programs Files(x86)\Microsoft Configuration Manager\AdminConsole\bin\ConfigurationManager.psd1
or
<ConfigMgr server install dir>\AdminConsole\bin\ConfigurationManager.psd1 - In the Coretech WMI and PowerShell Explorer, click Import.
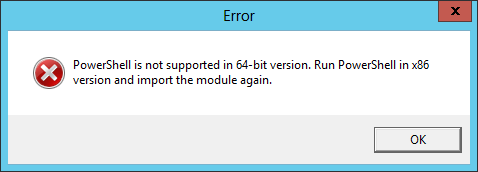
- During the import process, you might be presented with an error message that says Windows PowerShell is not supported in a 64-bit version. You can safely ignore that error by clicking OK.
- Click Get Modules to load the imported modules.
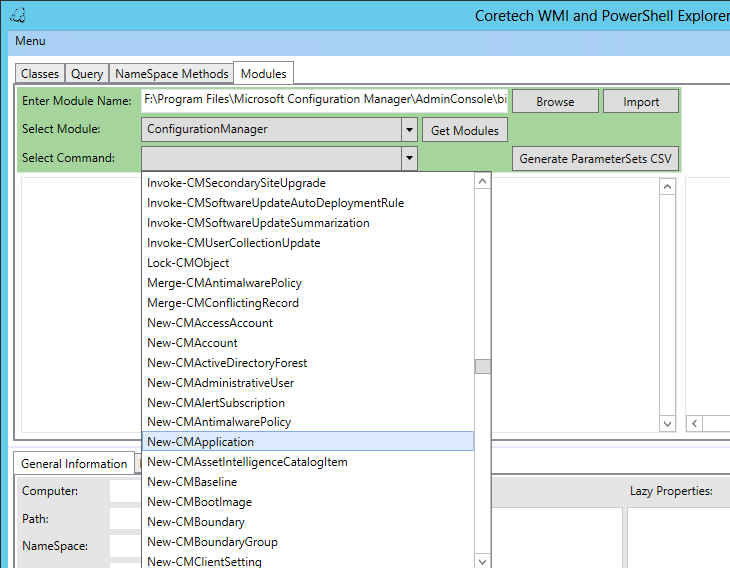
- All loaded modules will be listed in the Select Module drop-down list. In this list, click ConfigurationManager.
- In the Select Command drop-down list, you’ll be presented with all the cmdlets in the ConfigurationManager module.
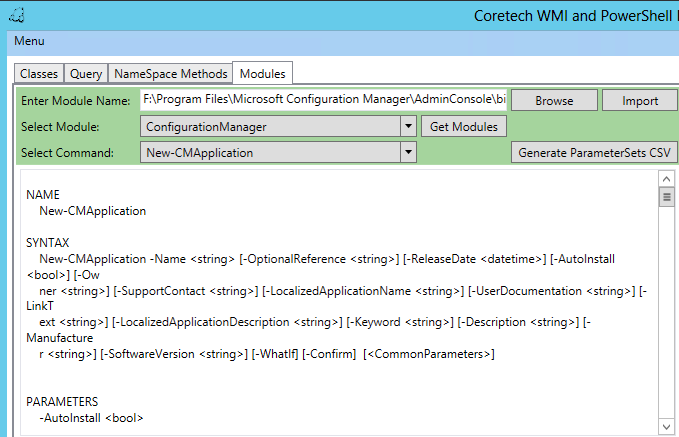
- Select the New-CMApplication cmdlet to view the Help topics for that cmdlet.
- In the right pane, select Download Code example from CM12 SDK. You’ll now see one or more code examples that can be used in Configuration Manager 2012.
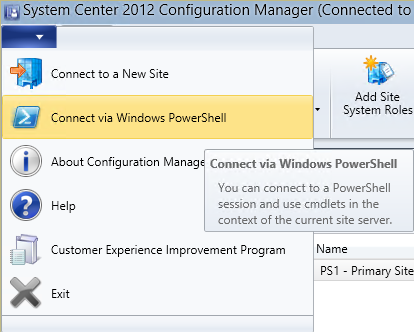
- Copy the example text, and launch Windows PowerShell from the System Center Configuration Manager Administrator console.
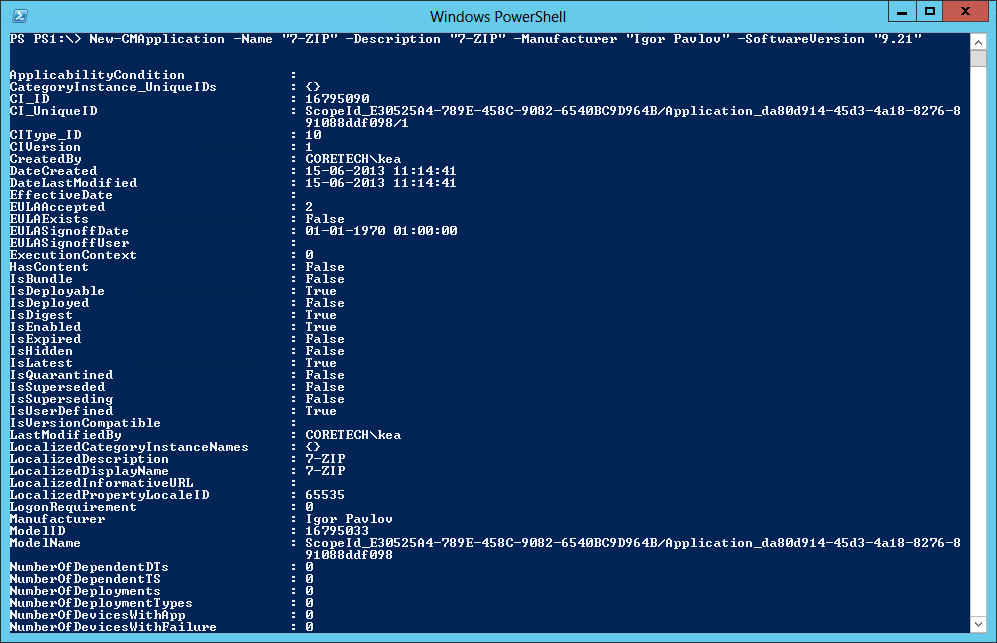
- In Windows PowerShell, type (or paste) the code example from CM12 SDK to create the application.
More features are available in the browser. Go exploring! More guides will appear very soon on Kent Agerlund’s Blog.
Have fun browsing!
~Jakob Gottlieb Svendsen
Thank you, Jakob, for presenting a cool tool and an excellent post. I appreciate the time you took to do this. Join me tomorrow for more way cool Windows PowerShell stuff.
I invite you to follow me on Twitter and Facebook. If you have any questions, send email to me at scripter@microsoft.com, or post your questions on the Official Scripting Guys Forum. See you tomorrow. Until then, peace.
Ed Wilson, Microsoft Scripting Guy










 Light
Light Dark
Dark
0 comments