

In this first guest blog, it is my pleasure to introduce a blog written by Phil Cole about annotating Power Platform Checker Results. Phil is Senior Consultant at TechLabs London and is a community star who has written lots of amazing blogs on Power Platform topics, like Connectors, Power Fx, ALM and more.
This blog is all about the Power Platform Solution Checker results and how to annotate them in your pipelines.
How can we quickly identify new issues exposed by the Solution Checker? If we are in the fortunate position of having zero issues then new issues are easy to identify. For more than a handful of issues we might have to compare against previous runs of the solution checker to identify the newly introduced issues. Let’s investigate how to improve this situation.
Power Platform Checker SARIF Output
As discussed in an earlier blog I wrote, the Power Platform Checker Azure DevOps task outputs its results as a SARIF file which can be viewed within Azure DevOps using the SARIF SAST Scans Tab extension.
The issues reported by the checker may change due to:
- Changes in the solution under development
- Microsoft adding new rules to the checker (e.g. Flow recursive check)
- Microsoft changing the severity of a rule from ‘Warning’ to ‘Critical’. (e.g. OData deprecation)
- Changes to the configuration of the power platform checker task (e.g. excluding rules or web resources)
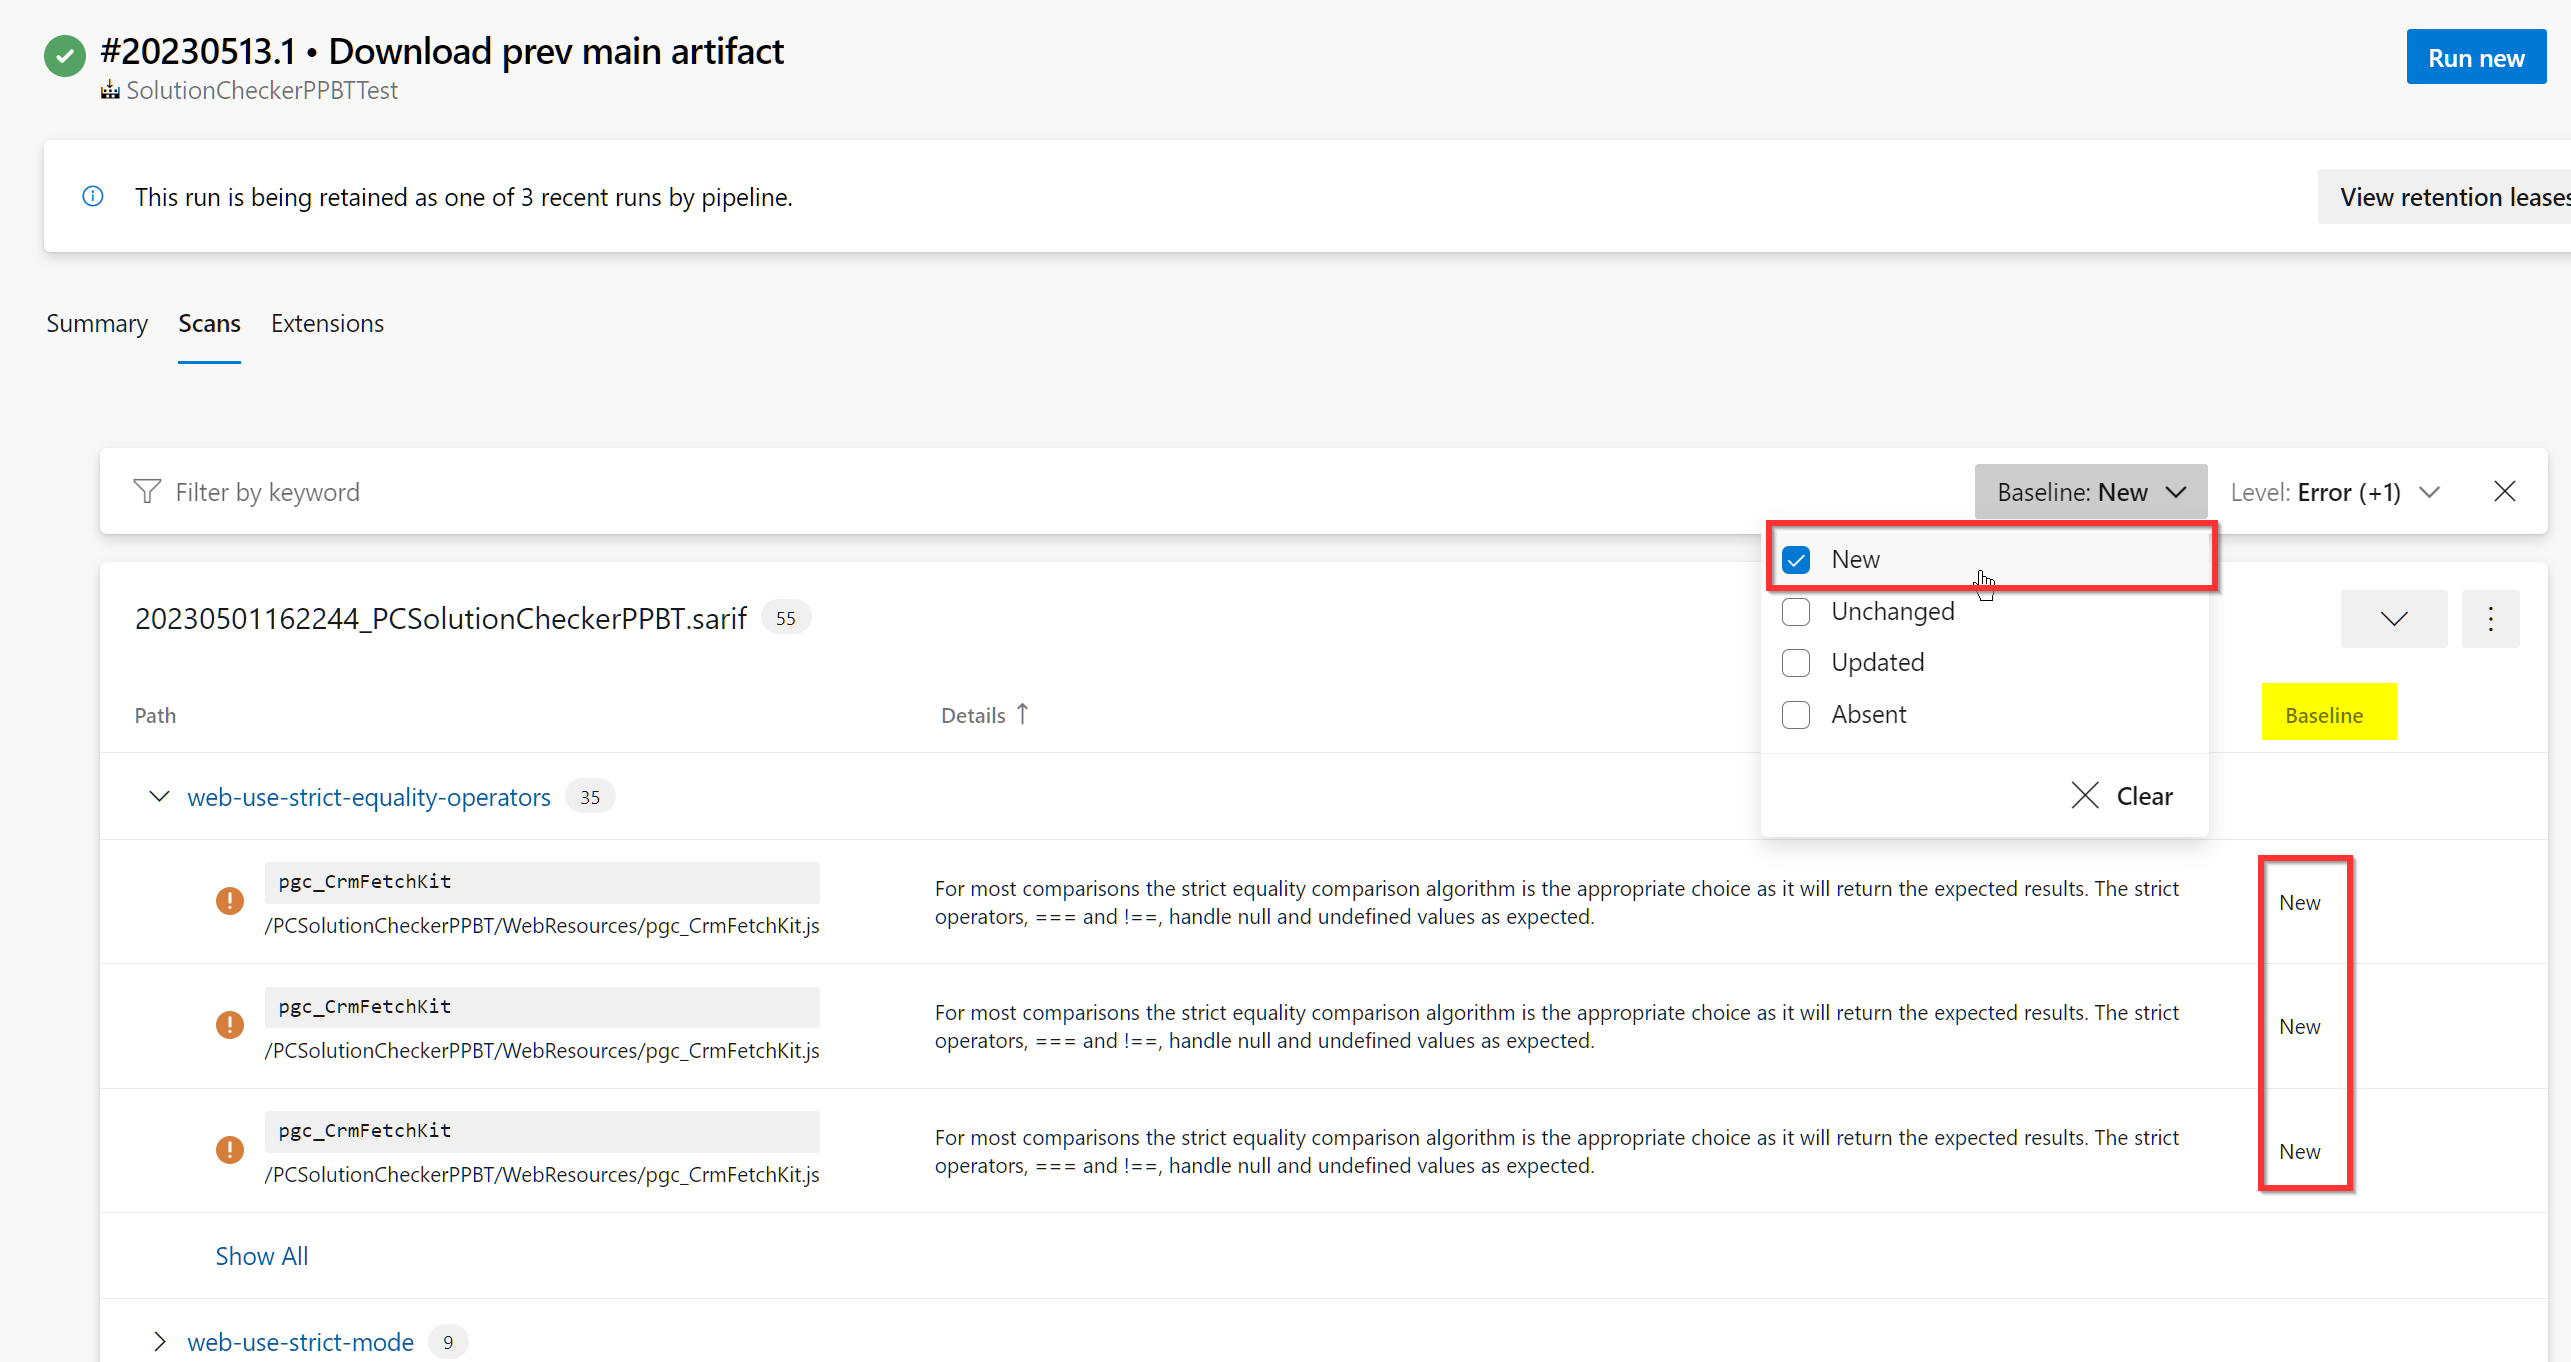
Using the SARIF Scans Azure DevOps Extension we can see that all issues are identified as ‘New’.
Introducing SARIF multi-tool
SARIF multi-tool is part of the SARIF SDK and, among others features, allows us to match results between two SARIF files. This allows us to identify if an issue is New, Unchanged, Updated or Absent.
Once node.js is installed we can invoke SARIF multi-tool via npx, e.g.
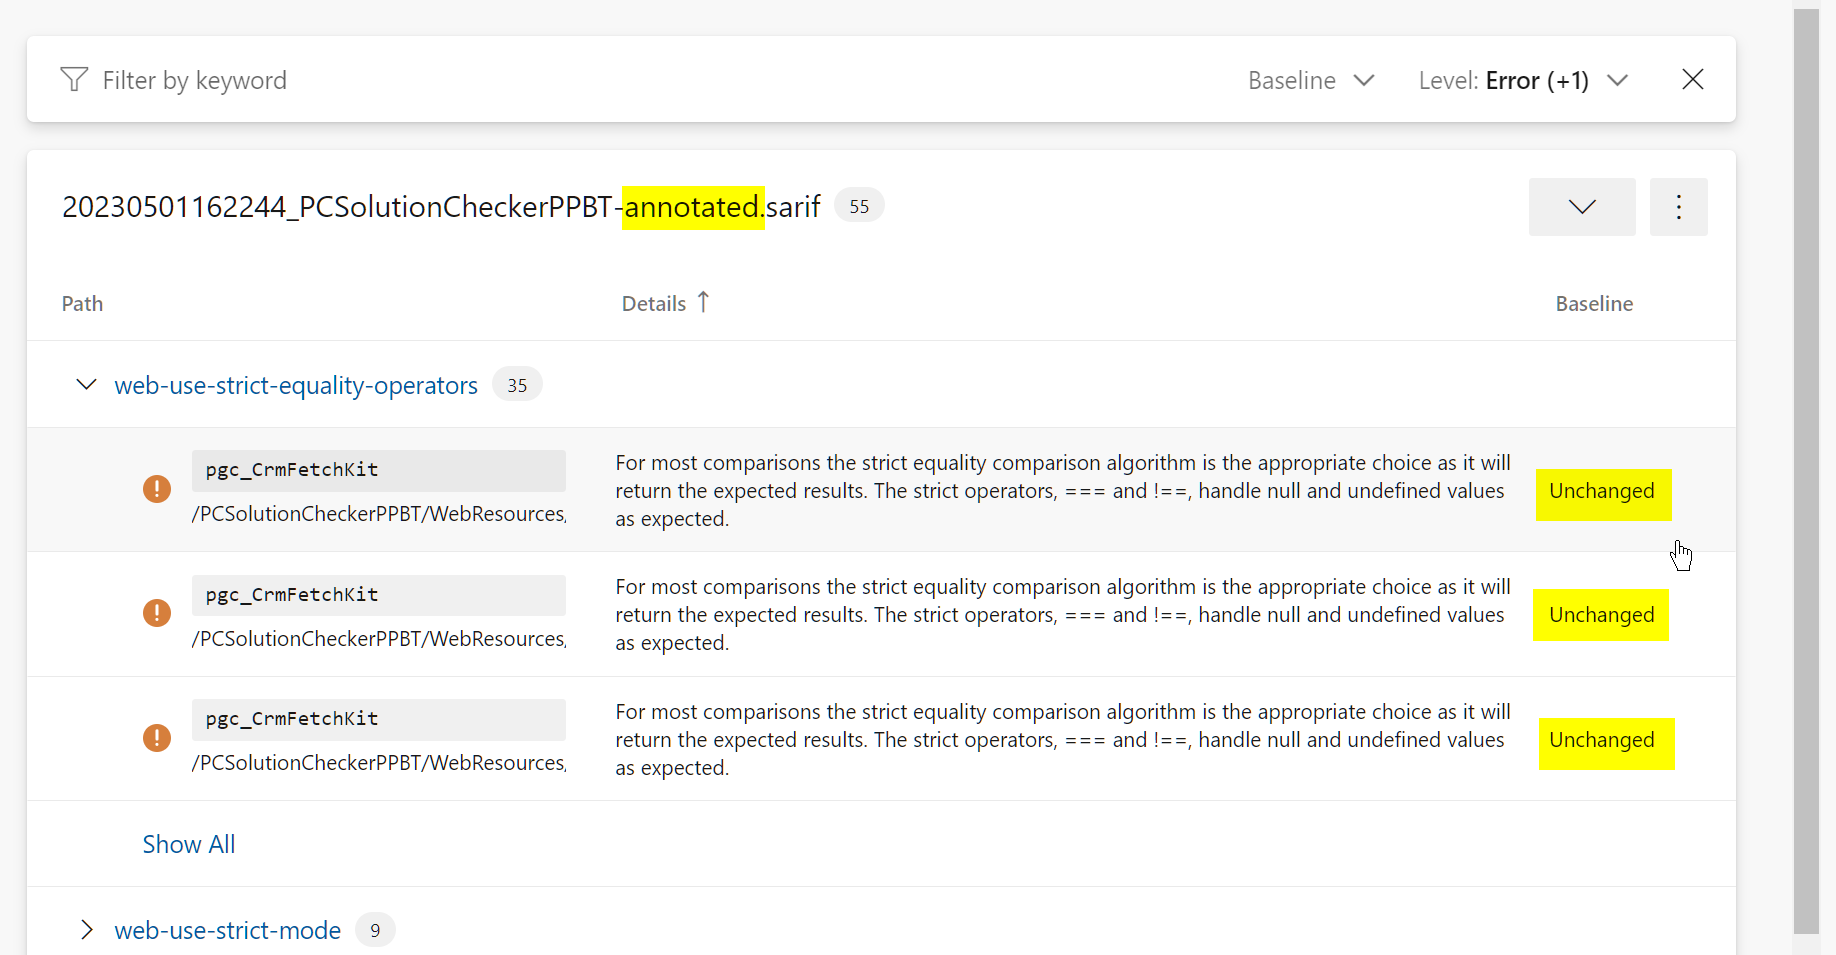
Annotated.sarif now indicates if an issue is New, Unchanged, Updated or Absent compared to the Baseline.sarif.
Incorporating into Azure DevOps pipeline
Now that we know about SARIF multi-tool and how to use it we can integrate it into an Azure DevOps pipeline. We want an Azure DevOps pipeline that:
- Creates a solution zip from an unpacked solution held in source control (git)
- Runs the solution checker on the solution zip
- Downloads the previous solution checker results from the latest build on the main branch, these are contained in the CodeAnalysisLogs artifact
- Calls a PowerShell script that annotates the SARIF generated by the solution checker (step 2), with the ‘baseline’ SARIF of the latest successful build on the main branch (step 3) using the
npx @microsoft/sarif-multitool match-results-forwarddiscussed above. - Publishes both the original (step 2) and annotated (step 4) SARIF files as a build artifact
Outcome
Before delving into the detailed workings let’s examine the outcome. After running our pipeline, we can see that there are two SARIF files show in the scans tab. The original SARIF file output by the checker, and an annotated version.
We can use the baseline filters to more easily what see has changed.
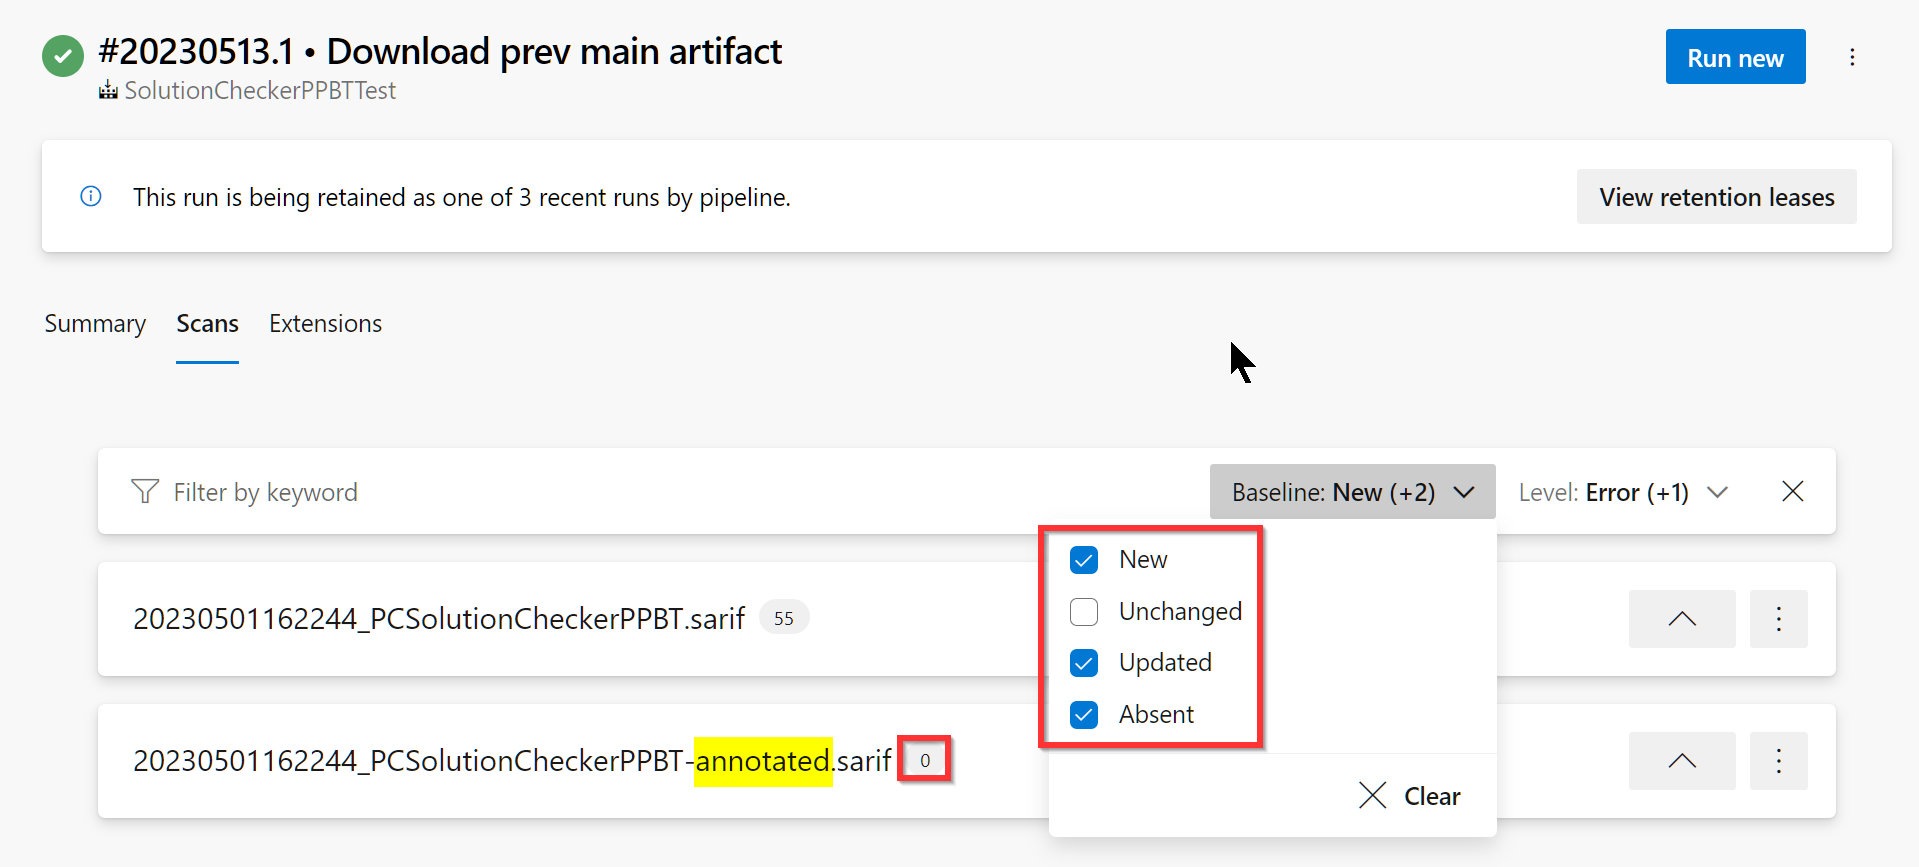
We can see that it’s easy to see (and filter out) unchanged issues.
Azure DevOps pipeline
The Azure DevOps pipeline that achieves this is shown below. A key concept is the use of a pipeline resource which allows the DevOps pipeline to obtain the CodeAnalysisLogs artifact from a previous run on a different branch. It’s intended that this pipeline is used within a pull request validation build.
PowerShell script: BaselineCheckerResults.ps1
The following PowerShell script locates the original and latest SARIF files, runs SARIF multi-tool, generates an annotated SARIF file and makes the output files available to subsequent Azure DevOps tasks to via variables.
Challenges
Some challenges were encountered writing this blog! Here’s a brief explanation to remind us how they were overcome.
SARIF Schema Version
Each SARIF file contains a Schema version. In the current release of the SARIF SDK (v4.10) the SARIF multitool utility generates SARIF files with a schema version that is not yet published. A GitHub issue exists, so I’m sure this will get resolved in due course. This glitch only causes a problem when trying to use the SARIF viewer extension in VS Code, the Azure DevOps SARIF Viewer was not affected. There is a commented snippet of code in the PowerShell (above) which will alter the schema version if this is an issue for you.
Pipeline Artifact vs Build Artifact
Whilst writing this blog I spent quite a lot of time trying to understand why SARIF files in the ‘CodeAnalysisArtifact’ were not detected by the Azure DevOps SARIF Scans Extension. Only after scanning through the comments of the extension did I discover that one must use the PublishBuildArtifacts@1 task instead of the modern PublishPipelineArtifact@1 task.
SARIF Viewer in ADO Defaults
By default, the SARIF Viewer in Azure DevOps lists ‘New’, ‘Updated’ or ‘Absent’ issues. It does not list ‘Unchanged’ issues. Thus, if we exposed just the annotated SARIF file it could be very easy think there we were no issues. So that it’s obvious that issues exist we output two SARIF files:
- The original SARIF file generated by the solution checker, where all issues are identified as ‘New’, and,
- The annotated version that will easily allow identification of New/Updated/Unchanged/Absent issues.
Conclusion
- Sarif multi-tool will allow ‘baselining’ of a SARIF file with an earlier SARIF file so that new, unchanged, updated, or absent issues can be easily identified
- Running sarif-multitool adds approximately 30 seconds to a pipeline.
- This technique is most useful for solutions with many existing issues where finding new issues is time consuming.
- We’re not enforcing thresholds on the number of issues – this was covered in the previous blog.
References
- Use solution checker to validate your model-driven apps in Power Apps
- SARIF SAST Scans Tab
- VS Code SARIF Viewer Extension
- Puma Scan Professional SARIF Output Format also finding that Publish Build Artifacts must be used instead of Publish Pipeline Artifact.
0 comments