
We know virtual machines (VMs) are one of the most popular places to run apps in Azure, but publishing to a VM from Visual Studio has been a tricky experience for some. So, we’re pleased to announce that in Visual Studio 15.5 we’ve added some improvements to the experience. In this post, we’ll discussed the requirements for a VM that’s ready to run an ASP.NET web application, and then walk through how to publish to it from Visual Studio.
If you have a minute to answer two questions about your interest in VMs, we’d appreciate it!
Create a new VM on Azure
Click the button below to deploy this custom Azure Resource Manager (ARM) Template, which will create a new Azure VM with all required components installed and configured.  Note: It’s also possible to update an existing VM.
To use the Visual Studio VM publish wizard, you must assign a DNS name to the VM. 
Walk-through: Publishing a web app to an Azure Virtual Machine from Visual Studio 2017
- Open your web application in Visual Studio 2017
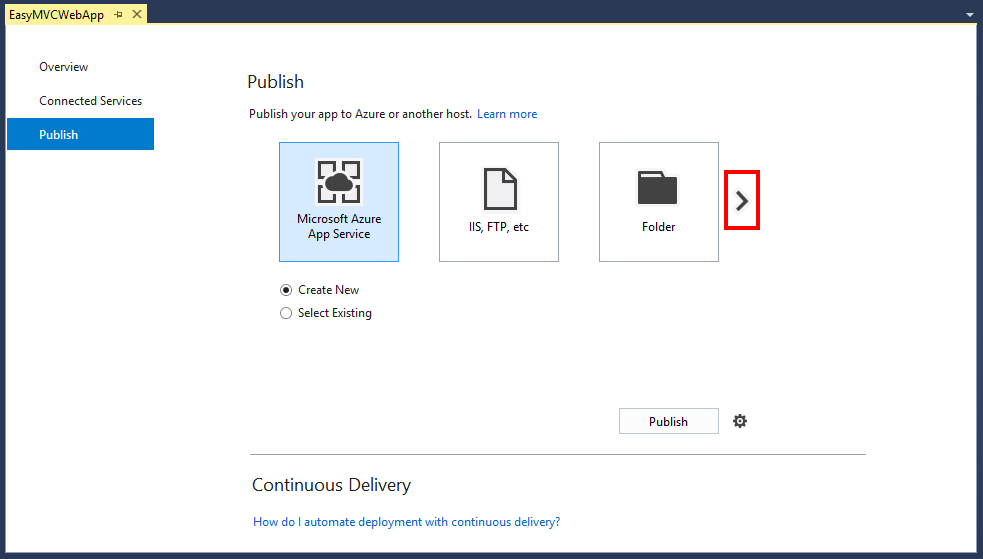
- Right-click the project and choose “Publish…”
- Press the arrow on the right side of the page to scroll through the publishing options until you see “Microsoft Azure Virtual Machine”.

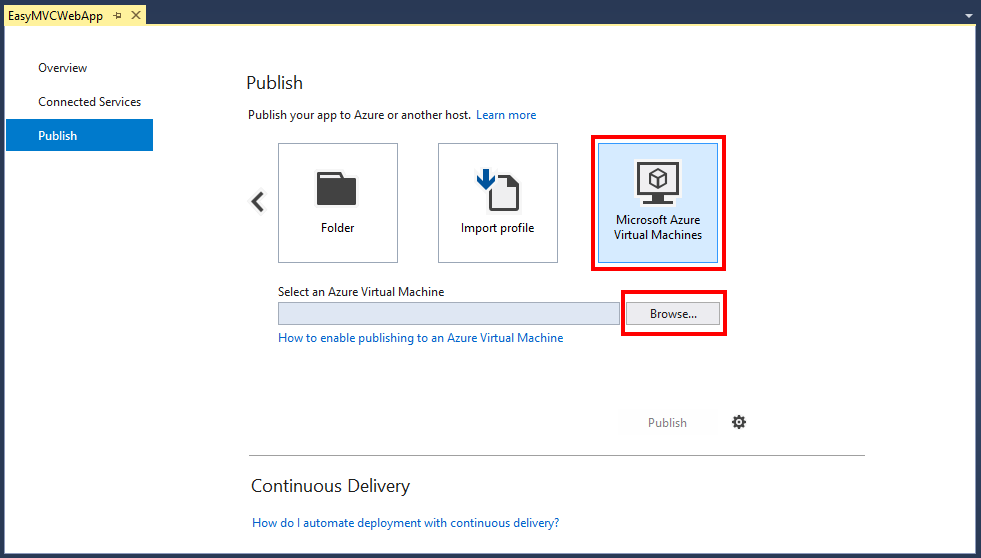
- Select the “Microsoft Azure Virtual Machine” icon, then click “Browse…” to open the Azure Virtual Machine selector.
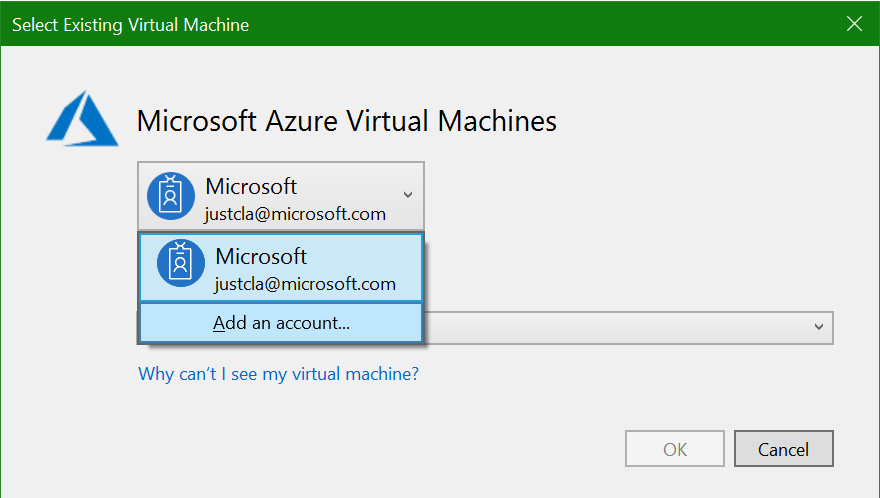
 The Azure VM selector dialog will open.
 - Choose the appropriate account (with Azure subscription connected to your virtual machine).
- If you’re signed in to Visual Studio, the account list will be pre-populated with all your authenticated accounts.
- If you are not signed in, or if the account you need is not listed, choose “Add an account…” and follow the prompts to log in.
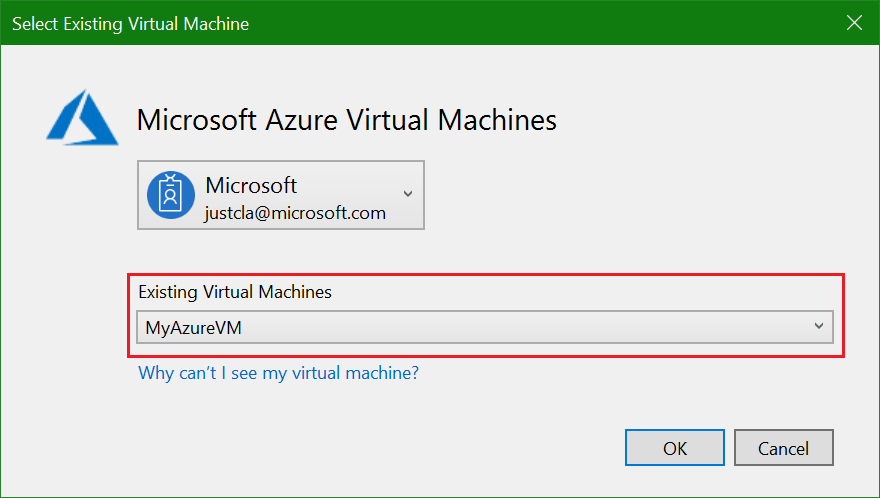
 Wait for the list of Existing Virtual Machines to populate. (Note: This can take some time).
- From the Existing Virtual Machines list, select the VM that you intend to publish your web application to, then press “OK”.
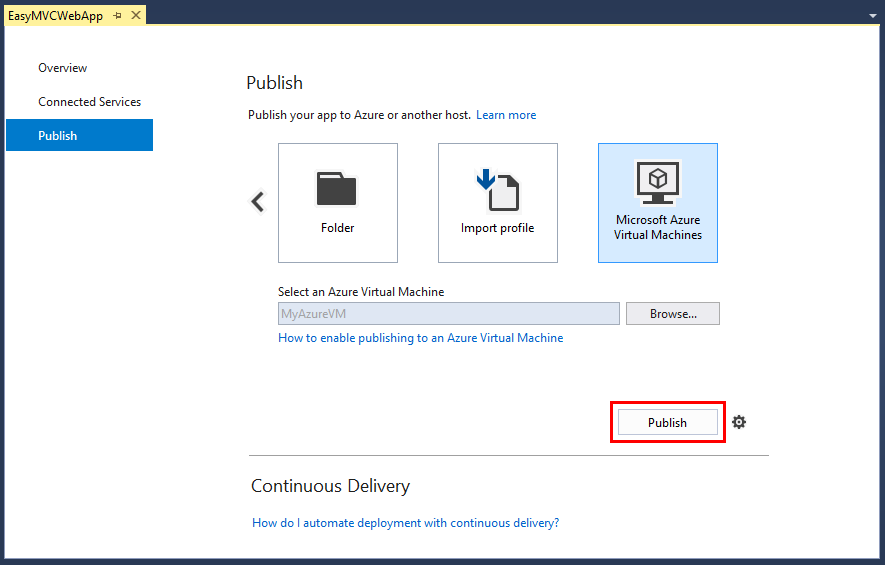
 Focus returns to the Publish page with the Azure Virtual Machine populated and the “Publish” button enabled.
 - Press the “Publish” button to create the publish profile and begin publishing to your Azure VM. Note: You can delay publishing so you can configure additional settings prior to your first publish as covered later in the post.

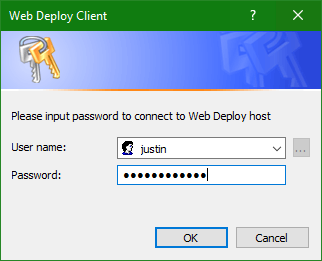
- When prompted for User name and Password, enter the credentials of a user who is authorized for publishing web applications on the VM, then press “OK”. Note: For new VMs, this is usually the administrator account. To enable non-administrator user accounts with permission to publish via WebDeploy, follow the steps in this document.
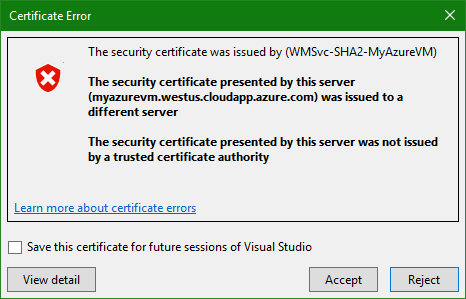
- If prompted, accept the security certificate.

- Publishing proceeds. You can watch the progress in the Output window.
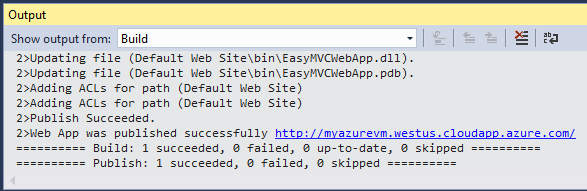 When publishing completes, a web browser will launch and open at the destination URL of the web site hosted on the Azure VM. Note: If you don’t want the web browser launching after each publish, remove the “Destination URL” from the Publish Profile settings.


Success!
At this point, you have finished publishing your web application to the VM. The Publish page refreshes with the new profile selected and the details shown in the Summary section.
You can return to this screen any time to publish again, rename or delete the profile, launch the web site in a browser, or modify the publish settings. Read on to learn about some interesting settings.
Modify Publish Settings [Optional]
After the Publish Profile has been created, you can edit the settings to tweak your publishing experience. To modify the settings of the publish profile, click the “Settings…” link on the Publish page.

This will open the Publish Profile Settings dialog.
Save user credentials to the profile
To avoid having to provide user name and password each time you publish, you can store the user credentials in the publish profile.
- In the “User name” and “Password” fields, enter the credentials of an authorized user on the target VM.
- Press “Validate Connection” to confirm that the details are correct.
- Choose “Save password” if you don’t want to be prompted to enter the password each time you publish.

- Click “Next” to progress to the “Settings” tab, or click “Save” to accept the changes and close the dialog.
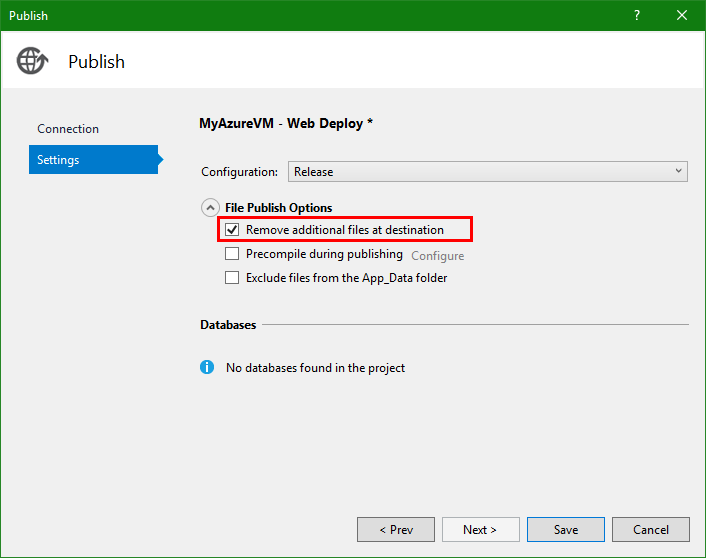
Ensure a clean publish each time
To ensure that your web application is uploaded to a clean web site each time you publish, you can configure the publish profile to delete all files on the target web server before publishing.
- Go into the “Settings” page of the Publish dialog.
- Expand the File Publish Options.
- Choose “Remove additional files at destination”.
 Warning! Deleting files on the target VM may have undesired effects, including removing files that were uploaded by other team members, or files generated by the application. Please be sure you know the state of the machine before publishing with this option enabled.

Conclusion
We’d love for you to install the 15.5 update and let us know what you think of the new experience. Also, if haven’t already, please take one minute to answer two questions about your interest in VMs in the cloud. As always please let us know what you think in the comments section below, by using the send feedback tool in Visual Studio, or via Twitter.
0 comments