
By Matthew Mitrik (MS), Andy Lewis, and Martin Woodward
Today we announced the availability of Git for Visual Studio and Team Foundation Service. In this post, we’ll walk through the new experiences.
Get set up: Get the free service, and then you can use it with any Git client tools you want, including Visual Studio. To use the Visual Studio client tools you’ll need to install Visual Studio 2012, apply Visual Studio 2012 Update 2 CTP, and finally install Visual Studio Tools for Git. You can use these client tools with any Git service you want.
Choose between TFVC and Git
With this announcement, each time you create a new team project we give you a choice: Team Foundation Version Control (TFVC) or Git? The best option for you depends on a lot of factors, including size of codebase, team size, and team distribution to name a few. Now that Git is fully integrated with TFS, the decision depends solely on what your team needs from version control. Looking at the strengths and features of each system can help make the decision easier.
Team Foundation Version Control (TFVC)
TFVC is a centralized version control system. While it works well for small teams with small code bases, TFVC is capable of scaling to support very large codebases (millions of files per branch with server workspaces) and it handles large binary files well. TFVC provides very granular permission control, allowing teams to restrict access down to a file level if needed. Since all contributions are checked in to the central server, it is very easy to audit changes and identify exactly which user committed a given code change.
Learn more about TFVC on MSDN.
Git
Git is a distributed version control system where each developer has a copy of the entire source repository. Having a local repository means that Git works well in environments where developers need to work without connectivity. It also offers a simple branching model that enables developers to quickly create local and private branches, enabling flexible workflows. Git also works well in modular codebases where code is distributed across many repositories.
Learn more about Git on MSDN.
Ultimately, much of the decision about which version control system to use is about preference. Both systems are equally capable for the majority of teams. Make sure your team is happy with the version control system you choose.
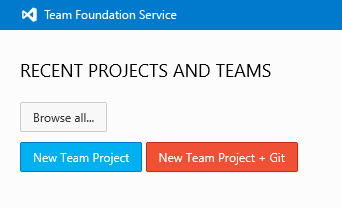
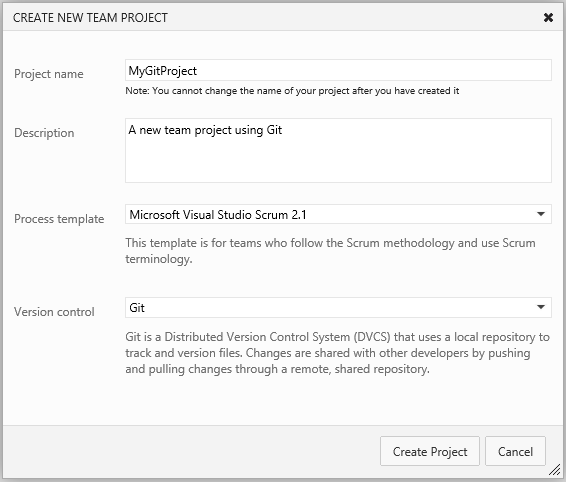
Create a Git team project in Team Foundation Service
You can quickly spin up a new Git team project with just a few clicks.
In the next section we’ll tell you more about how to connect to your new team project from VS. Also, we’ll talk about another option you have to begin from your local dev machine instead of from a team project.
Use Visual Studio with Git
Git provides powerful DVCS features that enable your team to collaborate on an app. But Git’s user interface can be difficult to use, and to get full value from it you may need to bring separate tools together. Visual Studio provides an integrated experience that makes it easy for your team to leverage the power of Git. And if you are a Git pro who has some favorite Git tools you still want to use, you can use them alongside Visual Studio.
If your Git repository is in a TFS team project, you get additional benefits from the integration with other TFS features such as work items. But even if you are not using TFS, you can use Visual Studio with Git to work on a completely local repository, or to collaborate using Git hosters such as GitHub and BitBucket.
To get going, connect and clone
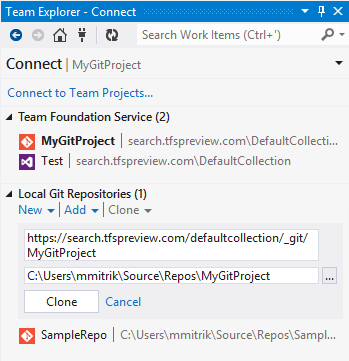
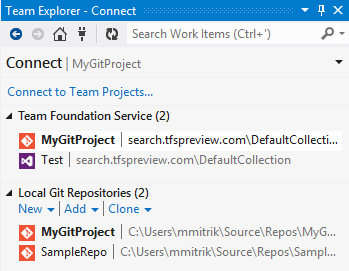
When you are ready to begin working in your Git team project, you begin by connecting to it. Once you’ve connected to your new Git project, you’ll be prompted to Clone the repository in the team project onto your dev machine.
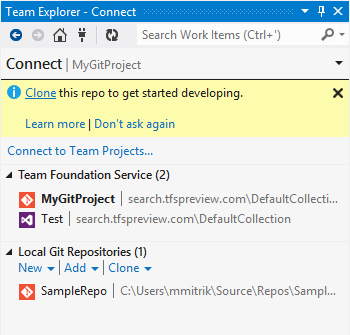
After you cloned from a Git team project, you will have two entries for this codebase, one under Team Foundation Service and one under Local Git Repositories.
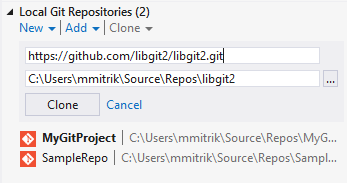
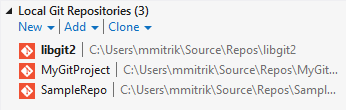
You can also use the tools to clone from any hosted Git repository.
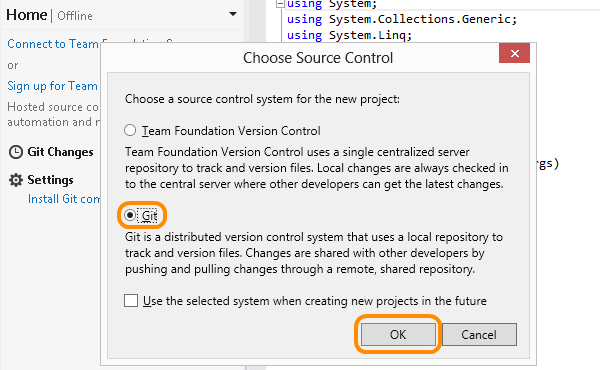
Or, just start coding locally
Maybe one of the coolest features of Visual Studio with Git is that in just a few seconds, you can be writing code on a new project under local version control. Want to try it? You can create a new code project in a new local Git repository in less than a minute:
You can continue coding and committing locally for as long as you like. When you are ready to share and collaborate, just publish your code into TFS, or into whatever Git service your team uses (e.g. CodePlex, GitHub, Bitbucket).
Customize your settings
Git associates each commit you create with your name and email address. When you first begin using Visual Studio with Git on your dev machine, if you begin by cloning from a Git team project, then Visual Studio fills these in for you.
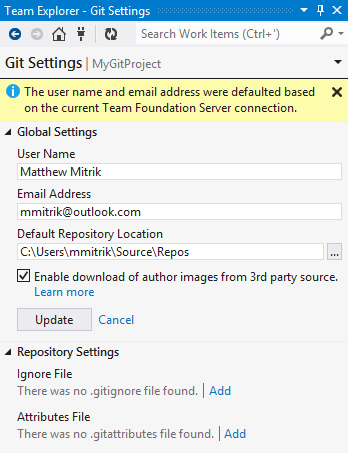
You can override the name and email settings and specify other settings.
Enable download of author images from 3rd party source: Visual Studio can display author images on commits. By default it uses the image in the user’s TFS profile. If the user doesn’t have an image set, an image from Gravatar will be used.
Ignore File: To avoid checking in temporary non-source items such as binaries, you can specify a .gitignore file. See Ignoring files and gitignore(5) Manual Page.
Attributes File: To specify options such as how the system handles line-breaks, you can specify a .gitattributes file. See Customizing Git – Git Attributes.
For more information on Git settings, see Customizing Git – Git Configuration.
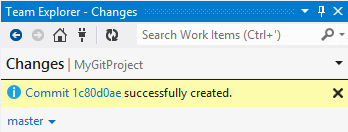
Commit changes locally
As you write your code, you can commit to create a snapshot of your changes on your dev machine as often as you like. You can associate a work item with your commit by specifying its id in the comment.
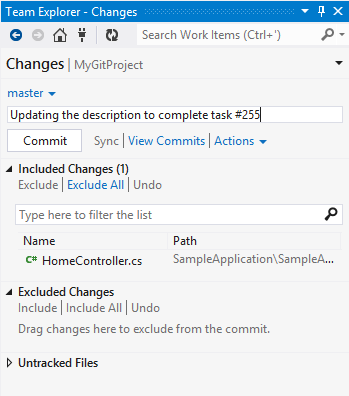
Later when you push your local repository to the Git team project, the commit will be associated with work item 255. In TFS you can also associate a work item with a commit after it has been pushed using the Links tab in the work item.
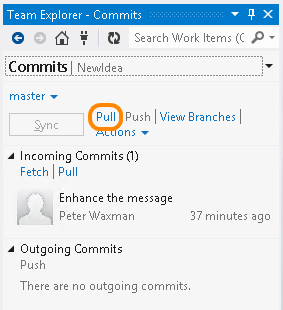
Pull
To ensure your code integrates well with the latest code from the team, you should pull changes on a regular basis. Also, if there are any changes in the remote branch, you must pull them before you can push.
Before you pull, you can fetch to see what changes are coming.
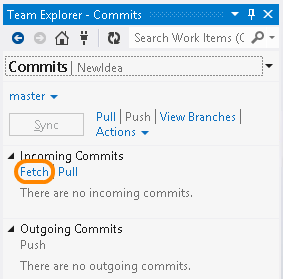
When you are ready to take the changes, pull them.
For step-by-step instructions, see Pull changes from the team.
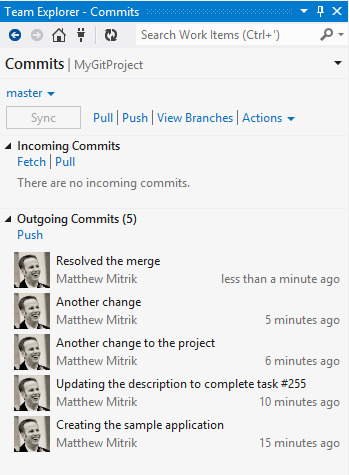
Push
When you are ready to push the changes in your selected branch, just click Push.
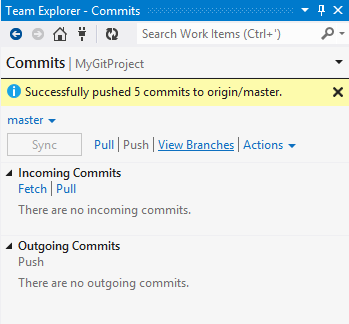
For step-by-step instructions, see Push your changes.
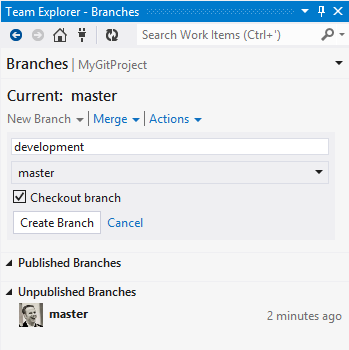
Create and use branches
Git branches differ from TFVC branches in a few ways. Git branches are local (and thus private) until pushed. They are also more lightweight, so you can quickly create a branch on your dev machine whenever you need one.
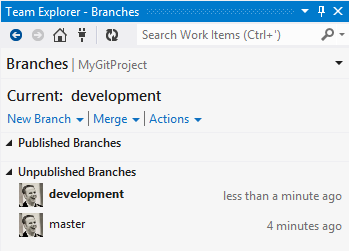
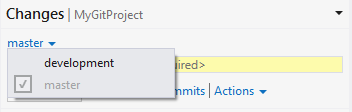
You can switch the branch you are working in from Changes and Commits pages.
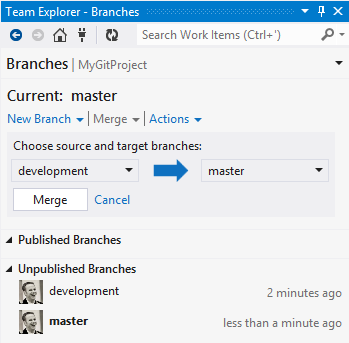
When you are ready, you merge to combine the work.
For more details on how branches work in Git, see Git Branching.
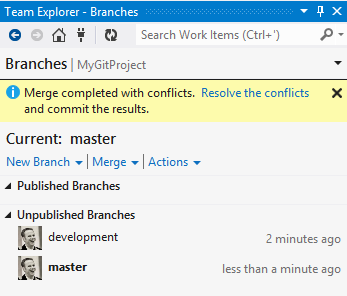
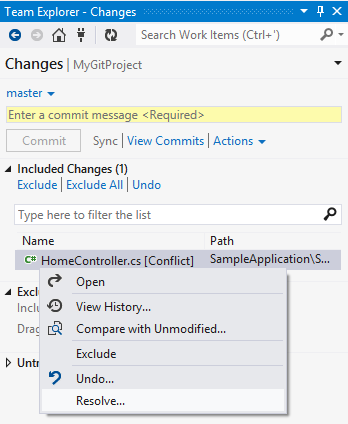
Resolve conflicts
Sometimes you will need to resolve conflicts before you can complete a pull or a merge.
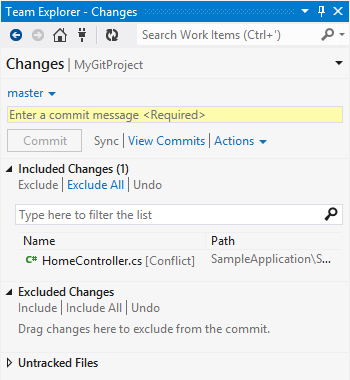
Visual Studio makes it easy for you to resolve some of the most common kinds of conflicts, such as content conflicts.
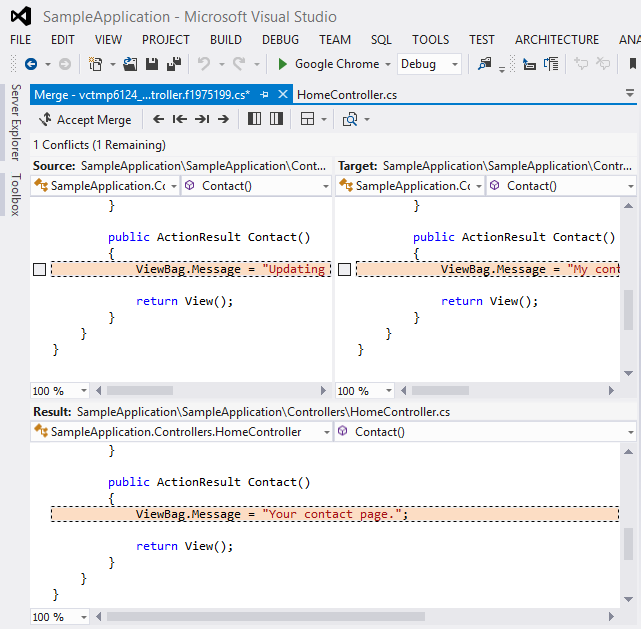
Some conflicts (such as rename conflicts) must be resolved using a command-line tool such as Msysgit.
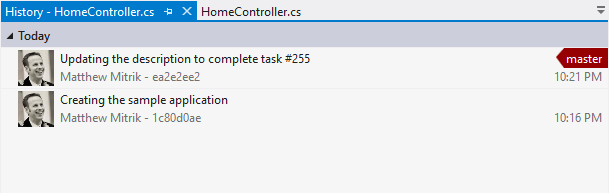
View History
You can view the history of an item from Solution Explorer or from the Changes page. You can also view the history of an entire branch from the Branches page.
Web Access
After commits have been pushed into the repo, the Code hub starts to look a lot more interesting.
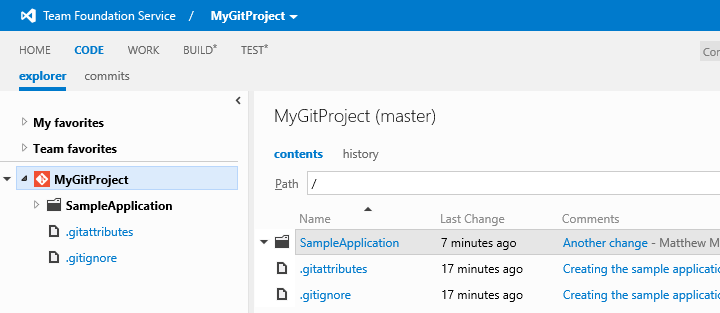
Explorer view
The Explorer view is the center of the browse experience in the web. You can drill in to the contents of a repository and see the commit message and author of the latest changes to each folder and file.
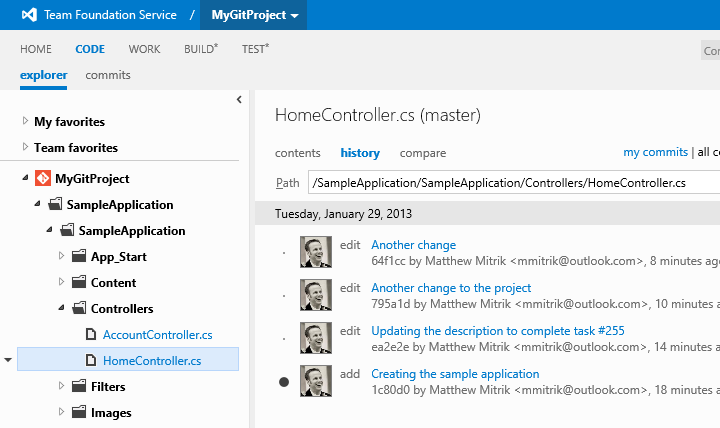
History
As you’re exploring the repo, you can easily switch to the History view to view the history of a file or folder. The history view is a similar to the VS view, providing the comment, author, and time of the commit. Off to the left is an indicator showing relative size of each commit.
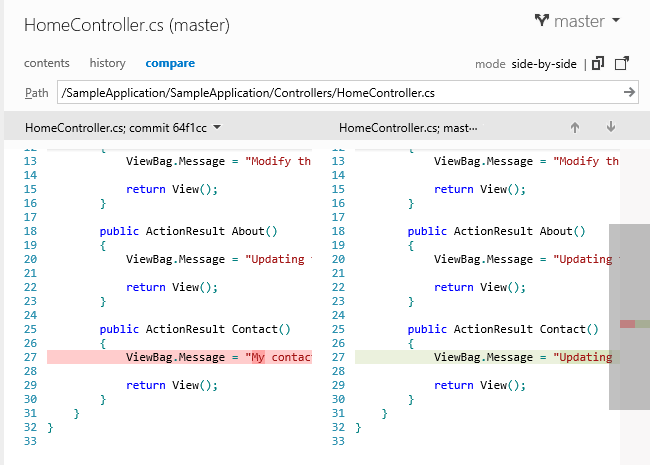
Compare files
Using the Compare view, you can compare versions of a file in either a side-by-side or inline diff view, complete with syntax highlighting.
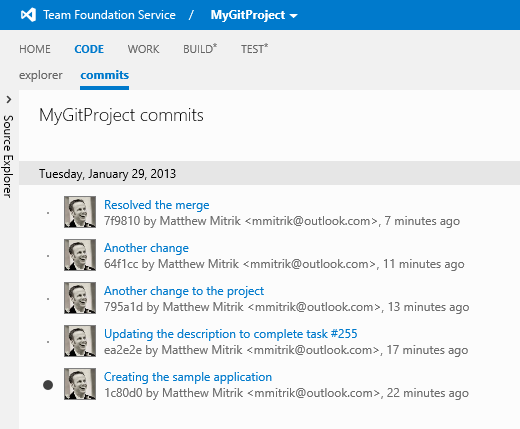
Commits view
To see an all-up view of the repo history, use the commits view. By default, the view shows all changes, but you can filter to view just your commits, or use the Advanced search to filter down the list by author, path, and/or date.
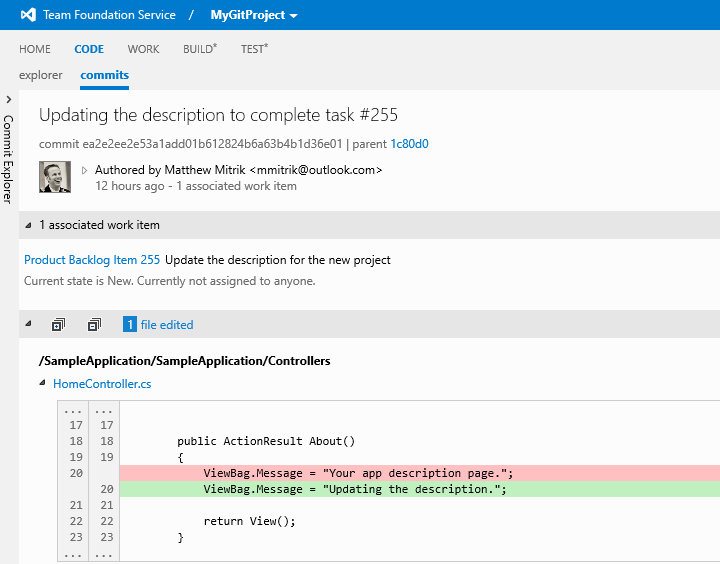
Commit Details
Drilling in on a commit shows the detailed metadata for the commit, including associated work items. Each file modified in the commit is also shown with an inline diff to summarize the changes.
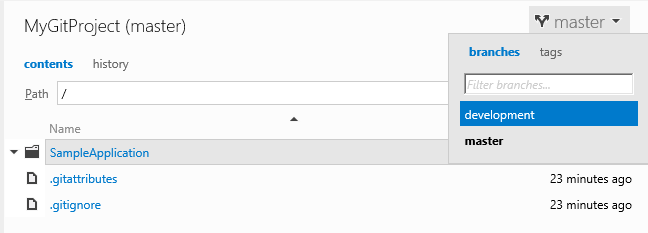
Pivot on branch or tag
In any of the views in the Code hub, the branch selector may be used to pivot the entire repo view by branch. If you’ve pushed any tags to the repo, they’ll be shown in the same picker.
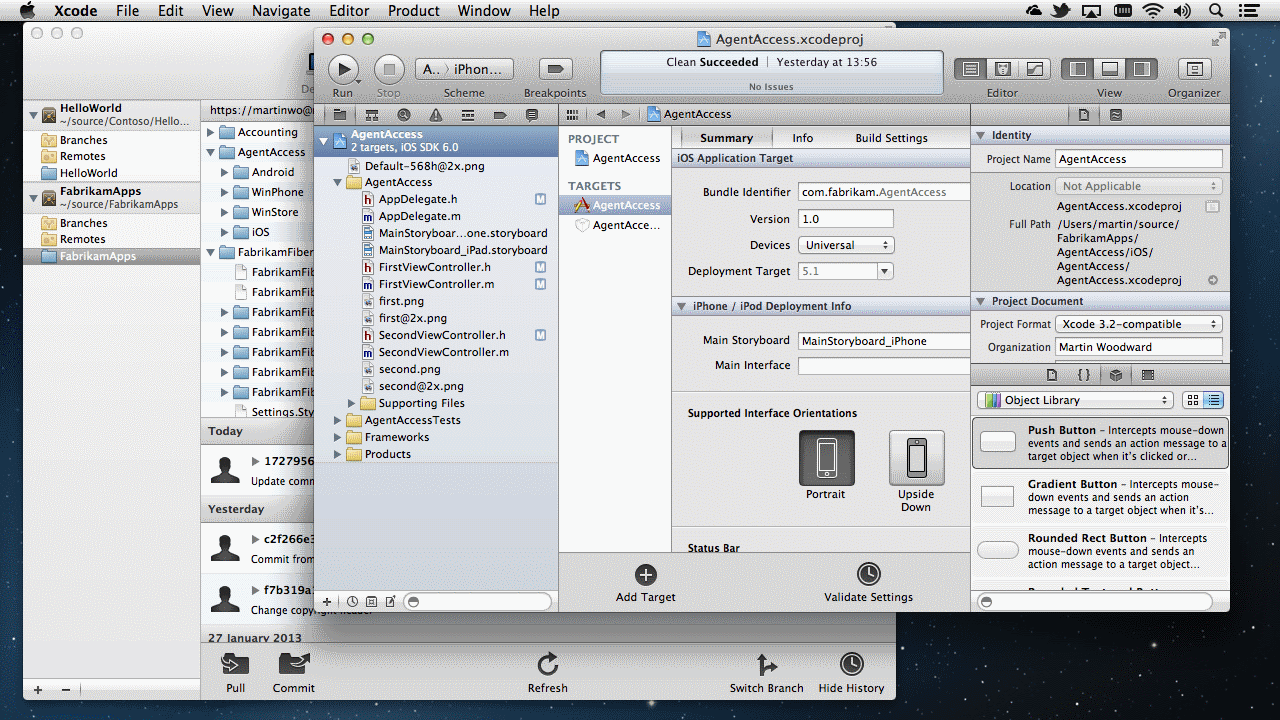
Xcode
Developers using Xcode will be able to use the existing Git integration to work with repos hosted in Team Foundation Service. Be sure to enable alternate credentials (basic auth) for your TF Service user profile before trying to push and pull from Xcode (or any other third party Git client for that matter). Note that you can get the clone URL from the Explore view in the project’s web portal.
Team Foundation Build and Git
The cloud build service can be used to build Git projects much like you can build TFVC projects.
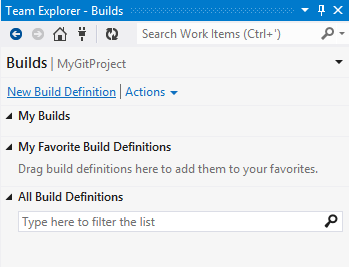
Configure a manual build
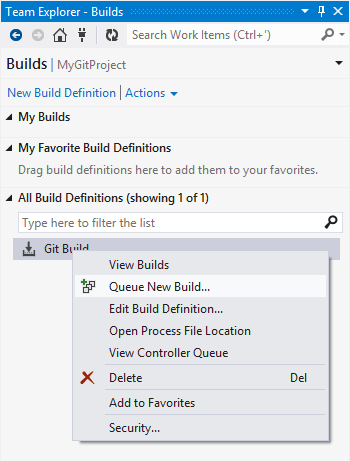
Configuring a build for Git projects is similar to configuring TFVC builds. You can start by clicking New Build Definition in the Builds page in Team Explorer.
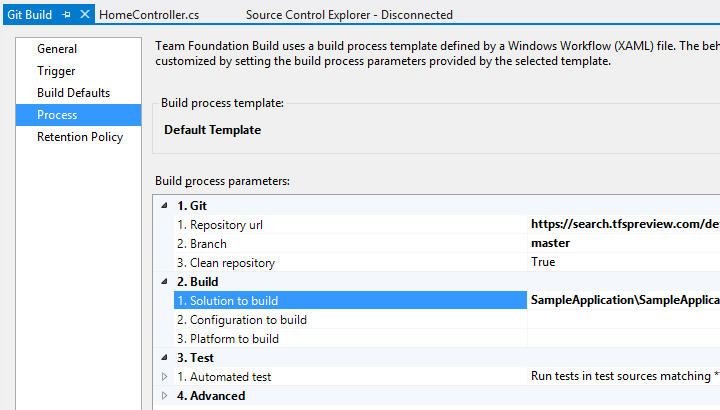
In the build definition editor, give your build a name and a description. On the process page specify the branch you want to build and the relative path to the solution file to build. Note that only the manual trigger is currently available, but we’re working on adding more.
Queue a new build from the Builds page. Remember, you need to push your commits to the service in order to build them.
Build report
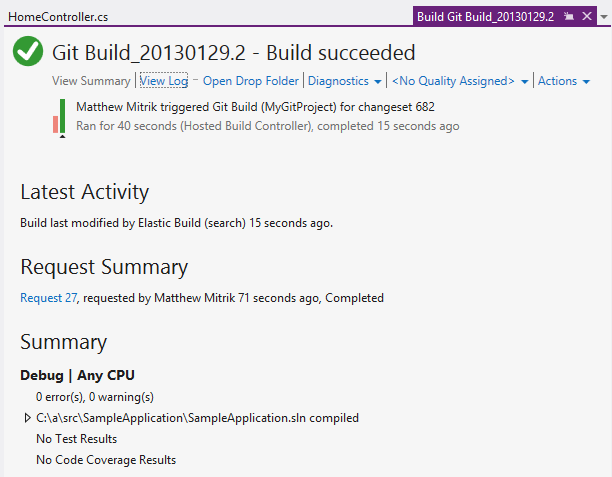
After the build has completed, the build report shows that the build succeeded.
Next steps
Downloads
- Sign up for a TFS account
- Visual Studio 2012
- Visual Studio 2012 Update 2 CTP
- Visual Studio Tools for Git
More information
0 comments