
Ever wondered how you can configure IntelliSense in the C++ Extension in Visual Studio Code? Or the easiest way to run your C++ code? With the new features added to the C++ extension, configuring IntelliSense and setting up a project is easier than ever. This includes a “Getting Started with C++” walkthrough, configure IntelliSense indicator, and the language status bar.
“Getting Started with C++” Walkthrough
With the C++ Extension for VS Code installed, the new Getting Started walkthrough helps you set up your environment and will have you running your C++ code in no time. Invoke it by running the Open Walkthrough command in the command palette and selecting the C++ walkthrough. You can also follow along with this step-by-step tutorial:
While this video is specifically using macOS, the walkthrough can be used with any platform. It includes steps on how to set up a C++ environment, create a file, run your code, debug your code, and use advanced debugging features. It also helps you install a C++ compiler based on your operating system and configure IntelliSense to use the newly installed compiler.
Why IntelliSense?
This leads to the question – what is IntelliSense? Why does it need to be configured? IntelliSense is a tool built into VS Code that provides various code editing features that will help you code faster and more efficiently. For example, code completion, parameter info, code actions (light bulbs), and member lists are all generated by IntelliSense.
IntelliSense is powered by a language service, which provides language specific completions for your code. For these to be C++ specific, IntelliSense needs to first be configured. This configuration can be done via a compiler, compile_commands.json file, or another VS Code extension (e.g. the Makefile or CMake extension).
The C++ Extension will, on most occasions, configure IntelliSense automatically for you. For details on this process, reference the IntelliSense documentation. But how can you check if IntelliSense is already configured?
Configure IntelliSense indicator
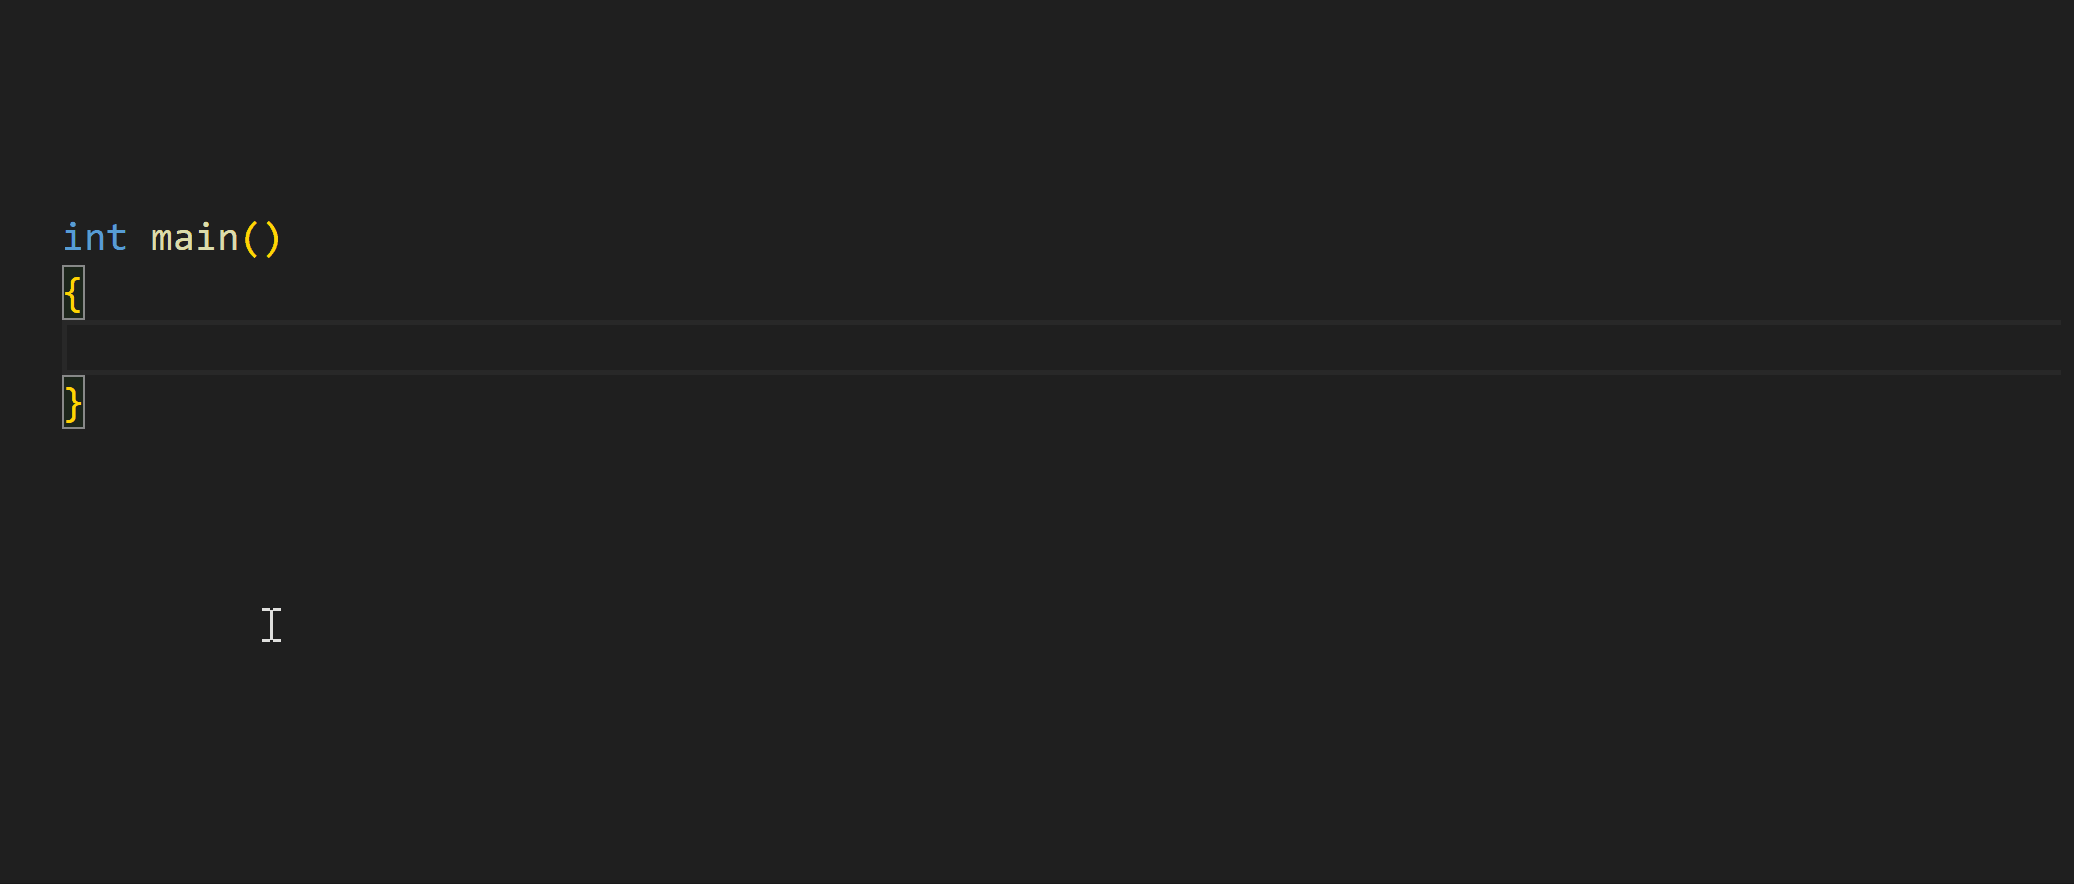
If you do not have IntelliSense configured for your workspace, you will see now see a new indicator in the status bar with a warning sign, as shown below:
![]()
Click on the “Configure IntelliSense” button to open the Configuration Quick Pick, as explained below, which will help you get configured.
Configuration Quick Pick
Select a new configuration for IntelliSense by using the Configuration Quick Pick. Open the Quick Pick either by clicking the Configure IntelliSense button or by entering Select IntelliSense Configuration in the Command Palette. Select a configuration from those available in the dropdown.
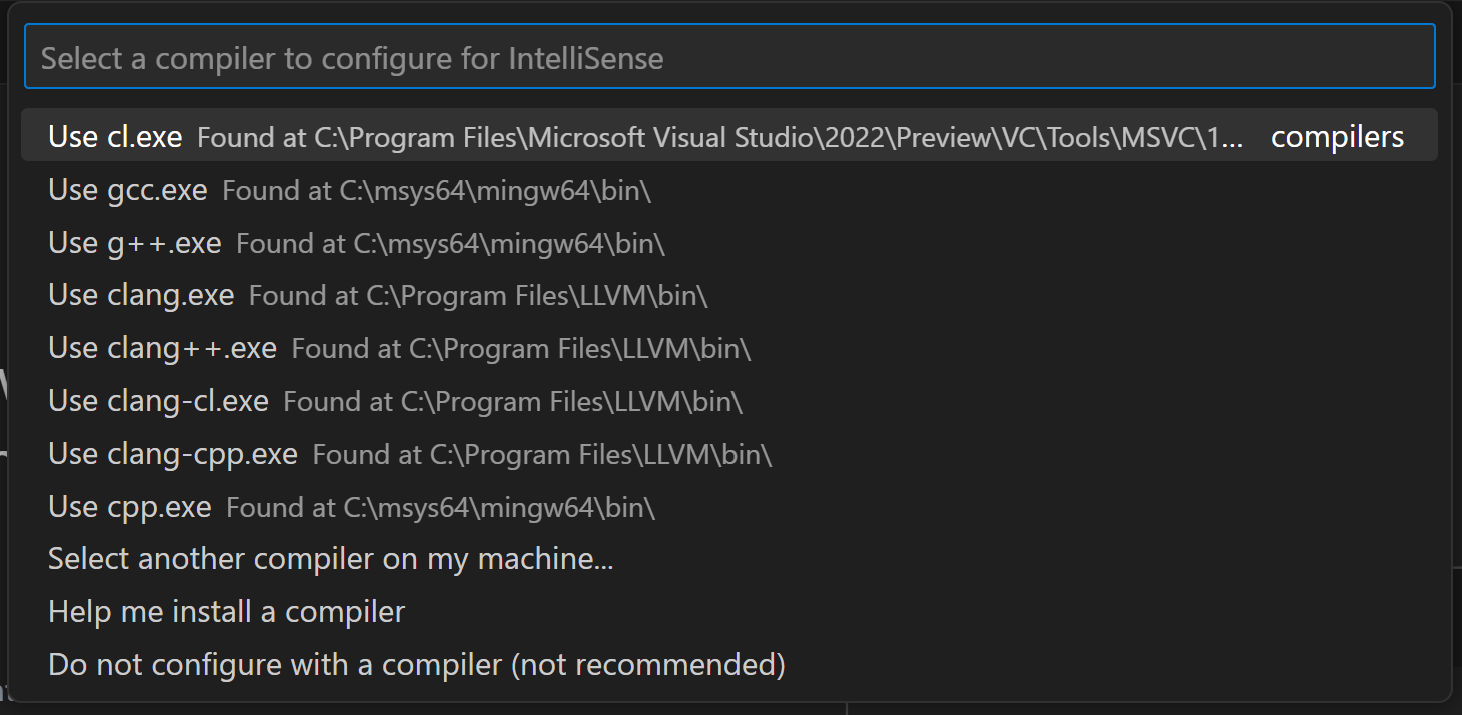
If no options are listed, there are multiple ways to install a compiler on your machine. On Windows, select “Help me install a compiler” from the dropdown which will take you to the step-by-step installation instructions in the walkthrough. On a MacOS or Linux machine, choose “Install a compiler” to have the C++ Extension install a C++ compiler for you. For either scenario, the installed compiler will automatically be configured for IntelliSense by the C++ Extension. To learn more, reference the Configuring IntelliSense documentation.
Language Status Bar
To check whether IntelliSense is configured and actively doing work in the background, use the new language status bar. Hover over the {} in the status bar which will show you the IntelliSense status. It also indicates the status of whether your workspace has been parsed and indexed, as well as the option to run code analysis. For IntelliSense, you are looking for the “IntelliSense: Ready” status, indicating it is configured and ready for code evaluation.
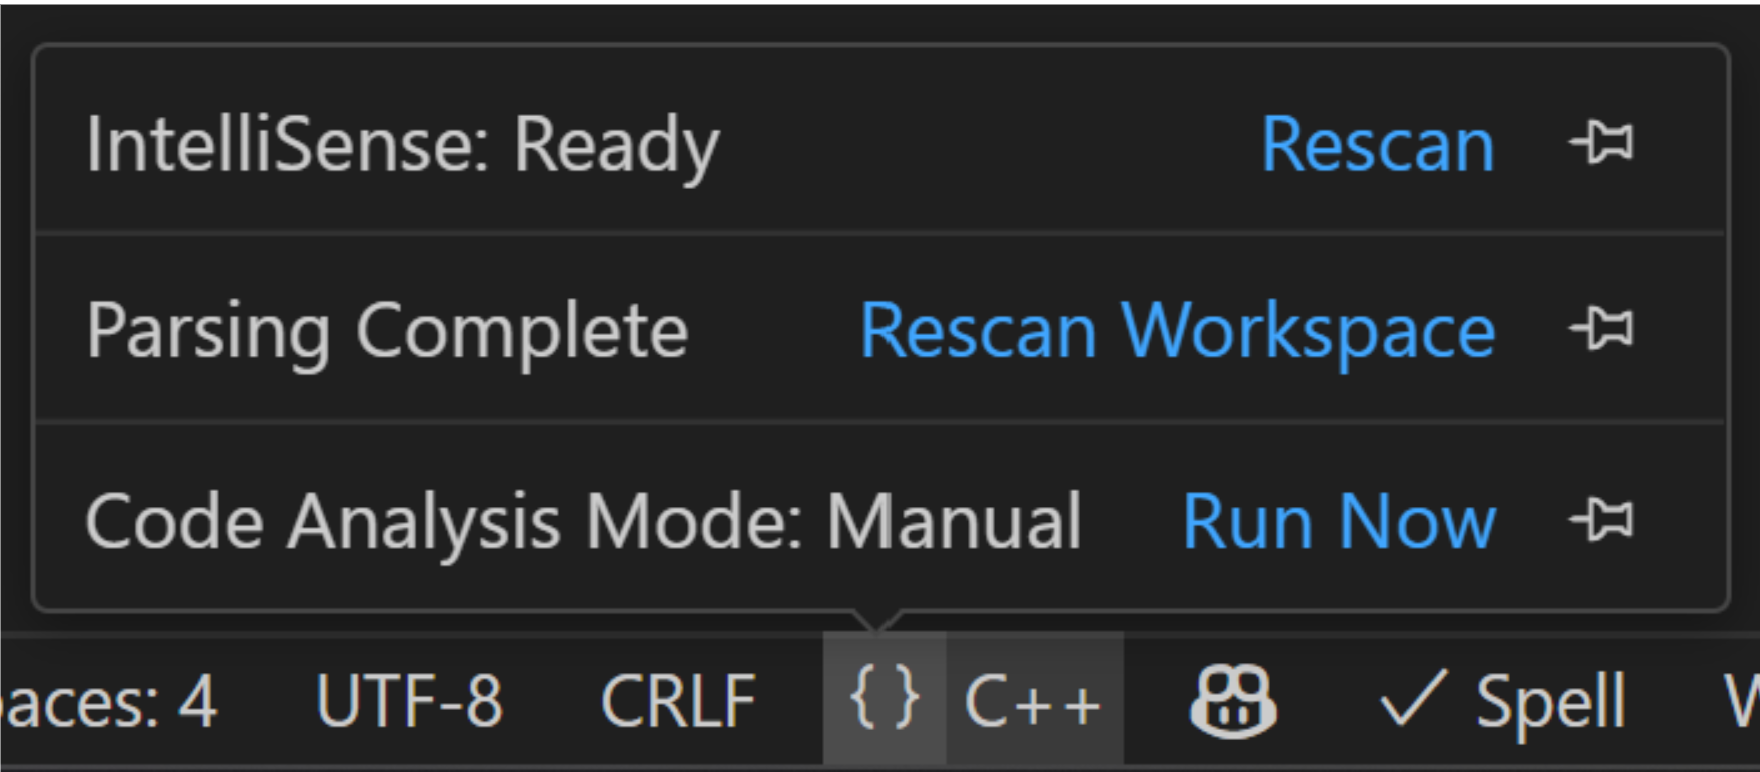
If “IntelliSense: Not configured” is displayed, you need to configure IntelliSense in your workspace. Follow the steps described previously to select an IntelliSense configuration through the configuration Quick Pick.
Have issues with getting IntelliSense configured?
If you run into any issues with configuring IntelliSense, please feel free to start a discussion or raise an issue in our GitHub repository. We can also be reached via the comments below, per email at visualcpp@microsoft.com, or through our team on X (formerly known as Twitter) at @VisualC.
0 comments