
In an earlier blog post, An In Depth Tutorial on Linux development on Windows with WSL and Visual Studio Code, we showed you how to set up Windows Subsystem for Linux (WSL) and Visual Studio Code for Linux development. In this post, we’ll go into more detail and provide tips and tricks to further enhance Linux development on Windows.
Remote – WSL extension
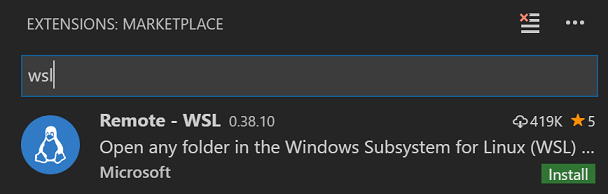
The features described below are provided by the VS Code Remote – WSL extension. If you don’t have the extension already installed, open the Extensions view in VS Code (Ctrl+Shift+X) and search for “wsl”. Choose the Remote – WSL extension as seen below (it should be at the top of the list) and press Install.
Multiple distro support
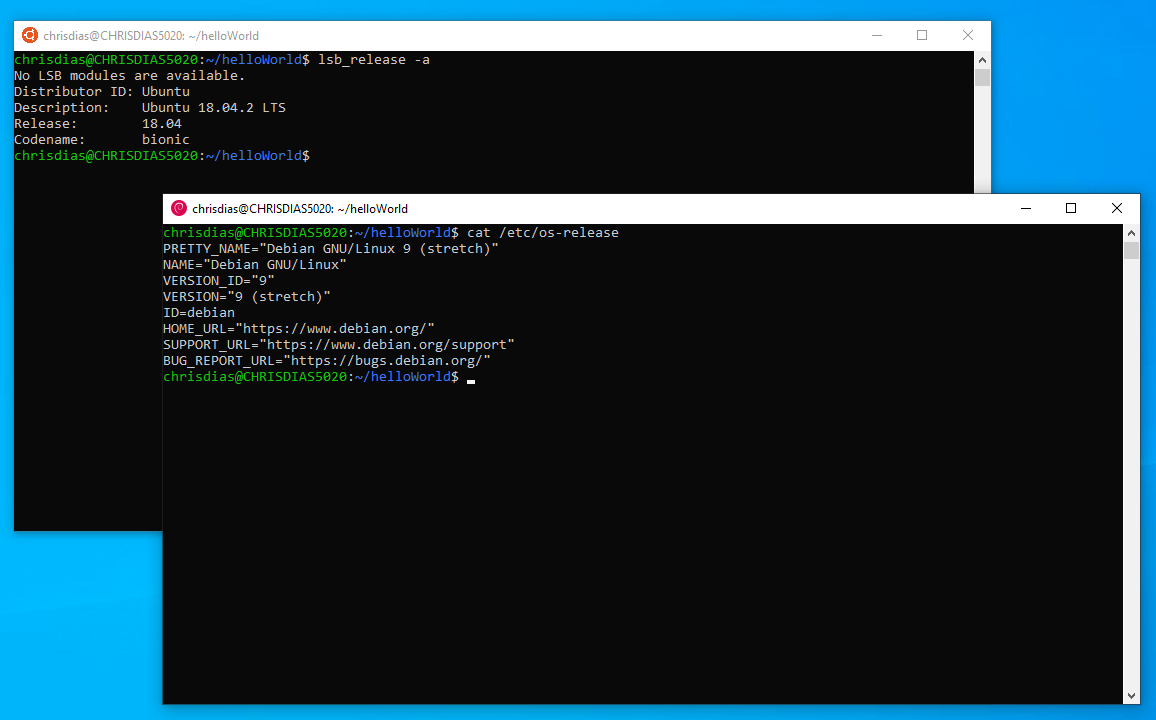
You can install multiple Linux distros on Windows. If you followed the tutorial in the earlier blog post, you installed the Ubuntu “LTS” (Long Term Stable) release, which is currently version 18.04. You can install another distro such as Debian from the store (just search for “Debian”), such that you end up with two different distros installed.
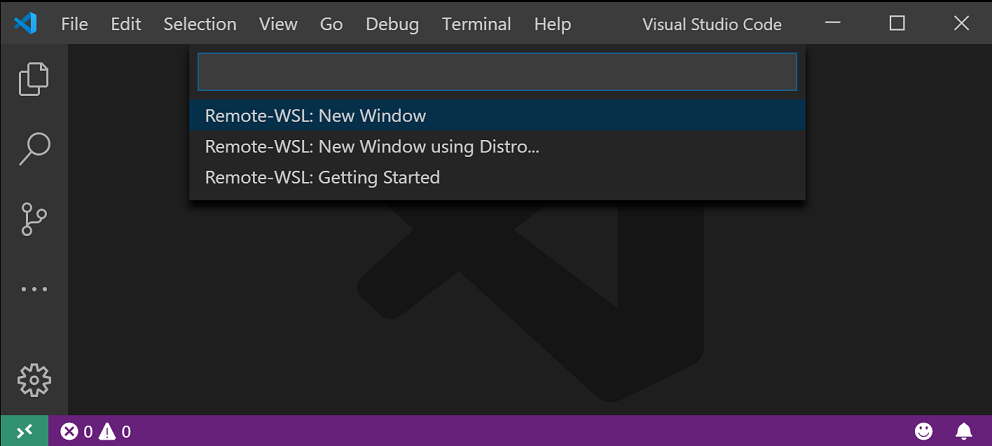
If you are connected to one distro and want to open a new VS Code window, bring up the Command Palette (F1), search for “distro” and choose the command Remote-WSL: New Window using Distro…. This will bring up a quick pick that will let you choose between the different distros you have installed. Once you pick a distro, a new instance of VS Code will open connected to the appropriate distro.

You can also run the Remote-WSL: New Window using Distro… command from the Remote – WSL command dropdown displayed when you click on the remote development Status bar item on the far left.
Note: WSL from Windows 10, May 2019 Update (version 1903) is required for this feature.
Switching between Windows (local) and WSL (remote) workspaces
Sometimes you need to switch between local workspaces (folders) in Windows and remote workspaces in WSL.
Here are a few commands that will make switching a snap:
- When you are connected to a WSL instance, the File > Open Folder command will show the Linux file system along with a Show Local command to open the Windows File System dialog.
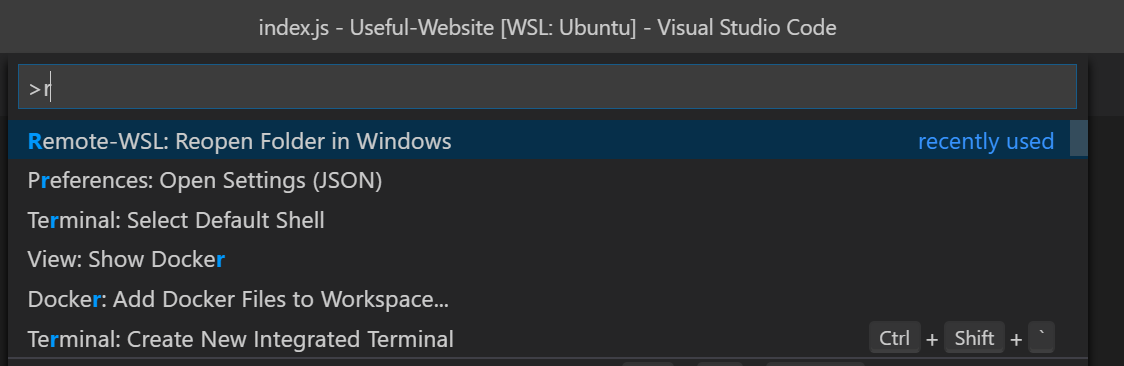
- The Remote–WSL: Reopen Folder in Windows (or in WSL) commands will reopen the same folder either in Window or in WSL, depending on how you are currently connected. If you are connected to a WSL instance, then the command will open the folder under the
\\wsl$mount on Windows. Conversely, if you are on Windows, then it will open the folder natively on Linux. - If you are connected to a remote WSL instance, you can click on the WSL Status bar item and then choose Close Remote Connection, which will bring you back to an empty VS Code window (instance) where you can open a local Windows folder as before.
Setting the default shell
You can easily set up different default shells when opening a terminal in VS Code. For example, when running on the Windows side, you can specify PowerShell or WSL. When running in WSL, you can choose bash or zsh or whatever shell you might have installed.
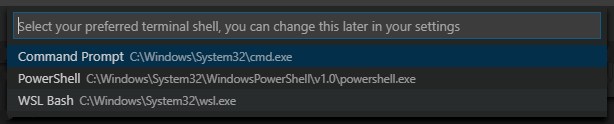
Open a new terminal Terminal > New Terminal (Ctrl+`) and open on the dropdown. Choose Select Default Shell and if you are on the Windows side, you’ll see Command Prompt, PowerShell, or WSL Bash:
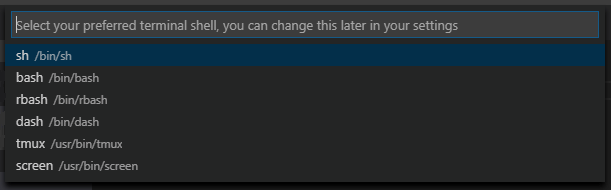
If you are connected to a WSL instance, you’ll see all of the shells defined in /etc/shells:
Workaround for renaming folders
In the current version of WSL (WSL1), there is a limitation where it is not possible to rename a non-empty folder from VS Code. To work around this issue, you can tell VS Code to “poll” for file system changes rather than apply a lock to the folder.
In your user settings.json, add:
"remote.WSL.fileWatcher.polling": true
Polling is resource heavy, so it is not turned on by default. You can also tune how often VS Code polls using the remote.WSL.fileWatcher.pollingInterval setting, which is by default every 5 seconds.
You will need to reload VS Code (Developer: Reload Window from the Command Palette (F1)) for these settings to take effect. The next version of WSL (WSL2, which is in preview) fixes this issue and provide significantly better file system performance.
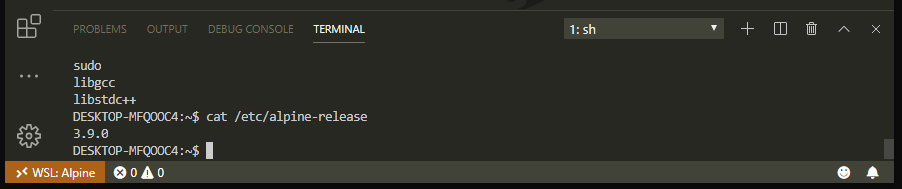
Alpine distro support
It’s still in the experimental stage and requires you use the VS Code Insiders build, but you can run VS Code in Alpine distributions.
Linux development on Windows
WSL and VS Code lets you do productive Linux development from the convenience of your Windows machine. To learn more, see the VS Code Remote Development documentation, where you’ll find guides and tutorials.
And keep following the Windows Command Line Tools blog and the Visual Studio Code release notes for further improvements to WSL and the Remote – WSL extension.
Happy Coding!
This is the final part of our VS Code and WSL series of blog posts. We’d like to give a big thank you to the VS Code team for collaborating with us to create these, and for developing an amazing program that works great with WSL. You can find the full series here:
This was amazing. I have been looking on how to start with Linux development, and this has been served as a bible!
Hi, first of all I think WSL2 is pretty cool, and a step in the right direction. But the permissions management is still a major pain: In order to develop on Windows in VS Code, my code resides inside the Windows file system. Now I create a VM using Vagrant to test my infrastructure code using a Vagrantfile along my code. Company policy disallows password login for the box, so my Vagrant box (SLES12) only allows pubkey authentication. Since my codes resides in the Windows FS, Vagrant can't set the permissions for the private key properly - it's always 777....