If you are using Team Foundation Version Control (TFVC) with Visual Studio Team Services, you can configure the Team Foundation Server Proxy to cache files for version control for your account. It’s very straightforward as the TFS configuration app will do the work for you. Let’s take a look at how to do that.
I’m going through this with TFS 2015 Update 3. It will be similar for newer versions of TFS.
You will need to install the TFS Proxy on a server OS such as Windows Server 2012 R2. The entry point to configure the proxy in the TFS configuration UI will only show up when it is running on a server OS.
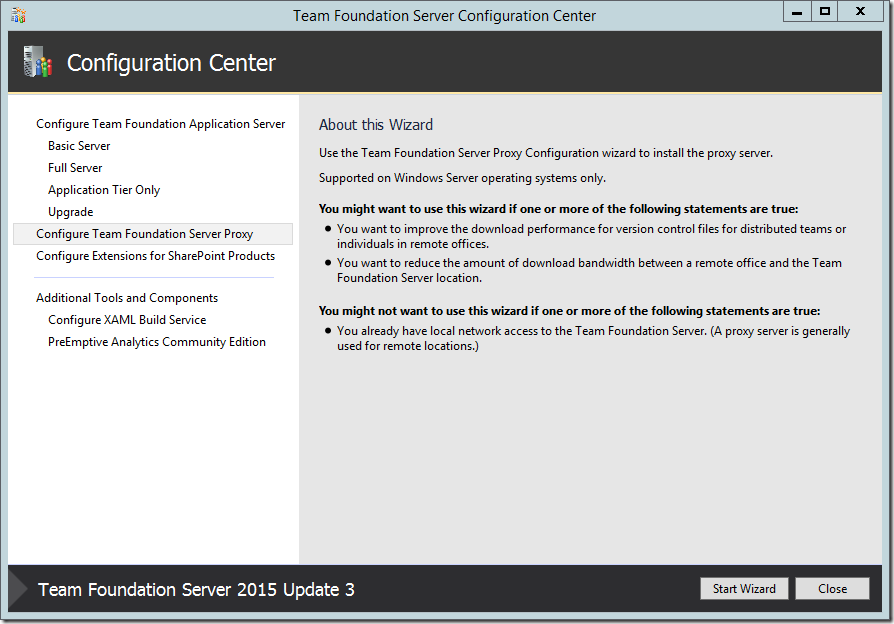
If you haven’t already, launch the Team Foundation Server Administration Console as an admin on your Windows computer. Next select Configure Team Foundation Server Proxy.
Before walking through all of the screens, I’ll give you the short version. When you get to the page to select the project collection, click Browse and then add your account URL. When you are prompted to sign into your VSTS account, you need to sign in with an identity that is a project collection administrator so that the wizard can add the service identity for you. Then you can click Review, Verify, and Configure. If you don’t have IIS installed on the machine, the wizard will install it for you. If you need to reboot, restart the TFS admin console after rebooting and configure the proxy again.
Here are each of the steps. After launching the Team Foundation Server Administration Console in Windows as a local administrator, select Configure Team Foundation Server Proxy.
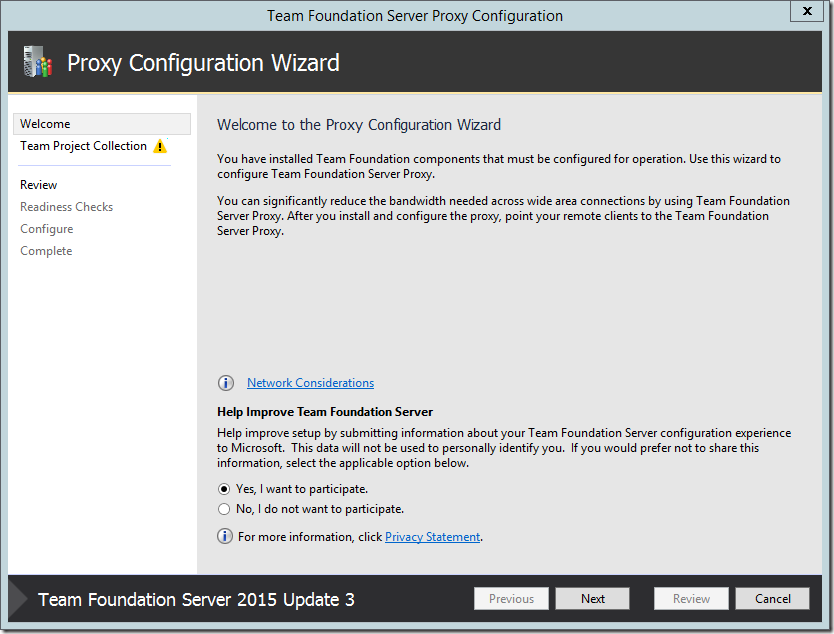
You are now running the Proxy Configuration Wizard. Click Next.
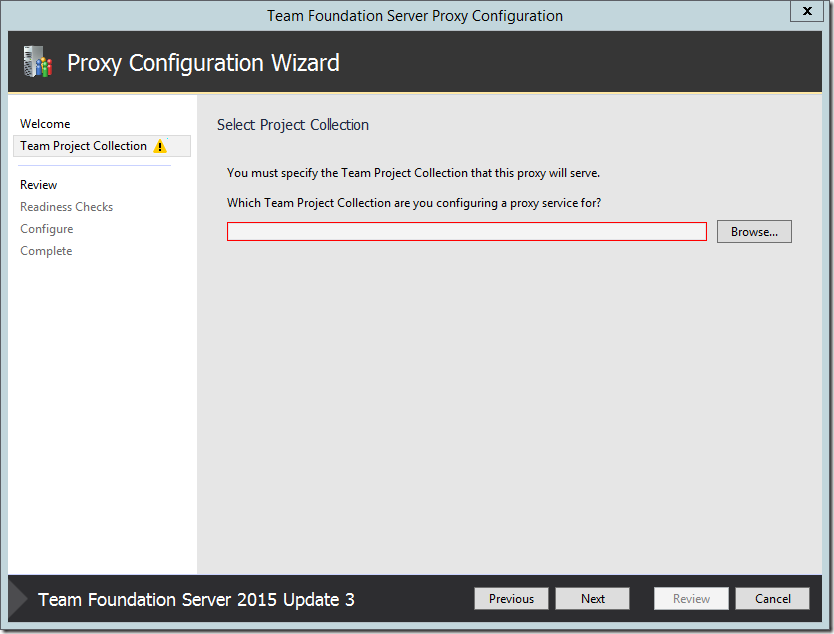
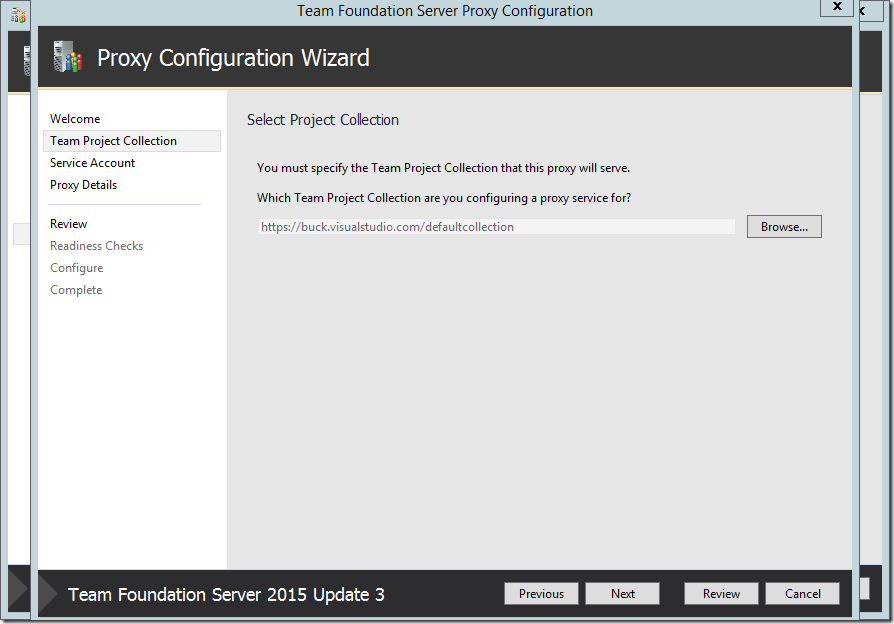
Click Browse since you will need to add your VS Team Services account URL.
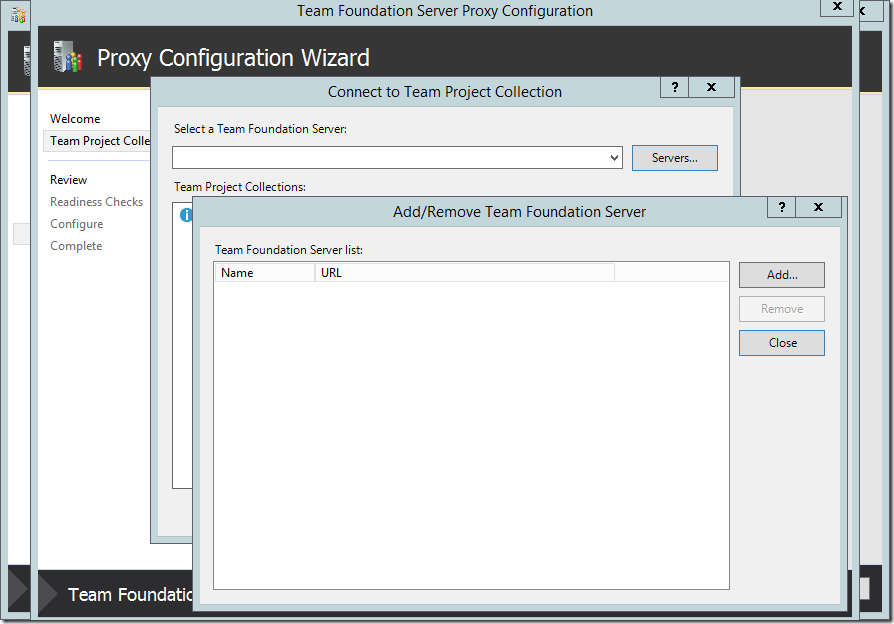
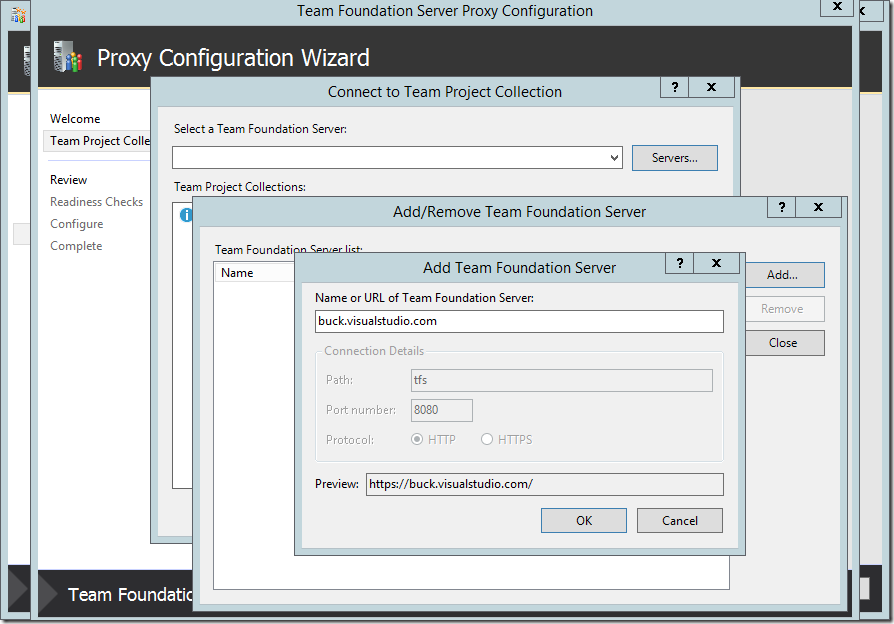
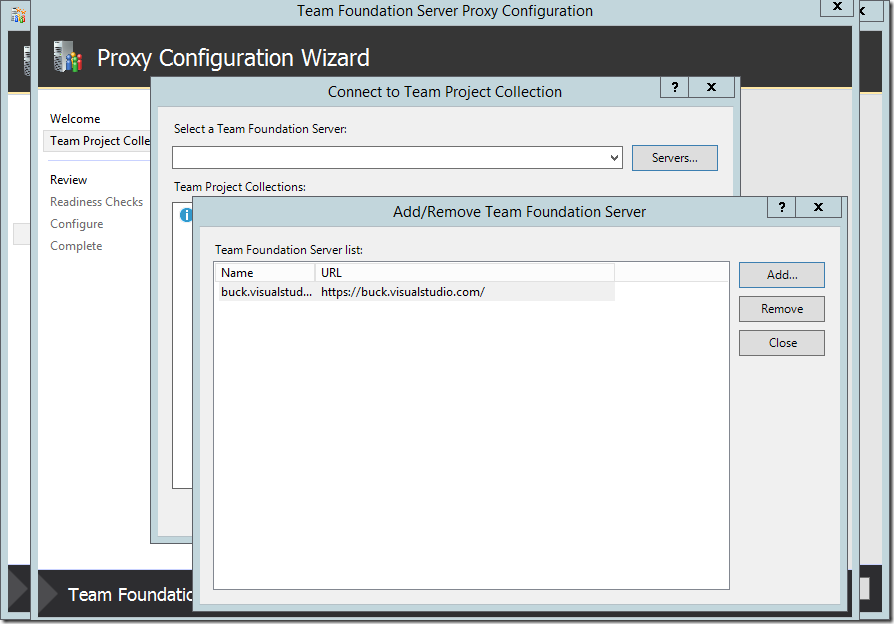
Click Servers and then Add.
Now type in the name of your account <youracct>.visualstudio.com (the dialog will add the https:// for you).
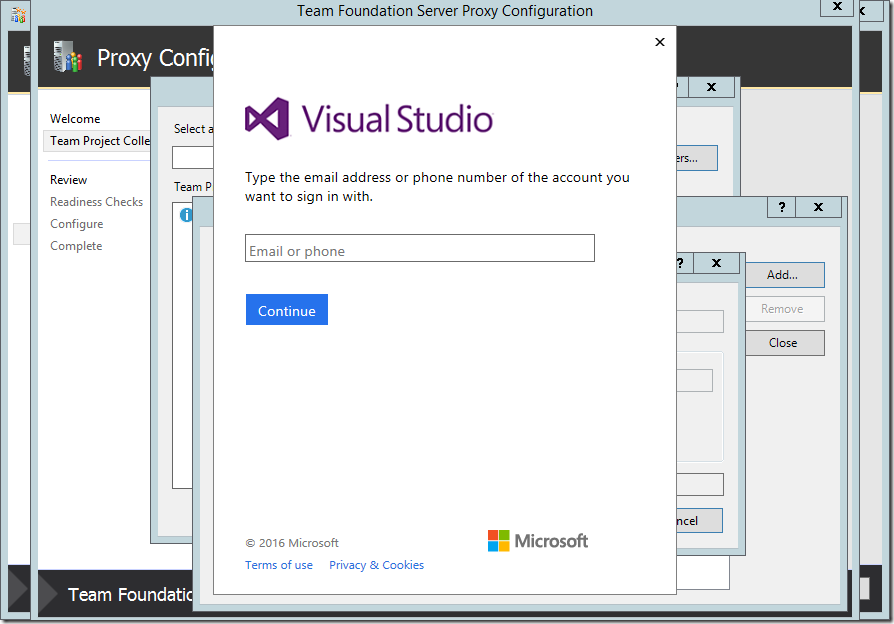
Sign into your VSTS account as an identity that is a team project collection administrator (for example, the owner of the account).
Click Close.
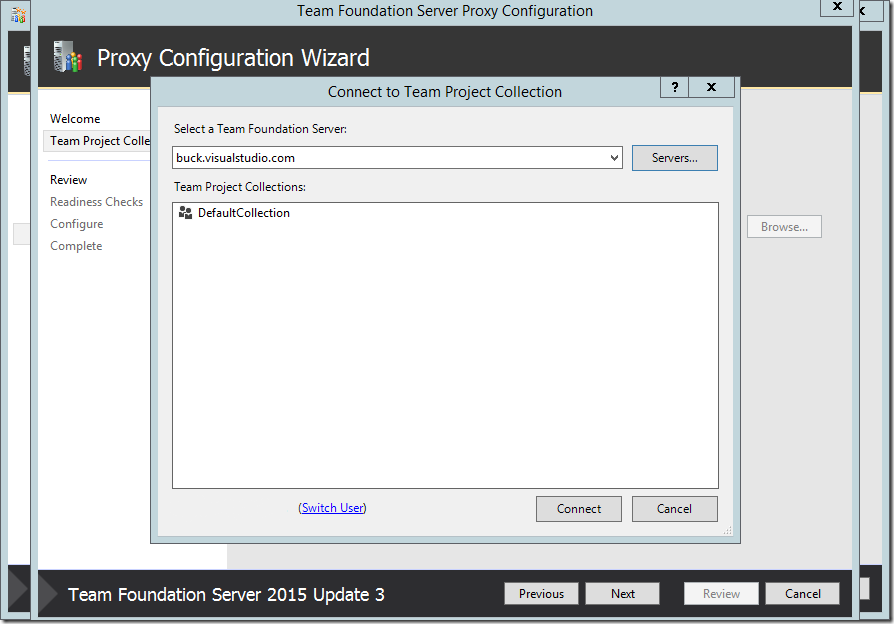
Select your account if you need to and then click Connect.
Now click Next.
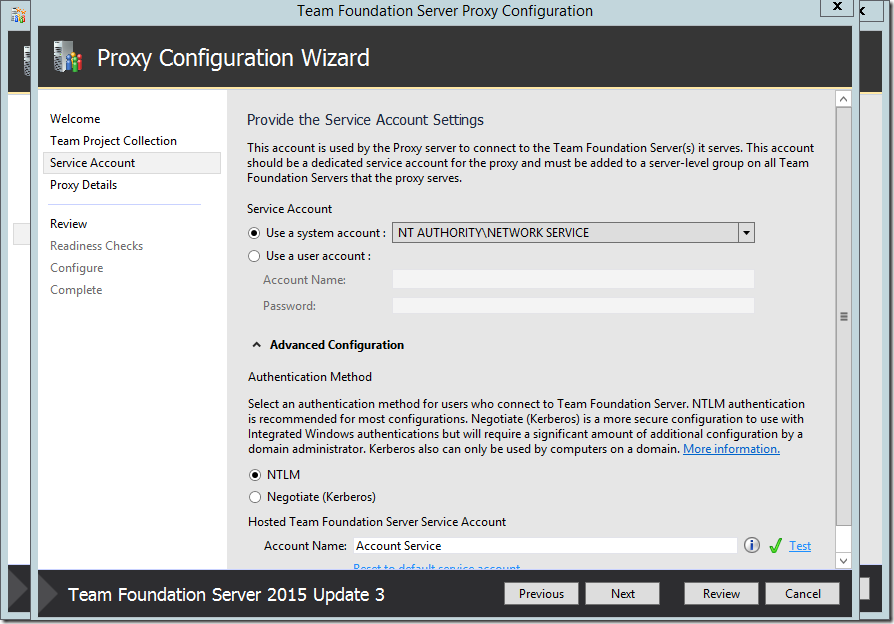
You don’t actually need to do anything with this screen. However, if you want to check to see if the service account for the proxy got created properly in your VSTS account, click the Advanced Configuration to get to the Test link. When you click Test, it will try a connection as the service account to verify that it is working and show either a green check mark for success or a red ‘x’ for failure. Click Next.
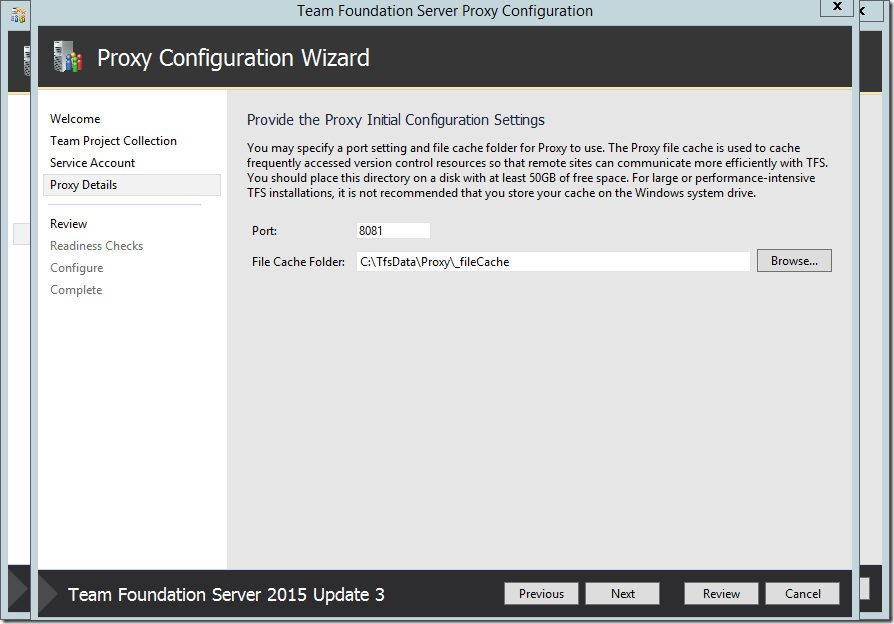
Here you can change the location of the cache directory. You’ll want to choose a drive with enough space for the files you expect to cache. Click Next.
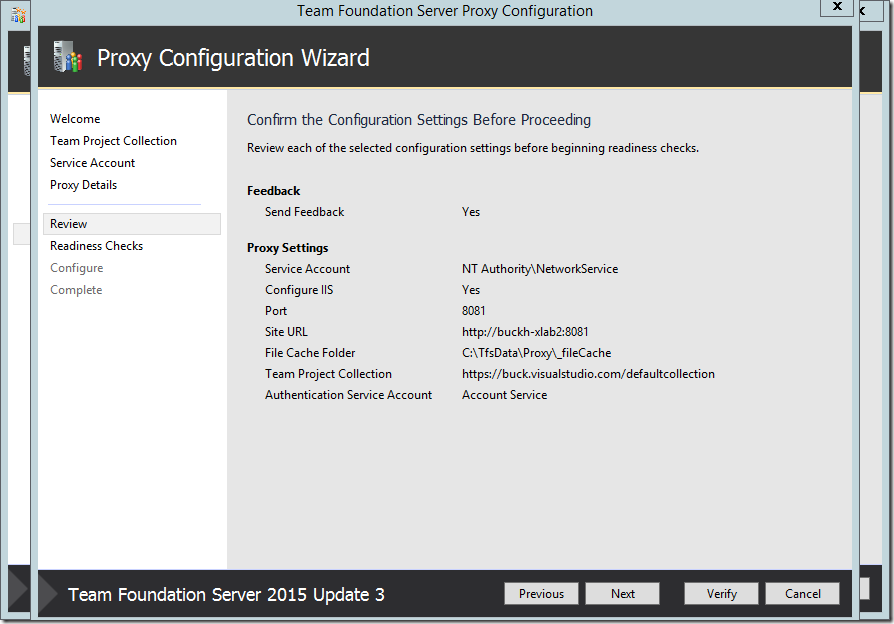
Here you can see the settings. Click Next or Verify.
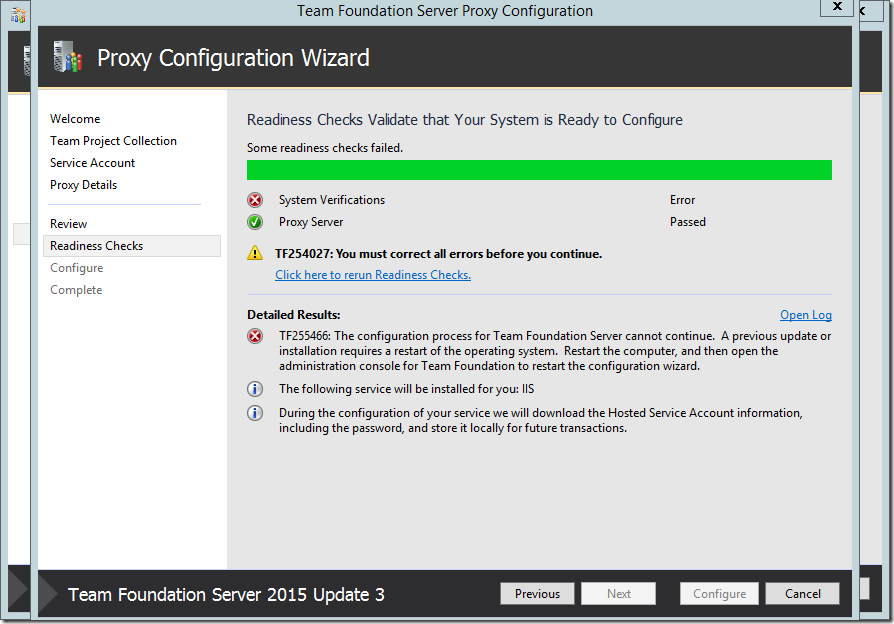
In my case I was using a clean installation of Windows Server 2012 R2, so the wizard installed IIS for me. I had to reboot my computer at this point.
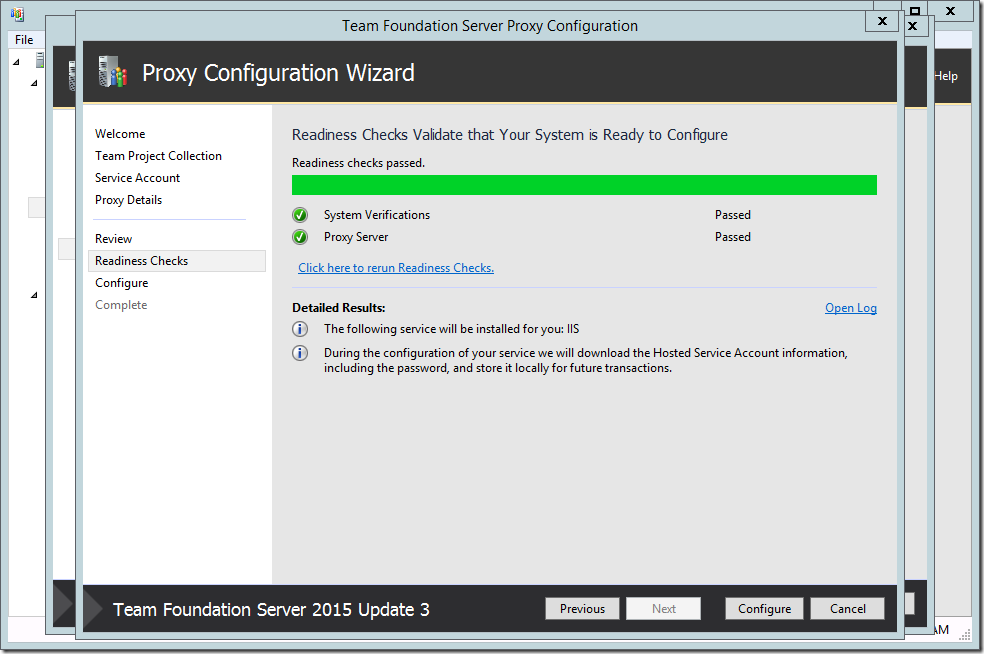
After the computer restarted, I logged in, launched the TFS admin console again, chose to configure the proxy, and I had to re-enter my account URL. Once I got back to the verification step, all of the checks passed this time. Click Configure.
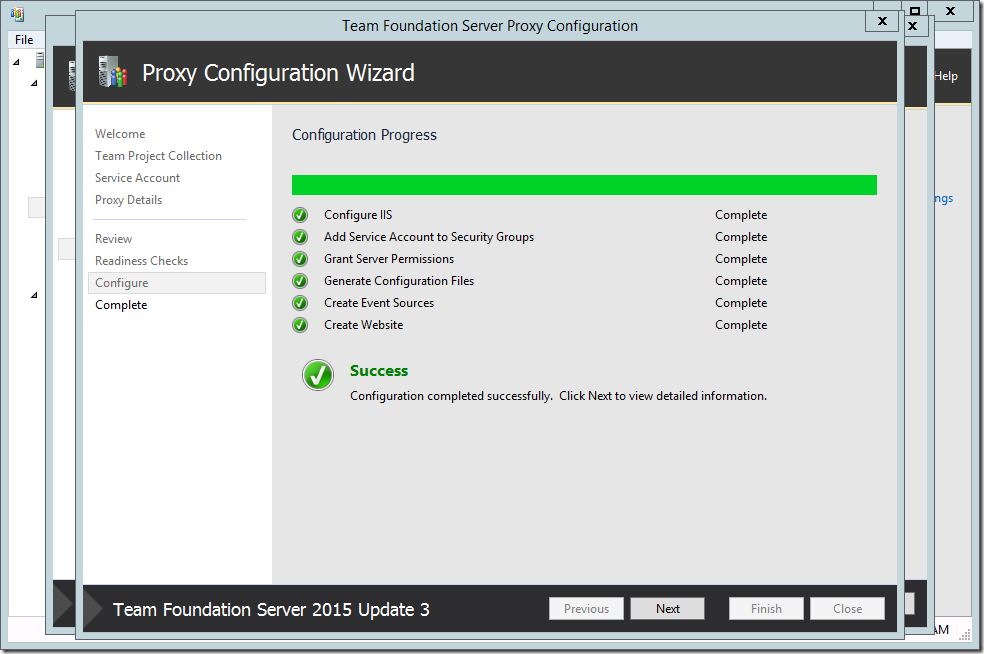
Configuration was successful. Click Next.
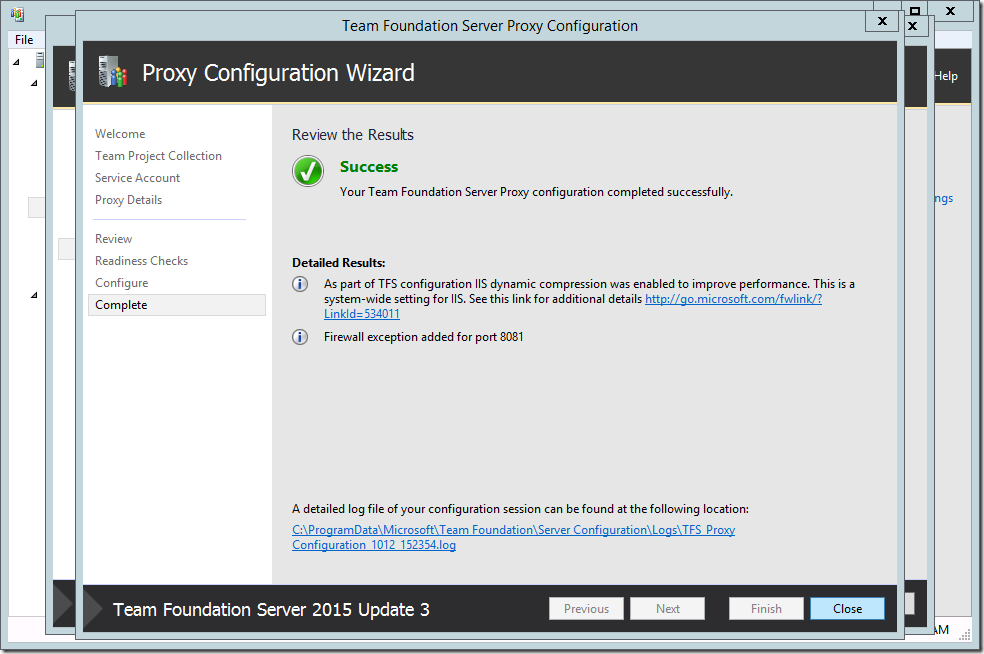
The last screen in the wizard gives you some information about the changes. Now click Close.
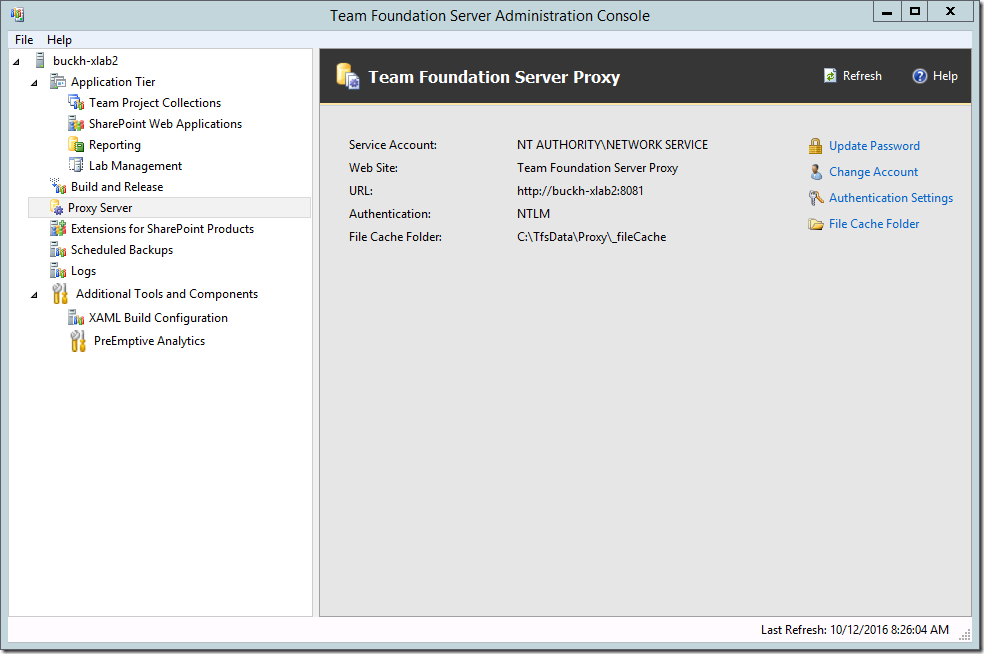
After closing out the wizard dialogs, the admin console shows a configured proxy server.
Now all that remains is to configure your tools to use your new configuration server.
Here is configuring the proxy for the tf.exe command line
C:\Program Files (x86)\Microsoft Visual Studio 14.0\VC>tf settings proxy /configure http://buckh-xlab2:8081
Successfully configured proxy http://buckh-xlab2:8081/VersionControlProxy.
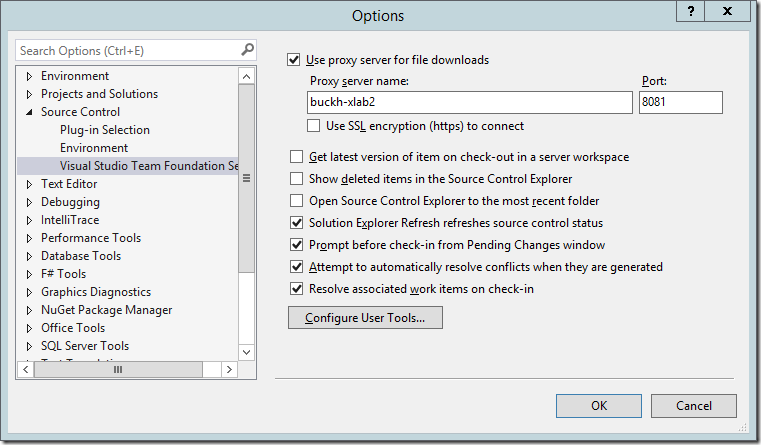
For Visual Studio, you will find it in Tools->Options. Here I’ve checked the box to use it for downloads.
Enjoy!

Thanks for the detailed information and process. Does this TFS Proxy only work for TFVC version control, or it supports GIT also?