Join us for part two of our Azure SQL database change management (CICD) series. This post covers local development environments with Visual Studio Code.
Prerequisites Check
For Database Projects to deploy correctly, we need to have the .NET Core SDK installed.
You can get it here with a direct link for windows x64 here.
You can also check if you have it installed by typing the following command at a windows terminal prompt:
dotnet --list-sdks

After it’s installed, restart Visual Studio Code to uptake the new .NET path.
Creating a table
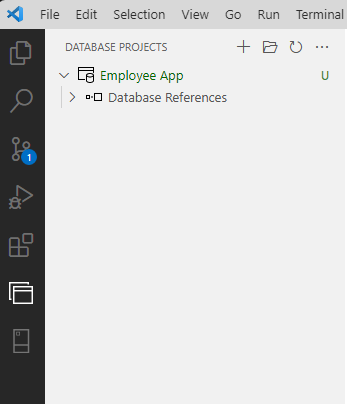
When we left off in part 1, we had finished setting up our environment for Azure SQL Database change management, and had created a Database SQL project called Employee App.

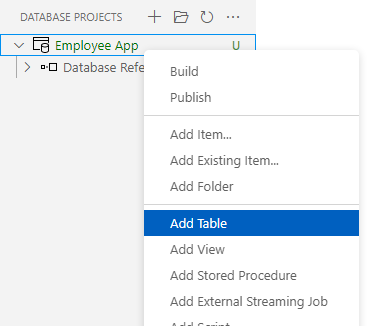
Now, right click on the Employee App node in the Database Projects pane and select Add Table.

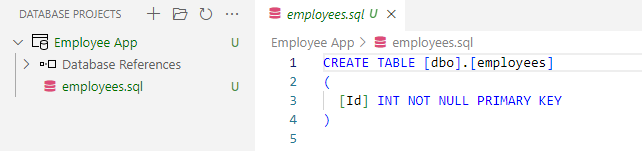
In the New Table name box on the top of VS Code, enter employees as the table name. Then press Enter.

We now have a simple create table script with a single column in our Database Project.

To speed things along, we can use some pre-created code for the employees table. The point was to show you how to add a table via the menu.
Replace the code with the following:
CREATE TABLE [dbo].[employees]
(
    [emp_id] INT NOT NULL PRIMARY KEY IDENTITY,
    [first_name] NVARCHAR(100) NOT NULL,
    [last_name] NVARCHAR(200) NOT NULL,
    [address] NVARCHAR(200) NOT NULL
)
Nothing too complicated but it has a bit more to it than a single column.
Shop Local
We have our table, now to deploy it into an actual Azure SQL database before we commit our code. Before we start this process, make sure that Docker is up and running.
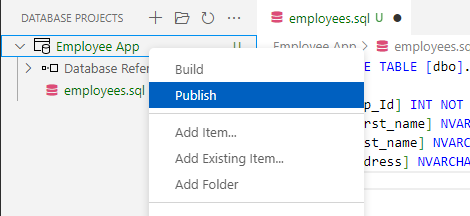
Here is where it gets even more awesome; right click the Employee App project and select Publish.
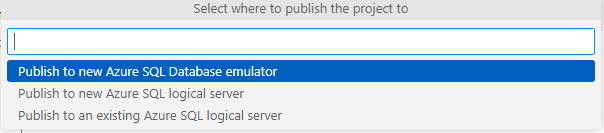
The first question of the Publish Wizard is where do you want to publish the project. Select Publish to a new Azure Database emulator.
Next is the Azure SQL server port number. We can leave as the default of 1433 and just press enter.
The next two questions are what password do you want to use for the sql admin user (will be created as the sa user). Enter the password you want to use
then enter it again to confirm and match
The wizard is then going to ask you about what docker image to pull. If you are on windows on an x86/x64 based CPU, select the Full image. If you are on windows on ARM or just happen to be on a Mac, select the Lite image. For all the posts going forward, we are going to use the Full image.
Now, accept the license agreement
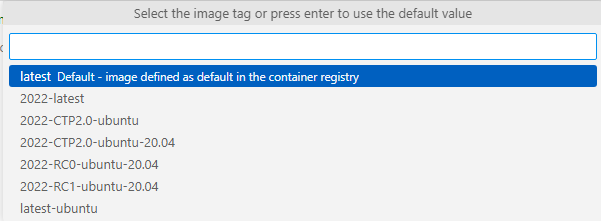
And select the latest Default as the image tag
Select Don’t use profile for the publish profile
And finally, select Employee App as the database name we will create
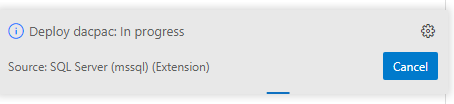
Visual Studio Code will now pull the Docker image, start it up
and deploy your project to it all within minutes.
You now have a full instance of SQL running in Docker locally that you can use for development. It took just a couple of minutes to deploy and couldn’t be easier.
Make a Connection
Back in Visual Studio Code, after the deployment, select the SQL Server Connection extension if not already selected so that we can connect to our Azure SQL Database local instance
Click + Add Connection and with the connection wizard, enter localhost for the server name.
Enter Employee App for the database name
Select SQL Login for Authentication Type
Enter sa as the user name
And enter the password you used when you created the Docker image during the publish process
Select Yes to save the password in the connection profile
Last you can provide a connection profile name if you choose or just press Enter
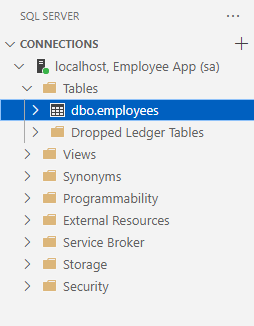
In the Connection panel, expand the Tables node and you can see the employees table right there, in the database, created for you via the project.
Code Review Time!
Now that we have our code all set and ready to go back into the repository, we can use git to push the changes back into our GitHub repository. From a terminal windows/command prompt, enter the AzureCICD directory and add the project files to our GitHub commit
now we create a commit
git commit -m "first commit"
Author identity unknown
If you run into an Author identity unknown error, just run the following commands replacing you@example.com with the appropriate value you used with GitHub
git config --global user.email "you@example.com"
next, we push the changes back into the repository
git push
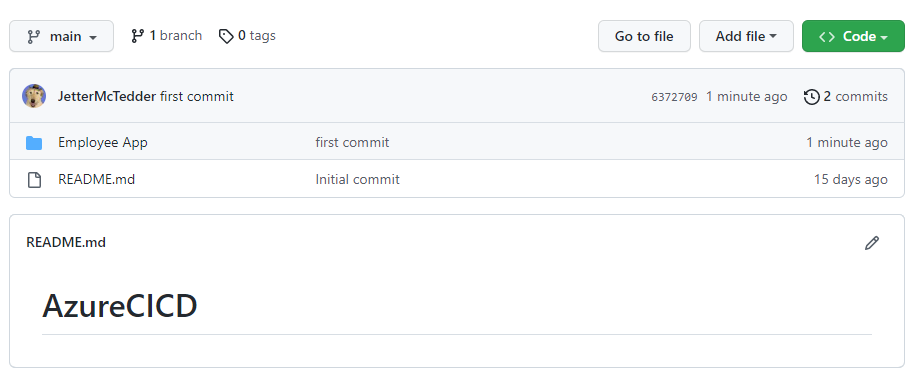
Looking at the repository on GitHub, we can see our committed files:
Azure SQL CICD to be Continued in Part 3
What’s left? Testing, testing, and more testing. In the next post, we will see how we can use GitHub actions and tSQLt to test our code as we commit it so that we have clean, bug free pull requests!


0 comments