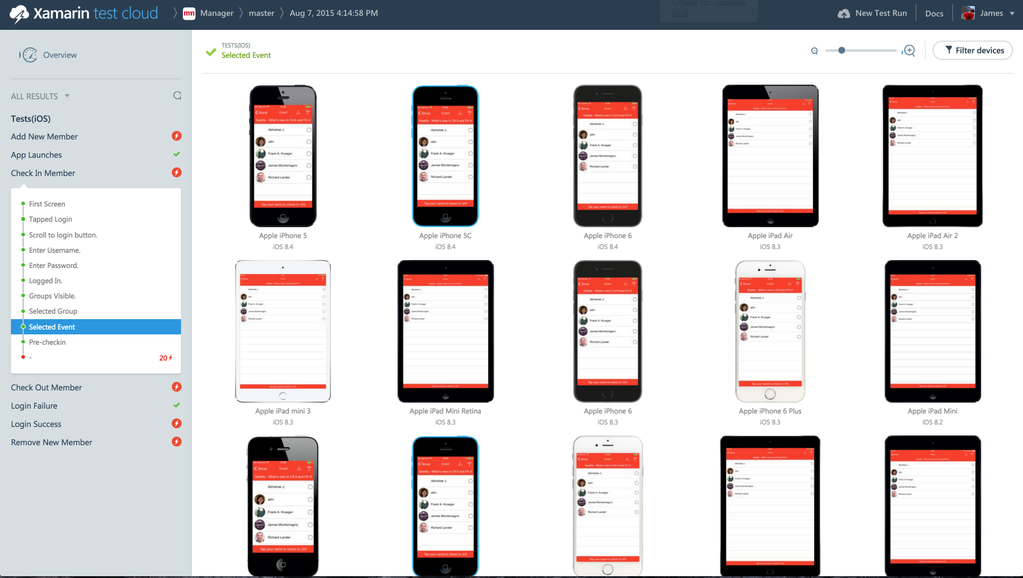
When developing mobile applications, it’s extremely time consuming and tedious to manually test your app for every new feature added or bug fixed. Of course, it’s possible to test an app’s business logic with common unit testing practices using nUnit or xUnit, but what about the user interface?  How can we ensure that an application’s user interface is not only behaving properly, but also looks right on the thousands of unique iOS and Android devices out in the world?
This is where automated user interface testing with Xamarin.UITest, combined with the power and scale of Xamarin Test Cloud, comes in. In the past, we’ve looked at creating tests for traditional Xamarin iOS and Android applications by setting the Accessibility and Resource IDs to gain access to user interface controls in Xamarin.UITest, and today we’ll look at how to use UITest with Xamarin.Forms apps.

Accessing Controls
When creating applications with Xamarin.Forms, we create our user interface with Xamarin.Forms controls in C# or XAML. At runtime, Xamarin.Forms handles laying down and displaying the native controls for the application. Since we’re developing against Xamarin.Forms controls, there’s a special way to gain access to them in our Xamarin.UITests through a special property called StyleId. The StyleId can be set to any string that can be accessed when creating your tests and will be the same between iOS and Android, which means there is no special management of Ids when developing with Xamarin.Forms.
XAML
<Button x:Name="ButtonLogin"
        StyleId="ButtonLogin"
        Grid.Row="5"
        BackgroundColor="#F44336"
        BorderRadius="0"
        TextColor="White"
        Text="Login to Meetup"
        Command="{Binding LoginCommand}" />
C#
var buttonLogin = new Button
  {
    StyleId = "ButtonLogin",
    Text = "Login to Meetup",
    BorderRadius = 0,
    TextColor = Color.White,
    BackgroundColor = Color.FromHex("F443336")
  };
The last thing to do is to add a few lines of code in your iOS and Android applications to apply the StyleId to the native controls, which actually does expose them to Xamarin.UITest. These lines of code should be commented out for final app store submissions.
iOS Setup
Open the AppDelegate.cs file in your iOS project. Add the following lines in FinishedLaunching method after Xamarin.Forms’ Init is called:
Xamarin.Forms.Forms.ViewInitialized += (sender, e) =>
{
  if (null != e.View.StyleId)
  {
    e.NativeView.AccessibilityIdentifier = e.View.StyleId;
  }
};
Android Setup
Open the MainActivity.cs file and add the following lines in OnCreate method after Xamarin.Forms’ Init is called:
Xamarin.Forms.Forms.ViewInitialized += (sender,  e) =>
{
  if (!string.IsNullOrWhiteSpace(e.View.StyleId))
  {
    e.NativeView.ContentDescription = e.View.StyleId;
  }
};
Now, if I was to run a UITest and open the REPL, ButtonLogin will be visible in the tree:

In the UITest, the ButtonLogin can be now used to interact with the button and validate so the login screen appears:
[Test]
public void OpenLoginScreen()
{
  app.Screenshot("App Launches");

  app.Tap("ButtonLogin");
  app.Screenshot("When I tap Login");

  Assert.IsNotNull(app.Query("EntryUserName").Single());
  app.Screenshot("Login Page is Visible");
}
Learn More
To learn more about Xamarin.UITest and Xamarin Test Cloud, be sure to dive through the developer documentation and see our advanced guide for using Xamarin.UITest with Xamarin.Forms. You can also download the full source code and Xamarin.UITest for Meetup Manager, which I demoed here, on my GitHub.
