When I think about the iPhone apps I use the most, they all have one thing in common: they use custom animations to enhance the user experience. Custom animations provide an immersive experience, which can add a whole new element of enjoyment to your user experience.
iOS is jam-packed with beautiful and subtle animations, visible from the moment you unlock the phone. Subtlety is the key to delivering the best experience, as Apple is very clear that developers should avoid animations that seem excessive or gratuitous.

With over 1.2 million apps on the iOS app store alone, if you want your app to get noticed, it needs to stand out from the crowd. The easiest way to do this is with a unique user interface that goes beyond the generic built-in controls and animations.
In this blog, I’m going to show you how you can easily prototype and add custom animations to your iOS apps. Before we get started on the technical details, it’s worth discussing a tip used by some of the best mobile app designers.
Prototype in Keynote or PowerPoint
It’s no secret that to create something that appears simple often requires a large amount of iteration to refine it to its simplest form. This is definitely the case when it comes to UI design and animation design. Many UX designers will use tools like Keynote or PowerPoint, which include built-in animations, for prototyping. During this part of the design process, you are free from thinking about the complexities of the implementation and can focus on the desired result. It’s a step in the design process I highly recommend to everyone who is creating custom animations and transitions. Below is an animation movie exported from Keynote, which you can use to compare to the final animation.
 Implementation
Once you’ve designed your animations, you’ll need to start implementing them. Rest assured, though, as iOS has a fantastic animation API that makes the experiences very straight forward. You’ll most likely be reusing many of the animations you create across your app, which Apple actually recommends in the iOS human interface guidelines.
The implementation for your views rely on Apple’s Core Animation framework. This framework consists of a number of extremely powerful APIs that cater to different requirements. For example, you can create block, key frame, explicit, and implicit animations with Core Animation. Another option is to animate your views using UIKit, which is an approach I use a lot in Dutch Spelling.
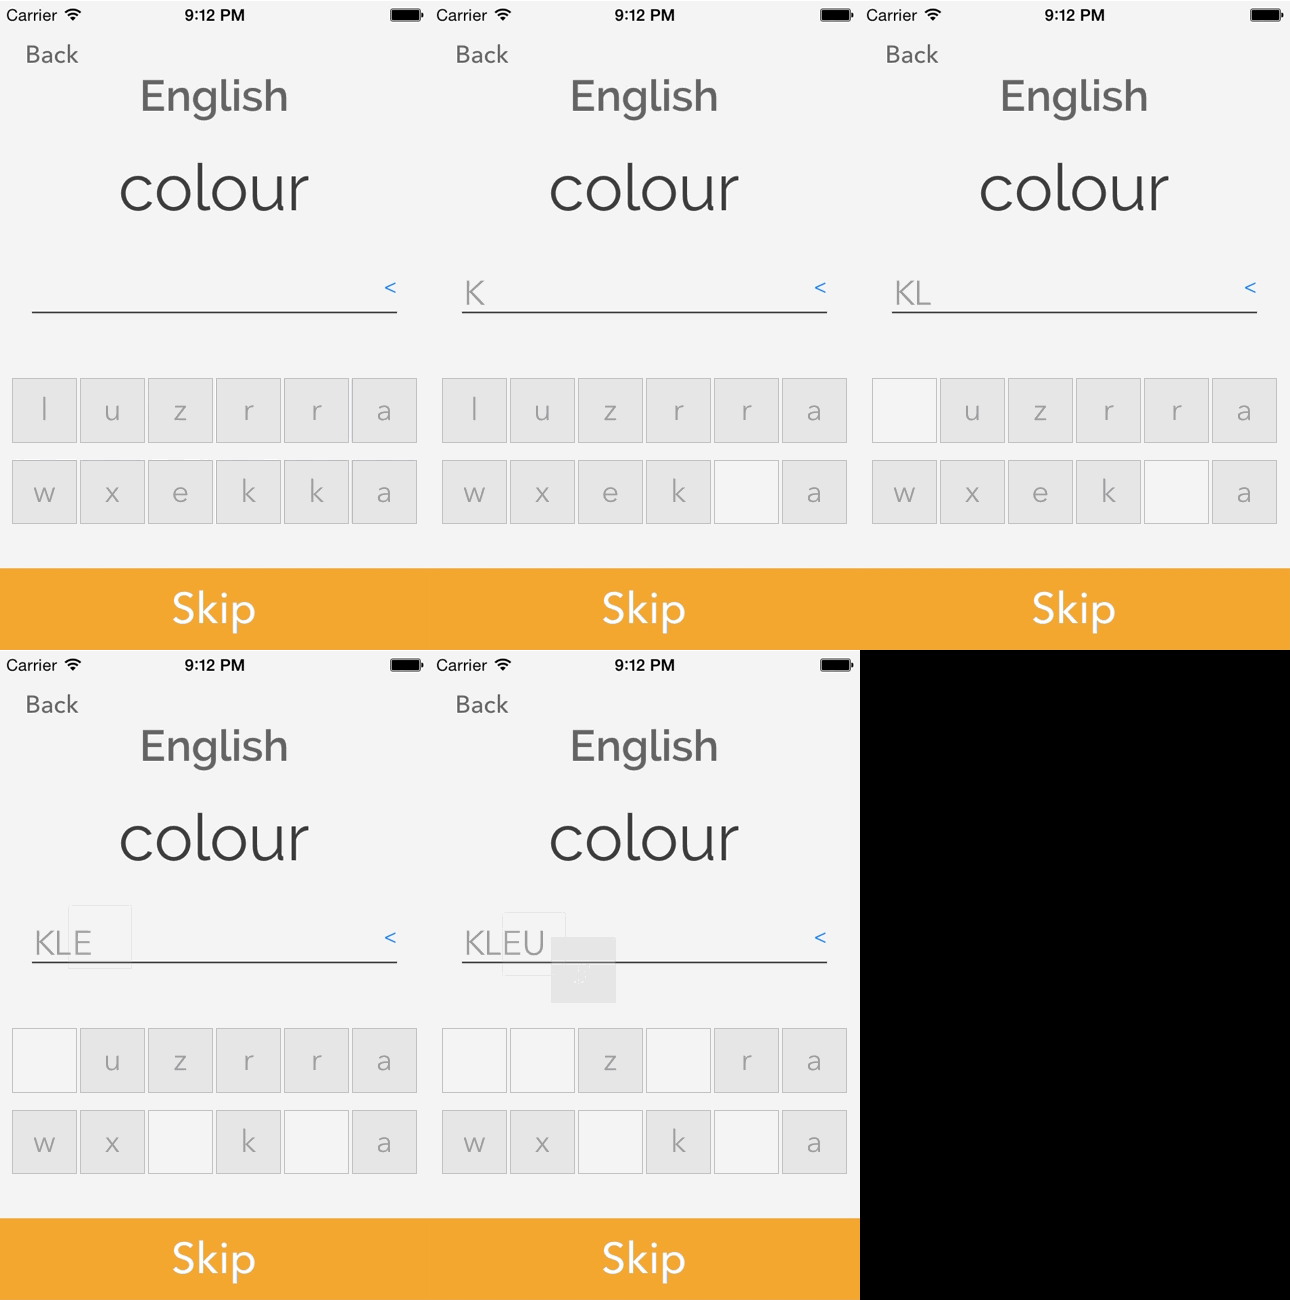
For example, I change the position of a button as well as changing its visibility over .2 seconds.
 //Move button Asynchronously and fade out
 AnimateAsync(0.2, () =>
 {
     button.Frame = CalculatePosition(_buttonsUsedInAnswer.IndexOf(button));
     button.Alpha = 0.0f;
});
The snippet above deals with the button animation; below is a video of the animation running on a the device.
 Another example from Dutch Spelling is shrinking views over time. I use this to draw attention to other visual elements within the UI.
//Shrink WordView Asynchronously and then set font.
public void ShrinkWord()
{
    var transform = CGAffineTransform.MakeIdentity();
    transform.Scale(1f, 1f);

    UIView.AnimateAsync(0.6, () =>
    {
        _word.Transform = transform;
        _title.TextColor = "3C3C3C".ToUIColor();
    });
    _word.Font = UIFont.FromName("Raleway-Regular", 32);
}
Further Reading
You can find more examples to help you get started building your own 5-star app animations in our Core Animation documentation here.
