Last year Apple released a device-optimized machine learning framework called Core ML to make it as easy as possible to integrate machine learning and artificial intelligence services into your iOS and Mac apps. CoreML is a blessing for developers who lack extensive knowledge of AI or machine learning, because getting started only requires referencing a pre-trained model in a project and adding a few lines of code.
In this blog post, we’ll discuss how to create a simple iOS app to identify Links, Hylian Shield, and a Master Sword using CoreML and Azure.
Getting started
While consuming pre-trained models is easiest, we often don’t have large data sets available to train the model. To solve this problem, Microsoft created the Custom Vision Service, which generates custom machine learning models with just five images in only a few minutes. These models can be exported into CoreML models and consumed in iOS and Mac apps.
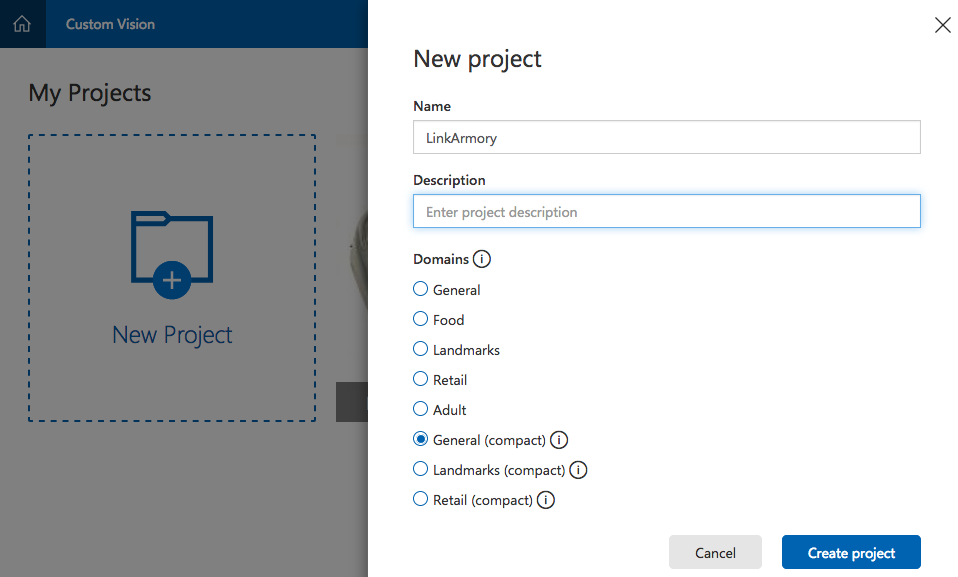
Let’s start by creating a project with Custom Vision Service. Make sure you select a compact model under Domain. The Compact domains can be exported to Core ML or Tensorflow compatible models to run on the devices locally:

Next, a trained model will be ready for use in three easy steps:
- Upload training images.
- Tag the images.
- Click Train.
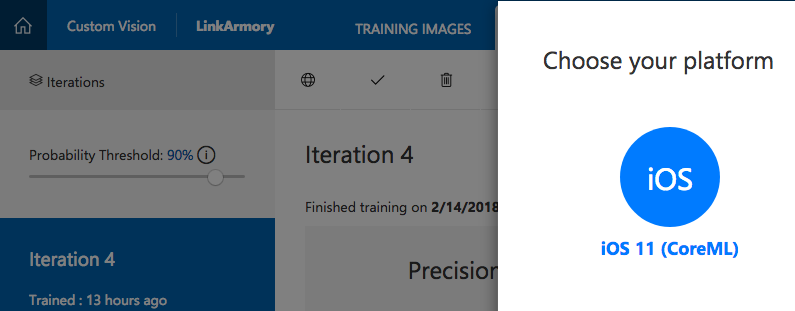
It only takes few minutes to complete the training, and then you can download the model to use in your app.

For Your iOS App
Now that we have our CoreML model set up, it’s time to add it to your iOS app project.
Add Model to the project
Create a new single view iOS app by going to File → New Project → iOS → Single View in Visual Studio 2017. Add the downloaded model (file with .mlmodel extension) to the Resources folder, and make sure the BuildAction is set to BundleResource.
Initialize Vision Model
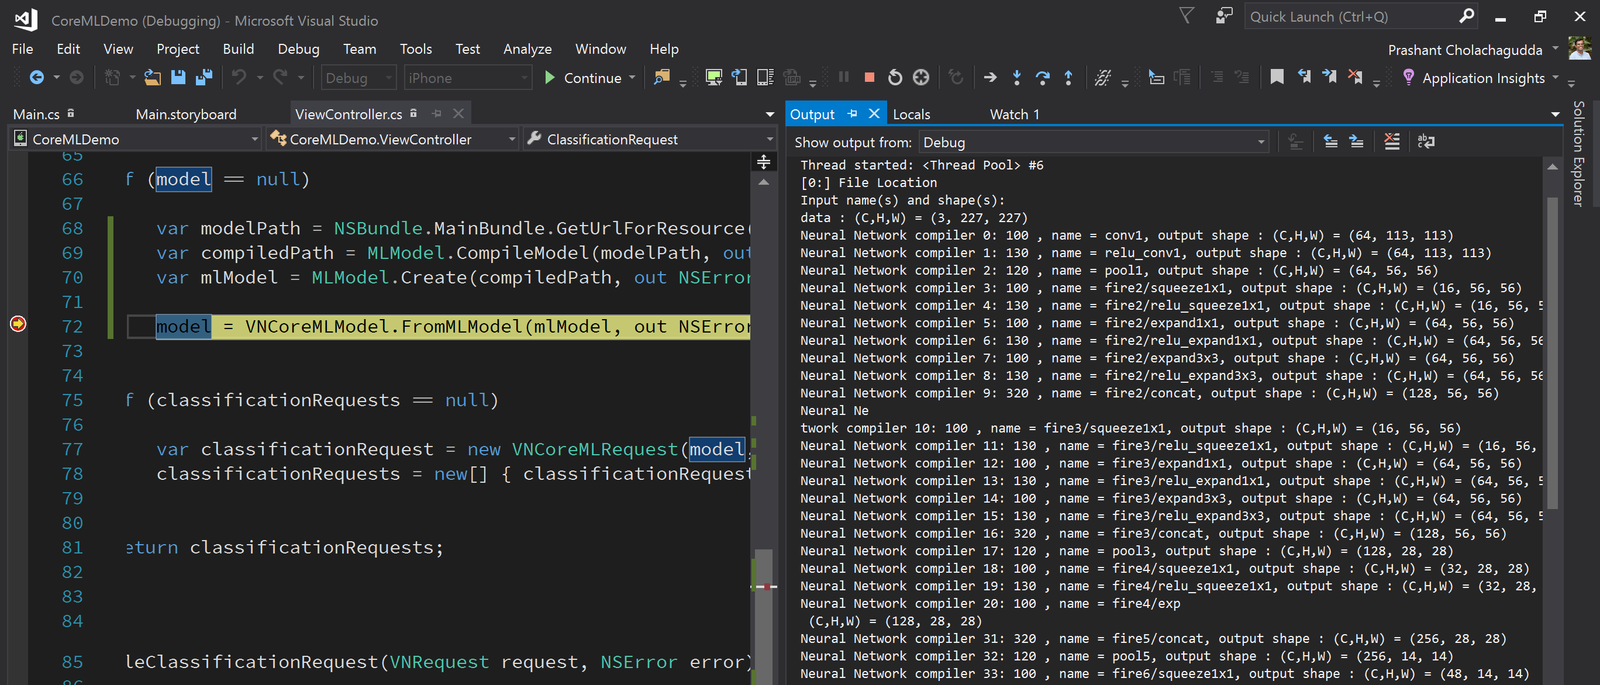
Before using the model, we need to load it in our app and initialize it with a request handler, where we can read ML’s observations:
    var modelPath = NSBundle.MainBundle.GetUrlForResource("Link", "mlmodel");
    var compiledPath = MLModel.CompileModel(modelPath, out NSError compileError);
    var mlModel = MLModel.Create(compiledPath, out NSError createError);

    var model = VNCoreMLModel.FromMLModel(mlModel, out NSError mlError);

    // Initialise classification request and Handler
    var classificationRequest = new VNCoreMLRequest(model, HandleClassificationRequest);
This code compiles the downloaded mlmodel on the device, making it easy to update models without updating the app:

Request classification
Now we need to identify the objects. The following code does this when we take a photo on device:
    var requestHandler = new VNImageRequestHandler(imageNSData, new VNImageOptions());
    requestHandler.Perform(classificationRequest, out NSError error);
Read the observations
As soon as something is detected, the classification request will invoke HandleClassificationRequest method, where we can read the observations from the request parameter using GetResults method:
    void HandleClassificationRequest(VNRequest request, NSError error)
    {
        var observations = request.GetResults();
        var best = observations?[0];

        Debug.WriteLine($"{best.Identifier}, Confidence: {best.Confidence:P0}");
    }
The best possible classification will be available at the 0 index, with an identification label, and confidence value in the range 0..1, where 0 means no confidence that the observation is accurate and 1 means certainty.
Conclusion
It’s that easy to get started with ML and AI with Xamarin.iOS, Visual Studio, and Azure! You can find the final sample code on Github. Be sure to read through Introduction to CoreML on our documentation website, and then check out the Azure documentation to build classifier by using Custom Vision Services here.

0 comments