A great way to explore Xamarin.Forms (and grow comfortable working in the code) is to clone the repository and run it, especially any of the ControlGallery projects. We know that many of you have done just that, so the next step you can take is to make your own customizations to Xamarin.Forms to build and distribute your very own NuGet package within your organization. In this post, let’s walk through doing that locally, and then discuss how you can configure the same on Visual Studio Team Services (VSTS).
The Local Setup
Windows to Build it All
Building a Xamarin.Forms Nuget locally is most easily done on a Windows machine. You’ll want to use Visual Studio 2015 if you’re including the soon-to-be-deprecated Windows Phone 8 and 8.1, or you can use Visual Studio 2017. The build is quite straight forward:
- Select Debug or Release
- Right click the solution and select Build.
I can hear you asking, “But what about a Mac build host, do I need one?” because I asked the very same question my first time. Because we’re generating a NuGet and not an iOS or Mac application, we don’t need the Mac build host. We’re building against the Xamarin and Windows framework SDKs.
Once the solution is done building successfully, you should generate the xml used for displaying documentation within the IDE. Now you’re ready to package the freshly made assemblies into a NuGet package. To accomplish this, we have a handy create-nuget.bat script that you execute from the command line by name.
if "%DEBUG_VERSION%"=="" set DEBUG_VERSION=0
set /a DEBUG_VERSION=%DEBUG_VERSION%+1
pushd docs
..\tools\mdoc\mdoc.exe export-msxdoc -o Xamarin.Forms.Core.xml Xamarin.Forms.Core
..\tools\mdoc\mdoc.exe export-msxdoc -o Xamarin.Forms.Xaml.xml Xamarin.Forms.Xaml
..\tools\mdoc\mdoc.exe export-msxdoc -o Xamarin.Forms.Maps.xml Xamarin.Forms.Maps
popd
pushd .nuspec
..\.nuget\NuGet.exe pack Xamarin.Forms.nuspec -properties configuration=debug;platform=anycpu -Version 9.9.%DEBUG_VERSION%
popd
You can update this directly to use the version and build configuration of your choice. Note, the current script is set to expect the debug configuration. Also, notice the docs are being updated first and then the NuGet is being generated.
The NuGet package will be in your root directory when it’s complete.
Building on OS X
While you can build Xamarin.Forms on a Mac, I don’t recommend it. You immediately have to trim out all the Windows targets, meaning any NuGet you create will only work on iOS, Android, and Mac. If you are on a Mac and cannot build on a Windows machine, then building on VSTS is for you!
Cloud Building on VSTS
Visual Studio Team Services provides a wealth of tasks to create a very flexible build solution, and for our needs it will:
- Get Xamarin.Forms Source
- Restore NuGet packages
- Build the solution
- Generate the documentation
- Package the NuGet
- Publish it
Sounds easy enough, right?

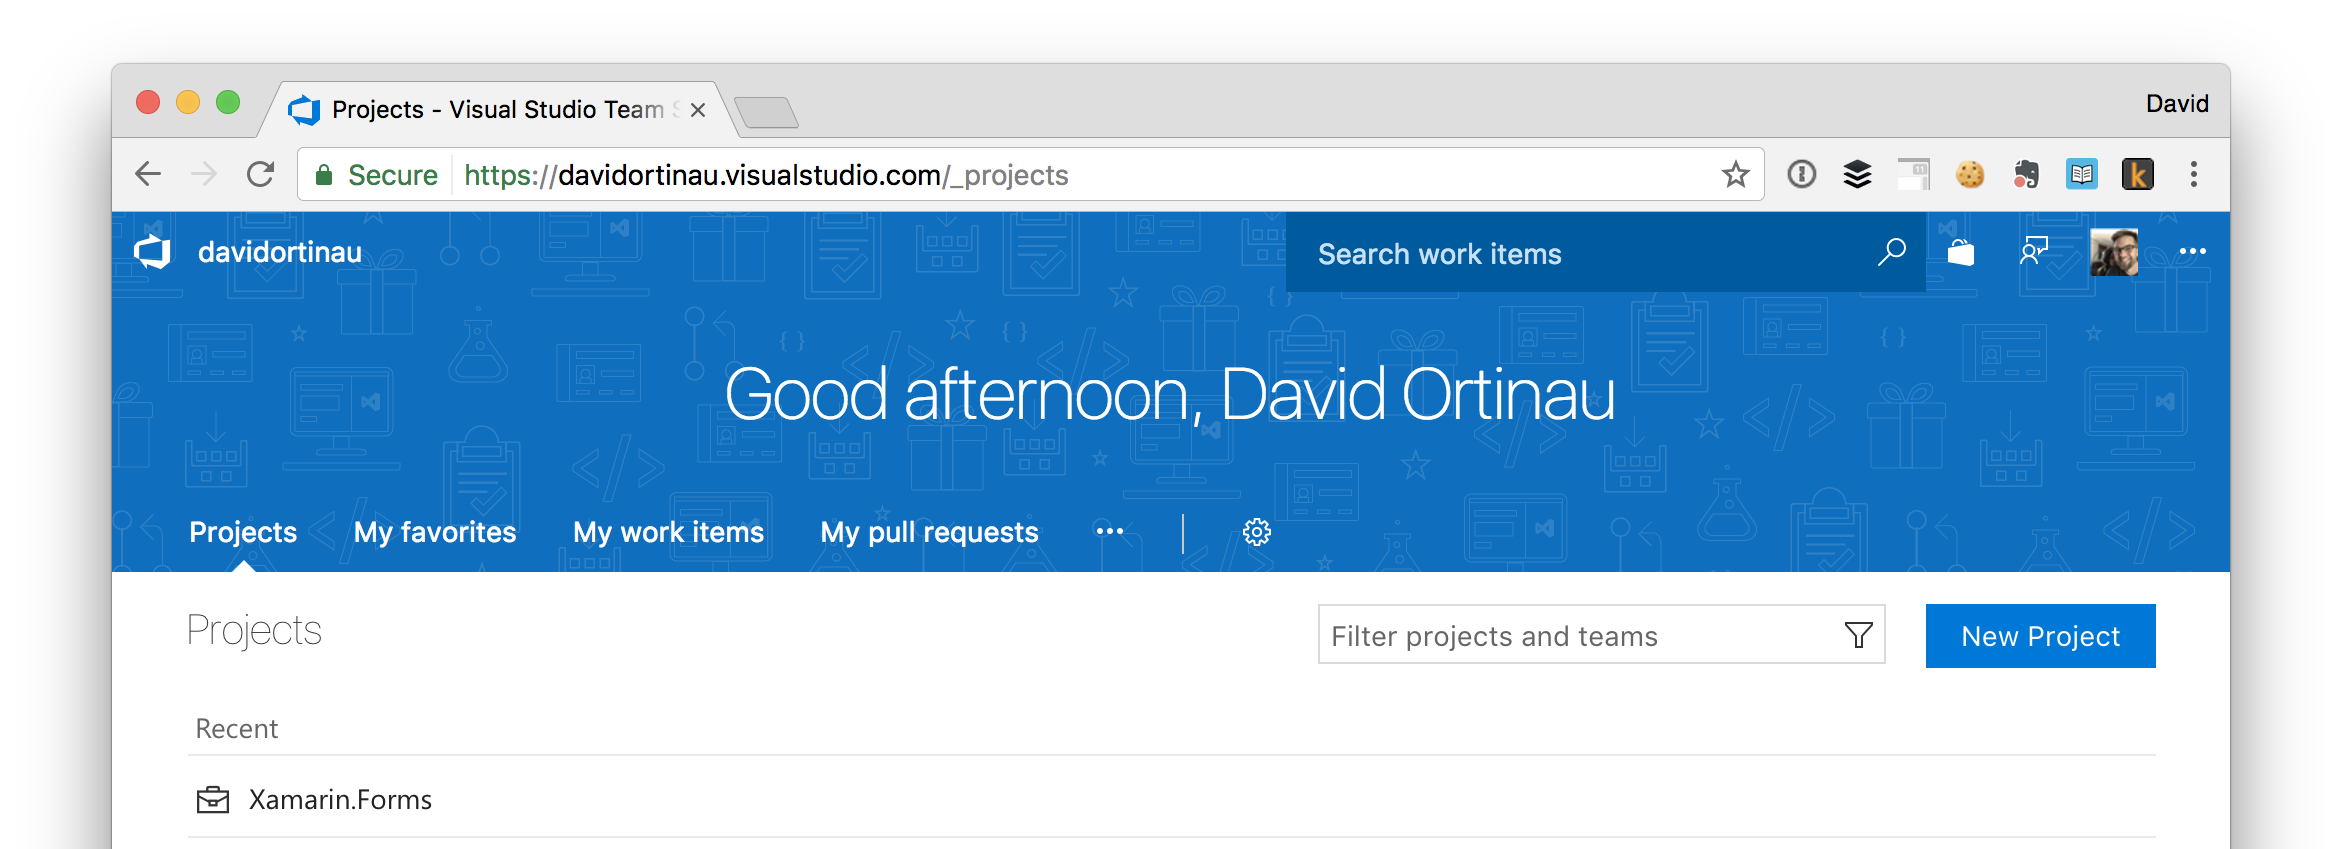
First things first, we need a project on VSTS. Click New Project from your VSTS landing page and fill in your preferences. Once that’s created, go to the Build & Release tab for the project. Create a new Build definition and start adding those tasks!
Get Xamarin.Form Source
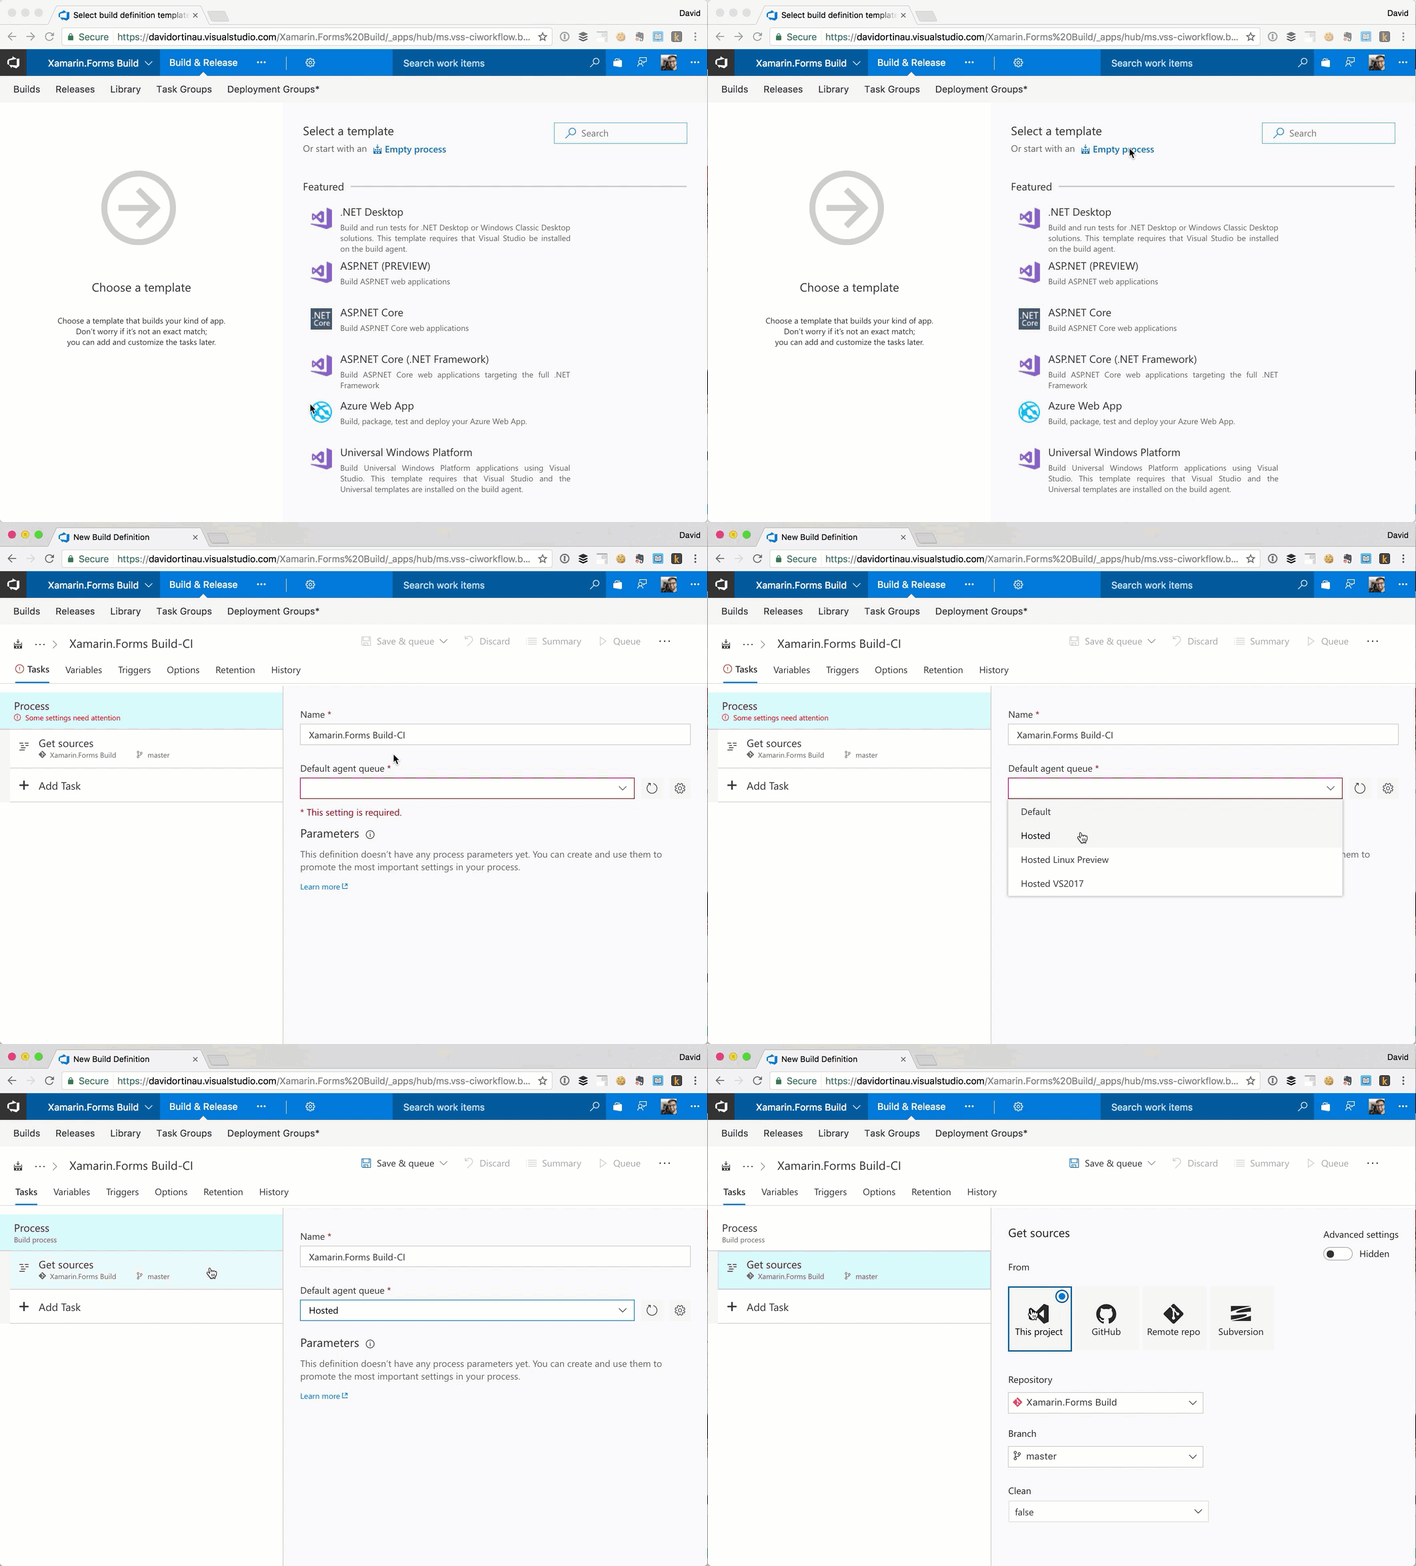
VSTS provides templates for a variety of common scenarios, but we’ll start with an Empty process. For the “Default agent queue” select Hosted.
There’s one task provided for us, and that’s Get Sources. Choose that task and configure from where you want to pull your Xamarin.Forms code.
- This project
- Github
- Remote repo
- Subversion

Restore NuGet Packages
As usual, before we can build any solution including Xamarin.Forms, you want to make sure any NuGet dependencies have been restored. Visual Studio kindly does this for you by default when running a build locally.
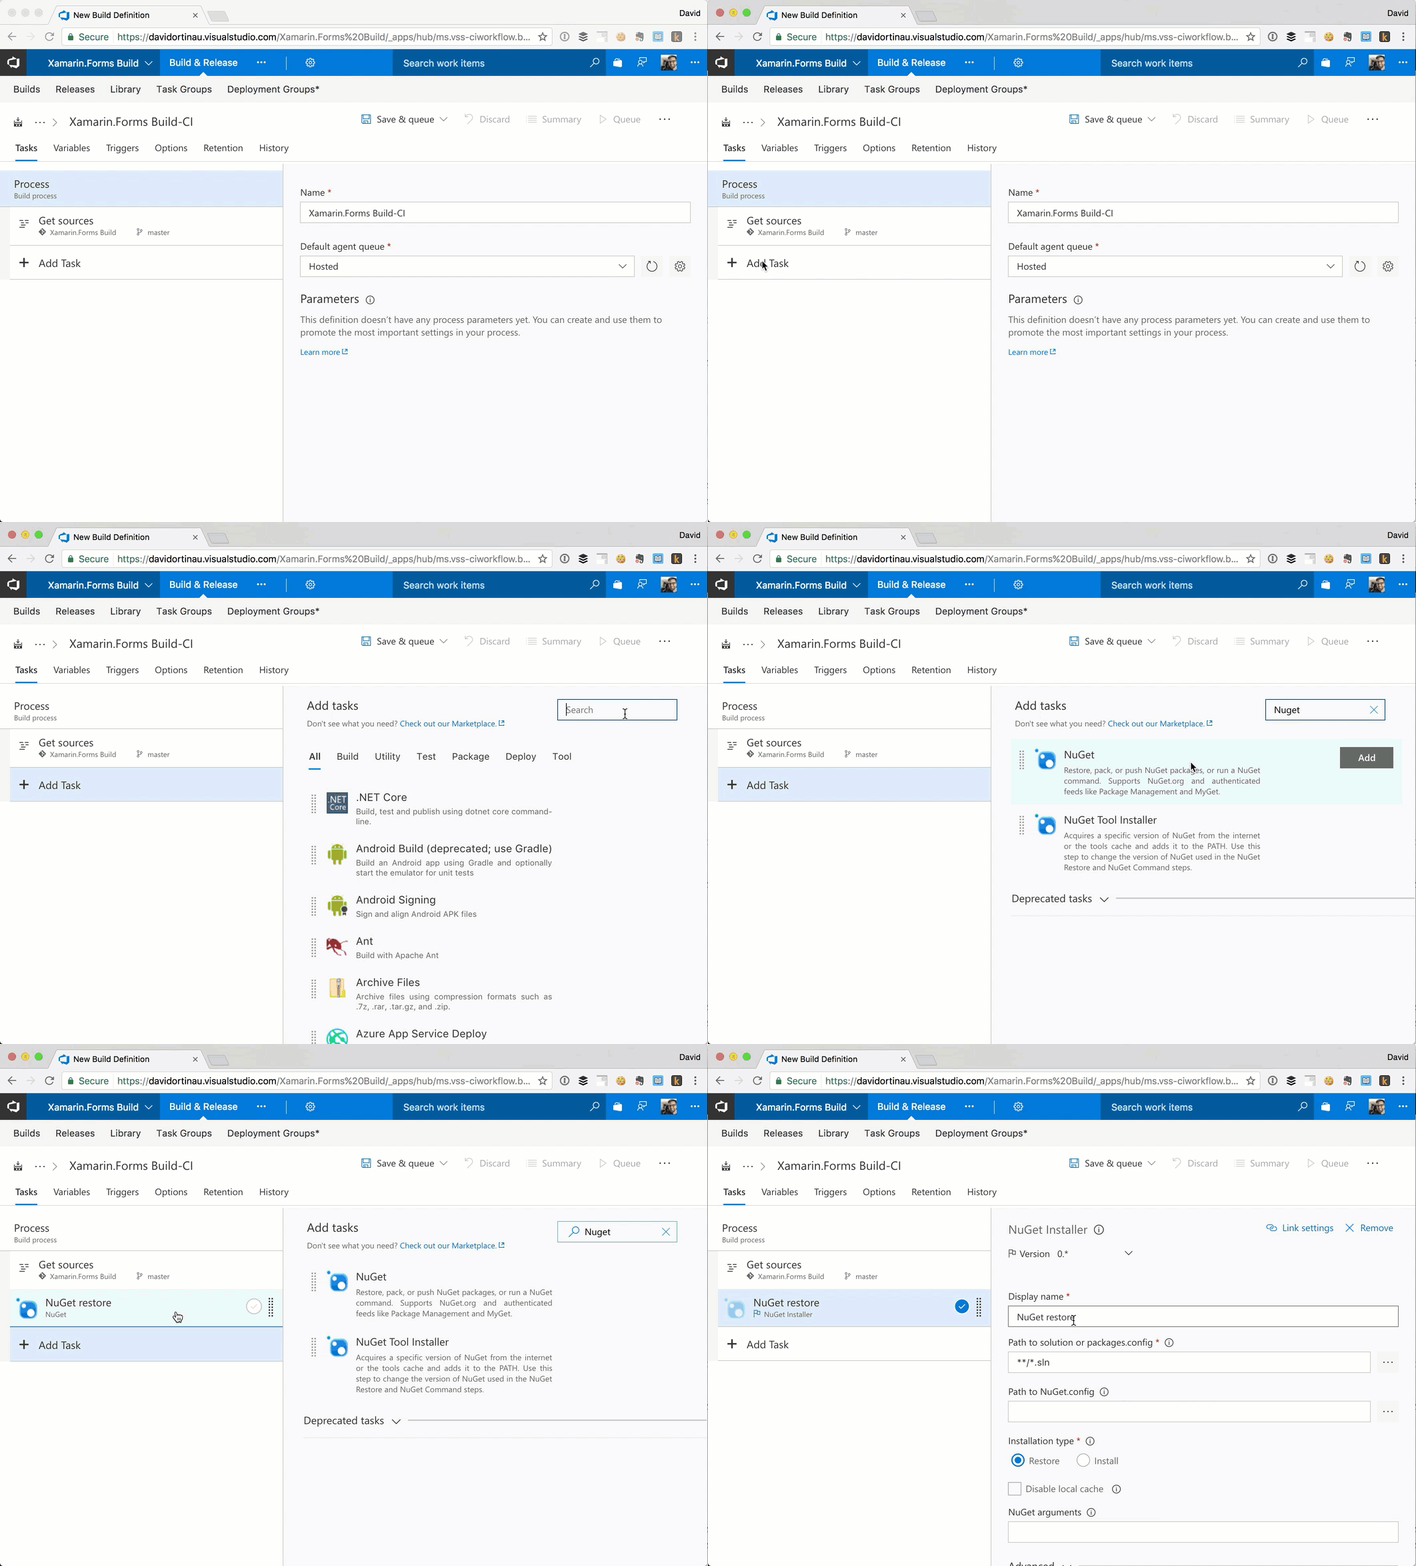
Click Add Task and add the “NuGet” task. Change to 0.* in the Version drop down for the task. This provides the ability to customize NuGet arguments more easily. For the “Path to Solution” enter “Xamarin.Forms.sln” since it’s in the root of the repository.

Make sure the “Installation type” is set to Restore.
Include these arguments:
-source "https://www.nuget.org/api/v2;https://www.myget.org/F/nuget;https://www.myget.org/F/xamarinforms-ci/api/v3/index.json;https://www.myget.org/F/yoga/api/v3/index.json;https://www.myget.org/F/xamprojectci/api/v3/index.json;"
Build The Solution
Now we’re ready to build the solution. Add another task and this time choose “Visual Studio Build”. Again, point to the “Xamarin.Forms.sln”. Add variables you can change depending on what you want to build in the Platform and Configuration fields.
Platform: $(BuildPlatform) Configuration: $(BuildConfiguration)
When you kick off the build later, these will be options you can set.
Check the Clean box.
Generate The Documentation
Build all the appropriate xml files needed by the IDEs to display documentation. To do this you’ll need one Batch Script and three Command Line tasks. You’ve already mastered finding tasks and adding them to the process, so let’s forgo repeating that. Here are the settings for those tasks.
Batch Script Display Name: Update XML Documentation Path: update-docs-windows.bat
Command Line Display Name: Generate XML Documentation (Core) Tool: $(Build.SourcesDirectory)\tools\mdoc\mdoc.exe Arguments: export-msxdoc -o Xamarin.Forms.Core.xml Xamarin.Forms.Core Working Folder: docs
Command Line Display Name: Generate XML Documentation (XAML) Tool: $(Build.SourcesDirectory)\tools\mdoc\mdoc.exe Arguments: export-msxdoc -o Xamarin.Forms.Xaml.xml Xamarin.Forms.Xaml Working Folder: docs
Command Line Display Name: Generate XML Documentation (XAML) Tool: $(Build.SourcesDirectory)\tools\mdoc\mdoc.exe Arguments: export-msxdoc -o Xamarin.Forms.Maps.xml Xamarin.Forms.Maps Working Folder: docs
Package The NuGet
Finally, the step you’ve been waiting so patiently for! Add a “NuGet Packager” task and configure it.
Version 0.* Patch to the nuspec: .nuspec/Xamarin.Forms.nuspec Configuration to Package: $(BuildConfiguration) Addition build properties: IdAppend=.Custom
Publish the NuGet
Perhaps you want to publish to a MyGet feed you control. You can do that here. For simplicity, let’s just put the package in a folder in the VSTS project. Add a task for Publish Build Artifacts.
Get Building
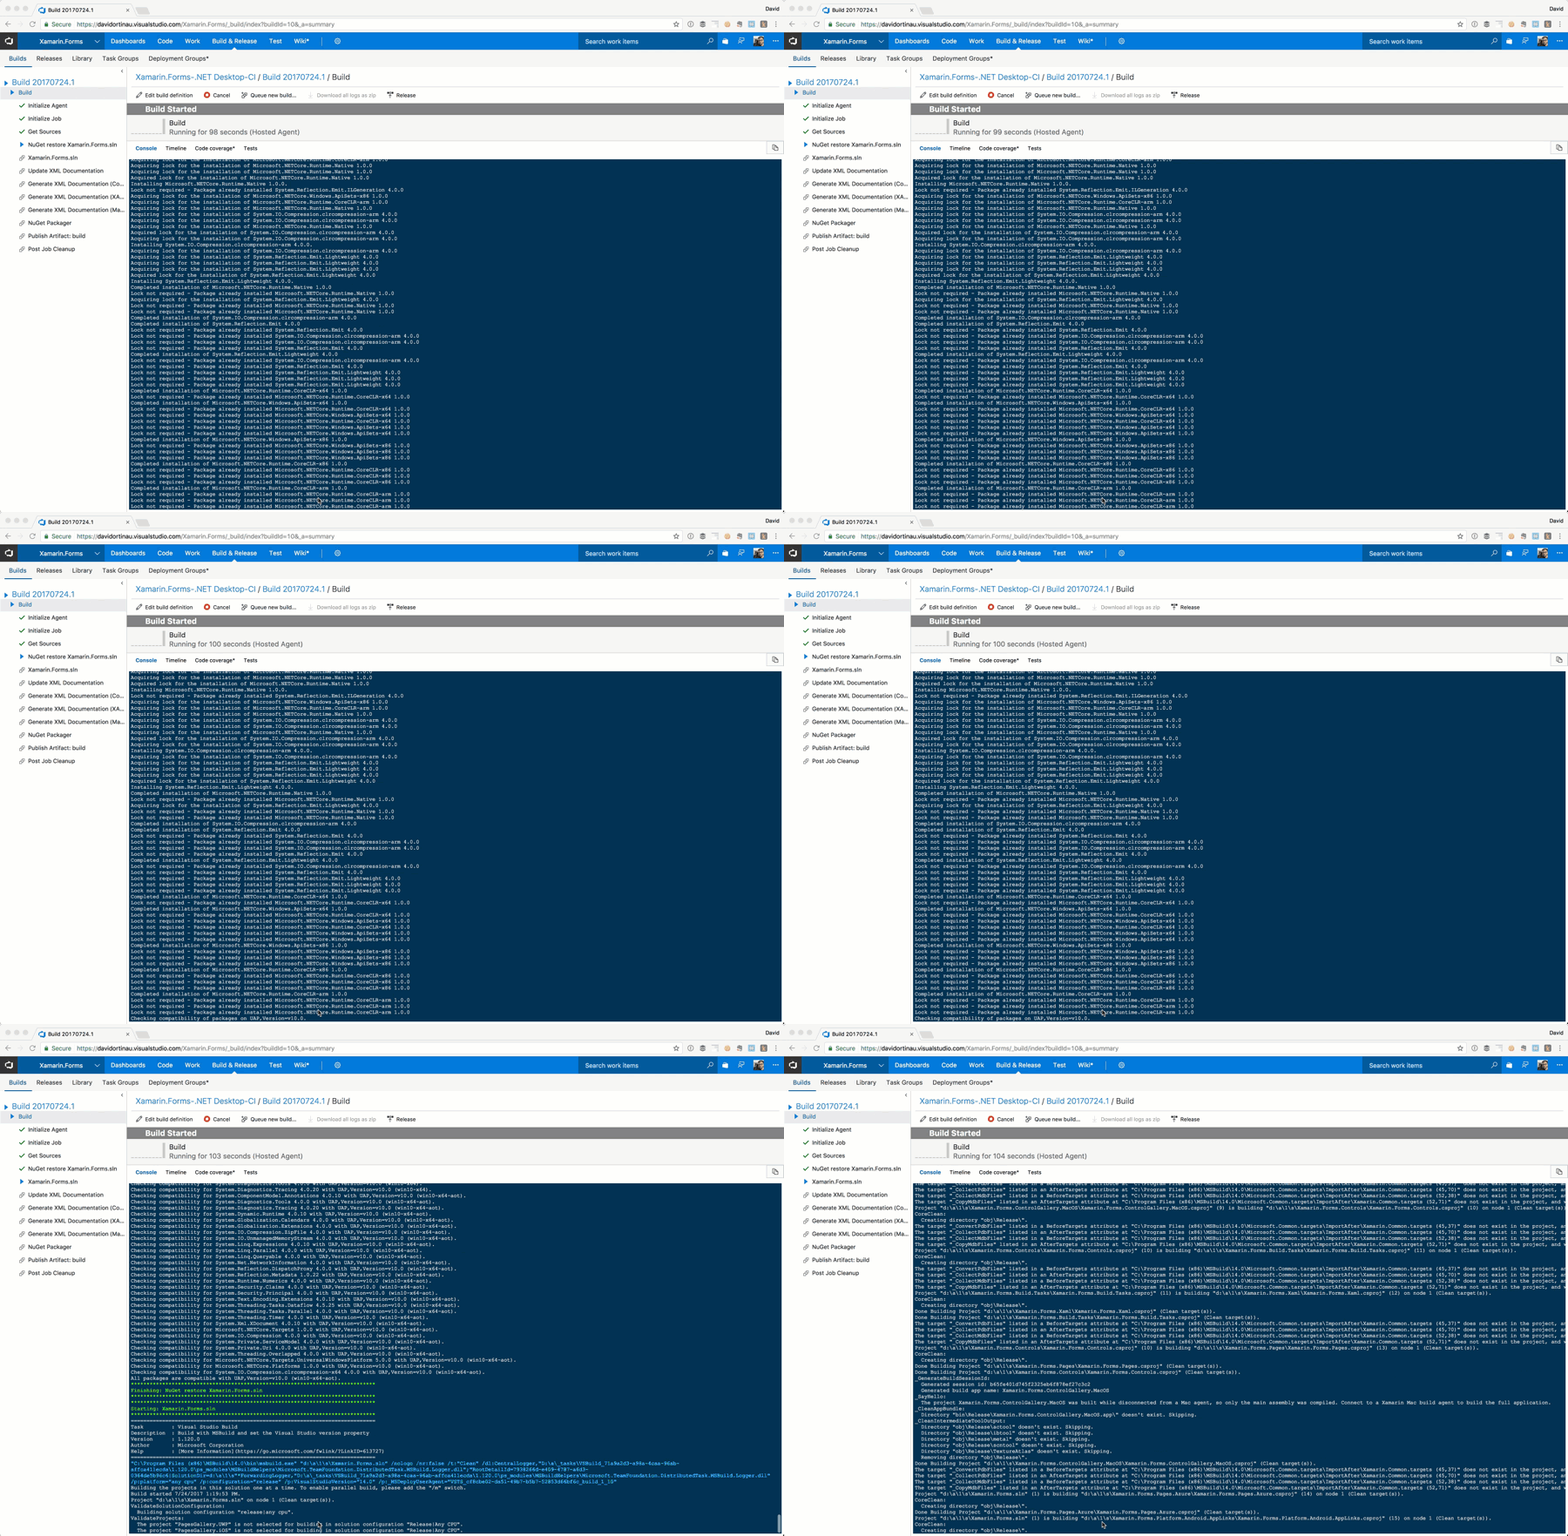
Save and queue your build. From the Builds tab you can access the build history and see your job’s status, any errors, etc.

Ready. Set. Build.
Now you’re all set to build Xamarin.Forms and distribute within your own organization! If you don’t already have a VSTS account, sign up to get started for free. Of course, if you’re making fixes or customizations that everyone can benefit from, please open a pull request on GitHub and share the love.
