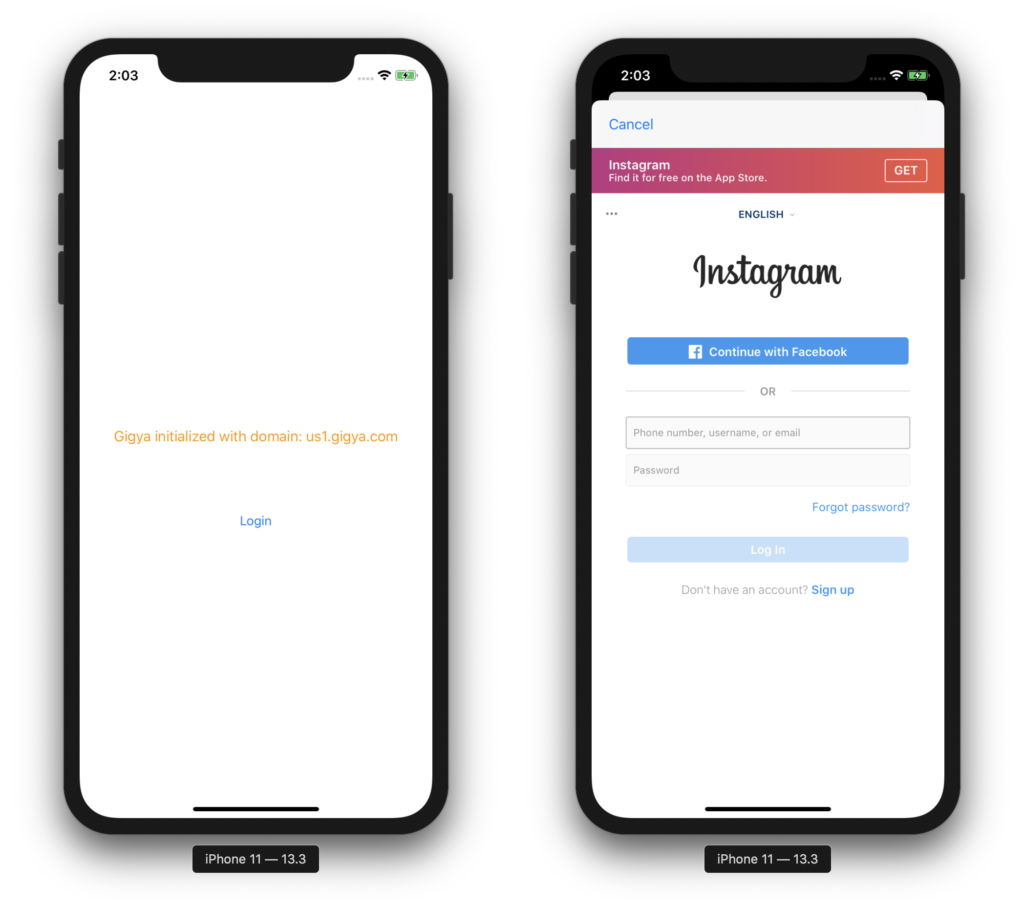
The iOS platform, along with its native languages and tooling, is constantly evolving. There are plenty of 3rd-party libraries that have been developed using the latest offerings. Maximizing code and component reuse is one of the key goals of cross-platform development. The ability to reuse components built with Swift has become increasingly important to Xamarin developers as their popularity continues to grow. You may already be familiar with the process of binding regular Objective-C libraries. Additional documentation is now available describing the process of Binding a Swift Framework. This way, they are consumable by a Xamarin application in the same manner. This post will elaborate on a high-level approach to creating a Swift Binding for Xamarin.
High-level Approach
With Xamarin, you can bind any 3rd-party native library to be consumable by a Xamarin application. Swift is a newer language and creating bindings for libraries built with this language requires some additional steps and tooling. This involves the following four steps:
- Build the native library.
- Prepare the Xamarin metadata, which enables Xamarin tooling to generate C# classes.
- Build a Xamarin Binding Library using the native library and metadata.
- Consume the Xamarin Binding Library in a Xamarin application.
The following guide outlines these steps with additional details.
Binding a Swift Framework
Build the native library
STEP ONE: Prepare a native Swift Framework with an Objective-C header. This file is an autogenerated header, which exposes desired Swift classes, methods, and fields. In turn, making them accessible to both Objective-C and ultimately C# via a Xamarin Binding Library. This file is located within the framework under the following path:
<FrameworkName>.framework/Headers/<FrameworkName>-Swift.h.
If the exposed interface has all the required members, skip to the next step. Otherwise, follow the next steps in order to expose those members. The approach will depend on whether you have access to the Swift framework source code:
- If you have access to the code: Decorate the required Swift member(s) with the @objc attribute.
- Apply additional rules to inform the Xcode build tools that these members should be exposed to the Objective-C world and the header.
- If you do not have access to the code: Create a proxy Swift framework.
- This will wrap the original Swift framework while defining the public interface (required by your application) using the @objc attribute.
Prepare the Xamarin Metadata
STEP TWO: Prepare an API definition interface to be used for a binding project that generate C# classes. Create these definitions either manually or automatically by the Objective Sharpie tool. As well as the aforementioned, auto-generated <FrameworkName>-Swift.h header file. Once you have the metadata, verify and validate the information manually.
Build the Xamarin.iOS Binding Library
STEP THREE: Create a special kind of project – Xamarin.iOS Binding Library. It references the frameworks and metadata prepared previously, along with any additional dependencies the respective framework is reliant upon. It also handles linking the referenced native frameworks with the consuming Xamarin.iOS application.
Consume the Xamarin Binding Library
FOURTH STEP: Reference the binding library in a Xamarin.iOS application. Enable the use of the native library within Xamarin.iOS applications, targeting iOS 12.2 and above. Some additional steps are required for those applications targeting a lower version:
- Add Swift dylib dependencies for runtime support.
- Starting from iOS 12.2 and Swift 5.1, the language became ABI (Application Binary Interface) stable and compatible. Thus, any application targeting a lower iOS version needs to include Swift dylibs dependencies used by the framework.
- Use the SwiftRuntimeSupport Nuget package to automatically include the required dylib dependencies into the resulting application package.
- Add SwiftSupport folder with signed dylibs.
- This is validated by the AppStore during the uploading process.
- If using Xcode tools, the package must be signed and distributed to the AppStore connect. Otherwise, the package will be automatically rejected.

Walkthrough
The approach above outlines the high-level steps required to create a Swift Binding for Xamarin. When preparing these bindings in practice, however, there are many lower-level steps and details to consider. Steps such as adapting to changes in the native tools and languages. The intent is to help you to gain a deeper understanding of this concept and the steps involved in this process. For a detailed step-by-step guide, refer to the Xamarin Swift Binding Walkthrough documentation.
Related Links
- Xcode
- Visual Studio for Mac
- Objective Sharpie
- Sharpie Metadata Verification
- Binding Objective-C Framework
- Gigya framework
- Swift 5.1 IBA Stability
- SwiftRuntimeSupport nuget
- Xamarin UITest automation
- Xamarin.iOS UITest configuration
- AppCenter Test Cloud
- Sample project repository
- Xamarin Swift Binding Walkthrough

Binding unsupported swift library is one of hardest task I ever done in Xamarin application development last year. The high level steps are the same as you did. There are also a ton of issues in low level steps depending on which dependences of the library and how many features in library you want to use. So many times I wanted to give up but we have no other choices and finally I passed them all it works perfectly.