
Every app needs storage, whether it’s for storing a collection of the same type of records in Azure Mobile Service with Easy Tables, or a SQL Database exposed via Web Services. When the data is unstructured, NoSQL with Azure DocumentDB can be used. For scalability and high availability, Azure CosmosDb can be used in both the cases. In enterprise situations, however, where different types of documents need to be stored and shared with colleagues, the best solution is OneDrive for Business. OneDrive for Business is part of Office 365 and provides easy access across multiple Office 365 services. We learned previously how to integrate OneDrive for Business in mobile apps developed using Xamarin.
Since then, there have been changes to APIs and SDKs that have made this integration simpler. We’ll take a look at those changes in this blog post. You can find the repo for this post on GitHub.
Step 1: App Registration
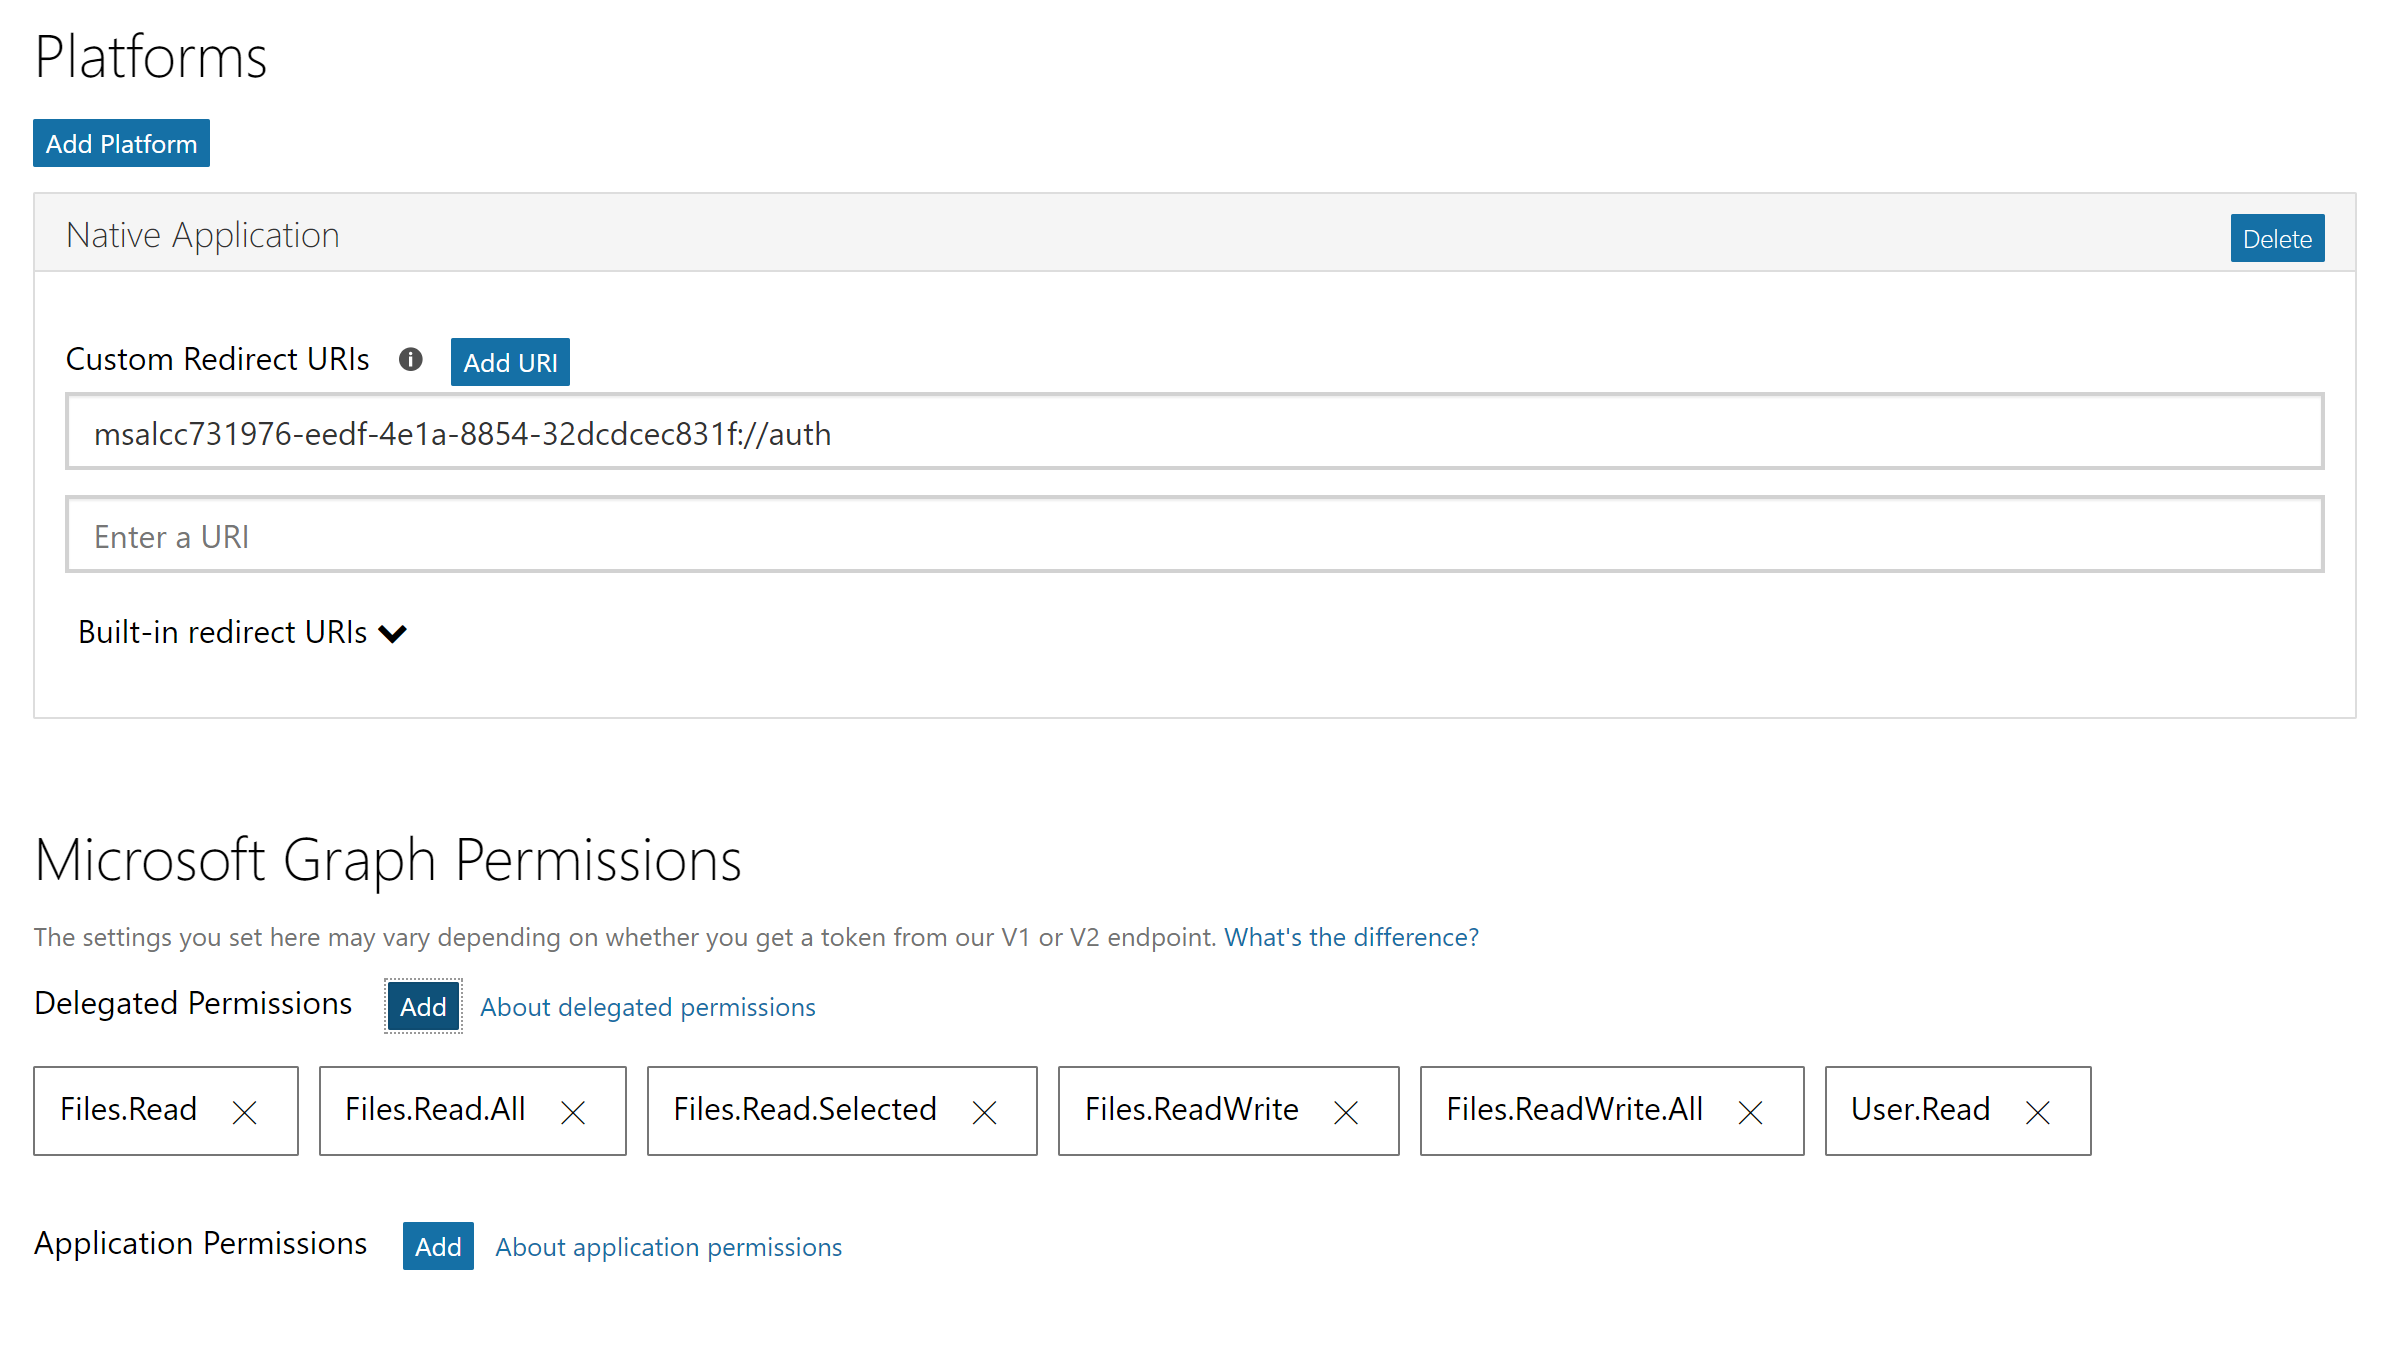
To integrate OneDrive for Business with mobile apps, the app needs to be registered with the Azure Active Directory service. This will authenticate and authorize users while providing access to the resources. The process is the same as registering any other app with Azure Active Directory.
Visit https://apps.dev.microsoft.com/ and click on Add an app to get started. Name your app and continue, making sure you note the Application Id. Click on Add Platorm and select Native Application.
Ensure you define Delegated Permissions for the application to be able to access files stored on OneDrive for Business:
Files.ReadFiles.Read.AllFiles.Read.SelectedFiles.ReadWriteFiles.ReadWrite.AllUser.Read
Step 2: Calling APIs
Once the app is registered, create a Blank Xamarin.Forms application with the PCL code sharing strategy. Make sure that the profile selected for PCL is set to Profile7 by right-clicking the PCL project and selecting Properties > Build > General. Add two NuGet packages: Microsoft.Identity.Client and Microsoft.Graph.
Use the Microsoft Authentication Library (MSAL) to authenticate the user in the code-behind in App.xaml.cs.
using Microsoft.Identity.Client;
...
public static PublicClientApplication IdentityClientApp = null;
public static string ClientID = "4f91166f-c946-438f-8d07-33792251026d";
public static string[] Scopes = { "User.Read", "User.ReadBasic.All", "Files.Read", "Files.Read.All", "Files.ReadWrite", "Files.ReadWrite.All" };
public static UIParent UiParent = null;
public App()
{
   InitializeComponent();
   MainPage = new XamarinDrive.MainPage();
   IdentityClientApp = new PublicClientApplication(ClientID);
   MainPage = new NavigationPage(new MainPage());
}
After the authentication process is complete, create a GraphServiceClient object which will be responsible for further requests in the code-behind for MainPage.xaml.cs.
using Microsoft.Graph;
using Microsoft.Identity.Client;
...
private async Task CreateGraphClientAsync()
{
   try {
      Client = new GraphServiceClient("https://graph.microsoft.com/v1.0",
               new DelegateAuthenticationProvider(
               async (requestMessage) => {
                         var tokenRequest = await App.IdentityClientApp.AcquireTokenAsync(App.Scopes, App.UiParent).ConfigureAwait(false);
                         requestMessage.Headers.Authorization = new AuthenticationHeaderValue("bearer", tokenRequest.AccessToken);
                }));
                Me = await Client.Me.Request().GetAsync();
                Username.Text = $"Welcome {((User)Me).DisplayName}";
                return true;
       }
       catch (MsalException ex){
            await DisplayAlert("Error", ex.Message, "OK", "Cancel");
            return false;
       }
}
Using this GraphServiceClient and Graph Model, traverse through the Drive and get a list of items (files and folders) within the drive. Assign this list of items to the listview control in ListPage.xaml.cs.
using Microsoft.Graph;
...
var client = new GraphServiceClient("https://graph.microsoft.com/v1.0",
                new DelegateAuthenticationProvider(
                async (requestMessage) =>
                {
                   var tokenRequest = await App.IdentityClientApp.AcquireTokenSilentAsync(App.Scopes, App.IdentityClientApp.Users.FirstOrDefault());
                   requestMessage.Headers.Authorization = new AuthenticationHeaderValue("bearer", tokenRequest.AccessToken);
                }));
var data = await client.Me.Drive.Root.Children.Request().GetAsync();
var list = data.ToList();
FileList.ItemsSource = list;
This list of DriveItems will then be displayed on ListPage using the binding with ListView. When a user clicks on an item inside List, the file will be opened as requested. This can be achieved with the OnItemTapped event.
var item = ((DriveItem) e.Item);
   if (item.Folder != null)
      await DisplayAlert("Type", "Selected Item is a Folder!", "Ok");
   else
      Xamarin.Forms.Device.OpenUri(new Uri(item.WebUrl));
Just like any Xamarin.Forms app is required to implement platform-specific functionality differently, follow the guide for each individual platform to implement authentication from here.
Step 3: Running the App
Run the app on a device or simulator and log in with your Office 365 credentials. The app will ask for appropriate permissions. Once those permissions are granted, the app will display the list of files.

Wrapping Up
OneDrive for Business, which is part of Office 365, allows users to store, share, and collaborate with different types of documents. Using Microsoft Graph Client Libraries and Microsoft Authentication Library, it’s easy to integrate various Office 365 services such as OneDrive. As usual, you can find the sample used in this blog post on GitHub.
It was not immediately clear to me from this post, but registering the app and subsequently using the Application ID in your app will permit any user of your application to authenticate against Office 365--if they have an account with Office 365. Your users do not have to register the app in Azure AD--that would be weird.
Hard-coding the developer's Azure Application ID is just a way for Microsoft to associate an application--that is authenticating users against O365--to an actual person or company--a "throat to choke."
Also, developers now have to register their app at https://portal.azure.com as an Azure...